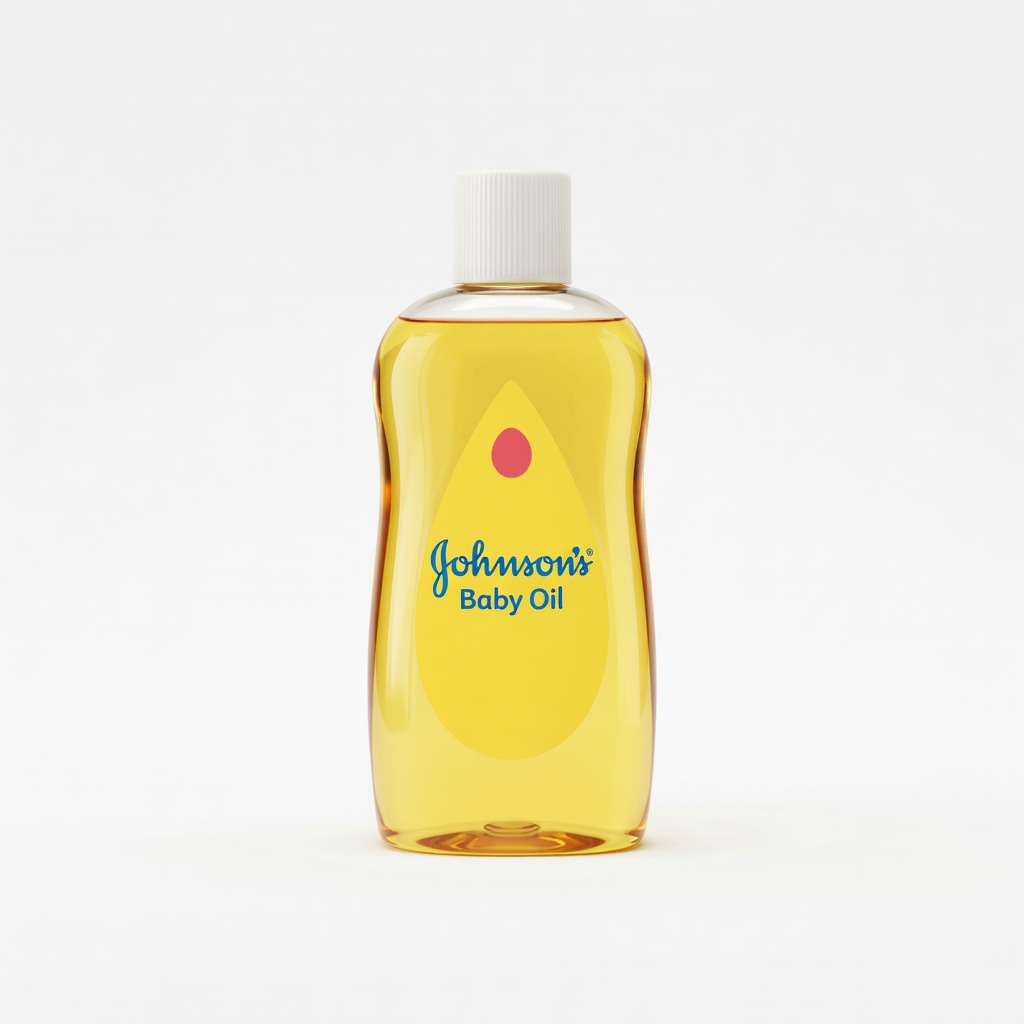
Johnson's Baby Oil
Primary softener for all skin types during steps 2-4.
$4.99
Johnson's Baby Oil Classic, hypoallergenic oil that safely dissolves adhesive without clogging pores.
Get the App
Better experience on mobile
Master painless removal of sticky bras with gentle steps to avoid redness, pain, and skin damage in just minutes.
Adhesive bras, also known as sticky or backless bras, are a wardrobe savior for strapless outfits, but removing them can turn into a nightmare. Ripping them off quickly often leads to painful tugging, red marks, irritation, or even tiny skin tears—especially if you've worn it all day. If you've ever winced in the mirror after a hasty peel, you're not alone; it's a common frustration for many women.
In this beginner-friendly guide, you'll learn a foolproof, step-by-step method to remove your adhesive bra gently and effectively. Using simple household items or targeted products, we'll soften the adhesive first, then peel slowly for zero irritation. The whole process takes 5-10 minutes and requires no special skills—just patience.
By the end, your skin will feel smooth and happy, ready for moisturizing. Follow these steps exactly for the best results, and say goodbye to post-bra battle scars.
Estimated Time: 5-10 minutes Difficulty: beginner
Start in a well-lit bathroom or private area with a mirror. Lay out all your supplies within arm's reach to avoid interruptions. Wash your hands thoroughly with soap and warm water to prevent transferring dirt or bacteria to sensitive skin.
Why it matters: Clean hands reduce infection risk, and organization keeps the process smooth. Expect your skin to feel fresh and ready—no prep drama here.
This sets a calm tone; rushing leads to mistakes.
💡 Tips:
⚠️ Warnings:
Pour a small amount (dime-sized) of baby oil, coconut oil, or olive oil onto a cotton pad or your fingertips. Gently dab and massage the oil along the entire edge of the adhesive bra where it meets your skin. Let it sit for 1-2 minutes to penetrate and soften the adhesive.
Why it matters: Oil breaks down the sticky bond without pulling hairs or stressing skin. You'll notice the edges loosening slightly—success looks like shiny, slick adhesive ready to release.
Pro tip: For extra softening, apply a warm, damp towel over the bra for 30 seconds first.
💡 Tips:
⚠️ Warnings:
Using circular motions with oiled fingers, massage the edges inward toward the center of the bra. Work slowly around the cups, under the bust, and any lift tape areas for 1 minute. Reapply oil as needed to keep it slick.
Why it matters: Massaging loosens the grip evenly, preventing sudden tugs that cause irritation. Expect the bra to feel 'floaty' and edges to lift slightly—that's your cue it's ready.
This step is key for pain-free removal; skip it, and you'll regret it.
💡 Tips:
⚠️ Warnings:
Pinch the bottom edge of one cup with your thumb and forefinger, lifting it at a 180-degree angle (parallel to skin, not upward). Peel back slowly (1-2 inches at a time), continuously applying more oil ahead of the peel line. Alternate sides if it's a lift bra.
Why it matters: Slow, flat peeling rolls the adhesive off without stretching skin. Success: Smooth release with no resistance or redness.
Breathe steadily—it's like unwrapping a delicate gift.
💡 Tips:
⚠️ Warnings:
Once the bottom is free, move to the top edges and sides, keeping the peel flat and oiled. Work one cup fully off before the other. If there's lift tape under the bust, peel that last using the same method.
Why it matters: Methodical peeling ensures complete, even removal. You'll see the bra come off cleanly, leaving skin intact and adhesive residue minimal.
Pat yourself on the back—almost done!
💡 Tips:
⚠️ Warnings:
**With warm, soapy water and a soft cloth, gently wipe any leftover adhesive or oil from your skin. Rinse thoroughly and pat dry with a clean towel—don't rub.
Why it matters: Residue can clog pores or irritate; clean skin preps for moisturizing. Expect soft, clean skin with no stickiness.
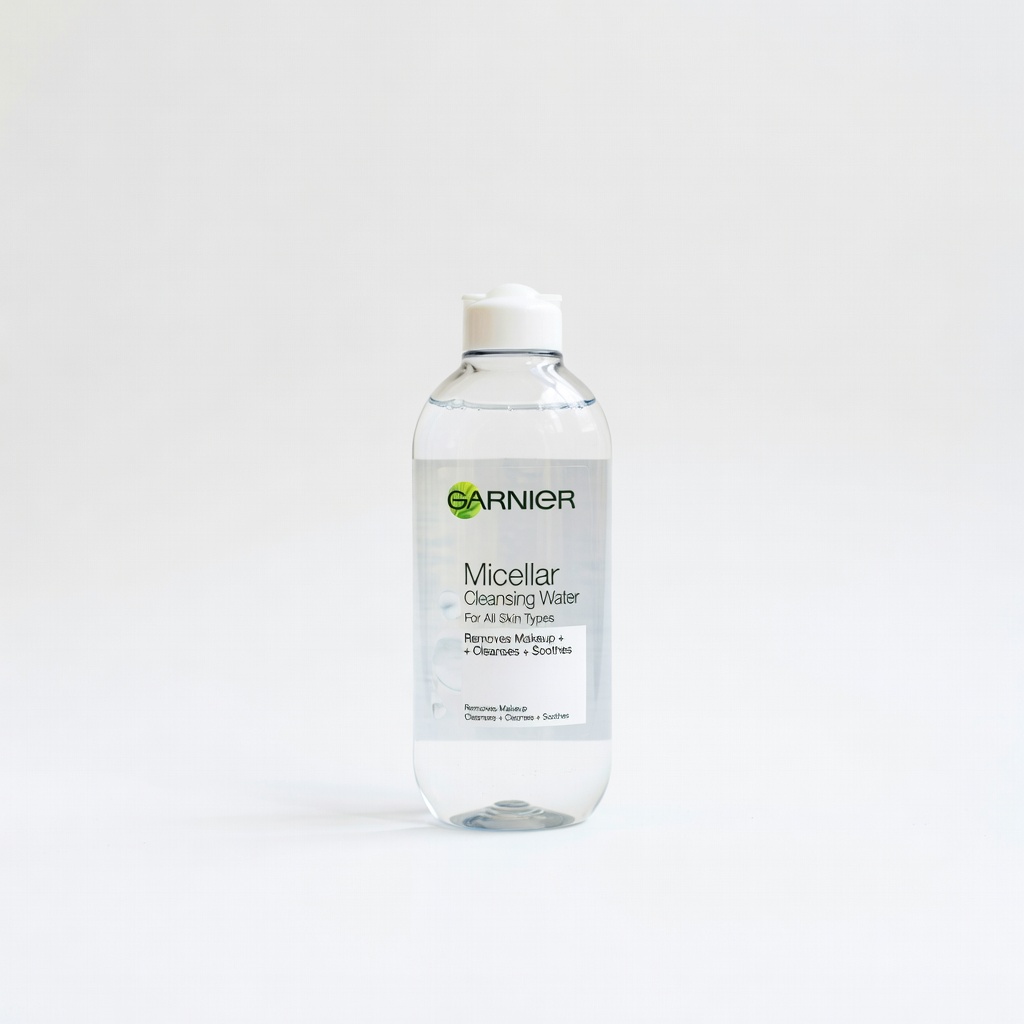
Use micellar water for stubborn bits if soap fails.
💡 Tips:
⚠️ Warnings:
Apply a fragrance-free moisturizer or aloe vera gel liberally to the area. Massage in gently for hydration.
Why it matters: Locks in moisture, prevents dryness or itchiness. Skin feels supple and happy—your final win!
Wait 10 minutes before dressing.
💡 Tips:
⚠️ Warnings:
Problem: Adhesive is extra stubborn after sweating
Solution: Apply warm compress for 2 minutes, then double oil time before massaging.
Problem: Mild redness or itching post-removal
Solution: Cool with aloe vera; if persists 24 hours, use hydrocortisone cream. See derm if severe.
Problem: Residue won't budge
Solution: Use micellar water or dedicated remover wipes; gently roll off with fingers.
Problem: Skin feels oily after
Solution: Double-wash with gentle cleanser; pat dry completely before moisturizing.
Classic, hypoallergenic oil that safely dissolves adhesive without clogging pores.
Best for: Primary softener for all skin types during steps 2-4.
Price Range: $4.99
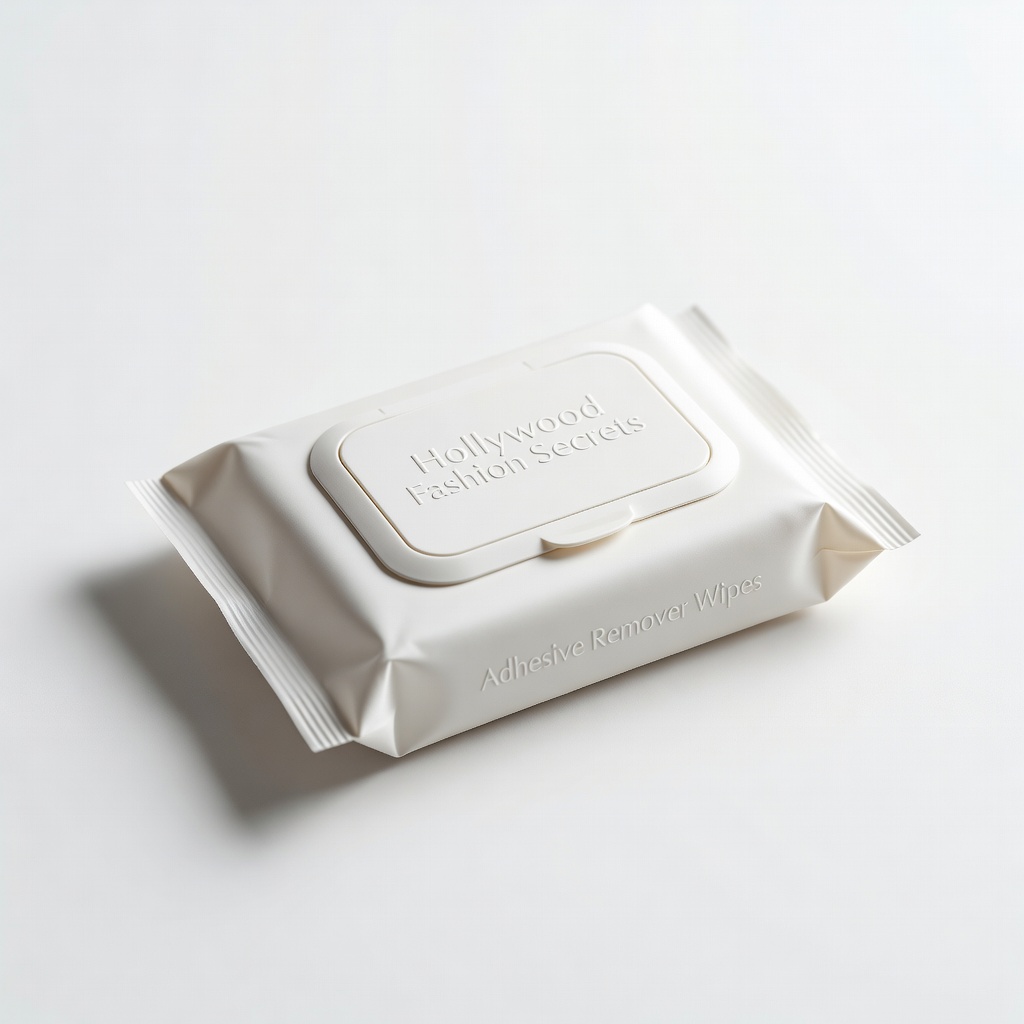
Pre-moistened wipes designed for body adhesives, quick and mess-free.
Best for: Stubborn residue or on-the-go removal; alternative to oil in step 2.
Price Range: $9.99
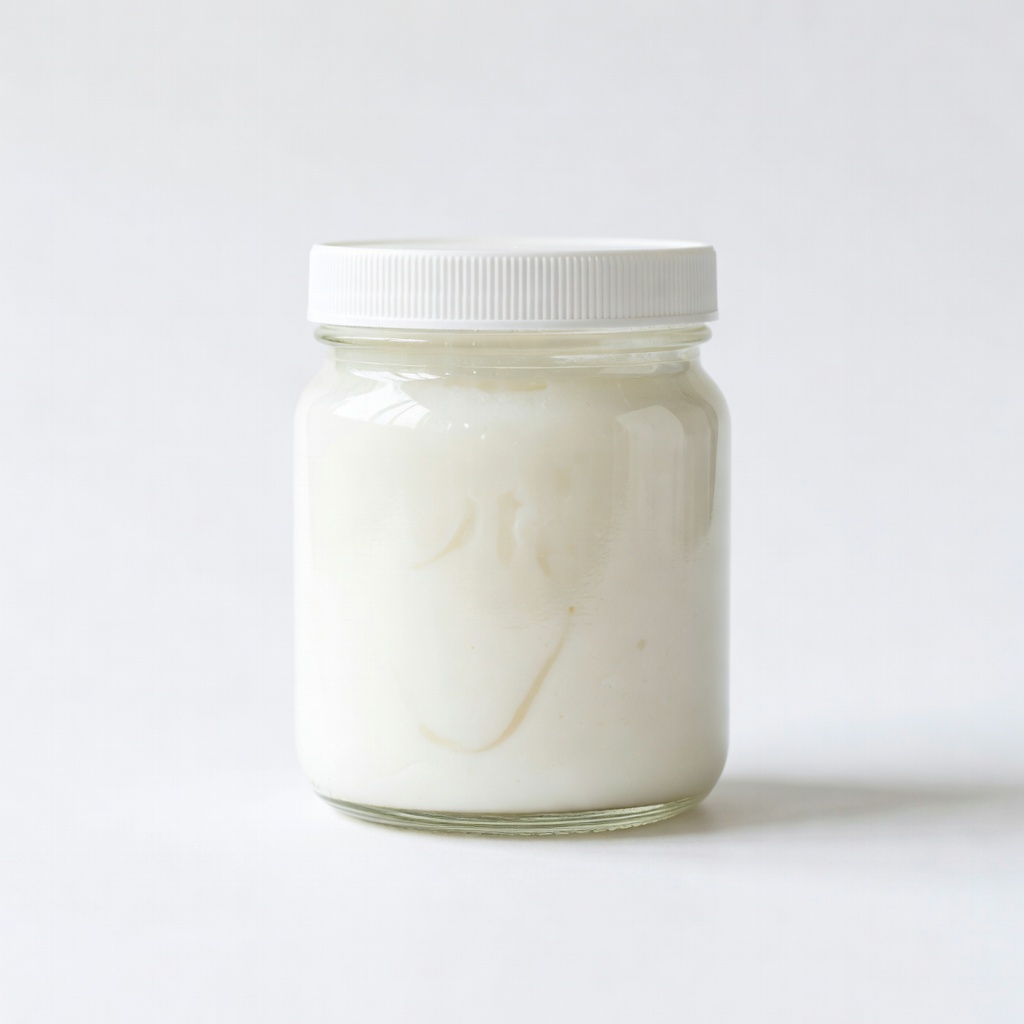
Natural, moisturizing oil with antimicrobial properties for sensitive skin.
Best for: Gentle massage and peel in steps 3-4, plus skin nourishment.
Price Range: $9.99
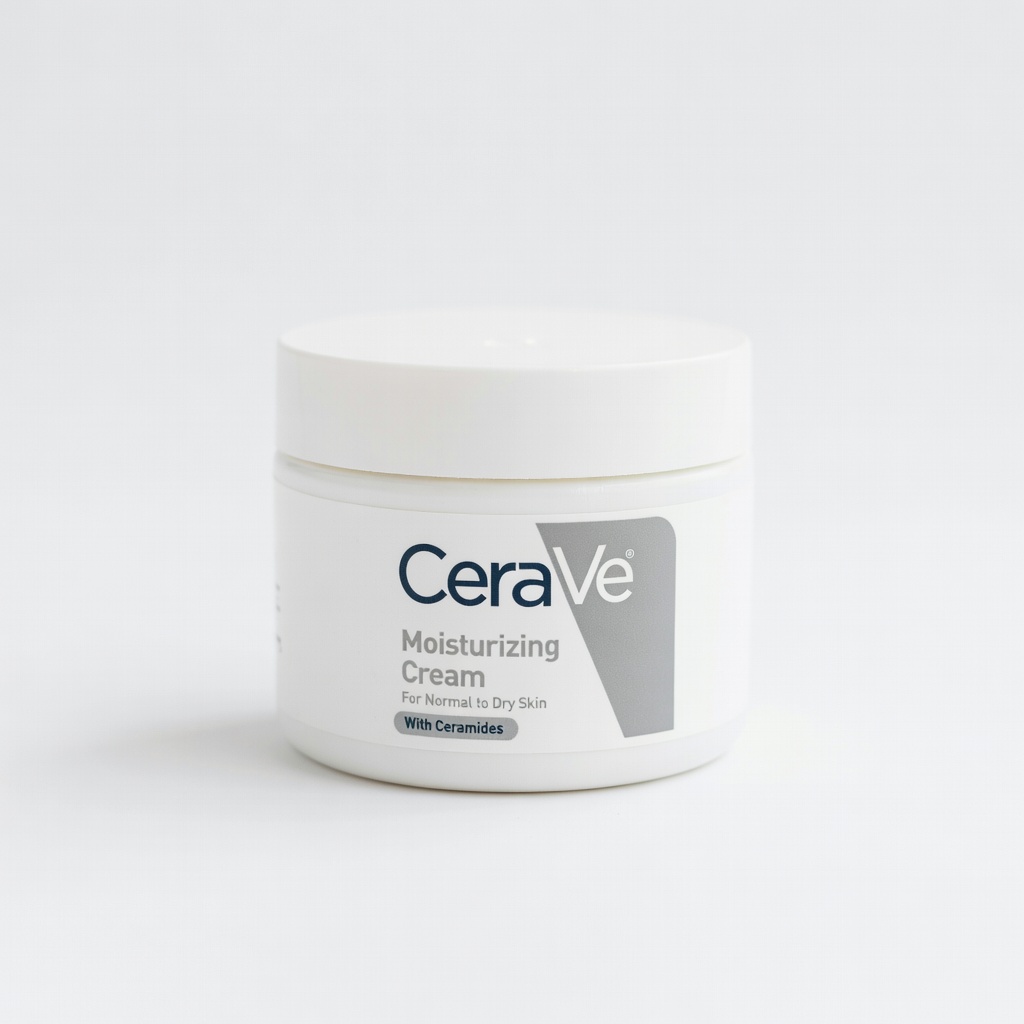
Fragrance-free, ceramide-rich formula restores skin barrier post-removal.
Best for: Final soothing in step 7, especially for dry or irritated skin.
Price Range: $17.99
Gentle, no-rinse cleanser perfect for residue without stripping skin.
Best for: Step 6 cleanup for oil/adhesive remnants.
Price Range: $8.99
Primary softener for all skin types during steps 2-4.
Johnson's Baby Oil Classic, hypoallergenic oil that safely dissolves adhesive without clogging pores.
Stubborn residue or on-the-go removal; alternative to oil in step 2.
Hollywood Fashion Secrets Adhesive Remover Wipes Pre-moistened wipes designed for body adhesives, quick and mess-free.
Gentle massage and peel in steps 3-4, plus skin nourishment.
Nutiva Organic Coconut Oil Natural, moisturizing oil with antimicrobial properties for sensitive skin.
Final soothing in step 7, especially for dry or irritated skin.
CeraVe Moisturizing Cream Fragrance-free, ceramide-rich formula restores skin barrier post-removal.
Step 6 cleanup for oil/adhesive remnants.
Garnier Micellar Cleansing Water Gentle, no-rinse cleanser perfect for residue without stripping skin.