
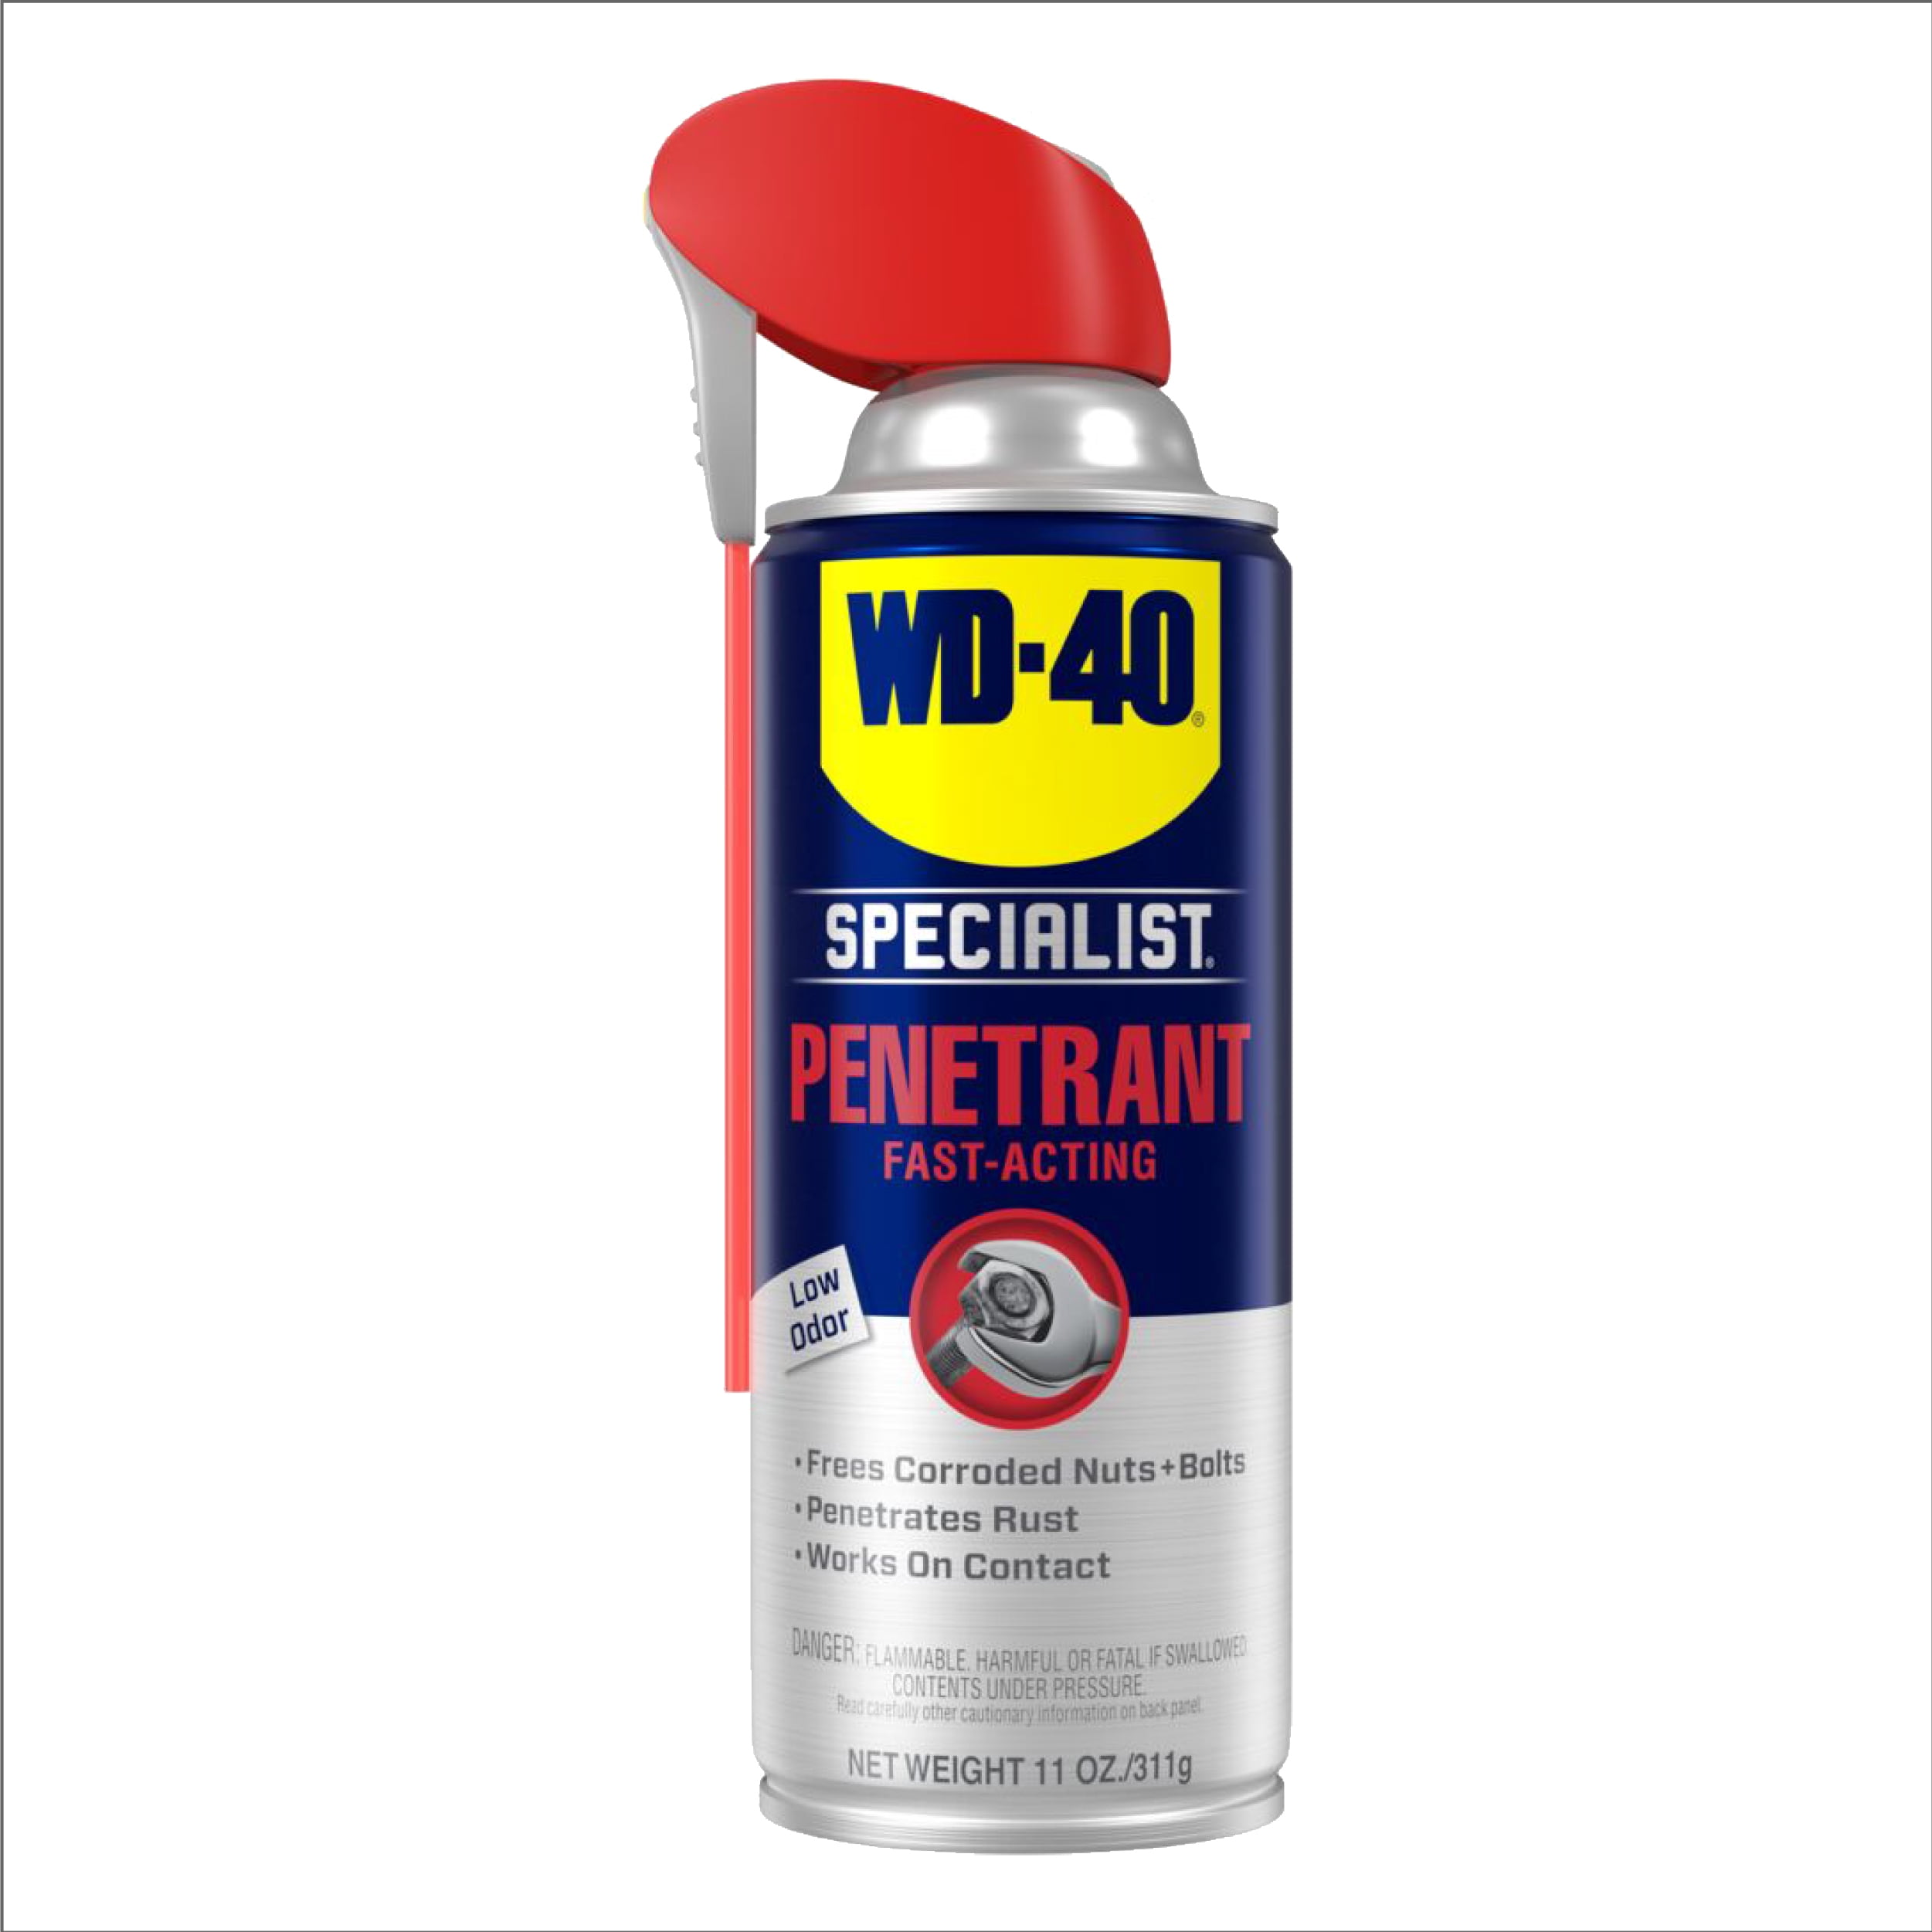
WD-40 Specialist Penetrant
Apply to any seized screw—especially effective on metal.
$5–$10
WD-40 Specialist Penetrant Quickly loosens rusted or stuck screws, making removal easier without high torque.
Get the App
Better experience on mobile
Learn proven techniques to extract stubborn stripped screws without damaging your workpiece—using household tools or specialized extractors.
A stripped screw can bring any project to a grinding halt. Whether the head is rounded off or the threads are spinning freely, you're left wondering how to get that fastener out. The good news? There are multiple effective methods, from simple tricks using a rubber band to precision drill-out extraction kits. In this guide, you'll learn step-by-step techniques for both metal and wood, what tools you need, and how to avoid common pitfalls. With a little patience and the right approach, you can remove nearly any stripped screw without ruining the surrounding material. Expect to spend 10–30 minutes per screw, depending on the severity and method chosen.
Estimated Time: 10–30 minutes per screw Difficulty: intermediate
First, identify whether the screw is in wood or metal, and examine the damage. Is the head rounded, or are the threads stripped? For rounded heads, external grip methods (rubber band, pliers) work well. For spinning screws (threads stripped), you'll need to drill or use an extractor. Clean away debris and apply penetrating oil if the screw is rusted or stuck. Let the oil sit for 5–10 minutes. This step sets realistic expectations—some screws come out in seconds; others may require drilling.
💡 Tips:
⚠️ Warnings:
Place a wide rubber band (or a piece of duct tape sticky side up) over the stripped screw head. Press your screwdriver into the rubber band and turn slowly counterclockwise. The rubber fills the gaps and increases friction, often allowing the screwdriver to bite. Keep steady, downward pressure while turning. This method works best for screws with slightly rounded heads but intact slots. If it works, the screw should back out easily. If not, move to the next step.
💡 Tips:
⚠️ Warnings:
If the screw head protrudes above the surface, grip it with locking pliers (Vise-Grips) clamped tightly around the head. Turn counterclockwise. For a countersunk screw, try using a small chisel or flathead screwdriver to tap the head sideways to create a notch you can grab with pliers. Alternatively, use a screwdriver one size larger than the original (e.g., a #3 Phillips for a #2 slot). Force it into the stripped recess and turn slowly. This often provides enough friction to remove the screw.
💡 Tips:
⚠️ Warnings:
For screws that are stuck due to rust or corrosion, spray penetrating oil along the threads. Let it soak for at least 15 minutes. Then use an impact driver (manual or electric) with a screwdriver bit. The impact action delivers sudden rotational force, which may break the screw loose. Strike the screwdriver handle with a hammer if using a manual impact driver—each blow helps drive the bit into the slot and turns it slightly. Repeat in short bursts. This method is especially effective on metal screws.
💡 Tips:
⚠️ Warnings:
If the screw head is still intact but the previous methods failed, use a left-hand drill bit. These bits rotate counterclockwise (drill in reverse), which often catches the screw threads and unscrews it as you drill. Select a bit slightly smaller than the screw's shank. Center punch the screw head to prevent wandering, then drill slowly with low to medium speed. If you're lucky, the screw will spin out before you fully drill through. This works best on metal screws.
💡 Tips:
⚠️ Warnings:
When the head is completely stripped or broken off, a screw extractor is your best bet. First, drill a hole into the center of the screw (using a standard drill bit) to the depth recommended by the extractor manufacturer. Then insert the extractor tip into the hole and turn counterclockwise—either with a tap handle or by reversing the drill's direction (some sets work with a drill). The flutes or spirals grip the inside of the screw and back it out. Follow the extractor size guide carefully.
💡 Tips:
⚠️ Warnings:
If all else fails, you can drill out the entire screw. Select a bit the size of the screw's shank (not the head). Center punch exactly in the center of the screw. Drill straight and slowly, removing material until the screw head separates (if present) or the shank disintegrates. For wood, you may be able to pull the remaining pieces with pliers. For metal, you'll need to retap the hole. This method sacrifices the original threads but saves the workpiece.
💡 Tips:
⚠️ Warnings:
After removing the screw, clean any debris or metal/wood dust from the hole. For threaded metal holes, run a tap of the appropriate size through to clean and restore threads. For wood, insert a wooden dowel with glue if the hole is oversized, then drill a new pilot hole. Test fit a new screw of the same size to ensure proper engagement.
💡 Tips:
⚠️ Warnings:
Problem: Screw head breaks off completely
Solution: Use a center punch to mark the center of the remaining shank, then drill a pilot hole and use a screw extractor. Alternatively, drill out the entire shank and retap the hole.
Problem: Extractor snaps inside the screw
Solution: This is difficult to fix. Try tapping a small chisel to break the extractor fragments, or use a carbide drill bit to drill through the tough steel. If the workpiece is valuable, take it to a machine shop or use a welder to attach a nut to the remain.
Problem: Screw spins freely but won't come out (threads stripped in wood)
Solution: Try prying the screw head upward with a nail puller while turning. Or drill a hole next to the screw, cut the screw in half with a dremel, then remove each piece. Alternatively, use a screw extractor that pulls outward.
Problem: Left-hand bit doesn't catch the screw
Solution: The screw may be too severely stripped or seized. Apply more penetrating oil and try again with a slightly larger left-hand bit. If still no luck, switch to a traditional extractor set.
Problem: Pilot hole drifts off-center
Solution: Use a center punch aggressively to create a deeper dimple. Consider drilling a small pilot hole first (1/16 inch) to guide the larger bit. If damage already occurred, you may need to fill and re-drill.
Quickly loosens rusted or stuck screws, making removal easier without high torque.
Best for: Apply to any seized screw—especially effective on metal.
Price Range: $5–$10
All-in-one kit with left-hand drill bits and extractors that works in reverse drill mode—reduces steps and extractor breakage.
Best for: Best for extracting broken or severely stripped screws in metal and wood.
Price Range: $20–$40
Cobalt bits stay sharp longer; left-hand rotation often removes screws without needing an extractor.
Best for: Ideal for removing screws that still have heads; use as a first step before extractors.
Price Range: $12–$25
Classic spiral flute design, trusted by mechanics and DIYers; suitable for wood and metal.
Best for: Reliable for general screw extraction when a pilot hole is pre-drilled.
Price Range: $10–$20
Includes centering bits and extractors; convenient for beginners and professionals.
Best for: All-in-one starter kit for common screw sizes; good for home workshops.
Price Range: $15–$30
Apply to any seized screw—especially effective on metal.
WD-40 Specialist Penetrant Quickly loosens rusted or stuck screws, making removal easier without high torque.
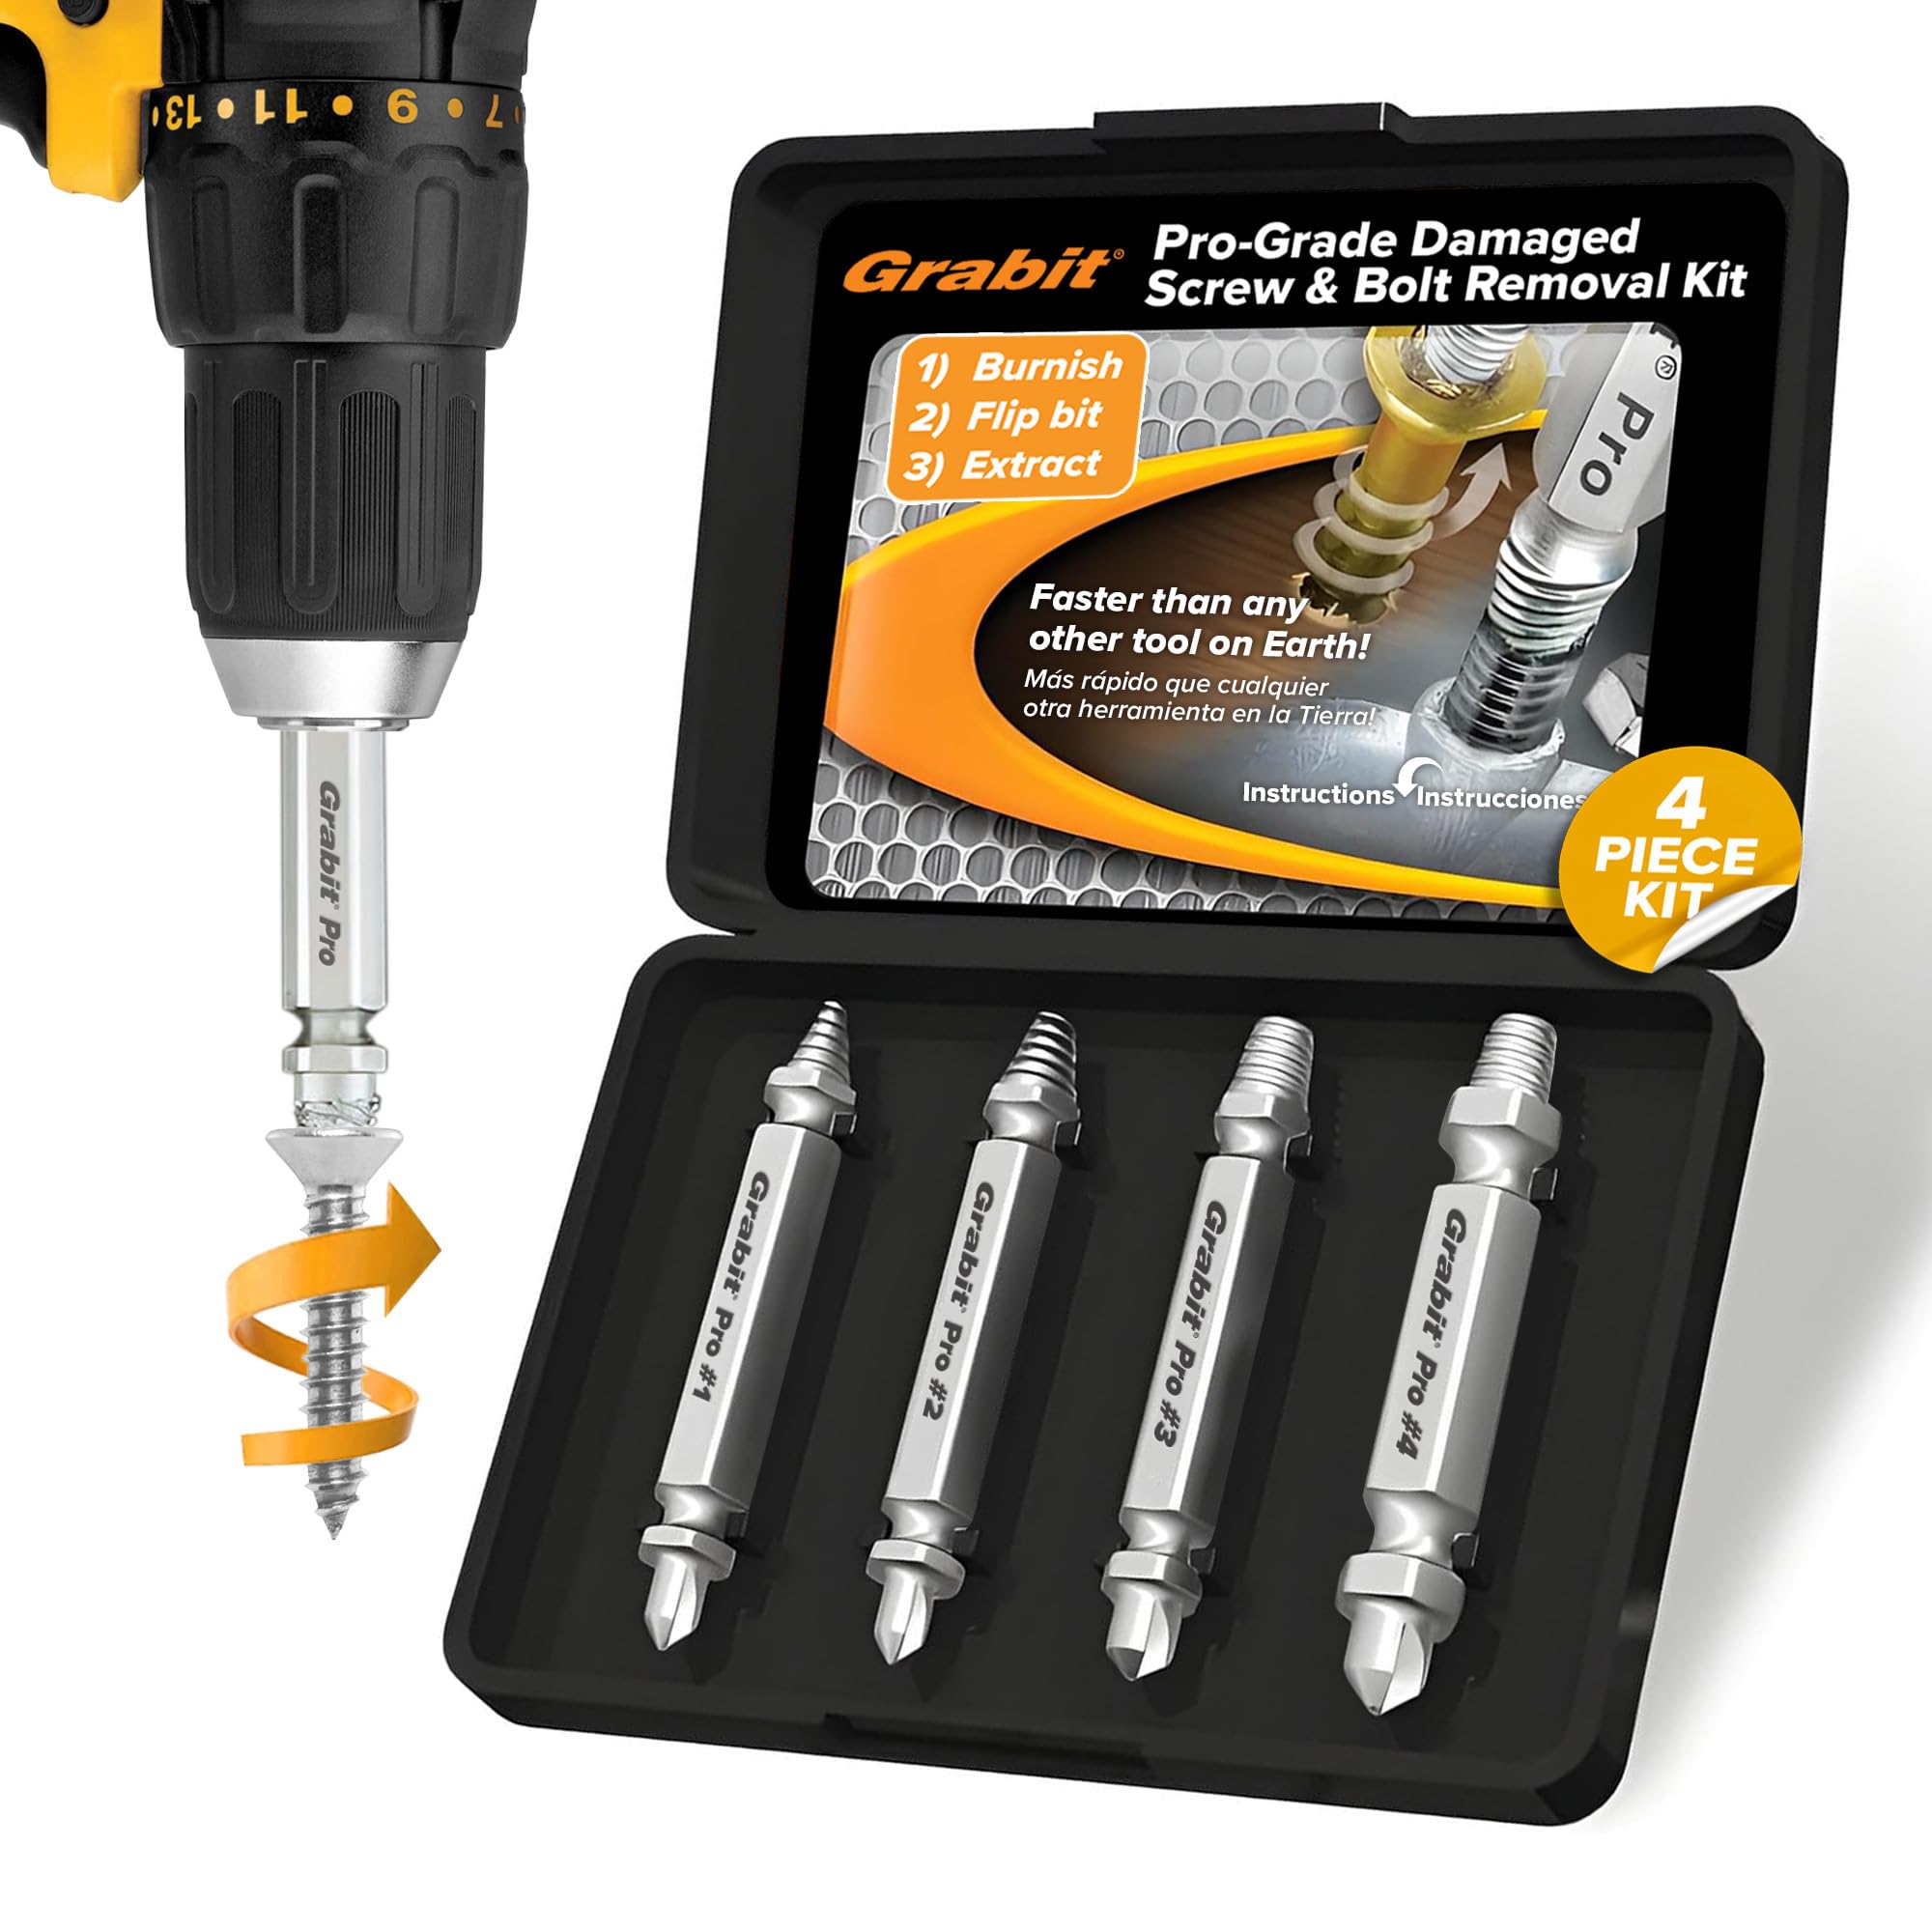
Best for extracting broken or severely stripped screws in metal and wood.
Grabit Pro Broken Screw Extractor Set All-in-one kit with left-hand drill bits and extractors that works in reverse drill mode—reduces steps and extractor breakage.
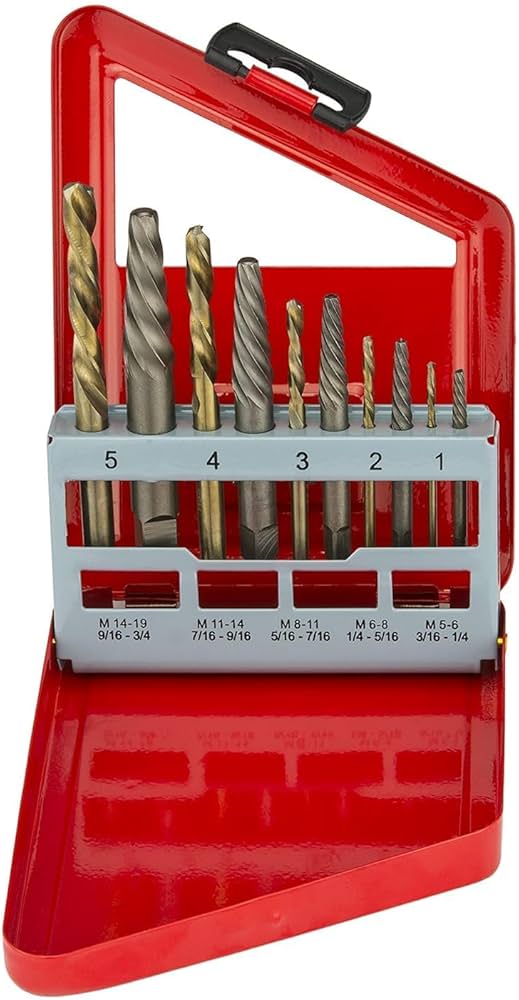
Ideal for removing screws that still have heads; use as a first step before extractors.
Neiko 10-Piece Left-Hand Drill Bit Set, Cobalt Cobalt bits stay sharp longer; left-hand rotation often removes screws without needing an extractor.
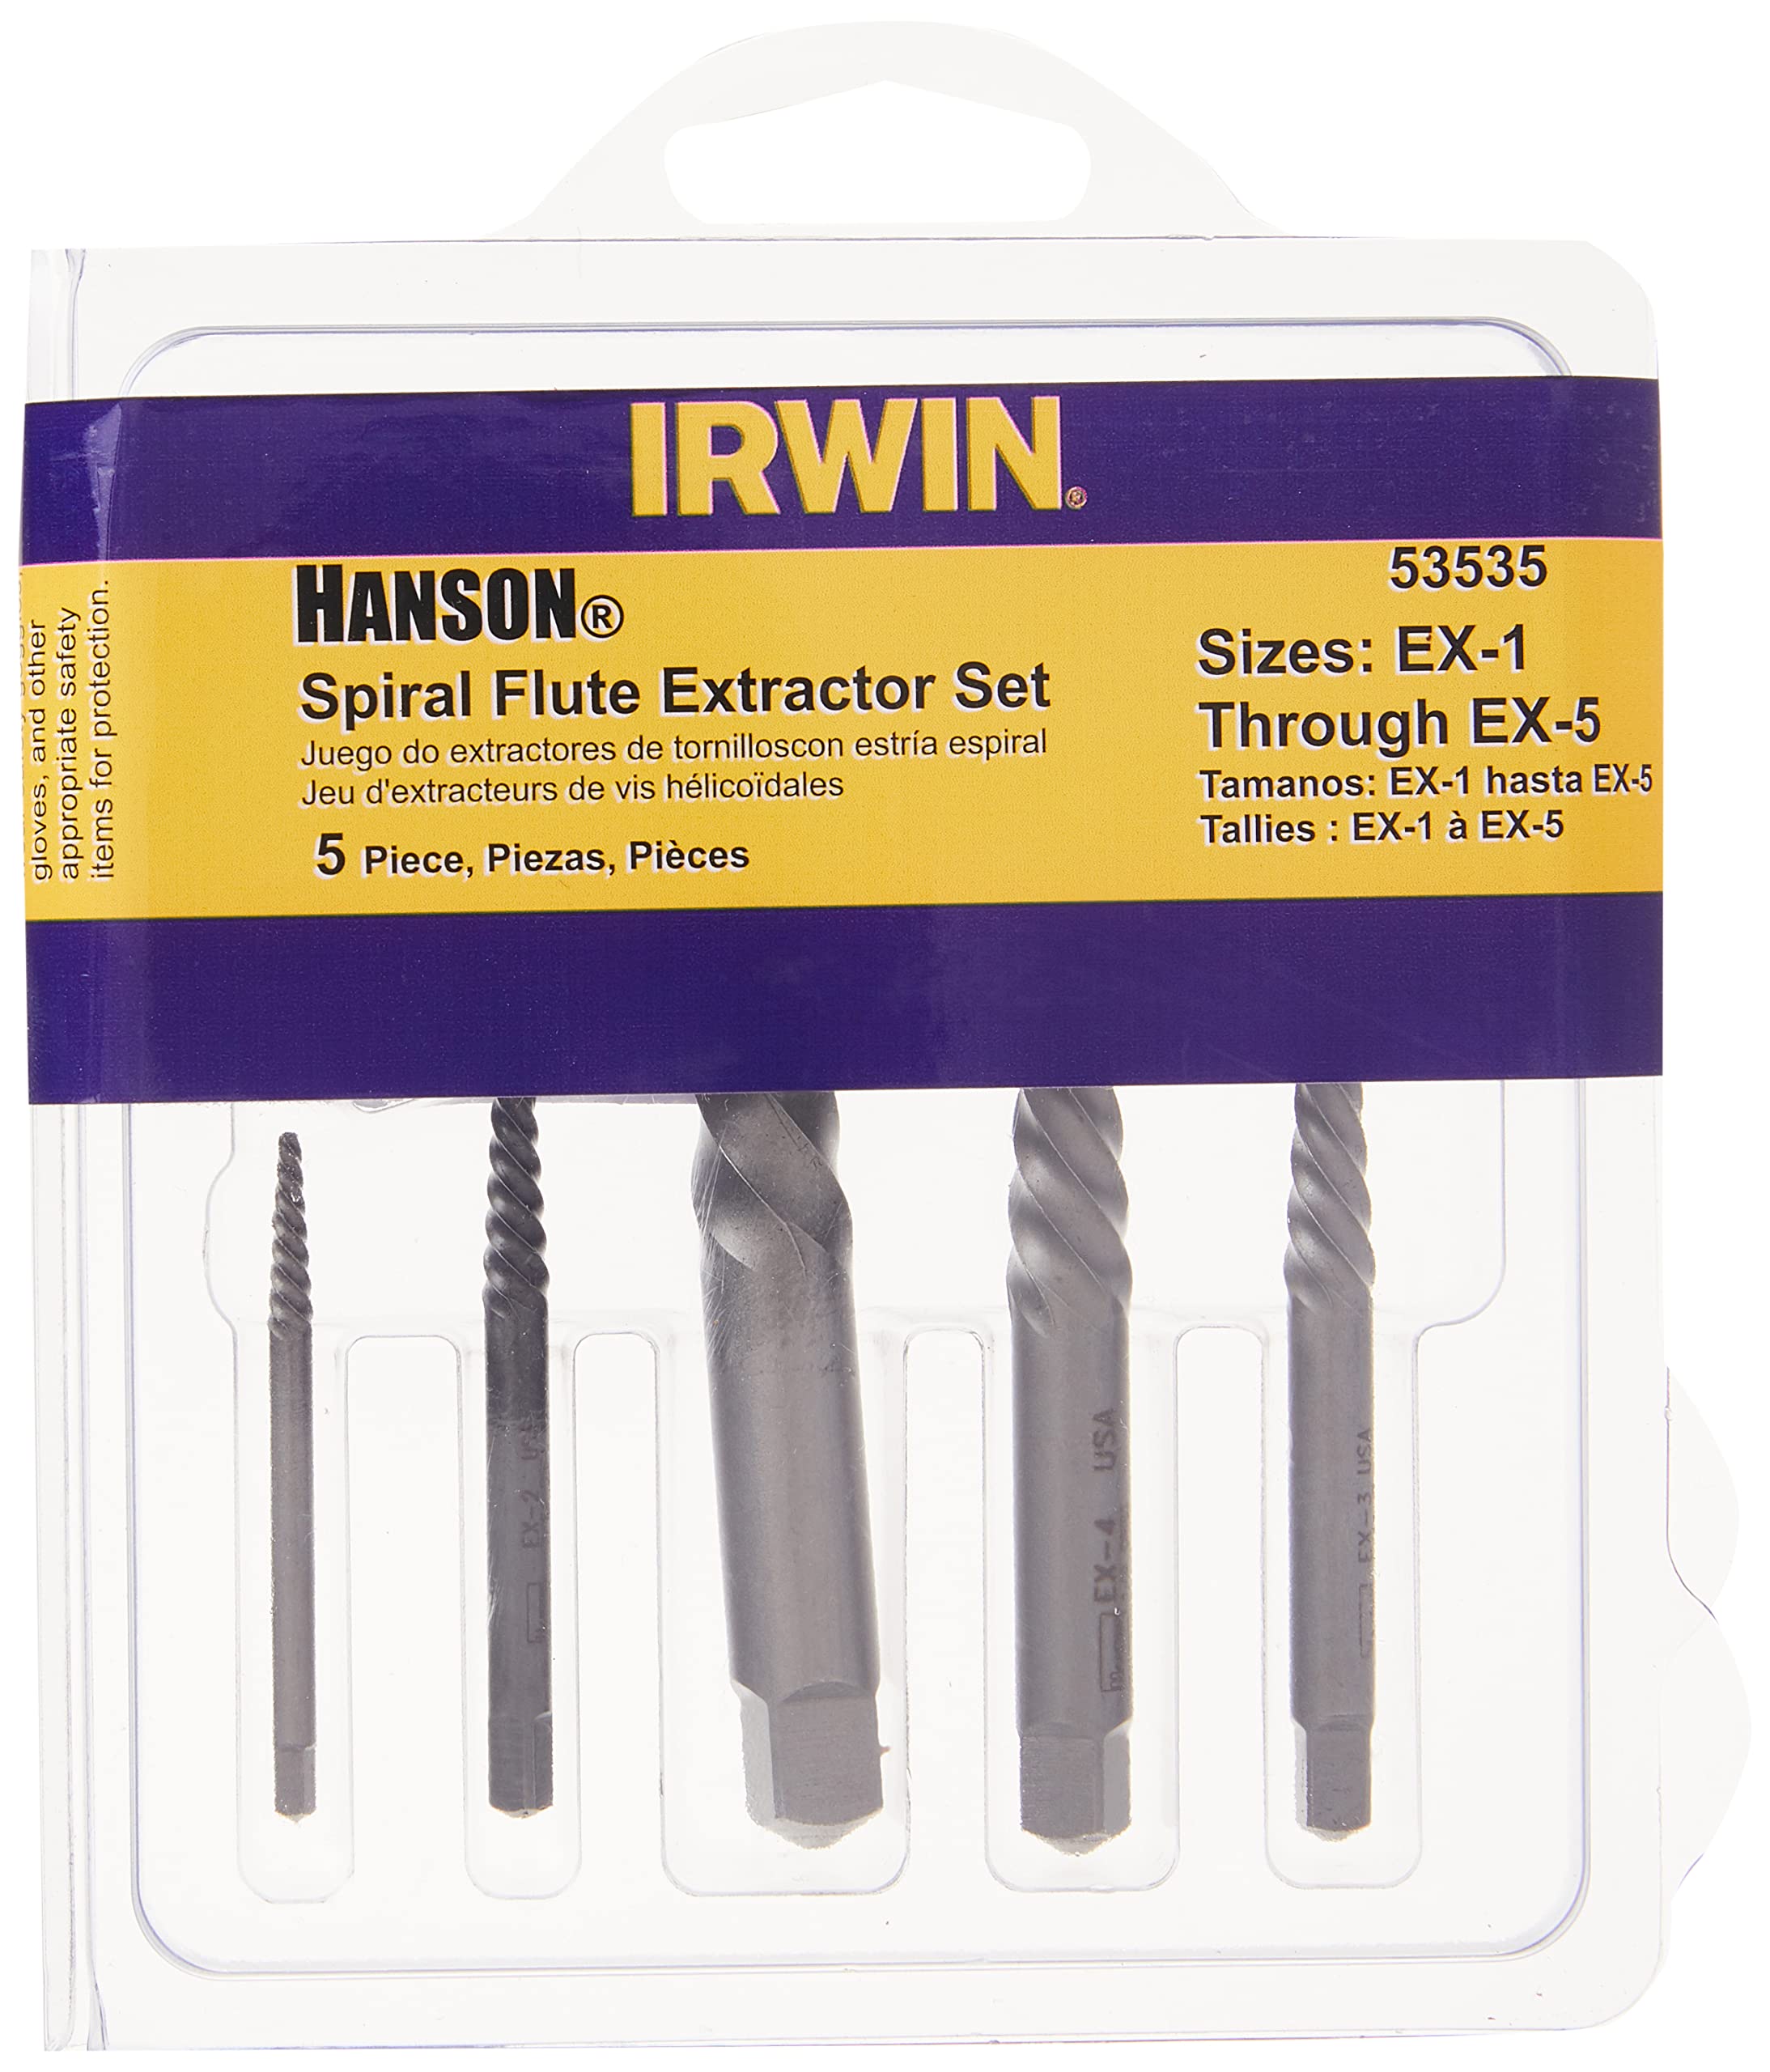
Reliable for general screw extraction when a pilot hole is pre-drilled.
Irwin Hanson Screw Extractor Set (5-Piece) Classic spiral flute design, trusted by mechanics and DIYers; suitable for wood and metal.
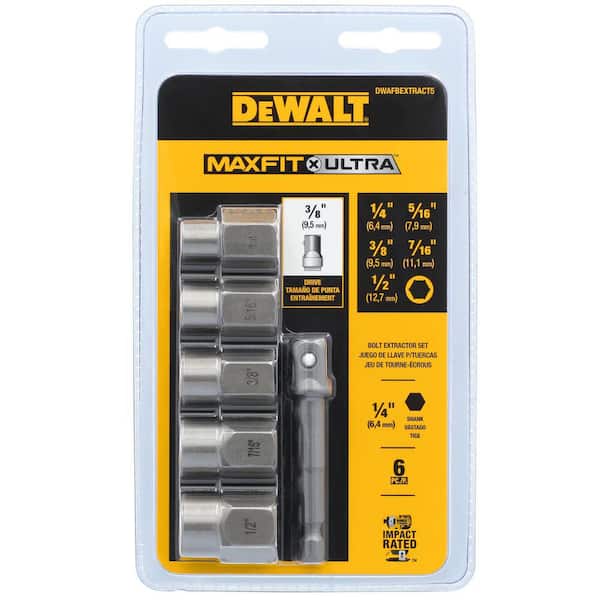
All-in-one starter kit for common screw sizes; good for home workshops.
DEWALT 5-Piece Screw Extractor Set with Drill Bits Includes centering bits and extractors; convenient for beginners and professionals.