Dealing with a stripped screw on a delicate electronic device can be frustrating and risky. Whether it's a laptop, smartphone, or game console, using the wrong technique can permanently damage the casing or circuit board. This guide will teach you proven methods to remove a stripped screw using household items and specialized tools, with minimal risk. We'll cover techniques from rubber band leverage to screw extractors, plus tips to prevent stripping in the future. Expect to spend 10-30 minutes depending on severity.
▸What You'll Need
- •Stripped screw (Phillips or flathead) on an electronic device
- •Rubber band (wide, flat)
- •Super glue (cyanoacrylate) and toothpick
- •Small flathead screwdriver
- •Left-handed drill bit set (for screw extractors)
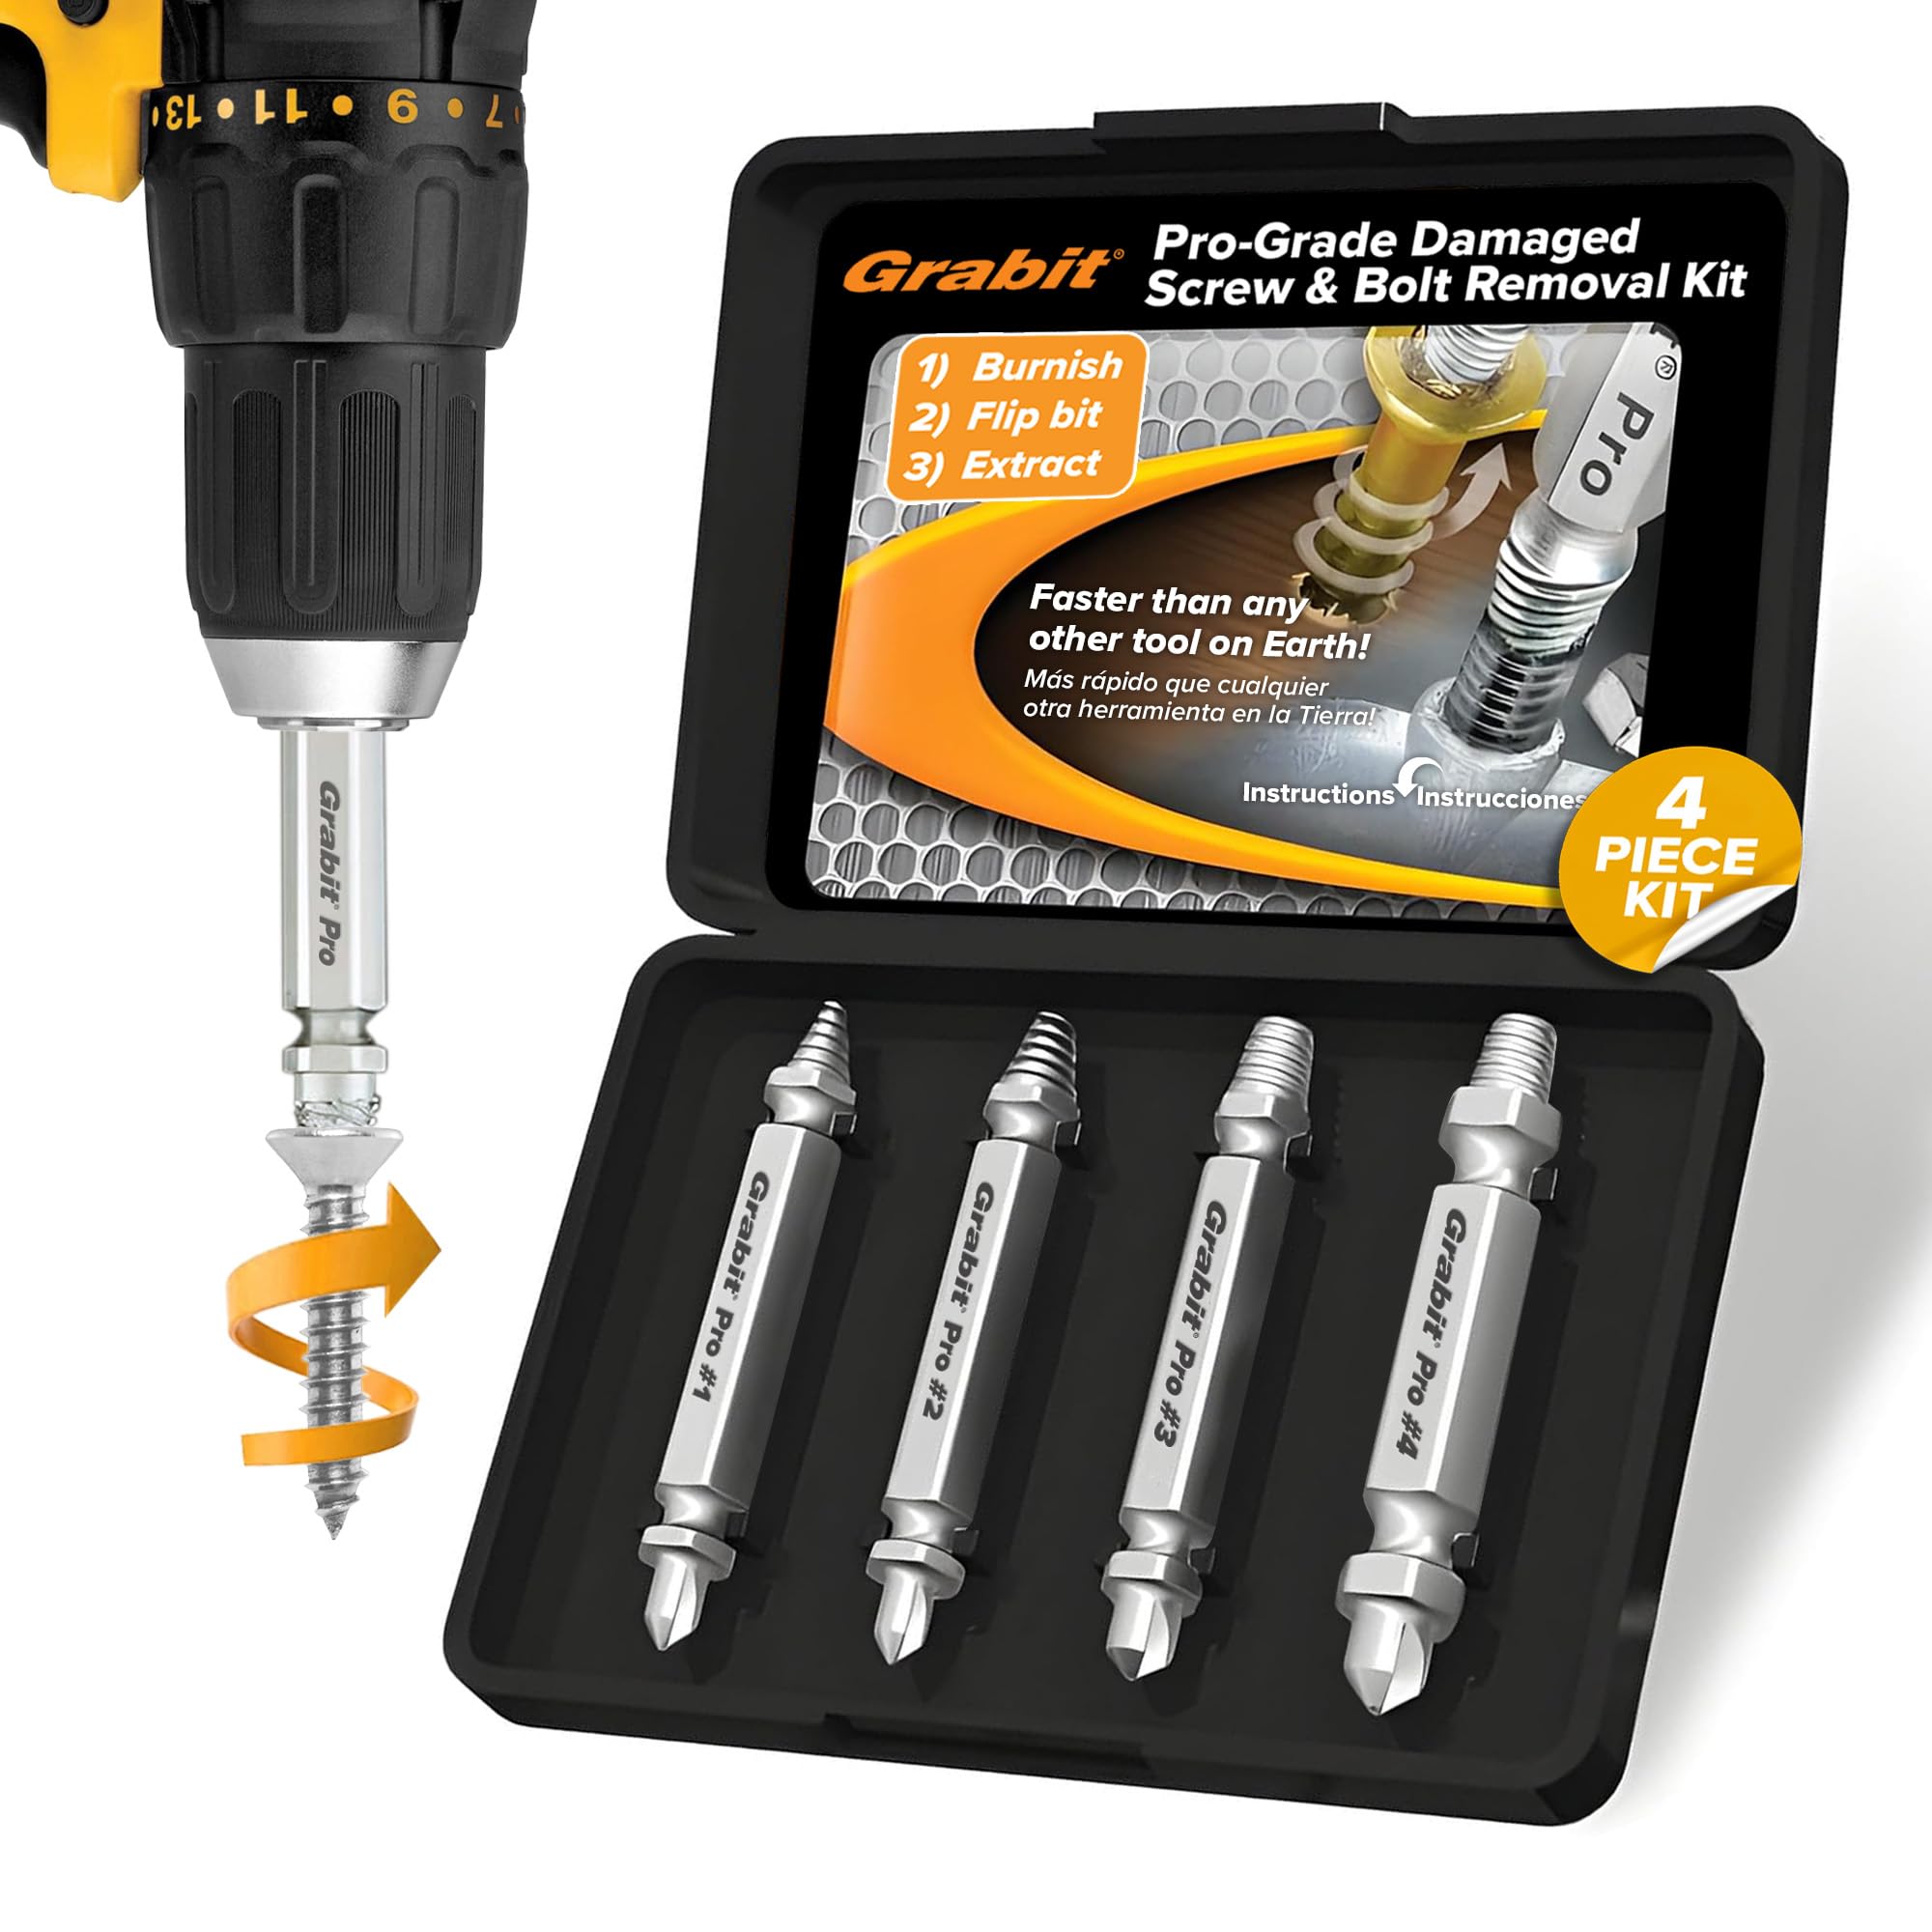
- •Screw extractor kit (e.g., Grabit or similar)
- •Penetrating oil (optional, e.g., WD-40)
- •Isopropyl alcohol and cotton swabs
- •Magnifying glass or headlamp (optional)
- •Tweezers and pliers
Estimated Time: 15-30 minutes
Difficulty: intermediate
▸Step-by-Step Instructions
Step 1: Assess the Damage and Clean the Screw Head
Examine the stripped screw head carefully. Determine if the original drive shape (Phillips, Torx, flathead) is still partially intact or completely rounded. Use a magnifying glass if needed. Clean out any debris or old threadlocker using isopropyl alcohol and a cotton swab. A clean surface improves grip for subsequent methods. If the screw is countersunk, ensure you can see the entire head. This step prevents slipping and false starts.
💡 Tips:
- •Use a strong light source to see the condition clearly.
- •If the screw is in a tight spot, use a headlamp for hands-free illumination.
⚠️ Warnings:
- •Avoid applying excessive force pushing the screwdriver — it can crack the circuit board.
Step 2: Try the Rubber Band Method
This is the simplest and safest first attempt. Place a wide, flat rubber band over the screw head. Press your screwdriver firmly into the rubber band and turn slowly counterclockwise. The rubber band fills the gaps in the stripped head, providing extra friction. This works best for shallowly damaged Phillips head screws. If the screw turns, remove it with tweezers once loose. If it doesn't budge, move to the next method.
💡 Tips:
- •Use a thick rubber band (like from broccoli) for better grip.
- •Apply steady downward pressure while turning to prevent the rubber band from slipping.
⚠️ Warnings:
- •Do not use a rubber band that is too thin, as it may tear and leave residue.
Step 3: Apply Super Glue for a Temporary Grip
If the rubber band fails, try using super glue. Dip a toothpick into a tiny amount of cyanoacrylate glue and carefully apply it to the stripped screw head, avoiding surrounding areas. Immediately press a small metal rod or the tip of a screwdriver into the glue. Hold steady for 30-60 seconds until the glue sets. Then gently twist counterclockwise to extract the screw. The glue creates a temporary bond that acts as a new drive. After removal, use isopropyl alcohol to dissolve any glue residue.
💡 Tips:
- •Use the smallest amount of glue possible to avoid bonding the screw to the surrounding casing.
- •If the screw is very small, use a toothpick to apply glue precisely.
⚠️ Warnings:
- •Avoid getting glue on nearby components, especially moving parts or threads of other screws.
- •This method may not work for deep-set screws due to difficulty in applying glue.
Step 4: Use a Flathead Screwdriver on Phillips Head Screws
If the Philips head is partially stripped, a small flathead screwdriver can sometimes engage the remaining edges. Choose a flathead that fits snugly into the remaining cross recess. Apply firm downward pressure and turn slowly. This works best when only one or two arms of the cross are intact. Be careful not to slip and scratch the surrounding surface.
💡 Tips:
- •Tap the screwdriver handle lightly with a small hammer to set it in the groove.
- •Use a screwdriver with a sharp, precisely ground tip for better engagement.
⚠️ Warnings:
- •Forcing a flathead can further damage the screw head, making extraction harder.
Step 5: Try Left-Handed Drill Bits and Screw Extractors
When manual methods fail, use a screw extractor kit. Start with a left-handed drill bit (drills counterclockwise) to create a pilot hole. These bits often catch the screw and back it out before you even need the extractor. If not, switch to the reverse-threaded extractor. Select an extractor slightly smaller than the screw shaft. Drill a small pilot hole in the center of the screw head using the left-handed bit. Then insert the extractor, turn counterclockwise (or reverse on your drill), and watch the screw back out. This is the most reliable method for stubborn screws.
💡 Tips:
- •Use a center punch to mark the screw center before drilling to prevent bit wandering.
- •Apply light oil (WD-40) to the screw to reduce friction and heat.
⚠️ Warnings:
- •Drilling generates heat — pause if smoke appears to avoid damaging plastic components.
- •Do not drill too deep; you only need 2-3mm into the screw head.
Step 6: Remove the Screw and Clean the Threads
Once the screw is extracted, inspect the threads and the hole. Use tweezers to remove any debris. If the screw dragged out plastic threads, you may need to chase the threads with the same size tap (if metal) or use a slightly larger screw. Clean the area with isopropyl alcohol to remove any oil or glue residue.
💡 Tips:
- •If the screw hole is stripped, consider using a thread repair insert like a Heli-Coil for future repairs.
- •Apply a tiny amount of threadlocker (blue Loctite) on replacement screws to prevent re-stripping.
⚠️ Warnings:
- •Do not overtighten the replacement screw — use a torque screwdriver if available.
▸Pro Tips
- •Always work on a static-free mat and wear an anti-static wrist strap to protect electronics.
- •When using a screw extractor, start with the smallest size to avoid over-drilling.
- •Heat the screw gently with a soldering iron (through the screw head) to soften threadlocker.
- •Use a precision screwdriver set with interchangeable bits for better fit on small electronics.
- •Practice on scrap electronics first if you're new to screw extraction.
- •If the screw is in a non-critical area, consider drilling out the entire head and removing the remaining shaft with pliers.
▸Common Mistakes to Avoid
- •Using too much force with a standard screwdriver, which further strips the head.
- •Drilling off-center, damaging the surrounding plastic or PCB traces.
- •Applying too much super glue, causing the screw to bond permanently to the device.
- •Choosing an incorrect extractor size — too large can crack the screw head, too small may not engage.
▸Troubleshooting
Problem: The screw doesn't budge with any method.
Solution: Apply penetrating oil (WD-40) and let it sit for 15 minutes. Heat the screw with a soldering iron for 10 seconds to expand the metal. If still stuck, carefully drill out the entire screw using a bit slightly larger than the screw shaft.
Problem: The screw head shears off during extraction.
Solution: If the screw body is still protruding, use small locking pliers (Vise-Grips) to turn the shaft. If flush, drill out the screw or use a left-handed drill bit to extract the remaining shaft.
Problem: The rubber band tears and leaves residue.
Solution: Clean the residue with isopropyl alcohol. Then try the flathead method or move to super glue.
Grabit Broken Screw Extractor Kit
Specifically designed for stripped screws with left-handed drill bits that extract as you drill. Works on small electronics.
Best for: When the rubber band and glue methods fail, this kit provides a reliable mechanical extraction.
Price Range: $15-$25
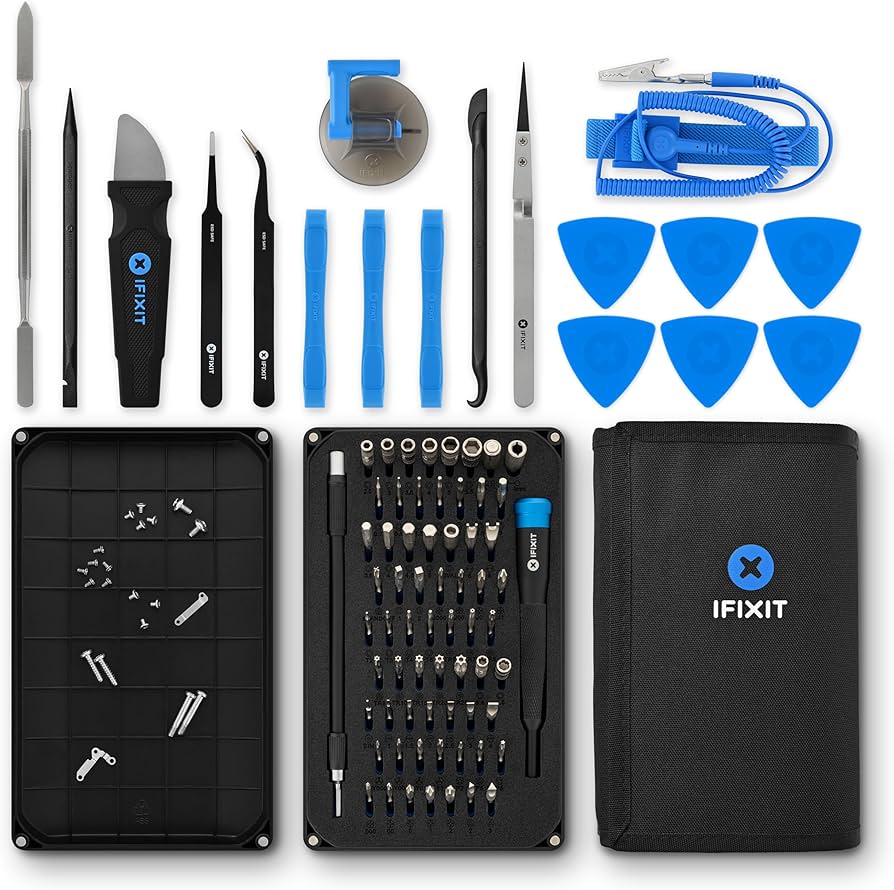
iFixit Pro Tech Toolkit
Includes precision screwdrivers, spudgers, and tweezers essential for safe electronics repair.
Best for: Everyday repair toolkit for opening devices and providing proper screwdriver fit to prevent stripping.
Price Range: $60-$80
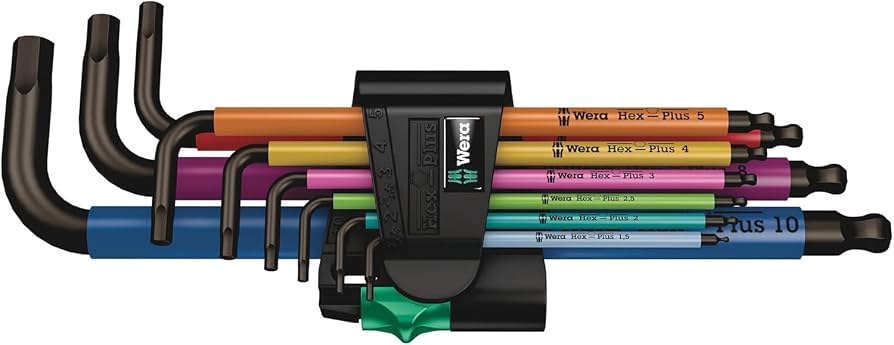
Wera 950SPKL Multicolor Screwdriver Set
High-quality precision screwdrivers with laser-cut tips for optimal grip, reducing stripping risk.
Best for: Use as your primary screwdriver set for electronics to avoid stripping screws in the first place.
Price Range: $30-$50
Super Glue (Cyanoacrylate)
Forms a temporary bond to grip the stripped screw head. Essential for the glue method.
Best for: When the rubber band method fails, use a tiny drop to create a new grip surface.
Price Range: $5-$10