Removing a stripped screw from a laptop can be frustrating—especially when you’re in the middle of an upgrade or repair. The screw head is worn down, so your screwdriver just spins without gripping. But don’t panic. With the right tools and techniques, you can safely extract it without destroying the surrounding plastic or motherboard. This guide covers several proven methods, from the simple rubber band trick to using professional screw extractors. We’ll walk you through each approach step by step, so you can choose the one that works best for your situation. Expect to spend anywhere from 10 minutes to an hour, depending on how stubborn the screw is.
▸What You'll Need
- •Phillips #0 or #00 screwdriver (magnetic tip preferred)
- •Wide rubber band or latex glove
- •Small needle-nose pliers or hemostats
- •Drill with a small bit (for damaged heads)
- •Screw extractor kit (left-handed drill bits)
- •Penetrating oil (e.g., WD-40 or 3-in-1)
- •Safety glasses (if drilling)
- •Tweezers for capturing debris
Estimated Time: 15–45 minutes
Difficulty: intermediate
▸Step-by-Step Instructions
Step 1: Assess the Damage
Examine the stripped screw under good lighting. Identify which type of stripping occurred: the Phillips cross is rounded out, the head is completely smooth, or the screw is broken flush with the surface. Use a magnifying glass if needed. This determines the best method. If the head is still slightly defined, the rubber band trick might work. If it’s totally smooth, you’ll likely need pliers or a screw extractor. Also check if the screw is in a metal thread (e.g., on the chassis) or into plastic (common in laptops). Plastic threads are easier to replace.
💡 Tips:
- •Use a flashlight to see the screw head shape clearly.
- •If the screw is recessed in a hole, a dental pick can help assess depth.
⚠️ Warnings:
- •Do not apply excessive force with a screwdriver – it can worsen the stripping or crack the motherboard.
- •Avoid using a power drill unless you have a steady hand; it can slip and damage nearby components.
Step 2: Try the Rubber Band Trick
Place a wide, thick rubber band (or a piece of latex glove) over the screw head. Press the screwdriver firmly into the rubber band so it fills the stripped area. Turn the screwdriver slowly counterclockwise. The rubber provides extra grip, allowing the driver to catch on the remaining ridges. This works best when the screw head isn’t completely smooth. If it starts slipping, try a larger rubber band or apply more downward pressure. This method is safe and often effective for light stripping.
💡 Tips:
- •Use a fresh, non-dried-out rubber band for maximum grip.
- •If the screw is in a tight spot, use a pair of tweezers to hold the rubber band in place while you insert the driver.
⚠️ Warnings:
- •If you feel any resistance, stop and reevaluate – forcing can damage threads.
- •The rubber band may leave residue; clean with isopropyl alcohol afterward.
Step 3: Use Pliers to Grip the Screw Head
If the screw head is raised above the surface, grasp it with needle-nose pliers or hemostats. Squeeze firmly and turn counterclockwise. This works best on screws that aren’t recessed. For small laptop screws, hemostats (locking pliers) provide better control. If the screw head is too small to grip, try gripping the outer edge of the head. Be careful not to scratch the laptop’s finish. If you can’t get a grip, consider filing two flat sides onto the screw head first (if enough metal is present).
💡 Tips:
- •Place a piece of tape or cloth on the pliers’ jaws to protect surrounding surfaces.
- •Locking hemostats can maintain constant pressure while you twist.
⚠️ Warnings:
- •Slip can cause the pliers to scratch the laptop casing or hit nearby components.
- •If the screw is very tight, the head might snap off – proceed slowly.
Step 4: Apply Penetrating Oil and Let It Sit
For screws that are stuck due to corrosion or thread lock, apply a drop of penetrating oil (WD-40 works, but dedicated products like Liquid Wrench are better) directly onto the screw head and allow it to seep into the threads. Wait at least 10–15 minutes. The oil reduces friction and can break down dried thread locker. After waiting, try the rubber band or pliers again. This step can be combined with any other method to increase success.
💡 Tips:
- •Use a precision oiler to avoid excessive residue.
- •Tap the screw gently with a small hammer to help the oil penetrate.
⚠️ Warnings:
- •Too much oil can seep under the motherboard – use sparingly.
- •Avoid getting oil on plastic parts that may become brittle.
Step 5: Drill a Small Pilot Hole for a Screw Extractor
If previous methods fail, you can use a screw extractor (left-handed drill bit). Start by center-punching the screw head to prevent the drill from wandering. Wear safety glasses. Use a drill bit slightly smaller than the extractor’s recommended size – typically 1/16″ or 1.5mm for laptop screws. Drill slowly into the center of the screw head to a depth of about 2–3mm. This creates a hole for the extractor to grip. Clear away metal shavings with tweezers or compressed air.
💡 Tips:
- •Mark the center with a sharp awl or a center punch.
- •Drill hand-held or use a small pin vise for better control.
⚠️ Warnings:
- •Do not drill too deep – you risk damaging the motherboard or threads.
- •Ensure the laptop is powered off and battery removed to avoid short circuits.
Step 6: Insert the Screw Extractor and Turn
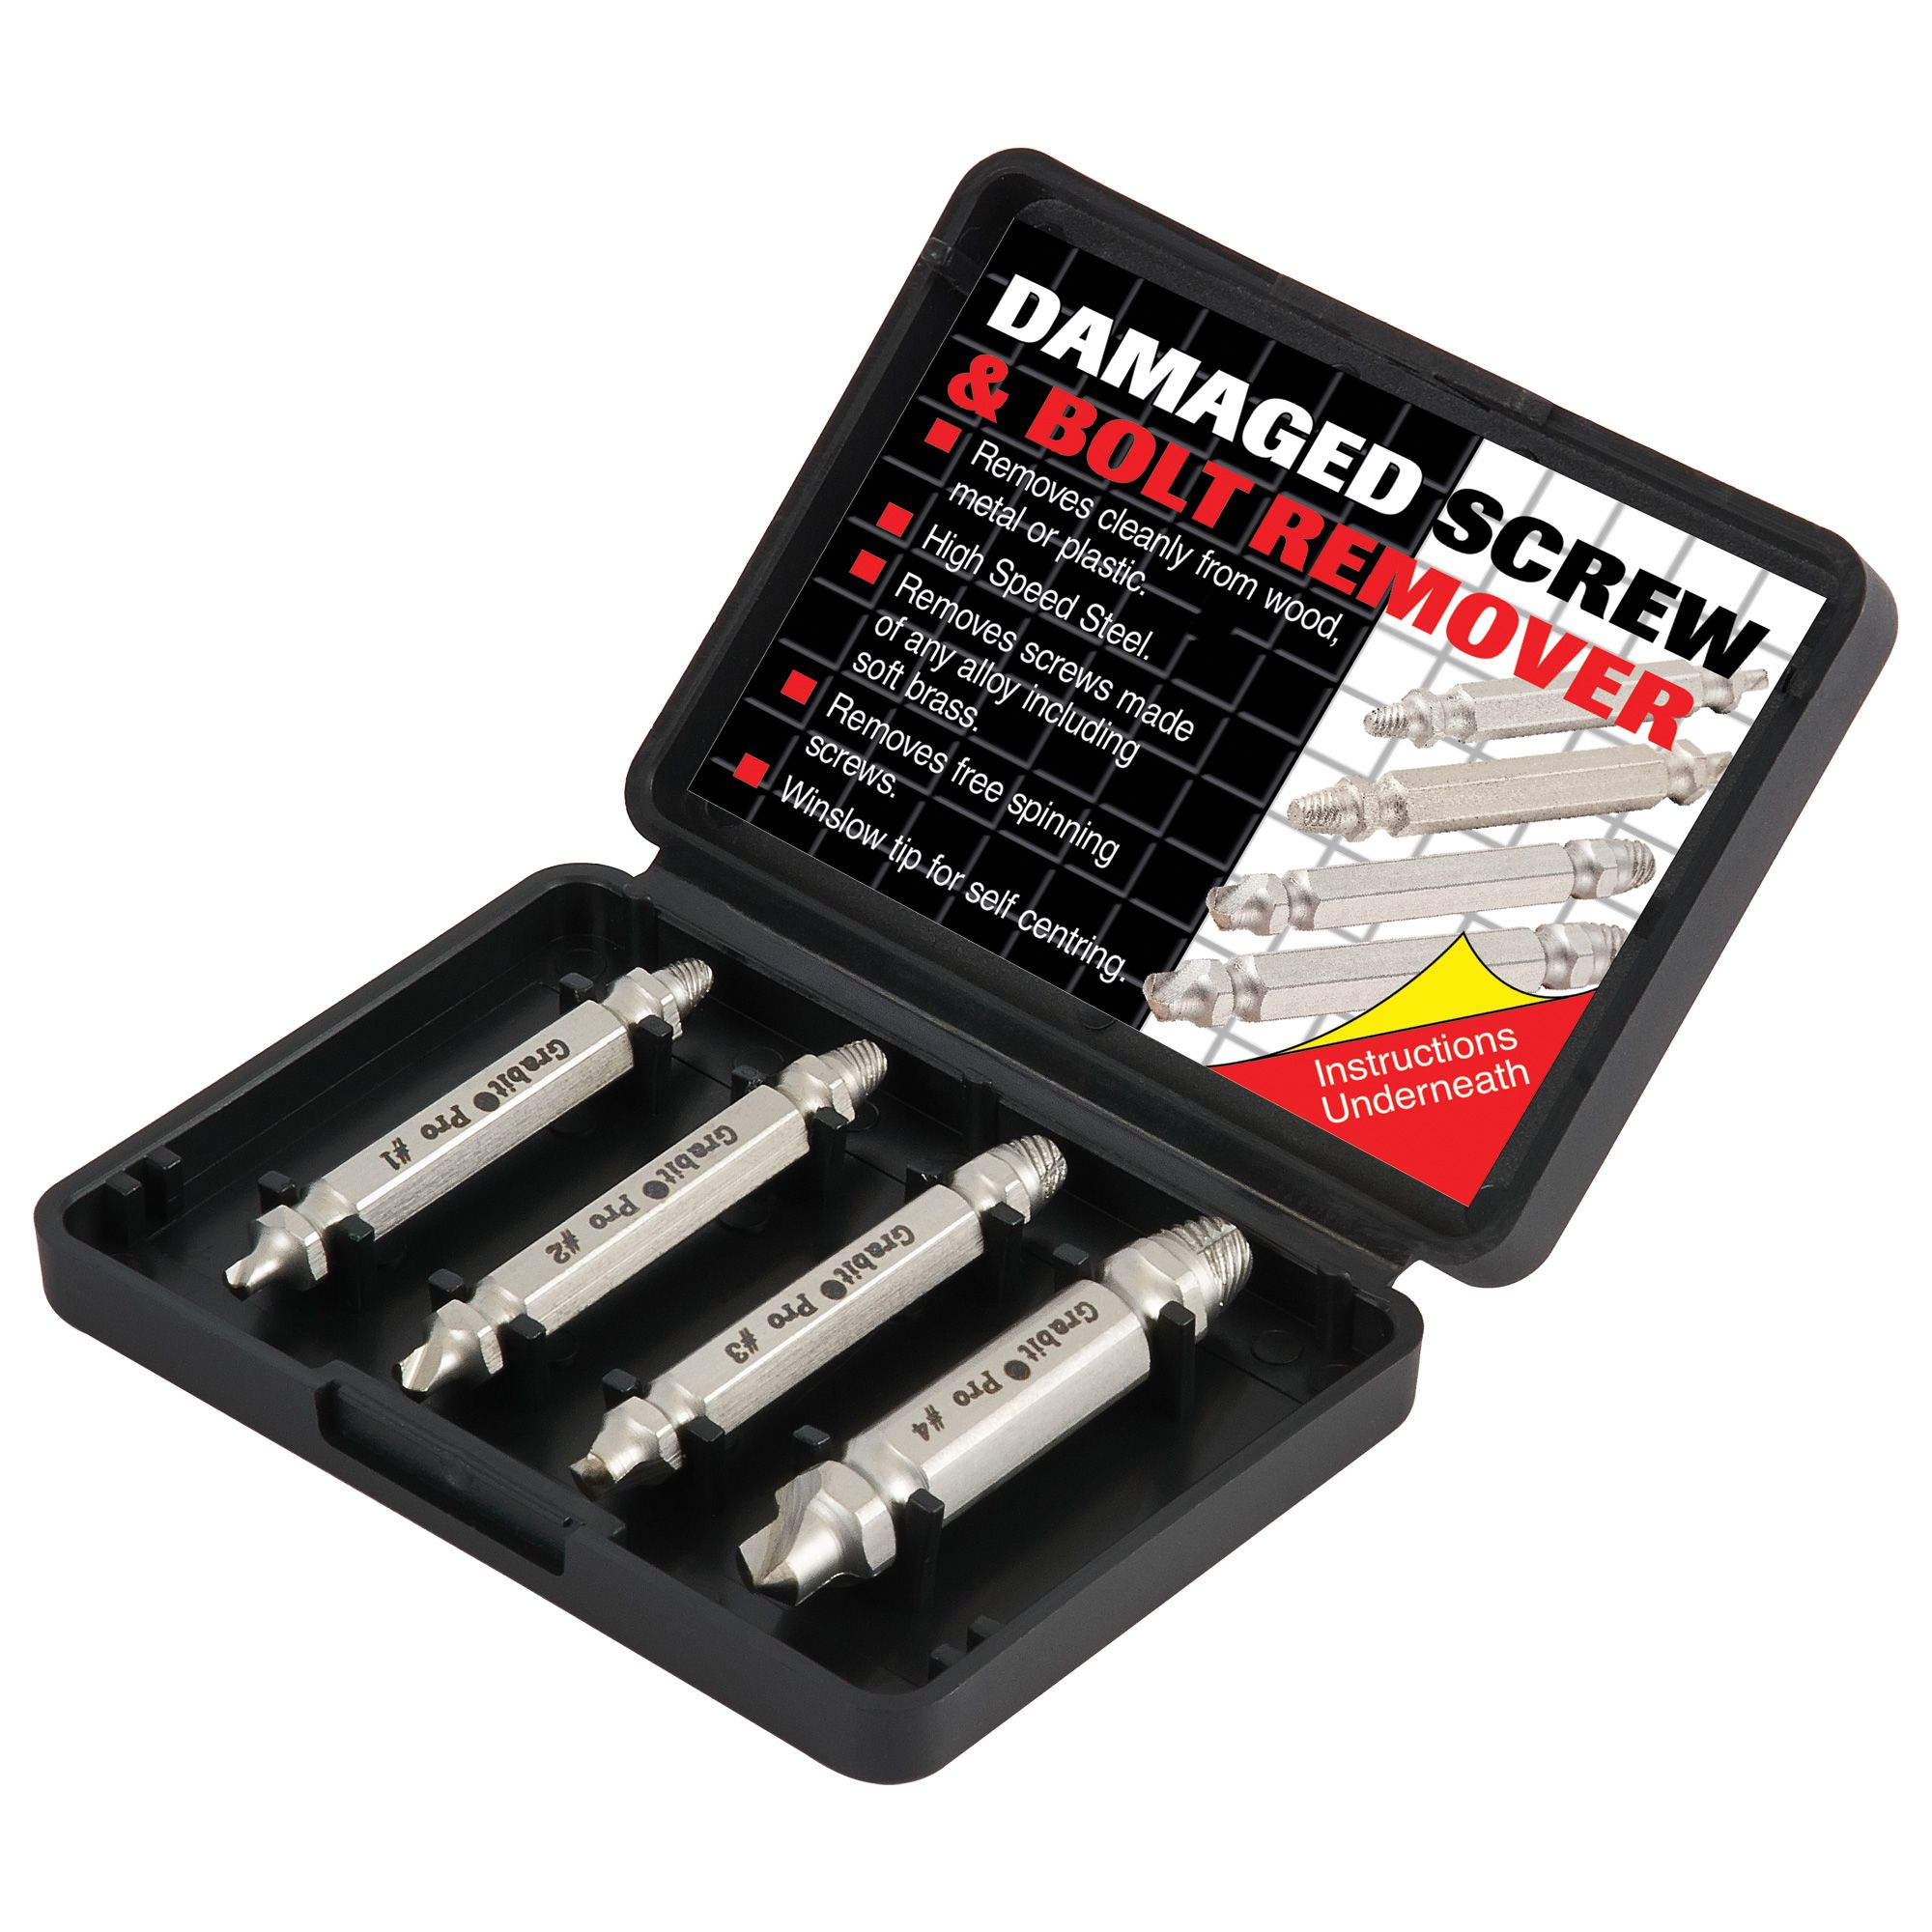
Insert the left-handed screw extractor (often included in kits like the Grabit) into the pilot hole. Tap it gently with a hammer to seat it. Then use the tool’s handle or a drill in reverse (counterclockwise) to turn. Because it’s left-handed, the extractor bites into the screw and turns it out. As you apply pressure, the screw should begin to back out. If it slips, re-drill a slightly larger hole. This method is highly effective for fully stripped screws.
💡 Tips:
- •Start with the smallest extractor size to avoid over-reaming.
- •Work slowly – once the screw moves, continue turning until it’s out.
⚠️ Warnings:
- •If the extractor breaks, removal becomes much harder – use steady, even pressure.
- •Never use a power drill at high speed; manual turning is safer.
Step 7: Remove the Screw and Clean the Threads
Once the screw is loosened, continue turning it out with the extractor or switch to tweezers. If the screw comes out completely, inspect the threads. Use a tap or a spare screw to clean out any burrs or debris from the hole. If the threads are damaged, you can install a thread insert (helicoil) – though for laptops, often you can just use a slightly larger screw if the surrounding material allows. Otherwise, you may need to replace the bottom case or use a temporary fix like a nylon standoff.
💡 Tips:
- •Run a chase or an old screw through the threads to clean them.
- •Apply a tiny amount of thread locker only if needed for reassembly.
⚠️ Warnings:
- •Do not overtighten the replacement screw – laptop plastic threads are weak.
- •If you stripped the hole, consider using a larger screw or a repair kit.
▸Pro Tips
- •Always try the least invasive method first (rubber band) before drilling.
- •Use a magnetic screwdriver to help extract the screw once it’s loose.
- •Place a towel or soft mat under the laptop to prevent scratches and protect against dropped screws.
- •If the screw is in a critical area (like near the hinge), consider professional repair to avoid warping the frame.
- •Keep a small container of assorted laptop screws on hand for replacements.
- •Heat from a soldering iron (applied to the screw head for a few seconds) can soften thread locker – but risk nearby plastic.
- •Use a rubber band that’s wider than the screw head for better contact.
▸Common Mistakes to Avoid
- •Using a screwdriver that’s too large or too small, which worsens stripping.
- •Applying too much downward force, causing the screw driver to slip and scratch the motherboard.
- •Drilling without a center punch, causing the bit to wander and damage the surrounding area.
- •Forgetting to remove the laptop battery and power cord, risking electrical damage.
- •Using a screw extractor that’s too large, which can split the screw head and make removal nearly impossible.
▸Troubleshooting
Problem: The screw head broke off completely, leaving the threaded shaft inside.
Solution: Use a left-handed drill bit to drill into the shaft and extract it. If that fails, you may need to drill out the entire screw and tap new threads or use a thread insert.
Problem: The rubber band method didn’t work; the screw still spins freely.
Solution: The screw head is likely too worn. Move to the pliers method or drilling. Alternatively, superglue a screwdriver tip to the head (allow 10 min cure) and then turn – but this can damage the driver if too much glue is used.
Problem: The laptop won’t boot after removal attempt – possible short circuit.
Solution: Unplug the battery and check for any metal shavings or misplaced screws. Use compressed air to clean. Ensure no contacts are bridged. If still dead, consult a professional.
Problem: I drilled too deep and hit the motherboard.
Solution: Stop immediately. Inspect for visible damage. If the board is punctured, you likely need professional repair. Prevent this by using a depth stop collar on your drill bit.
Grabit Broken Screw Extractor Set
Specifically designed for small screws found in electronics, with left-handed spiral flutes that grip and turn out stripped screws.
Best for: Best for fully stripped or broken screws where other methods fail.
Price Range: $15–$25
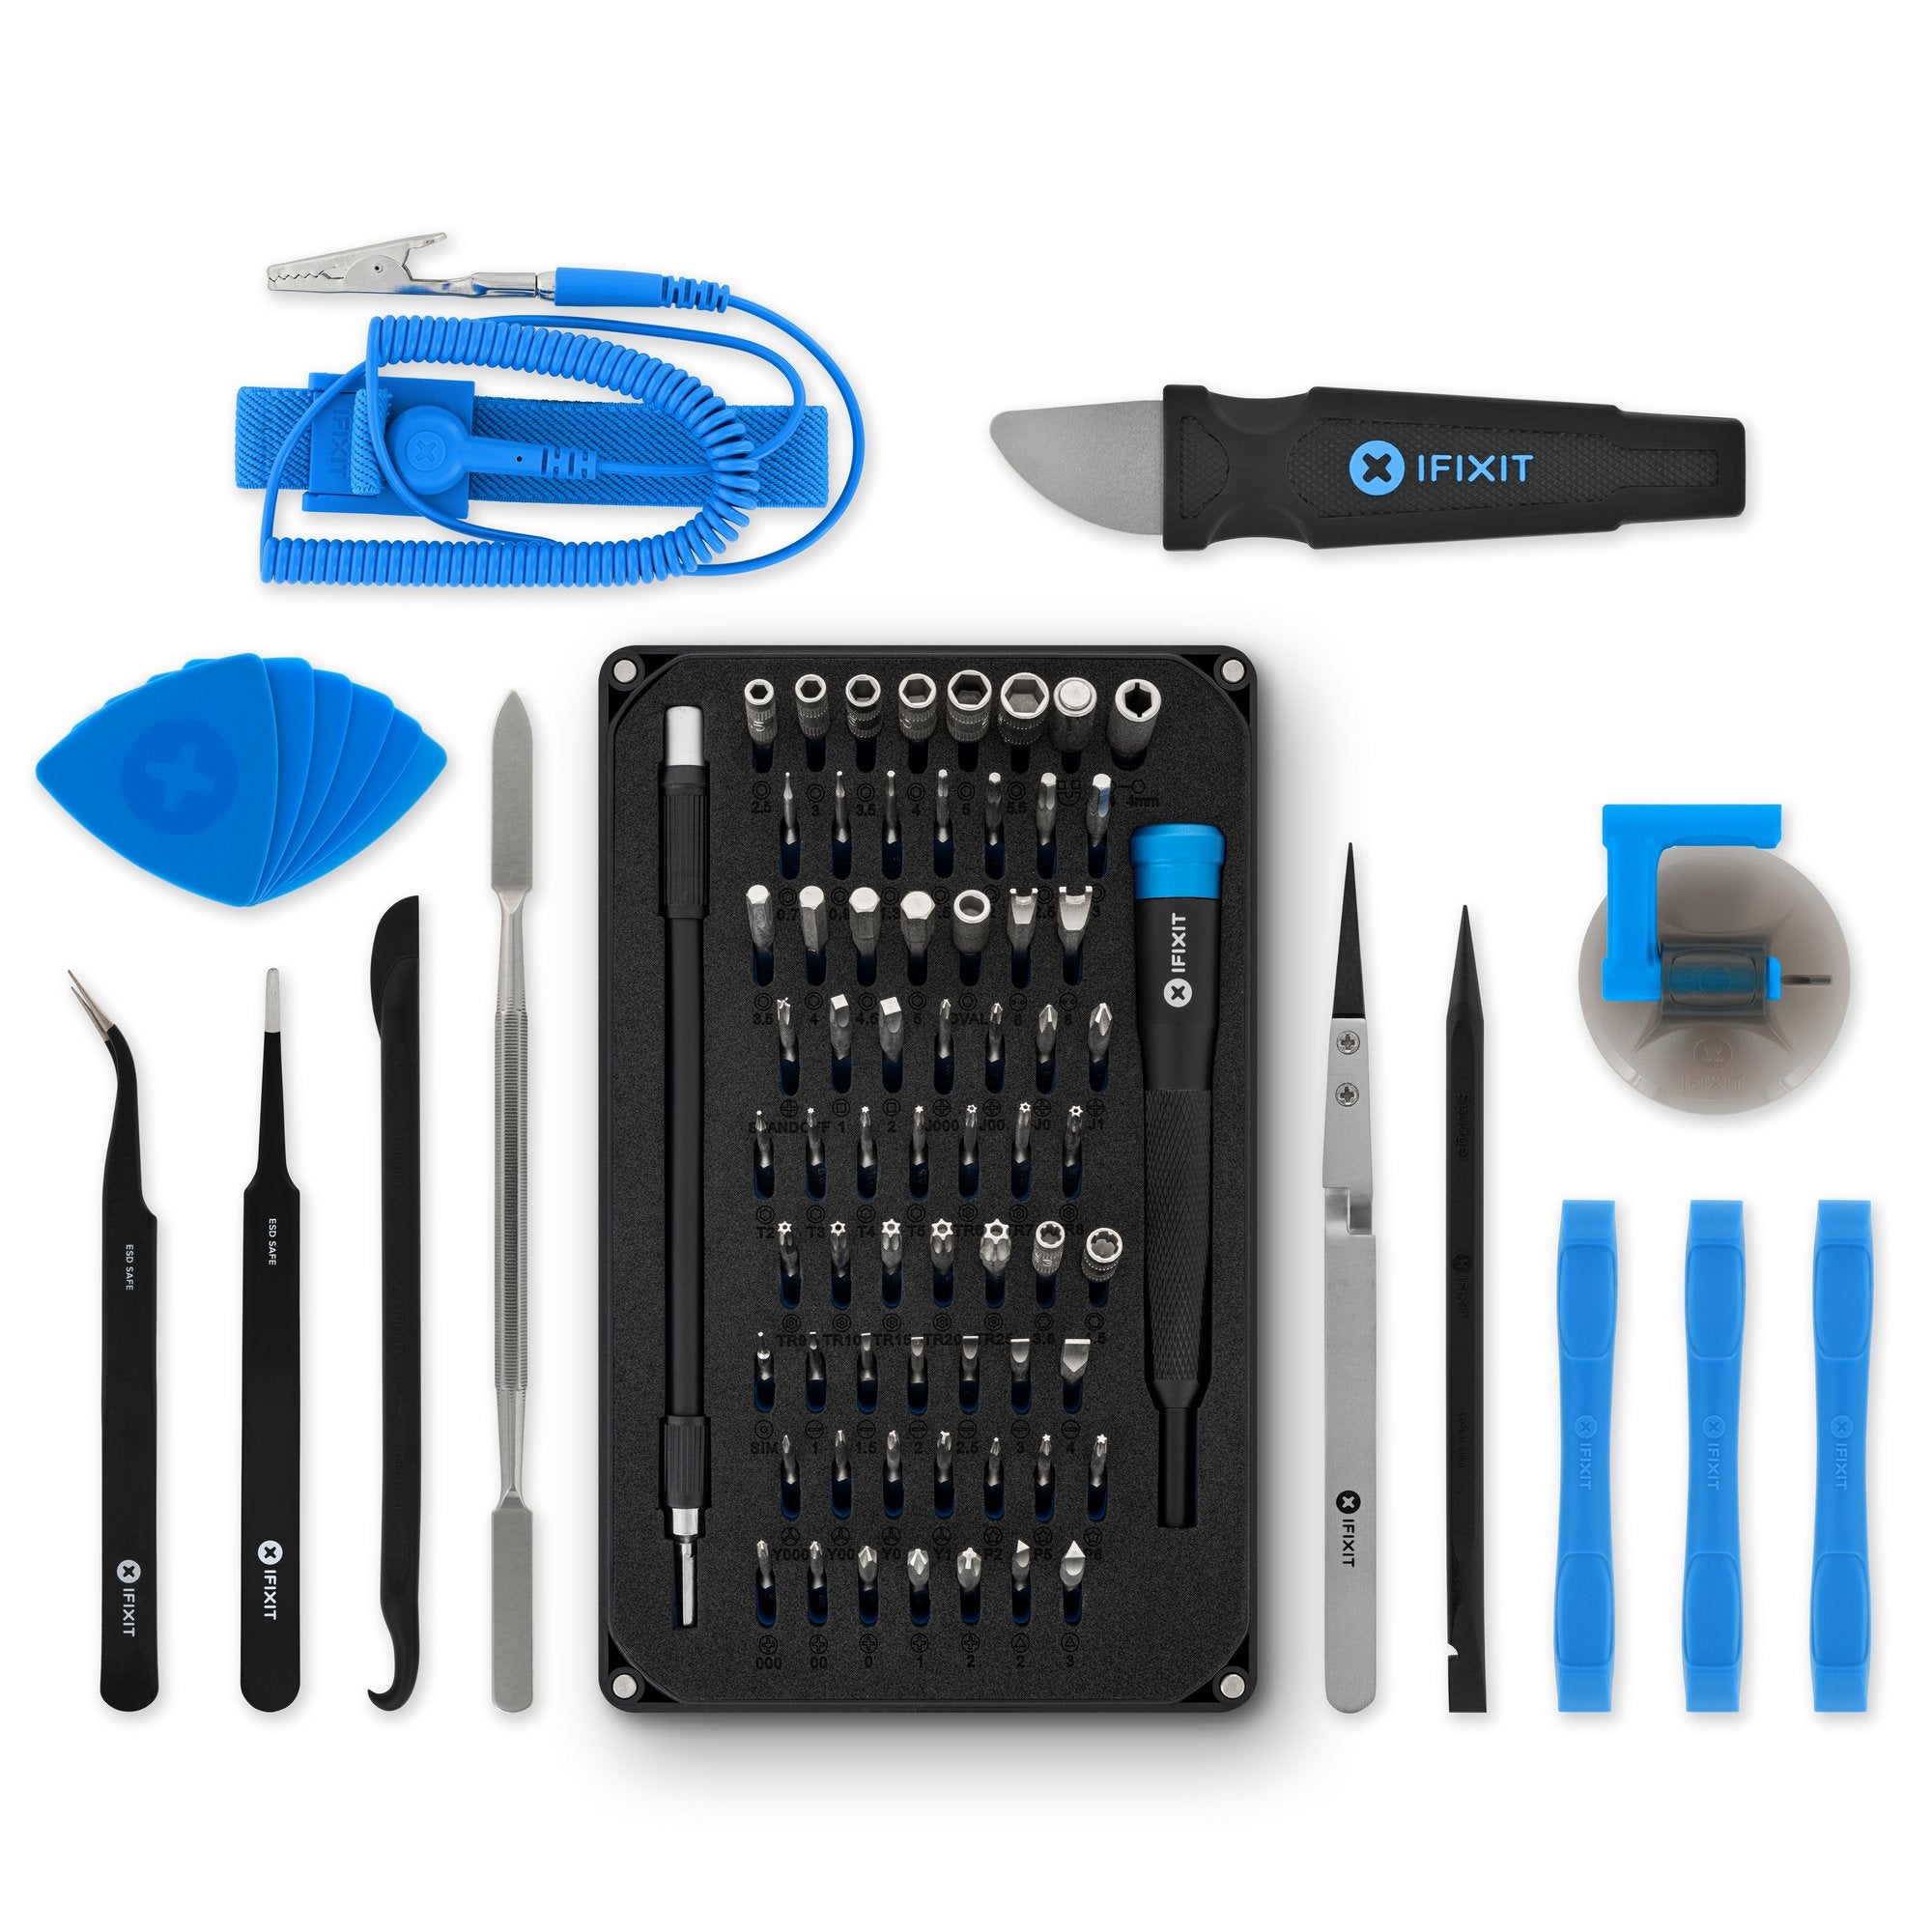
iFixit Pro Tech Toolkit
Includes high-quality precision bits, magnetic screwdriver, and various prying tools – essential for safe laptop repair.
Best for: For all laptop repairs; the bits fit stripped screws better than generic sets.
Price Range: $70–$80
WD-40 Specialist Penetrant
Fast-acting penetrating oil that loosens rusted or thread-locked screws without damaging plastics.
Best for: Apply before trying any removal method on tight or corroded screws.
Price Range: $8–$12
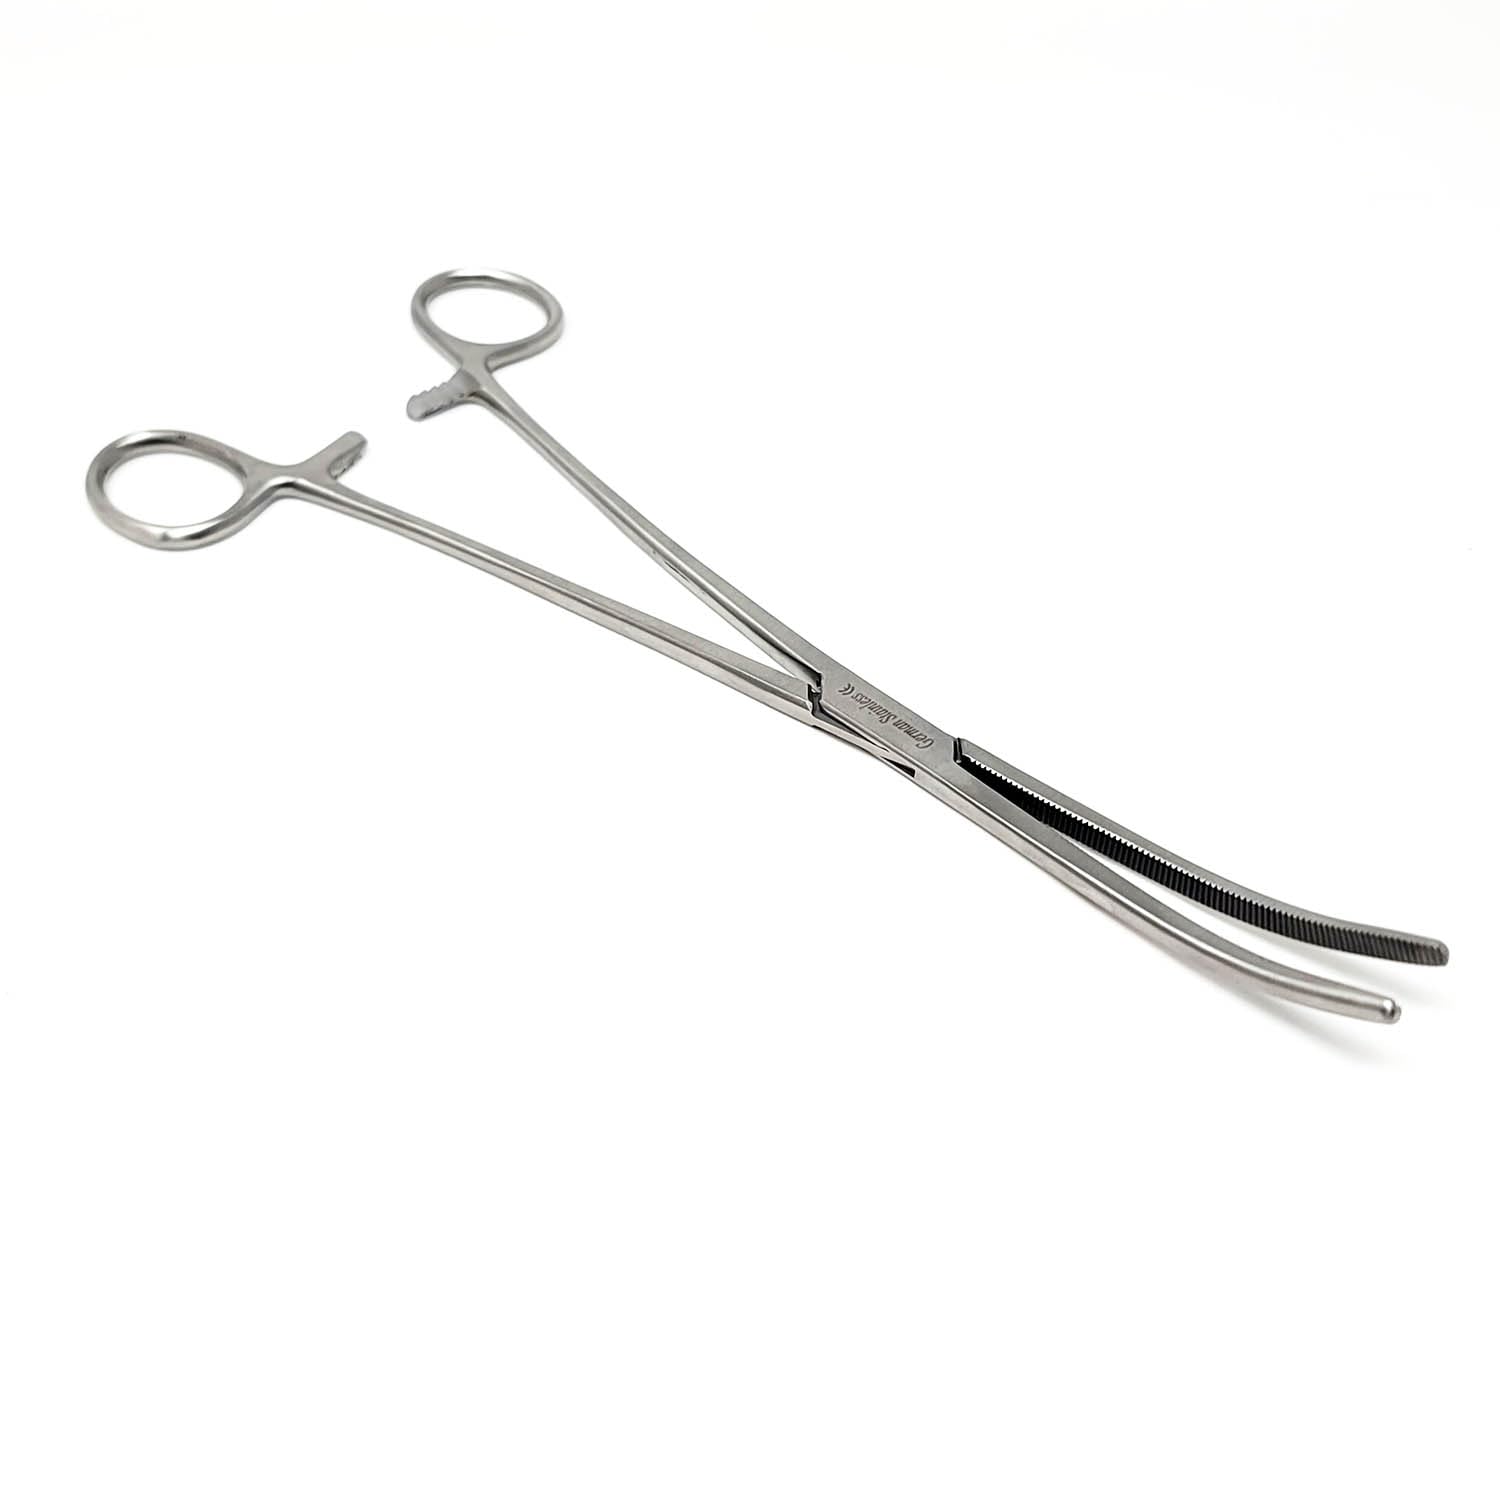
Locking Hemostats (Curved Forceps)
Provides a strong, hands-free grip on screw heads, allowing precise turning without slipping.
Best for: Ideal for raised screw heads; offers more control than standard pliers.
Price Range: $10–$15
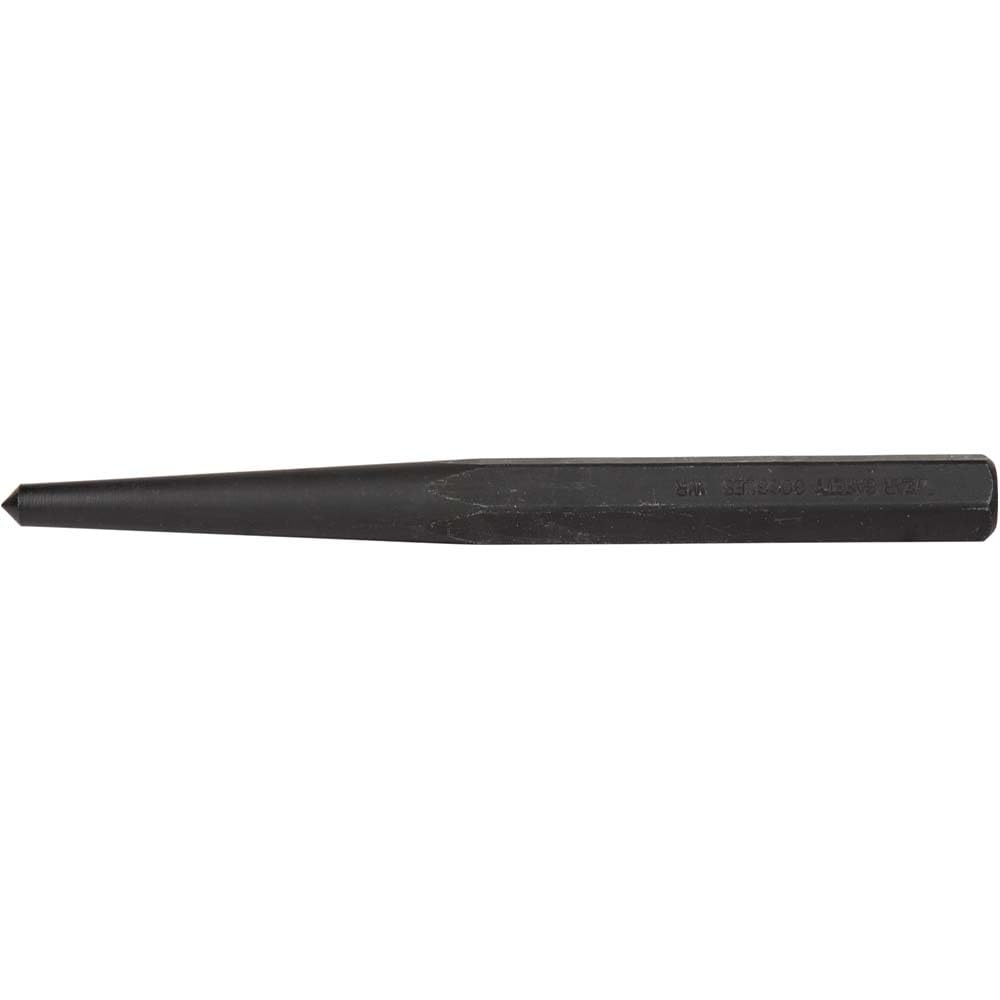
Klein Tools Center Punch
Creates a precise divot to guide drill bits, preventing wandering on small screw heads.
Best for: Essential before drilling pilot holes for extractors.
Price Range: $12–$18