Removing supports from your 3D prints can be one of the most frustrating parts of the hobby. You've spent hours printing a beautiful model, only to mar it with ugly nubs or broken details during removal. But with the right tools and techniques, you can achieve a clean, smooth finish every time. This guide covers easy methods for removing supports from FDM (filament) prints, from snapping them off by hand to precision cutting and sanding. Whether you're new to 3D printing or looking to improve your post-processing, you'll learn step-by-step how to remove supports efficiently and keep your models looking great.
▸What You'll Need
- •Flush cutters (side cutters) for snipping support struts
- •Needle-nose pliers for gripping and twisting
- •Craft knife (X-Acto) with a sharp #11 blade
- •Sandpaper (100-400 grit) or sanding sticks
- •Deburring tool for smoothing edges
- •Safety glasses (small plastic pieces can fly)
- •Work area with good lighting
- •Optional: Heat gun or hairdryer for stubborn supports on PLA
- •Optional: Isopropyl alcohol (IPA) for cleaning residue
Estimated Time: 10–30 minutes per average model, depending on size and support density
Difficulty: beginner
▸Step-by-Step Instructions
Step 1: Assess the Support Structure and Material
Before you start, examine how your supports are attached. FDM supports often break away easily, but the contact area (interface layer) is where most details get damaged. Identify the type of supports: linear, grid, or tree supports. Check the material—PLA is brittle and snaps cleanly, while PETG or ABS is tougher and may require more cutting. Also, note the orientation of the model; overhangs and bridges often need careful work.
💡 Tips:
- •If the supports feel loose, try wiggling them gently to find the best break points.
- •For tree supports, start at the trunk and work outward.
⚠️ Warnings:
- •Wear safety glasses—small plastic shards can fly when snapping supports.
Step 2: Gather Your Tools and Set Up Your Workspace
Having your tools within reach is essential. Set your print on a steady surface with good lighting. Arrange flush cutters, pliers, knife, and sandpaper nearby. Hold the print firmly or use a small clamp to keep it from moving. If the print has very fine details, consider using a magnifying lamp. This preparation prevents fumbling and accidental damage.
💡 Tips:
- •Keep a small brush nearby to clean away dust and debris as you work.
Step 3: Snip the Main Support Struts with Flush Cutters
Using flush cutters (also called side cutters), cut through the thick support struts about 1-2 mm away from the model surface. This reduces strain on the print and leaves a small stub that you'll remove later. Work systematically from the edges toward the center. Flush cutters have angled jaws that let you get close to the model without hitting it. Make multiple snips if the strut is thick.
💡 Tips:
- •Use the flat side of the cutter blades facing the model to get a flush cut.
⚠️ Warnings:
- •Don't try to cut too close in one go; you risk digging into the model surface.
Step 4: Use Pliers to Twist and Break Away Bulk Supports
After cutting the main struts, grip the remaining support structure with needle-nose pliers and twist gently. This technique works well for linear supports and grid supports. The twisting motion snaps the interface layer away from the model, often leaving only small nubs. If the support doesn't break easily, don't force it—cut more struts first. For tree supports, you can often pull them off by hand after cutting the trunk.
💡 Tips:
- •Heat the model slightly with a hairdryer (for PLA) to make the supports more pliable and reduce stress marks.
- •Twist in the opposite direction of the layer lines to minimize surface damage.
⚠️ Warnings:
- •Excessive force can break delicate parts like thin arms or antennae. Work slowly.
Step 5: Remove Interface Layers Carefully with a Craft Knife
The interface layer (the thin layer of plastic that actually touched the model) often leaves a rough surface. Use a sharp craft knife (X-Acto #11 blade) to carefully shave off these remnants. Hold the blade nearly parallel to the surface and use short, light strokes. This technique removes the layer without digging into the model. For curved surfaces, follow the contour with the blade.
💡 Tips:
- •Replace blades often—a dull blade tears plastic instead of cutting cleanly.
- •For very small areas, use the tip of the blade to pick at the interface.
⚠️ Warnings:
- •Always cut away from your fingers. Use a cutting mat to protect your work surface.
Step 6: Sand the Contact Points for a Smooth Finish
After removing the interface layer, the contact area may still be slightly rough or have tiny bumps. Use fine-grit sandpaper (200-400 grit) to smooth the surface. Wrap the sandpaper around a small block or use sanding sticks for better control. Sand in circular motions or along the contour. Start with coarser grit if needed, then move to finer grit for a glossy finish. Wipe away dust with a cloth or brush.
💡 Tips:
- •Wet sanding (with a drop of water) reduces dust and gives a smoother result.
- •For tight spaces, use folded sandpaper or emery boards (nail files).
⚠️ Warnings:
- •Over-sanding can remove detail. Check your progress frequently.
Step 7: Optional: Use a Deburring Tool for Edges
A deburring tool (also called a chamfer tool) is excellent for cleaning up sharp edges left by supports. It has a swiveling blade that smoothly cuts a small chamfer along the edge. Run it along the support contact line to remove any raised bits. This tool is faster than sanding for straight edges and gives a professional look.
💡 Tips:
- •Practice on a scrap print first to get the right angle and pressure.
⚠️ Warnings:
- •Don't push too hard; the blade can gouge the plastic.
Step 8: Optional: Heat-Assisted Removal for Stubborn Supports
If supports are fused firmly (common with PETG or high-density supports), gentle heat can help. Use a heat gun or hairdryer on low setting to warm the support area for a few seconds. The plastic becomes slightly softer, allowing you to twist or cut it away with less force. Be careful not to warp the model, especially with thin walls. This method works best for PLA, but can be used for other materials with caution.
💡 Tips:
- •Heat the support itself, not the model directly. Test temperature with your hand—it should be warm, not hot.
⚠️ Warnings:
- •PLA can soften and deform if overheated. Keep the heat source moving.
- •Never use heat on prints that need dimensional accuracy; it can cause shrinkage.
Step 9: Final Inspection and Cleanup
After all supports are removed, inspect the model under bright light. Look for any remaining nubs, scratches, or rough spots. Use a craft knife or sandpaper to touch up these areas. Clean the model with a soft brush or compressed air to remove dust. If the print has fine details, use a magnifying glass. For a truly smooth finish, you can apply a primer or filler, but that's optional.
💡 Tips:
- •Photograph your model from multiple angles to spot imperfections you might miss with the naked eye.
- •If you plan to paint, a light sanding with 400-grit is sufficient.
▸Pro Tips
- •Use a support removal kit that includes specially shaped scrapers and picks for hard-to-reach areas.
- •Orient your print in the slicer to minimize supports and use tree supports for easier removal.
- •Increase the support Z distance slightly (0.2mm instead of 0.1mm) to make supports less fused.
- •After removing supports, wash the print in warm, soapy water to remove any plastic dust.
- •For resin prints, use flush cutters and then sand in wet conditions for a glass-like finish.
- •Store your flush cutters properly (blade tips protected) to keep them sharp.
- •If you print often, invest in a pair of precision tweezers with curved tips for small areas.
▸Common Mistakes to Avoid
- •Pulling supports off without cutting first, which tears the model surface.
- •Using a dull craft knife that tears instead of cuts the interface layer.
- •Sanding too aggressively and losing fine details or rounded edges.
- •Forgetting to remove the interface layer entirely, leaving a rough texture.
- •Applying too much heat and warping the model, especially with PLA.
▸Troubleshooting
Problem: Support won't break away even after cutting struts.
Solution: The interface may be too thick. Try applying gentle heat with a hairdryer or use a craft knife to cut the interface away millimeter by millimeter.
Problem: Model has white stress marks where supports were attached.
Solution: This is common with PLA when twisted. Sand lightly with fine grit (400+) to remove the marks, or use a heat gun on low to blend them (test first).
Problem: Supports left deep gouges in the model surface.
Solution: Fill the gouges with a thin layer of epoxy putty or 3D printing filament filler, then sand smooth. Adjust your support settings (increase top Z distance) to prevent recurrence.
Problem: Small part of the model broke off during support removal.
Solution: Glue it back with cyanoacrylate (super glue) or CA glue. Try to remove supports more carefully next time, and consider using a soluble support material like PVA.
Flush Cutter Set (Titanium Coated)
Precision flush cutters are essential for snipping supports close to the model without damaging it. A set with titanium coating lasts longer and cuts cleanly.
Best for: Cutting support struts before twisting or pulling.
Price Range: $10 - $20
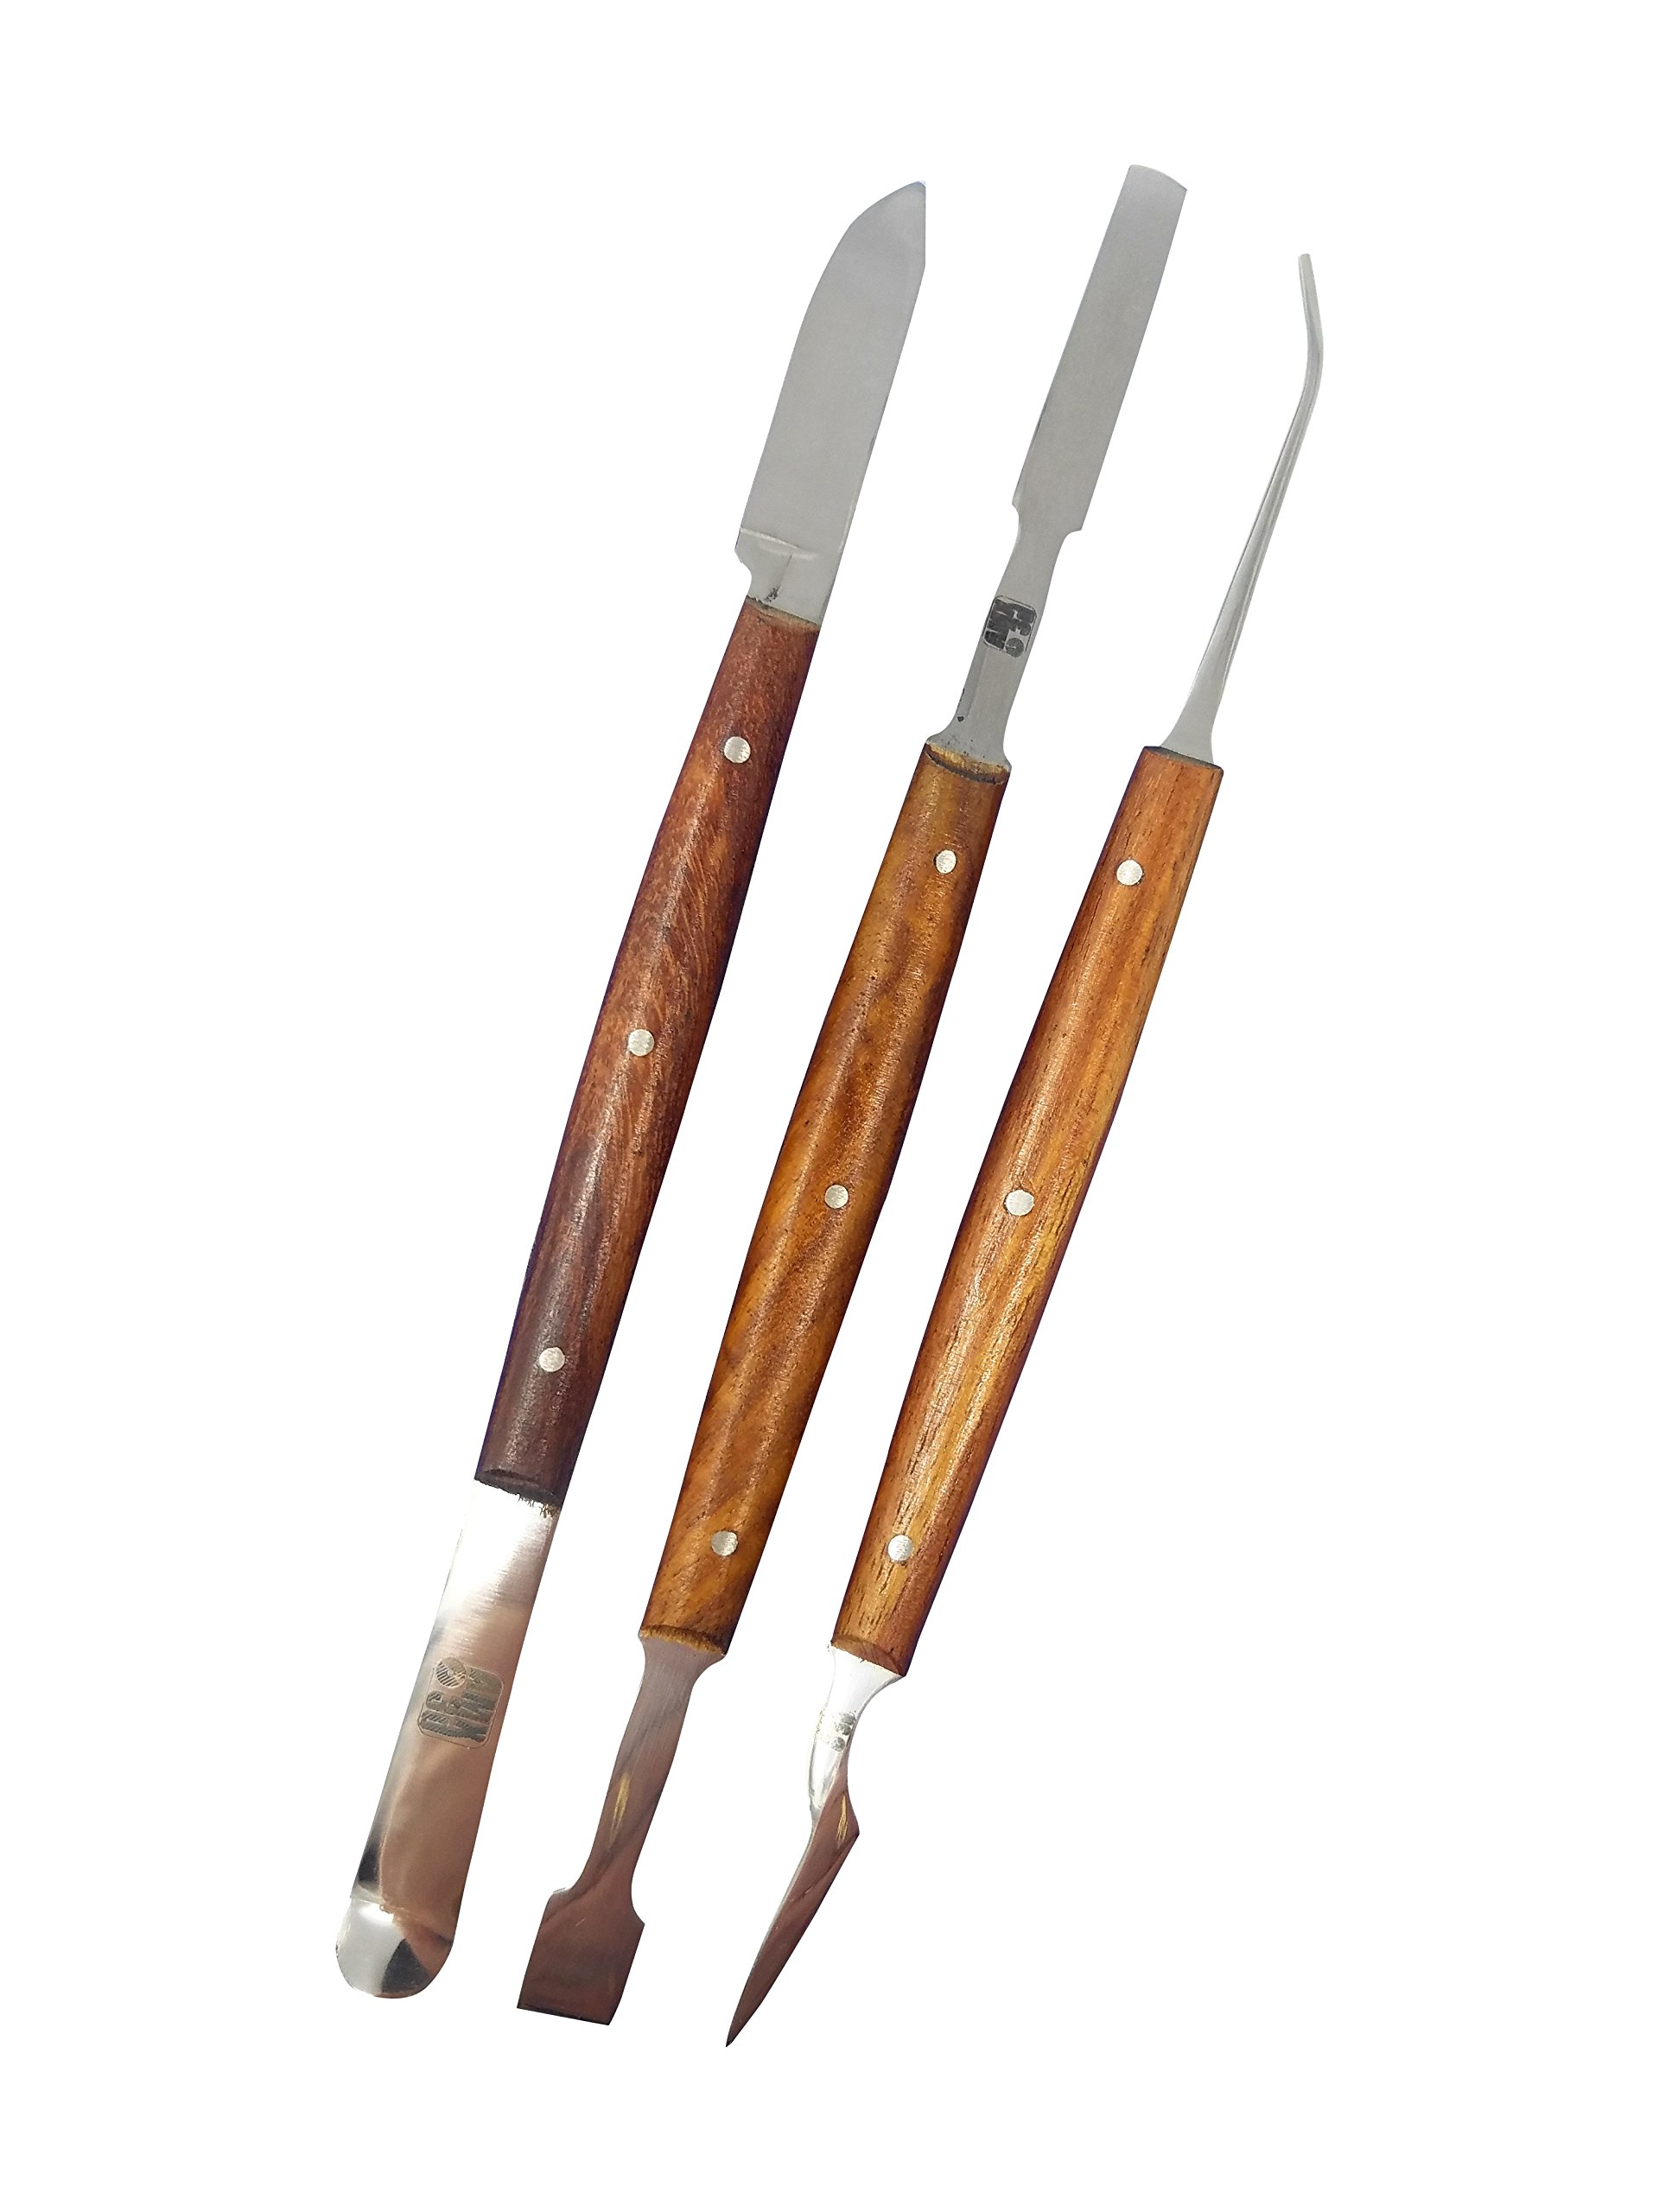
3D Print Support Removal Tool Kit
These kits include a variety of scrapers, picks, and tweezers designed specifically for removing supports. They help you get into tight spots and reduce the risk of damaging your print.
Best for: Scraping off interface layers and picking away stubborn supports.
Price Range: $15 - $30
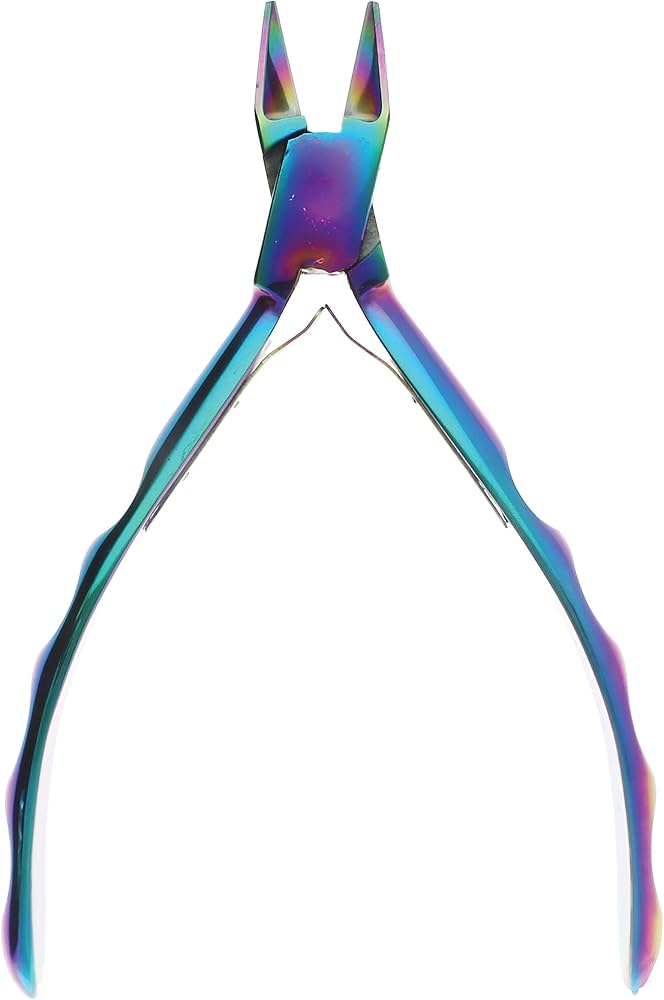
Precision Needle-Nose Pliers
Fine-tipped pliers allow you to grip and twist small support structures without slipping. Look for ones with a spring-loaded handle for easier repeated use.
Best for: Twisting and breaking away bulk supports after cutting.
Price Range: $8 - $25
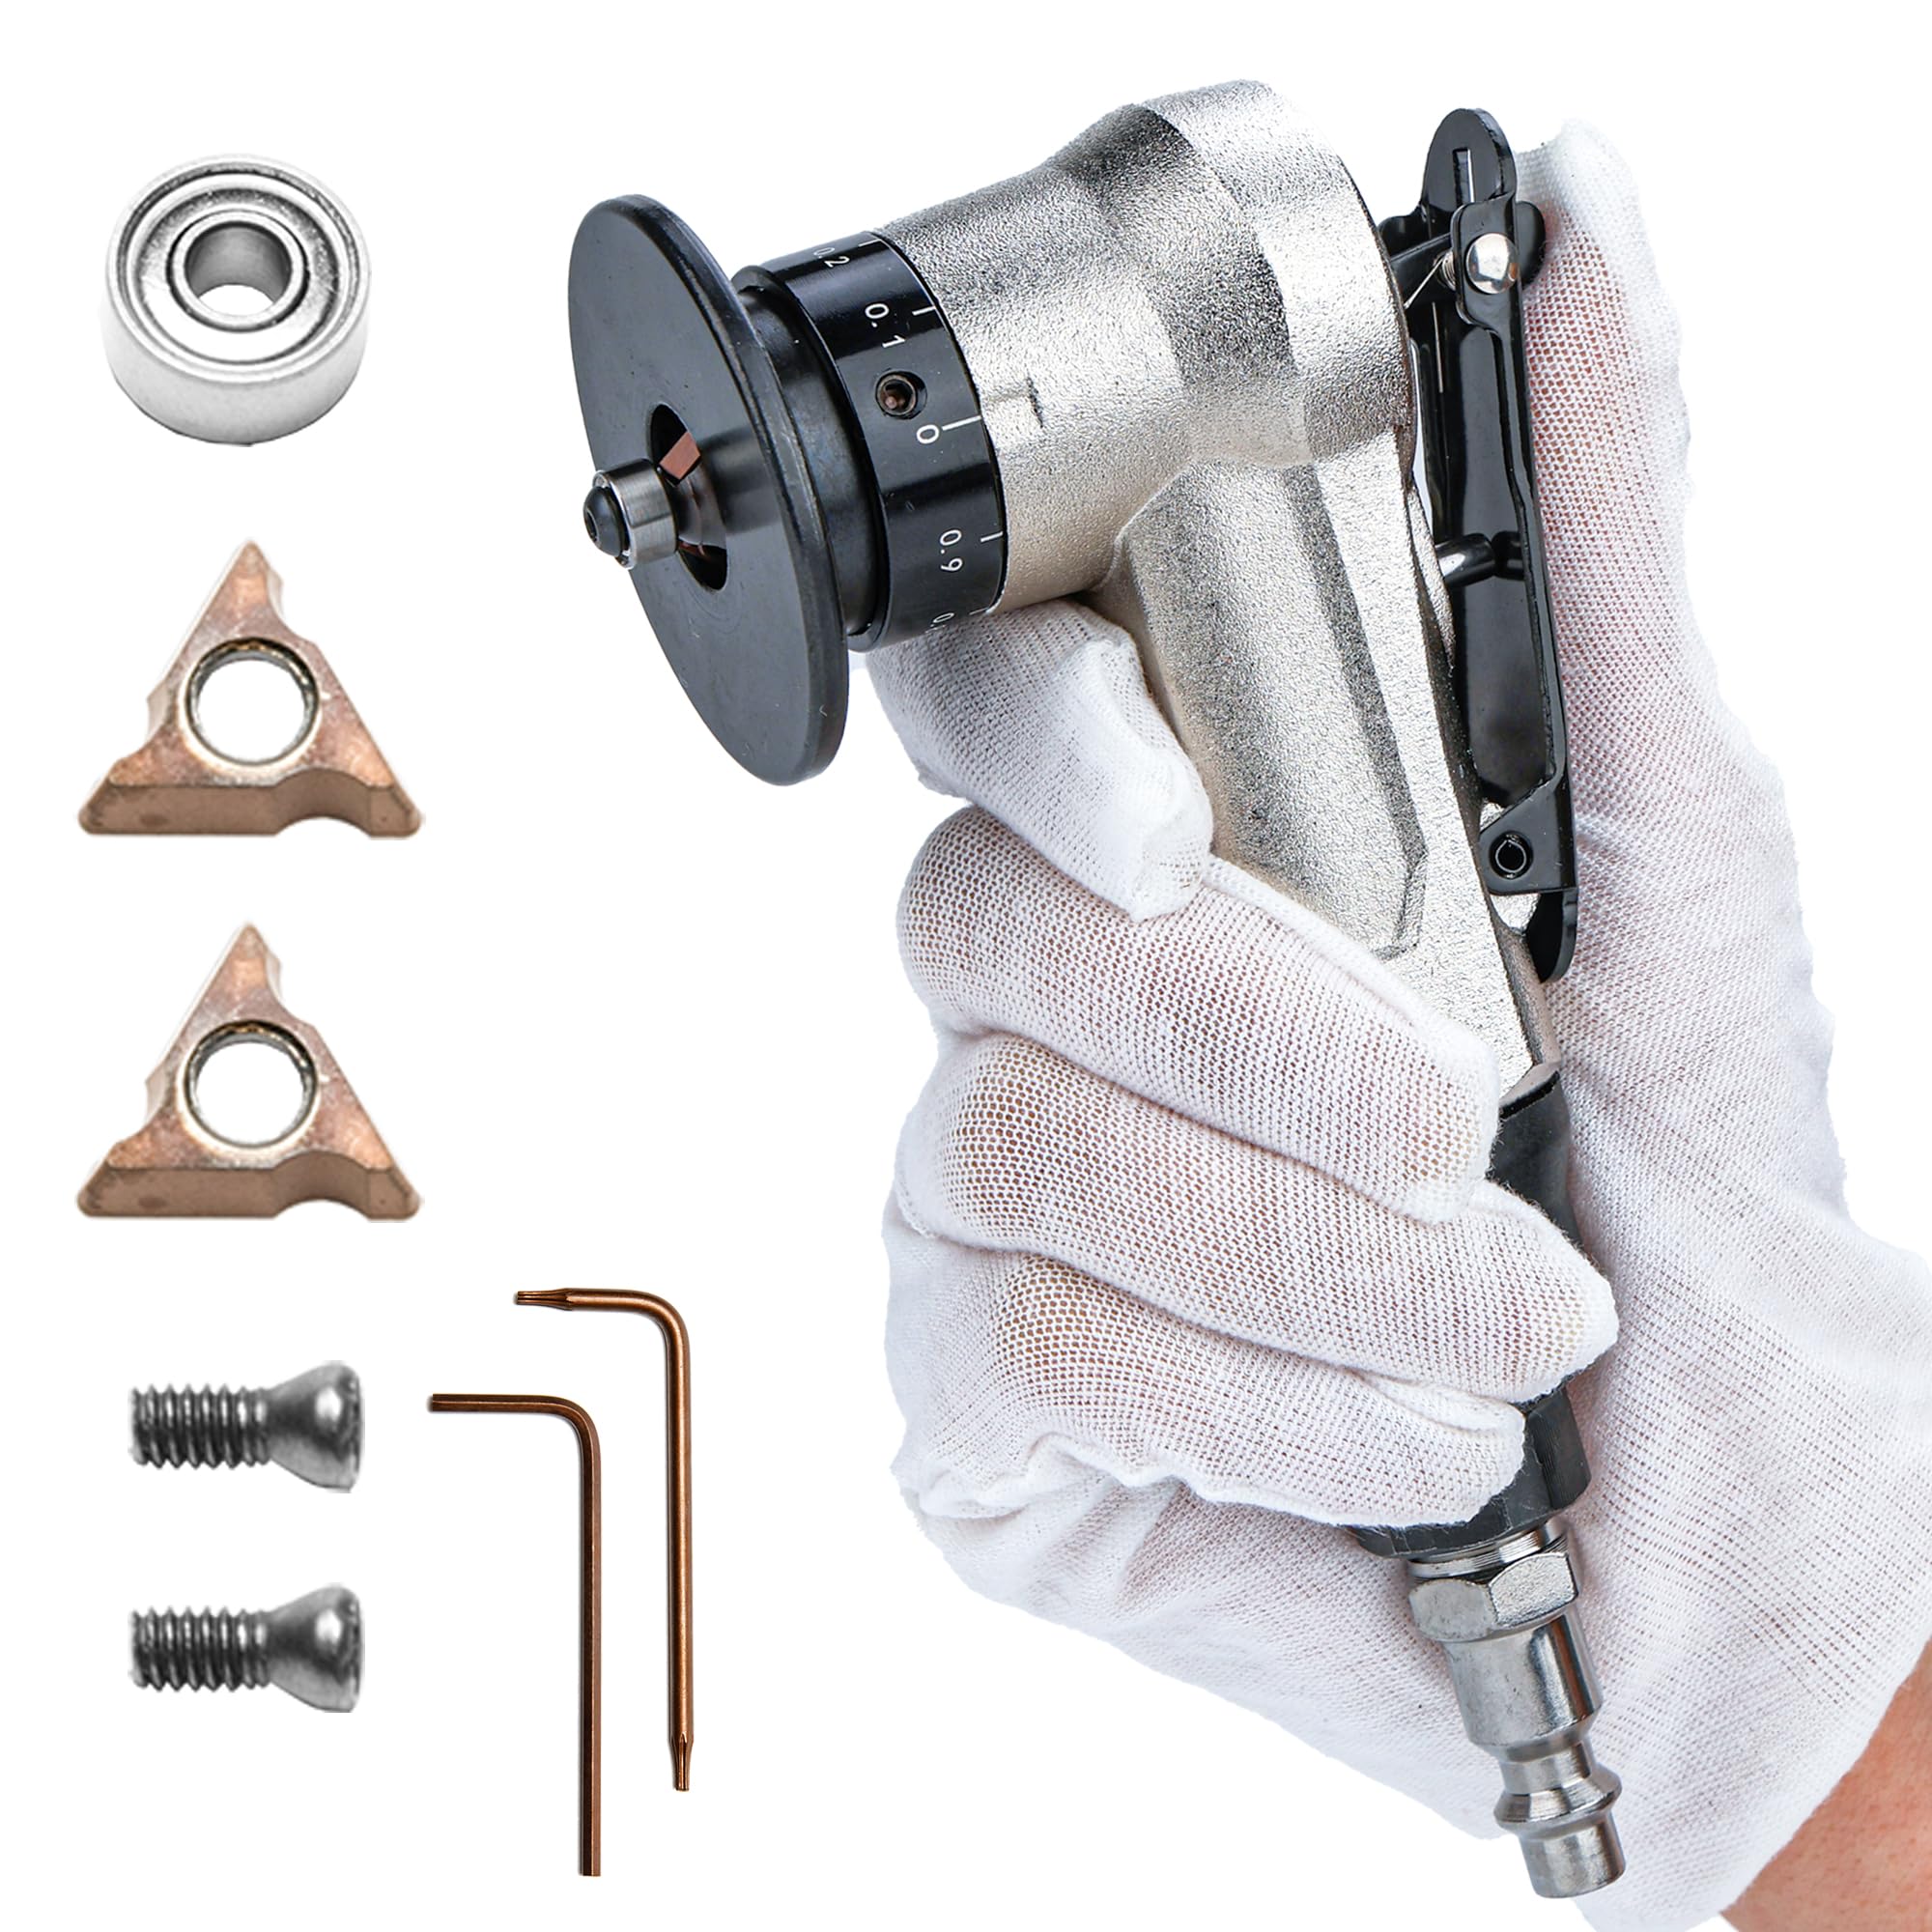
Deburring Tool (Chamfer Tool)
A deburring tool quickly removes sharp edges and protrusions left by supports, giving a professional finish. The rotating blade makes smooth cuts along edges.
Best for: Cleaning up support contact edges on straight or curved surfaces.
Price Range: $10 - $20
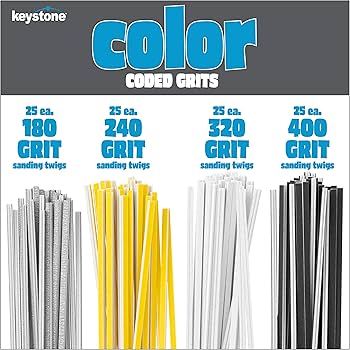
Fine Grit Sanding Sticks (Assorted)
Sanding sticks are easier to control than sandpaper sheets, especially on small prints. They come in various grits for smoothing and polishing support remnants.
Best for: Smoothing the rough contact points after removal.
Price Range: $8 - $15