Printer ink cartridges are notoriously expensive, often costing more than the printer itself. If you're tired of shelling out $50 or more for a single set of replacements, refilling them yourself is a game-changer. This guide will teach you how to safely and effectively refill common inkjet cartridges, potentially cutting your printing expenses by up to 80%.
You'll learn everything from preparing your workspace to testing the refilled cartridge, with clear steps tailored for intermediate DIYers. The process involves opening the cartridge, injecting new ink, and resealing it—nothing too complex, but it requires precision to avoid messes or damage. Expect to spend 20-30 minutes per cartridge, and you'll need basic tools like a refill kit.
By the end, you'll have functional cartridges ready to print crisp documents and photos, plus tips to maintain your printer longer. Note: This works best for non-chip cartridges; always check compatibility to avoid voiding warranties.
▸What You'll Need
- •Ink refill kit specific to your printer model (e.g., for HP, Epson, Canon—includes syringes and ink bottles)
- •Gloves (nitrile or latex to protect hands from ink stains)
- •Paper towels or rags for cleanup
- •Small drill or hole punch tool (if cartridge needs piercing)
- •Clear tape or sealing plugs (often included in kits)
- •Workspace cover (plastic sheet or newspaper)
- •Optional: Isopropyl alcohol and cotton swabs for cleaning
Estimated Time: 20-30 minutes per cartridge
Difficulty: intermediate
▸Step-by-Step Instructions
Step 1: Prepare Your Workspace
Start by setting up a clean, well-lit area away from fabrics or electronics to prevent ink spills. Cover your surface with newspaper or a plastic sheet. Put on gloves to avoid staining your hands—ink is permanent and hard to remove.
Why this matters: A messy workspace can lead to wasted ink or damaged cartridges. Expect a tidy setup that makes the process smoother and less stressful.
Gather all tools and read your refill kit's instructions for model-specific tips.
💡 Tips:
- •Work in a garage or kitchen for easy cleanup if spills occur.
⚠️ Warnings:
- •Avoid doing this near your computer to prevent accidental ink damage.
Step 2: Remove the Cartridge from Your Printer
Power on your printer and open the access panel. Wait for the carriage to move to the center, then gently pull out the cartridge you want to refill (e.g., black or color). Place it on your covered surface with the printhead facing up.
This step ensures the cartridge is empty or low, maximizing refill space. Success looks like a smoothly removed cartridge without smudges on the printhead.
If it's a tri-color, note which sections need refilling.
💡 Tips:
- •Print a test page first to confirm low ink levels.
⚠️ Warnings:
- •Don't force the cartridge; if stuck, check your printer manual.
Step 3: Locate and Open the Refill Hole
Examine the top of the cartridge for the fill port—it's often under a plastic tab or sealed. For sealed models, use a small drill (1/16 inch bit) or the kit's punch tool to create a hole carefully, avoiding the internal sponge.
Why it matters: Precise opening prevents leaks and ensures ink reaches the reservoir. You should see a small, clean hole without cracks.
Wipe away any plastic shavings with a dry cloth.
💡 Tips:
- •Practice on an old cartridge if you're new to drilling.
⚠️ Warnings:
- •Drill slowly to avoid piercing the ink sponge, which can cause immediate leaks.
Step 4: Prepare the Ink and Syringe
Shake the ink bottle gently, then draw the recommended amount (usually 5-10ml per color, check kit) into the syringe. Tap out air bubbles by holding the syringe needle-up and pushing the plunger slightly.
This removes air that could mix with ink and cause print issues. Expect clear, bubble-free ink in the syringe ready for injection.
Use the correct color ink to match the cartridge section.
💡 Tips:
- •Overfill slightly but not excessively—ink expands with heat.
⚠️ Warnings:
- •Never use non-compatible ink; it can clog your printer.
Step 5: Inject the Ink into the Cartridge
Insert the needle at an angle into the hole, aiming toward the back of the cartridge. Slowly push the plunger to inject the ink, pausing if resistance builds—let it absorb into the sponge.
Why this matters: Gentle injection prevents overflow and ensures even distribution. Success: Ink level rises without spilling out.
For multi-color cartridges, repeat for each chamber.
💡 Tips:
- •Inject in short bursts to control flow better.
⚠️ Warnings:
- •If ink leaks, stop immediately and wipe excess—proceed to sealing.
Step 6: Seal the Hole and Clean the Cartridge
Cover the hole with the provided plug, tape, or sealant, pressing firmly. Use isopropyl alcohol on a swab to clean the printhead and exterior, removing any residue.
Sealing prevents drying out; cleaning ensures quality prints. The cartridge should look clean and sealed, ready for reinstallation.
Let it sit upright for 5-10 minutes to settle.
💡 Tips:
- •Use black electrical tape for a strong seal on rough holes.
⚠️ Warnings:
- •Don't seal too tightly if using a plug; air needs to vent slightly.
Step 7: Reinstall and Test the Cartridge
Slide the cartridge back into the printer until it clicks. Close the panel, then print a test page or run the printer's cleaning cycle.
This verifies the refill worked—expect sharp text without streaks. If chips are present, you may need to reset via software.
Monitor the first few prints for quality.
💡 Tips:
- •Run 2-3 cleaning cycles if initial prints are faint.
⚠️ Warnings:
- •If the printer doesn't recognize it, remove and reinsert firmly.
▸Pro Tips
- •Always buy ink from reputable kits to match viscosity and avoid clogs.
- •Refill when 20-30% ink remains to prevent the sponge from drying out.
- •Store spare ink in a cool, dark place to extend shelf life up to a year.
- •For color cartridges, refill one color at a time to track usage.
- •Use a flashlight to inspect the hole for proper injection angle.
- •After refilling, shake the cartridge gently side-to-side to distribute ink.
- •Keep a log of refill dates to schedule maintenance every 3-6 months.
▸Common Mistakes to Avoid
- •Drilling too deep, which pierces the sponge and causes leaks—avoid by using the shallowest bit and angling away from center.
- •Injecting too quickly, leading to air pockets and poor print quality—go slow and steady for best absorption.
- •Using the wrong ink type, resulting in clogs or color mismatches—always verify compatibility with your model.
- •Forgetting to clean the printhead, causing streaks on prints—wipe gently every time.
- •Overfilling the cartridge, which can cause overflows during printing—stick to kit guidelines.
▸Troubleshooting
Problem: Ink leaks from the cartridge
Solution: Wipe excess, reseal tightly, and let it sit 30 minutes before reinstalling. If persistent, the hole may be too large—use a larger plug or tape over it.
Problem: Printer shows low ink or won't recognize cartridge
Solution: Run a chip reset tool from your kit or printer software. For chipped models, consider a chip-resetter device. Clean contacts with alcohol.
Problem: Prints are streaky or faded
Solution: Perform 1-2 head cleaning cycles via printer menu. If needed, remove and gently clean the printhead again. Wait 24 hours for ink to settle if recent refill.
Problem: Colors mix incorrectly in multi-cartridges
Solution: Ensure you injected into the correct chamber—refer to kit diagram. Flush with alcohol if severe, but this may require professional help.
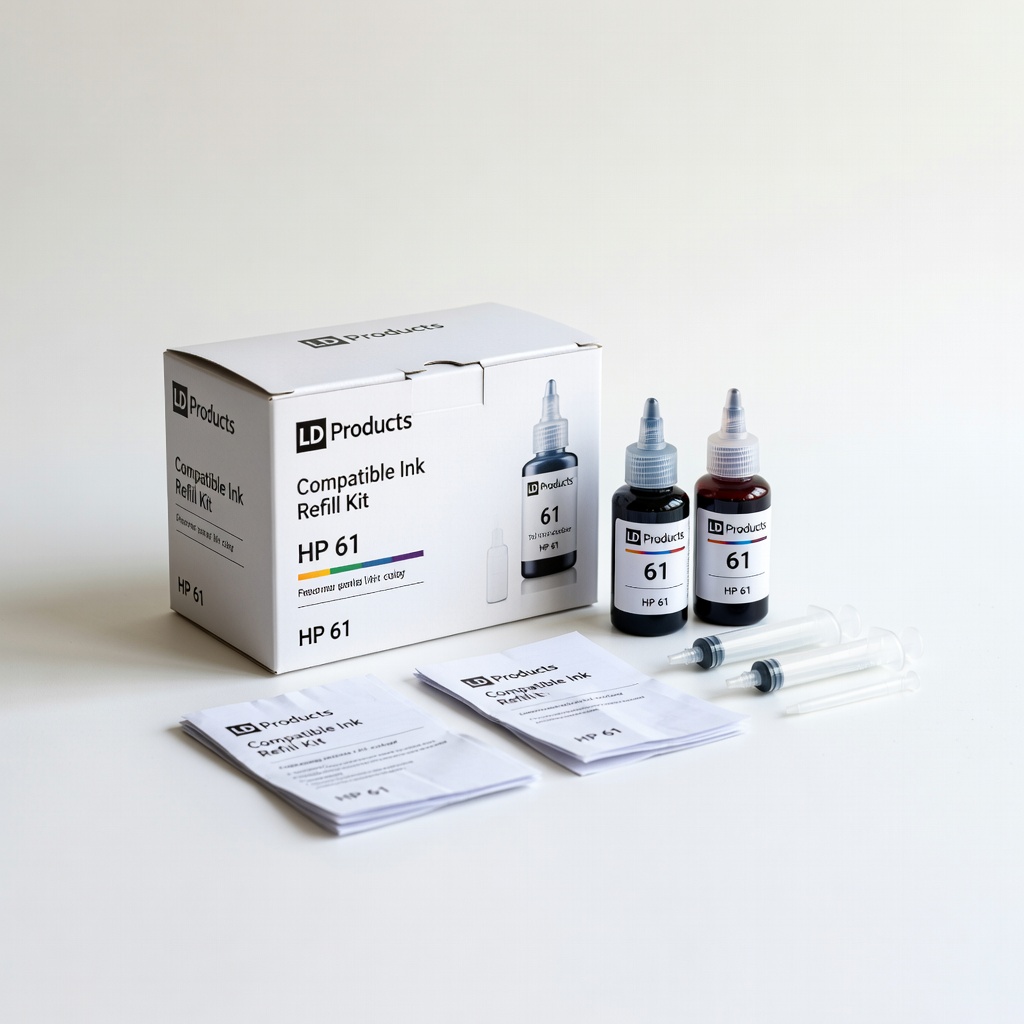
LD Products Compatible Ink Refill Kit for HP 61
This kit includes pre-filled syringes for easy, mess-free refilling, compatible with popular HP models, saving up to 70% vs. OEM ink.
Best for: Ideal for beginners refilling black and tri-color HP DeskJet cartridges at home.
Price Range: $15.99
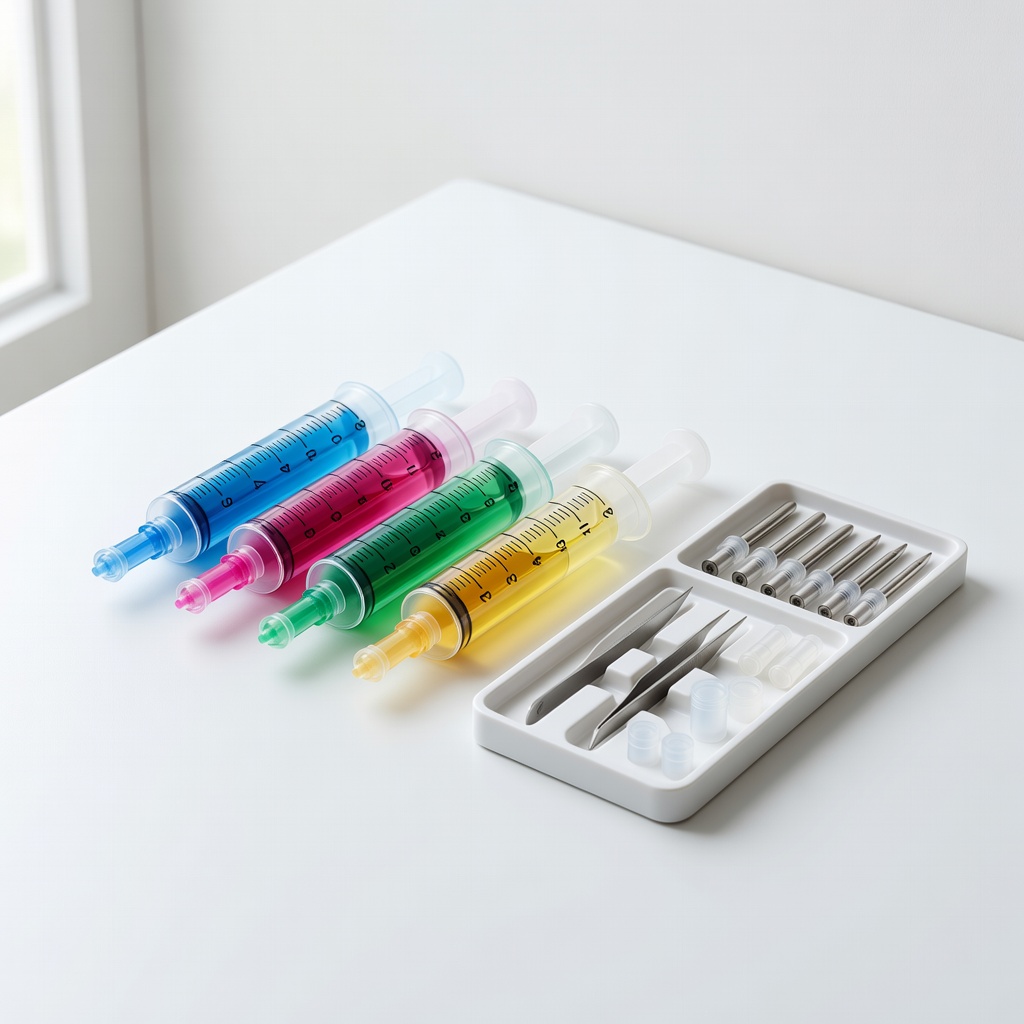
BCH Technologies Universal Syringe Refill Kit
Versatile for multiple brands with durable syringes and high-quality pigment ink that resists fading, ensuring long-lasting prints.
Best for: Great for intermediate users handling various Epson or Canon cartridges in a multi-printer household.
Price Range: $12.95
InkOink Refill Kit for Brother LC51
Bottled ink with precise volume markers prevents overfilling, and it's eco-friendly with recyclable components.
Best for: Perfect for refilling Brother inkjets frequently, like for home offices with high-volume printing.
Price Range: $19.99
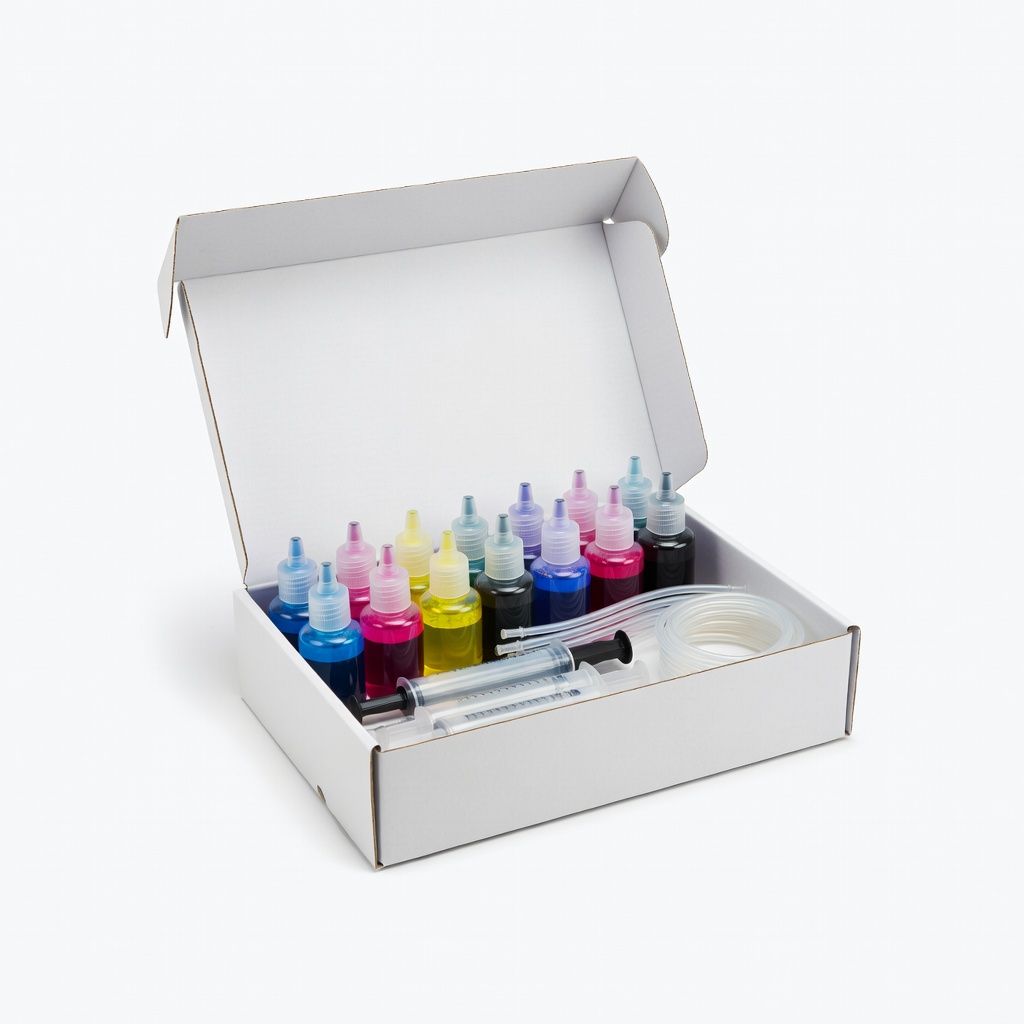
Walmart All-in-One Ink Refill Kit
Affordable multi-color set with gloves and instructions, suitable for budget-conscious users starting out.
Best for: Use for occasional refills on generic inkjets when you need a complete starter pack.
Price Range: $9.88
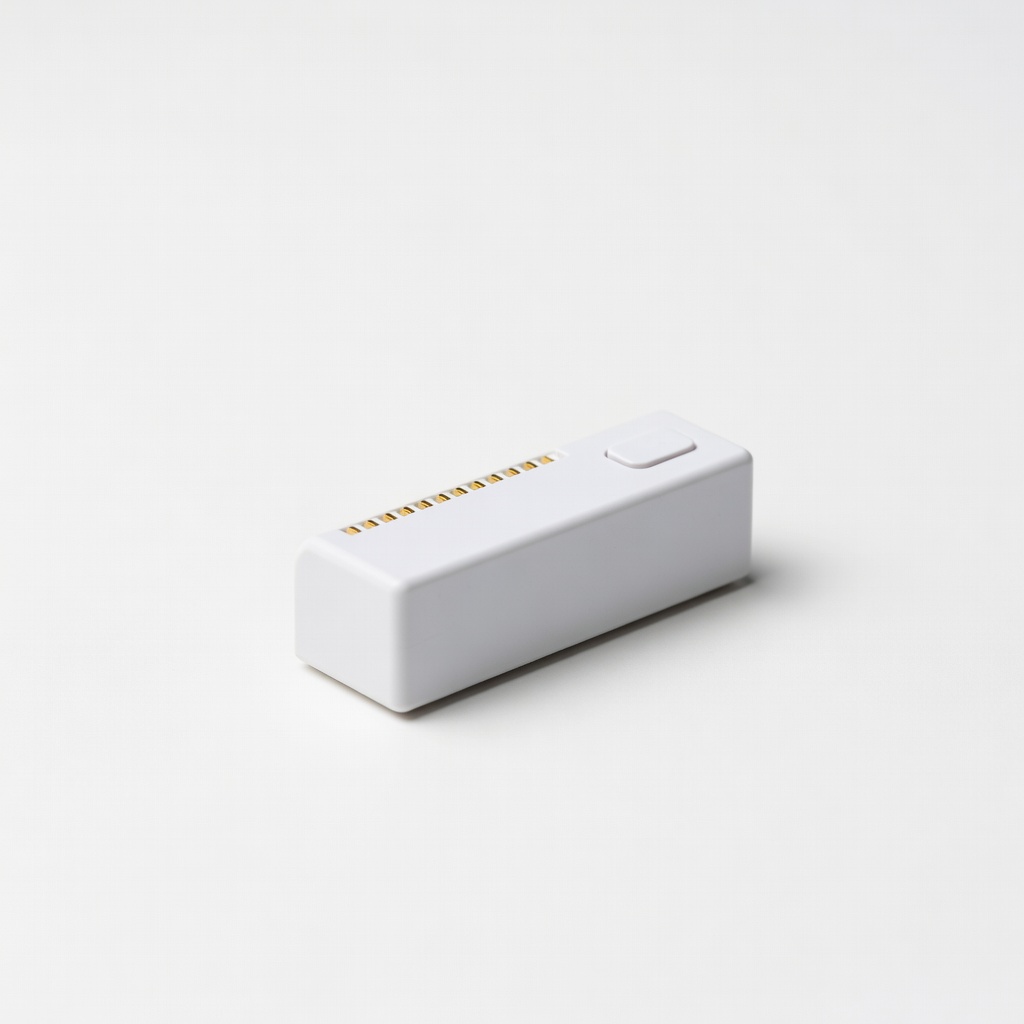
Chip Resetter for HP Cartridges
Resets the ink level chip so your printer recognizes the refilled cartridge, extending usability without errors.
Best for: Essential add-on for chipped HP models after refilling to avoid 'low ink' warnings.
Price Range: $8.99