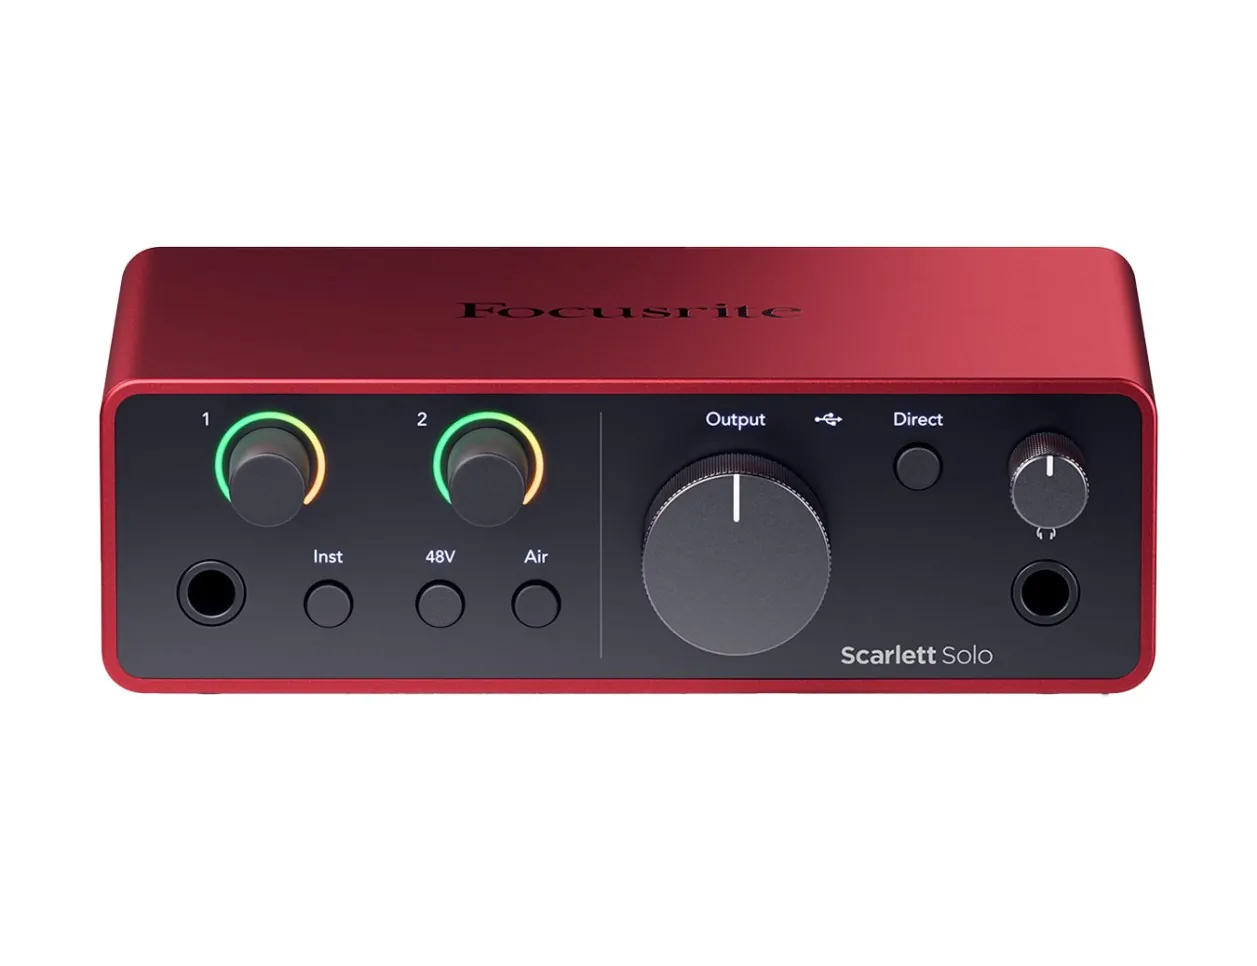
Focusrite Scarlett Solo 4th Gen
Core hub for mic to computer—perfect for solo home recording.
$139
Focusrite Scarlett Solo 4th Gen Reliable USB interface with phantom power, Air mode for brighter guitar tone, and bundled software.
Get the App
Better experience on mobile
Capture pro-quality acoustic guitar tracks in your home setup with step-by-step mic techniques, gear setup, and editing tips—no studio required.
Struggling with muddy, unbalanced acoustic guitar recordings that don't capture the rich tone of your instrument? You're not alone—many home musicians face room noise, poor mic placement, and setup headaches that ruin takes. This guide solves that, teaching you to achieve clear, vibrant recordings rivaling pros.
You'll learn everything from room prep and gear connections to optimal mic positioning and basic post-production. By the end, you'll have a polished track ready for sharing or mixing. Expect 1-2 hours for initial setup and your first recording; intermediate skills like basic DAW navigation assumed.
The process is straightforward: treat your space, connect gear, position wisely, record cleanly, and edit lightly. Let's get your guitar sounding studio-fresh.
Estimated Time: 1-2 hours for setup and first recording Difficulty: intermediate
Select a quiet room with minimal echo, like a bedroom closet or living room corner away from windows and HVAC vents. Hang blankets, pillows, or foam panels on walls to reduce reflections—aim for a 'dead' but not muffled sound.
Why it matters: Acoustic guitars produce complex harmonics; untreated rooms add reverb and noise, ruining clarity. Test by clapping—echo should fade in 0.5 seconds.
Success: Your space sounds controlled, like a mini-studio.
💡 Tips:
⚠️ Warnings:
Plug your audio interface into your computer via USB. Connect the mic to the interface's XLR input using a balanced cable. Enable phantom power (+48V) on the interface for condenser mics.
Install ASIO drivers if using Windows (download from manufacturer). Open your DAW and create a new audio track, arm it for recording, and select your interface as input.
Success: DAW shows input signal meter moving when you tap the mic.
💡 Tips:
⚠️ Warnings:
In your DAW (e.g., Reaper), set sample rate to 48kHz/24-bit for quality. Enable low-latency monitoring on the interface. Plug in headphones (not speakers) to avoid bleed.
Adjust buffer size to 128-256 samples for no latency. Create a stereo track if planning multi-mic.
Success: Hear yourself in headphones with zero delay when strumming.
💡 Tips:
⚠️ Warnings:
Place guitar on a stand or hold comfortably at chest height. Position mic 12-18 inches from the 12th fret, angled 45 degrees toward neck-soundhole junction.
This 'sweet spot' captures balanced string attack, body warmth, and air. Use a boom arm for stability.
Success: Strum open chords—even tone across strings, no boominess.
💡 Tips:
⚠️ Warnings:
Strum your loudest—adjust interface gain so peaks hit -12dB to -6dB (yellow zone, no red clipping). Enable input monitoring.
Record a 30-second test riff. Playback: check for noise floor, balance, and tone.
Success: Clean waveform, no distortion, natural guitar sound.
💡 Tips:
⚠️ Warnings:
Hit record, play your piece straight through—multiple takes if needed. Clap at start for sync if overdubbing.
Breathe steadily; relax for natural vibe. Stop, listen critically.
Success: Full track captured, dynamics intact.
💡 Tips:
Trim silence, fade in/out. Apply light EQ (boost 2-5kHz for sparkle, cut <80Hz rumble). Compress subtly (4:1 ratio, 3dB reduction).
Export as 24-bit WAV. Bounce to MP3 for sharing.
Success: Polished file ready for mixes or upload.
💡 Tips:
⚠️ Warnings:
Problem: Humming or buzz (ground loop)
Solution: Use balanced XLR cables; plug interface/computer into same outlet. Add ground lift if available.
Problem: Latency/delay in monitoring
Solution: Lower buffer size to 64-128; update ASIO drivers.
Problem: Weak signal/quiet recordings
Solution: Check phantom power; mic closer (but not too); verify DAW input selected.
Problem: Room echo in track
Solution: Add more absorption; use closet or reflection filter. Gating plugin in DAW.
Reliable USB interface with phantom power, Air mode for brighter guitar tone, and bundled software.
Best for: Core hub for mic to computer—perfect for solo home recording.
Price Range: $139
Excellent clarity and sensitivity for acoustic nuances at budget price.
Best for: Primary mic for natural, detailed guitar captures.
Price Range: $99
Flexible positioning without floor stands; reduces handling noise.
Best for: Precise mic placement over guitar.
Price Range: $99
Affordable starter kit with mic, stand, pop filter—great for intermediates testing waters.
Best for: Budget all-in-one for first setups.
Price Range: $35-$50
Effective absorption panels tame room reflections affordably.
Best for: Wall/ceiling treatment for any space.
Price Range: $100
Core hub for mic to computer—perfect for solo home recording.
Focusrite Scarlett Solo 4th Gen Reliable USB interface with phantom power, Air mode for brighter guitar tone, and bundled software.
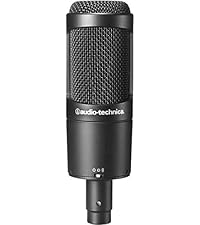
Primary mic for natural, detailed guitar captures.
Audio-Technica AT2020 Cardioid Condenser Microphone Excellent clarity and sensitivity for acoustic nuances at budget price.
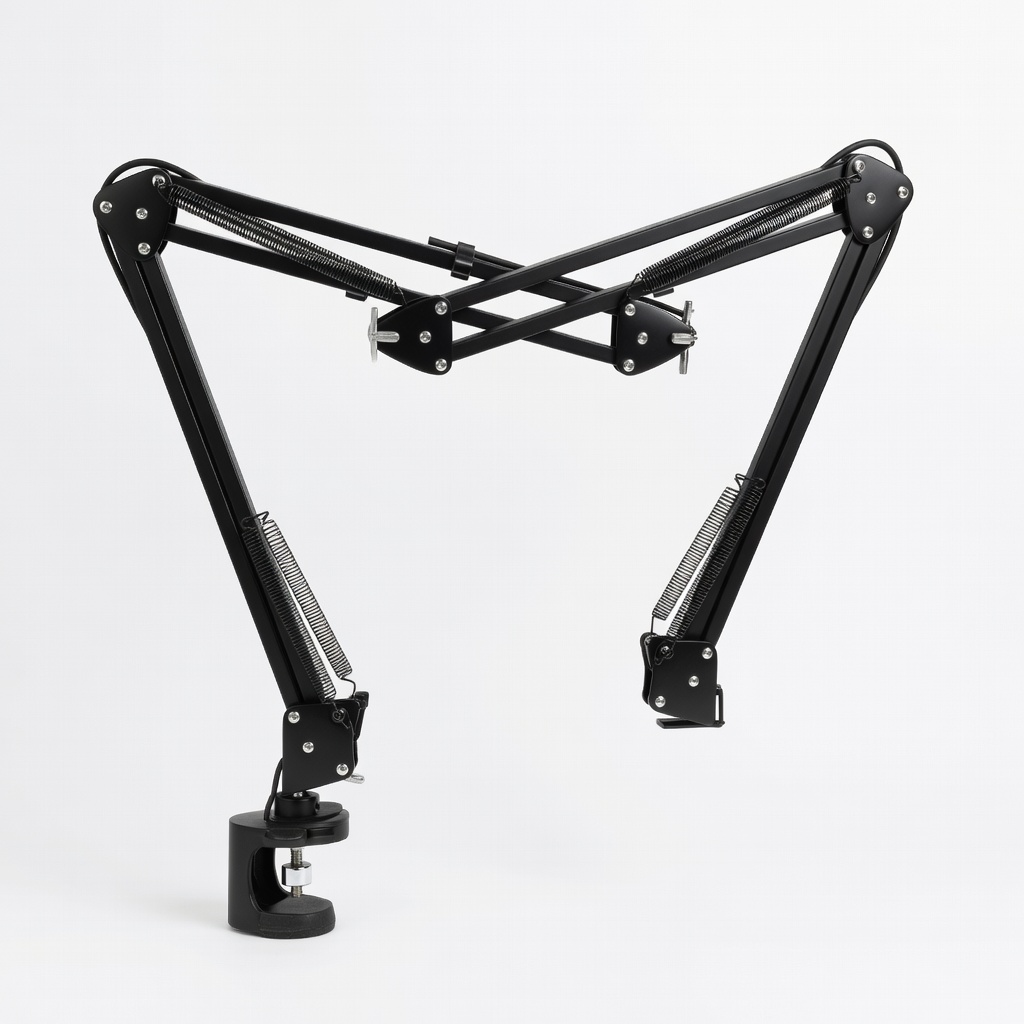
Precise mic placement over guitar.
Rode PSA1 Studio Boom Arm Flexible positioning without floor stands; reduces handling noise.
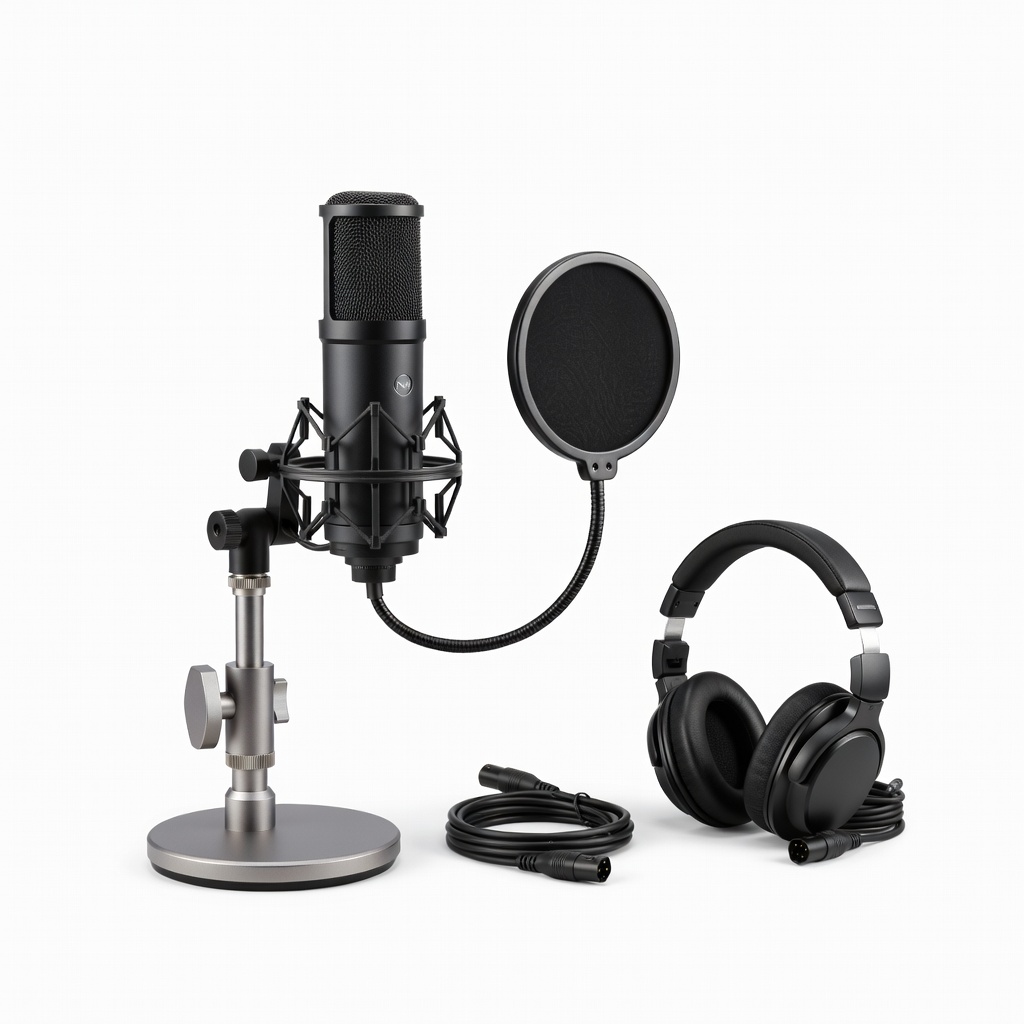
Budget all-in-one for first setups.
Neewer NW-700 Condenser Mic Bundle Affordable starter kit with mic, stand, pop filter—great for intermediates testing waters.
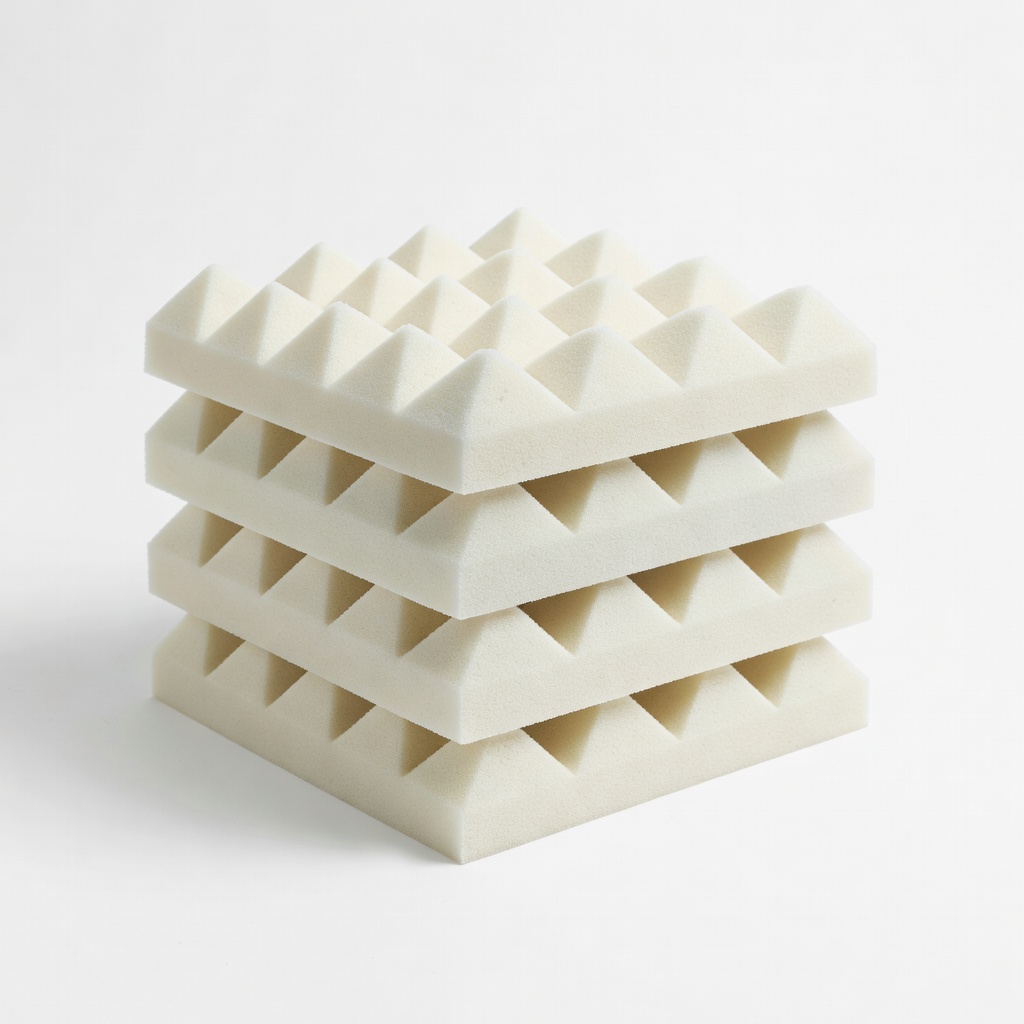
Wall/ceiling treatment for any space.
Auralex Studiofoam Wedges (12-pack) Effective absorption panels tame room reflections affordably.