Reconciling bank statements is a crucial accounting task that many intermediate bookkeepers dread due to discrepancies that can signal fraud, errors, or overlooked fees. Without regular reconciliation, your financial records can drift apart from reality, leading to inaccurate financial reports, tax filing headaches, or even audit issues. The good news? It's a straightforward process once broken down.
In this guide, you'll learn a step-by-step method to reconcile your bank statements accurately, whether using manual ledgers or software. We'll cover everything from gathering documents to final verification, helping you achieve matching balances and peace of mind. Expect to spend 30-60 minutes per monthly statement, depending on transaction volume—perfect for intermediate users familiar with basic debits and credits.
By the end, your books will align perfectly with your bank, empowering confident decision-making and compliance.
▸What You'll Need
- •Current bank statement (PDF or paper)
- •Your general ledger or trial balance from accounting records
- •Calculator or financial calculator (required for manual math)
- •Pencil, eraser, and highlighter for marking (required for manual process)
- •Spreadsheet software like Excel or Google Sheets (optional but recommended)
- •Accounting software like QuickBooks (optional for automation)
Estimated Time: 30-60 minutes per statement
Difficulty: intermediate
▸Step-by-Step Instructions
Step 1: Gather All Required Documents
Start by collecting your latest bank statement and your internal accounting records, such as the general ledger, cash book, or trial balance for the same period. Ensure the statement covers the exact period your records do (e.g., one month).
Why it matters: Missing documents lead to incomplete reconciliations. Lay everything out on a clean workspace.
What success looks like: You have the bank ending balance noted and your book balance ready for comparison.
💡 Tips:
- •Scan paper statements into PDF for digital backup.
- •Use a dedicated folder for each month's reconciliation docs.
⚠️ Warnings:
- •Don't use provisional or partial statements—they're unreliable.
Step 2: Note Starting Balances and Ending Balances
Record the beginning and ending balances from both the bank statement and your books. For the first reconciliation, use the prior month's reconciled ending balance as the starting point.
Why it matters: This baseline confirms continuity. Write them side-by-side in a reconciliation worksheet (T-account format works well).
Expect slight differences here—that's normal and what we'll resolve.
💡 Tips:
- •Create a template in Excel: columns for Bank Balance, Book Balance, Additions, Deductions.
Step 3: Identify and List Deposits in Transit
Compare deposits listed in your books against the bank statement. Deposits made late in the period (deposits in transit) won't appear on the bank statement yet.
Why it matters: These are legitimate timing differences. Add them to the bank balance.
List each with date and amount; success is zero unrecorded deposits on the bank side.
💡 Tips:
- •Highlight matching deposits in green to speed up scanning.
⚠️ Warnings:
- •Don't confuse customer payments with your deposits.
Step 4: List Outstanding Checks and Withdrawals
Check for checks or withdrawals cleared in your books but not yet on the bank statement (outstanding items). Subtract these from the bank balance.
Why it matters: Banks process items on their timeline. Track check numbers too.
Expect 5-10% of checks to be outstanding; if way more, investigate delays.
💡 Tips:
- •Age outstanding items—anything over 90 days needs follow-up.
Step 5: Adjust for Bank Fees, Interest, and Errors
Note any service fees, interest earned, or bank errors not yet recorded in your books. Adjust your book balance accordingly (debit fees, credit interest).
Why it matters: These are timing or omission issues. Record journal entries now.
Success: All statement items are accounted for in books post-adjustment.
💡 Tips:
- •Set calendar reminders for monthly fees to pre-record them.
⚠️ Warnings:
- •Verify bank errors with your bank before adjusting.
Step 6: Adjust Book Balance for Internal Items
Add/subtract any book-only items like NSF checks or internal transfers not on the statement.
Why it matters: Ensures books reflect reality.
Calculate adjusted book balance.
💡 Tips:
- •Use a two-column adjustment sheet.
Step 7: Verify Adjusted Balances Match
Add/subtract all items from both sides. The adjusted bank balance should equal the adjusted book balance.
Why it matters: Zero difference means reconciliation success! If not, recheck math.
💡 Tips:
- •Double-check totals aloud or with software validation.
⚠️ Warnings:
- •A mismatch over 1% warrants full re-review.
Step 8: Document, Record, and File
Prepare a reconciliation report, post journal entries to your ledger/software, and file statements securely.
Why it matters: Creates an audit trail. Sign and date the report.
Success: Books updated, files organized for next month.
💡 Tips:
- •Automate with software for recurring reports.
▸Pro Tips
- •Reconcile monthly without fail—never skip to avoid compounding errors.
- •Use highlighters: yellow for deposits, pink for checks, to visually track matches.
- •Set up Excel auto-sum formulas to catch math errors instantly.
- •Review outstanding items from prior months; clear old ones quarterly.
- •Integrate with software like QuickBooks for one-click imports.
- •Reconcile mid-month for high-volume businesses to catch issues early.
- •Keep a running 'suspense' account for temporary unmatched items.
▸Common Mistakes to Avoid
- •Forgetting deposits in transit, leading to inflated bank balances.
- •Ignoring bank fees until year-end, causing surprise expenses.
- •Math errors from manual addition—always verify with a calculator.
- •Not aging outstanding checks, missing potential fraud.
- •Reconciling without prior period's ending balance, breaking the chain.
▸Troubleshooting
Problem: Balances don't match after adjustments
Solution: Recheck each transaction line-by-line; common culprits are duplicated entries or transpositions (e.g., $123 as $132). Use the 'divide by 9' rule for transposition errors.
Problem: Large unexplained discrepancy
Solution: Contact your bank for statement clarification; review for fraud like unauthorized ACH. Seek accountant help if over $500.
Problem: Too many outstanding items
Solution: Void old checks and reissue; implement electronic payments to reduce paper checks.
Problem: Software import errors
Solution: Manually enter key items; update software bank feeds. When persistent, consult software support.
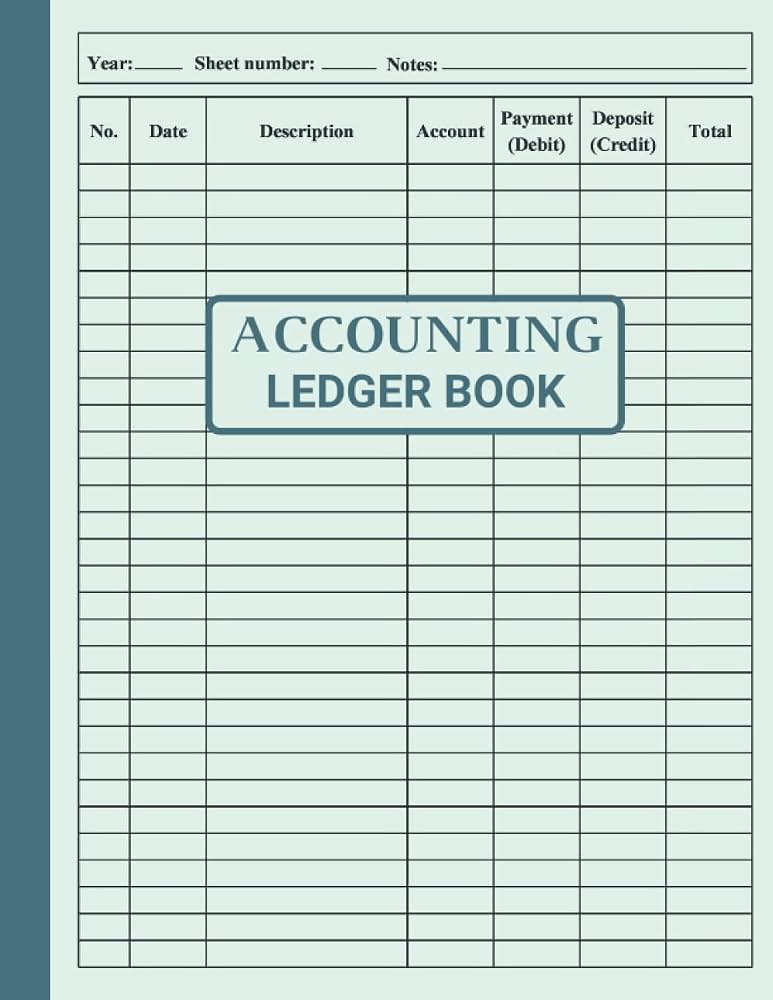
Moonster Large Accounting Ledger Book (11" x 8.5", 408 Pages)
Durable, pre-formatted pages perfect for manual reconciliations with columns for dates, descriptions, debits, credits, and balances.
Best for: Ideal for small businesses doing paper-based tracking before software migration.
Price Range: $15-$20
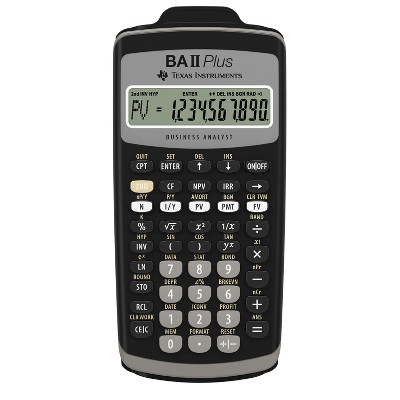
Texas Instruments BA II Plus Financial Calculator
Handles complex accounting math like time-value-of-money and precise additions for error-free reconciliations.
Best for: Essential for manual adjustments involving interest or large datasets.
Price Range: $40-$50
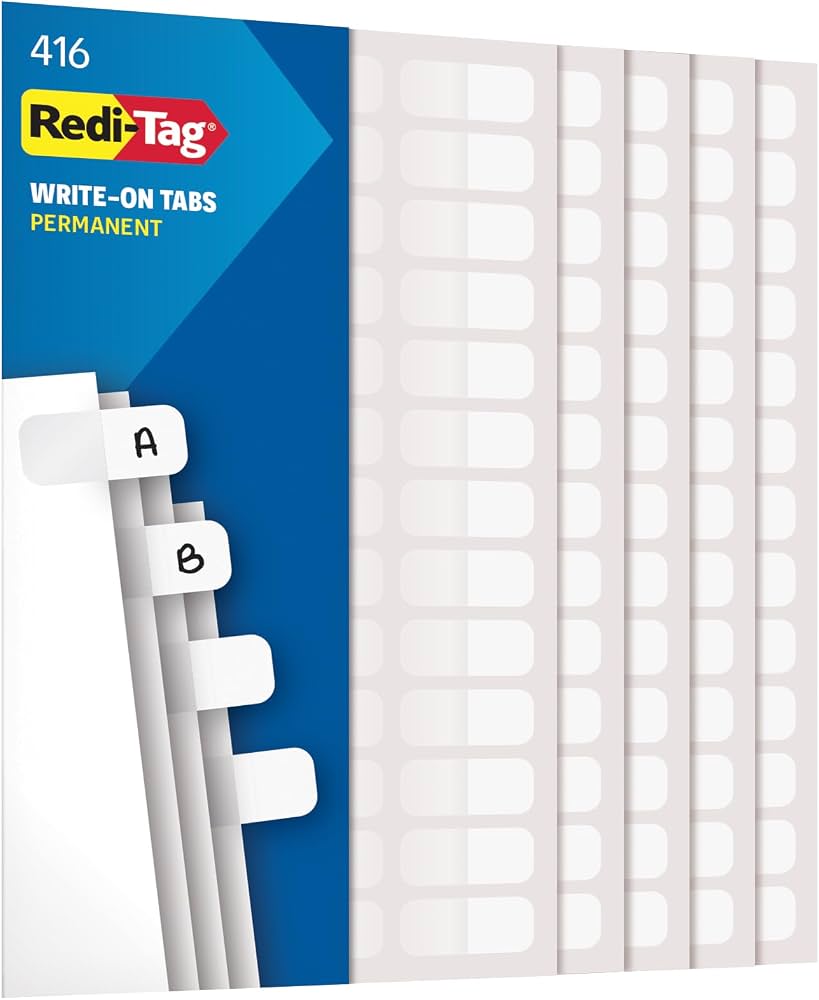
Ignite Redi-Tag Permanent Self-Stick Page Markers
Transparent, write-on tabs for flagging discrepancies without obscuring statement text.
Best for: Speeds up matching during high-volume reconciliations.
Price Range: $5-$10
QuickBooks 2024 All-in-One For Dummies
Step-by-step guide to automate reconciliations in QuickBooks, reducing time from hours to minutes.
Best for: For transitioning to software; includes bank feed setup.
Price Range: $20-$30
Avery Durable Sheet Protectors (100 Pack)
Protects statements from wear during frequent reviews; top-loading for easy access.
Best for: Organizing archived reconciliations for audits.
Price Range: $10-$15