Pruning rose bushes often feels intimidating to new gardeners, but skipping it can lead to fewer blooms, leggy growth, and even disease. Proper pruning stimulates new growth, improves air circulation, and encourages those stunning flowers you crave. Whether you're tending hybrid teas or climbers, this guide will show you how to do it right.
In this beginner-friendly tutorial, you'll learn the essentials of rose pruning, from timing to technique, so your bushes thrive. Expect to spend 1-2 hours on a mature bush, with no advanced skills needed—just patience and the right tools. By the end, you'll have healthier plants ready to burst with color come spring.
We'll cover everything step by step, including why each cut matters and how to spot success, helping you avoid common pitfalls for bountiful blooms.
▸What You'll Need
- •Sharp bypass pruning shears (required for clean cuts)
- •Heavy-duty gloves (required for protection from thorns)
- •Disinfectant spray or rubbing alcohol (required to sterilize tools and prevent disease spread)
- •Loppers for thicker canes (optional, but helpful for bushes over 3 feet)
- •Pruning sealant or white latex paint (optional, for large cuts on some rose varieties)
- •Compost or rose fertilizer (optional, to apply after pruning)
Estimated Time: 1-2 hours, depending on the size and number of rose bushes
Difficulty: beginner
▸Step-by-Step Instructions
Step 1: Choose the Right Time to Prune
Timing is crucial for rose health—prune at the end of winter or early spring, just before new growth starts, typically February to April in most climates. This dormant period allows the plant to heal without stressing it. Avoid pruning in fall, as it can encourage tender growth vulnerable to frost.
Check your local frost dates; wait until after the last hard freeze. For ever-blooming roses, a light summer deadheading prune can help, but major cuts are for dormancy. Success looks like bare, leafless canes ready for renewal—no green buds yet.
Why it matters: Pruning too early risks cold damage; too late delays blooming.
💡 Tips:
- •Mark your calendar for late winter to stay consistent year after year.
⚠️ Warnings:
- •Don't prune during active growth; it can weaken the plant.
Step 2: Gather and Prepare Your Tools
Assemble your pruning shears, gloves, and disinfectant. Sharpen your shears if needed for clean cuts that heal quickly—dull blades tear stems, inviting disease. Wipe tools with alcohol before starting to sterilize them.
Wear thick gloves to protect against thorns, especially on wilder varieties. Lay down a tarp or bucket nearby to collect clippings easily. Expect your setup to take 5-10 minutes; success is having everything within reach for efficient work.
This prep prevents infections and makes the job safer and smoother.
💡 Tips:
- •Test shears on scrap wood to ensure they're sharp.
⚠️ Warnings:
- •Never use rusty or dirty tools—they spread bacteria.
Step 3: Remove Dead and Damaged Canes
Start by identifying and cutting away any dead, diseased, or damaged wood. Dead canes look brown and dry inside when cut; diseased ones may have black spots or cankers. Cut them back to healthy tissue, about 1/4 inch above a bud or at the base if fully dead.
Use shears for thin canes or loppers for thicker ones. Dispose of clippings in the trash, not compost, to avoid spreading issues. At this stage, your bush should look cleaner, with only live wood remaining—expect 20-30% less bulk.
Why it matters: This clears space for new growth and prevents rot from spreading.
💡 Tips:
- •Look for the 'ABC' rule: Air, Bacteria, and Cane borer prevention through removal.
⚠️ Warnings:
- •Don't leave stubs; they invite pests.
Step 4: Thin Out Weak and Crossing Canes
Next, remove thin, pencil-sized canes (under 1/2 inch diameter) as they produce weak blooms. Also, cut out any crossing or rubbing canes to improve airflow and reduce injury points. Aim for an open center, like a vase shape.
Cut these at the base or where they meet a stronger cane. Your bush should now have 4-8 strong canes left, spaced evenly—no crowding. This step promotes vigor and better light penetration.
Expect fewer but healthier stems; it's normal to remove up to half the canes here.
💡 Tips:
- •Prioritize keeping outward-facing buds for an open structure.
⚠️ Warnings:
- •Over-thinning can stress the plant—leave some framework.
Step 5: Cut Back Remaining Canes to Desired Height
For most bush roses, cut healthy canes back by 1/3 to 1/2 their length, to about 12-18 inches from the ground. Make cuts at a 45-degree angle, 1/4 inch above an outward-facing bud. This encourages bushy growth and more blooms.
For climbers, prune lightly and train laterals. Success: Clean, angled cuts with buds pointing out; the bush looks compact and ready to sprout.
Why it matters: Proper height directs energy to flowers, not excessive foliage.
💡 Tips:
- •Cut to a bud that points away from the center for better shape.
⚠️ Warnings:
- •Avoid cutting into old wood without eyes (buds)—it won't regrow.
Step 6: Clean Up and Apply Aftercare
Rake up all debris and disinfect tools again. Water the bush deeply if soil is dry, and apply a balanced rose fertilizer or compost around the base to nourish new growth. For large cuts, dab on sealant if your roses are prone to borers.
Mulch lightly to retain moisture. Expect the bush to look sparse now, but watch for green shoots in 2-4 weeks— that's success.
This final step supports recovery and sets up for blooming season.
💡 Tips:
- •Fertilize sparingly at first to avoid burn.
⚠️ Warnings:
- •Don't overwater immediately; let roots settle.
▸Pro Tips
- •Prune on a dry day to minimize disease risk from wet foliage.
- •Always cut to an outward-facing bud to promote an open, airy structure.
- •For floribunda roses, prune a bit lighter to maintain more blooms.
- •Wear old clothes—sap and thorns are messy!
- •Mark strong canes with tape before cutting to avoid over-pruning.
- •Combine pruning with a soil test for tailored feeding.
- •Use LED lights if pruning indoors for potted roses in winter.
▸Common Mistakes to Avoid
- •Pruning too late in spring, which delays blooms and stresses the plant—avoid by checking local weather.
- •Making flush cuts into the bud union, preventing regrowth—always leave a collar above the bud.
- •Using dull tools that crush stems, leading to disease—sharpen or replace shears regularly.
- •Ignoring tool sterilization, spreading fungal issues—wipe with alcohol between bushes.
- •Over-pruning by removing more than 2/3 of the plant, weakening it—aim for balanced shaping.
▸Troubleshooting
Problem: Bush doesn't bloom after pruning
Solution: Ensure you pruned at the right time and left some buds; fertilize and wait 4-6 weeks. If no improvement, check for root issues.
Problem: Cuts ooze or turn black
Solution: This indicates infection—sterilize tools better next time and apply fungicide. Remove affected areas promptly.
Problem: Thorns cause skin irritation
Solution: Use thorn-proof gloves and wash hands immediately. If rash persists, apply hydrocortisone cream.
Problem: New growth is spindly
Solution: Likely due to too much shade or nitrogen-heavy fertilizer—move to sunnier spot and balance nutrients.
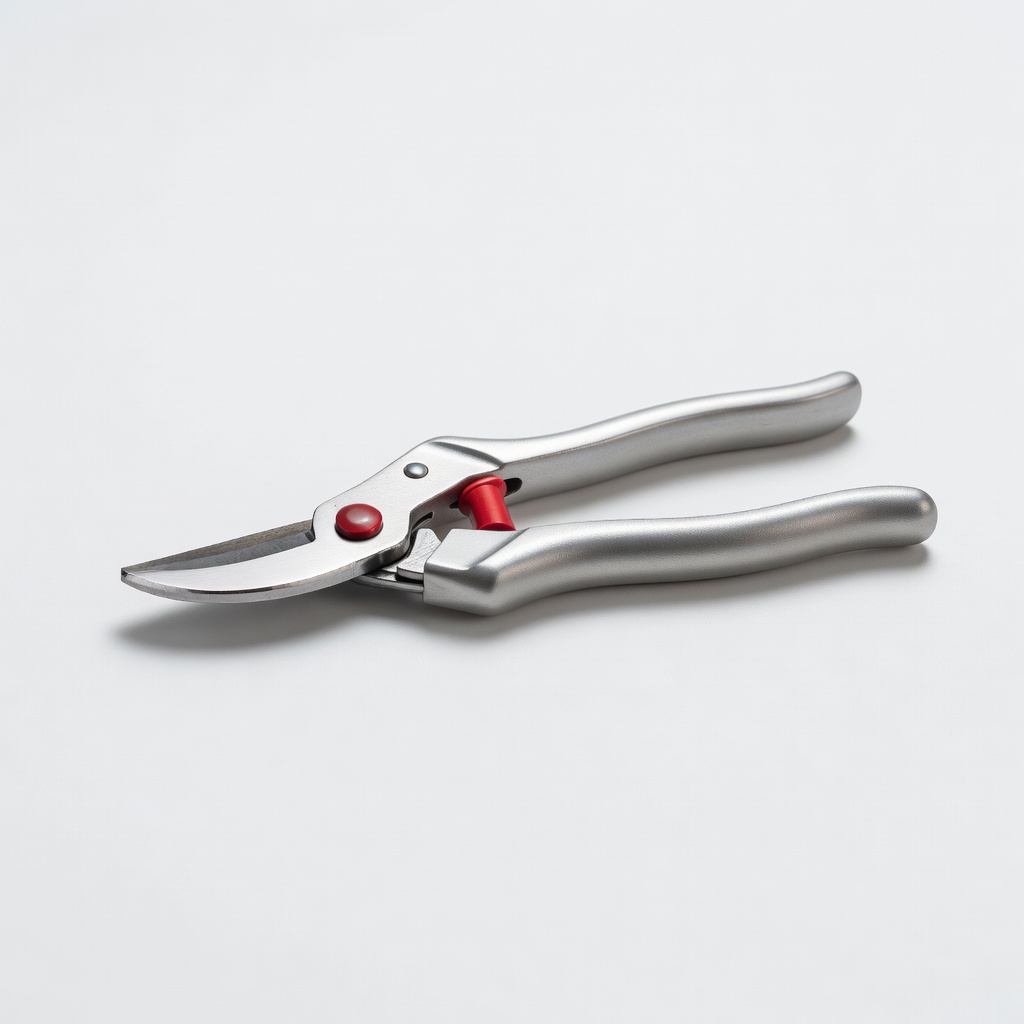
FELCO F-2 Classic Manual Hand Pruner
These professional-grade shears make precise, clean cuts essential for rose health without crushing stems.
Best for: Ideal for pruning thin to medium canes during your annual rose maintenance.
Price Range: $50
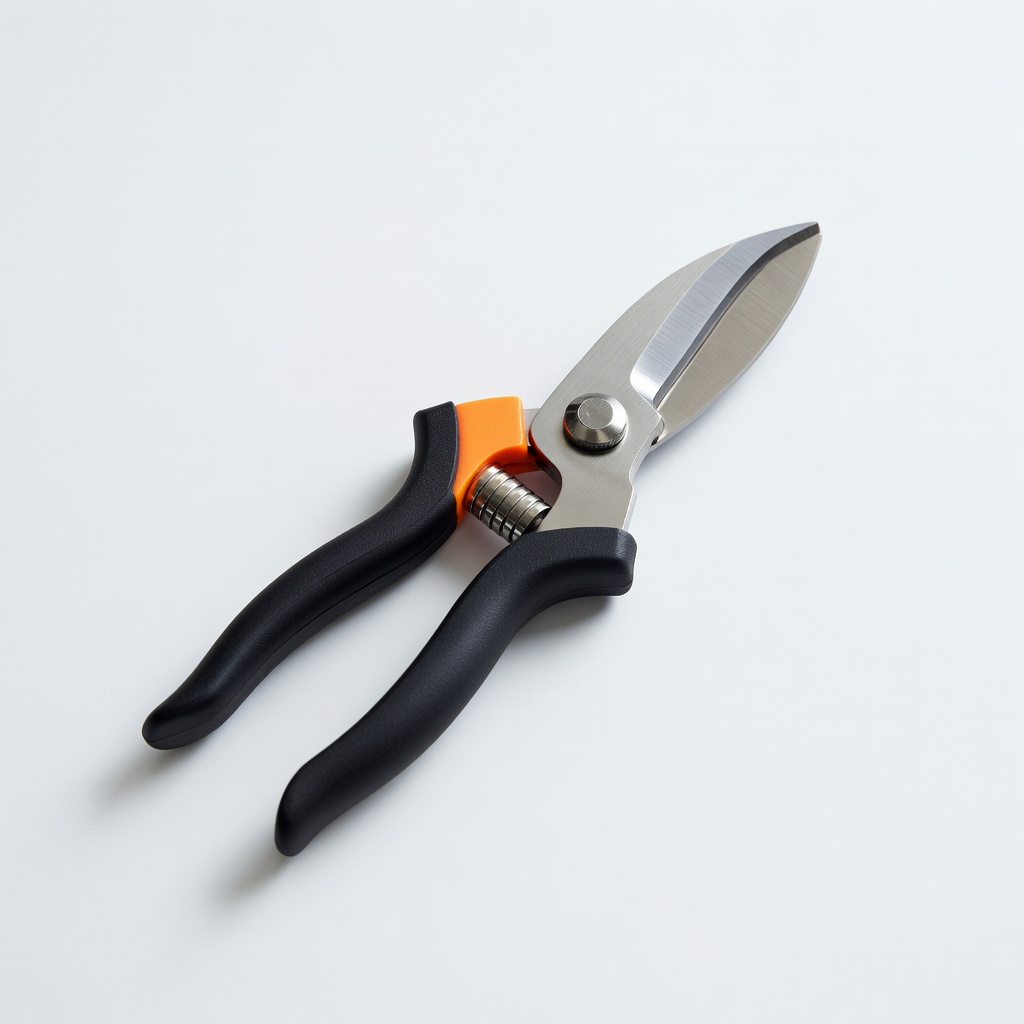
Fiskars 12 Inch Bypass Pruning Shears
Affordable and ergonomic for beginners, with a non-stick coating to prevent sap buildup.
Best for: Great for first-time pruners handling smaller rose bushes.
Price Range: $15-$20
Atlas Nitrile Coated Work Gloves, Large
Durable, puncture-resistant gloves that protect hands from thorns while allowing dexterity for detailed cuts.
Best for: Essential for safe handling during pruning sessions.
Price Range: $10 for a 6-pack
Miracle-Gro Water Soluble Rose Plant Food
Provides balanced nutrients post-pruning to encourage strong blooms without burning roots.
Best for: Apply after pruning for optimal recovery and flowering.
Price Range: $10-$15
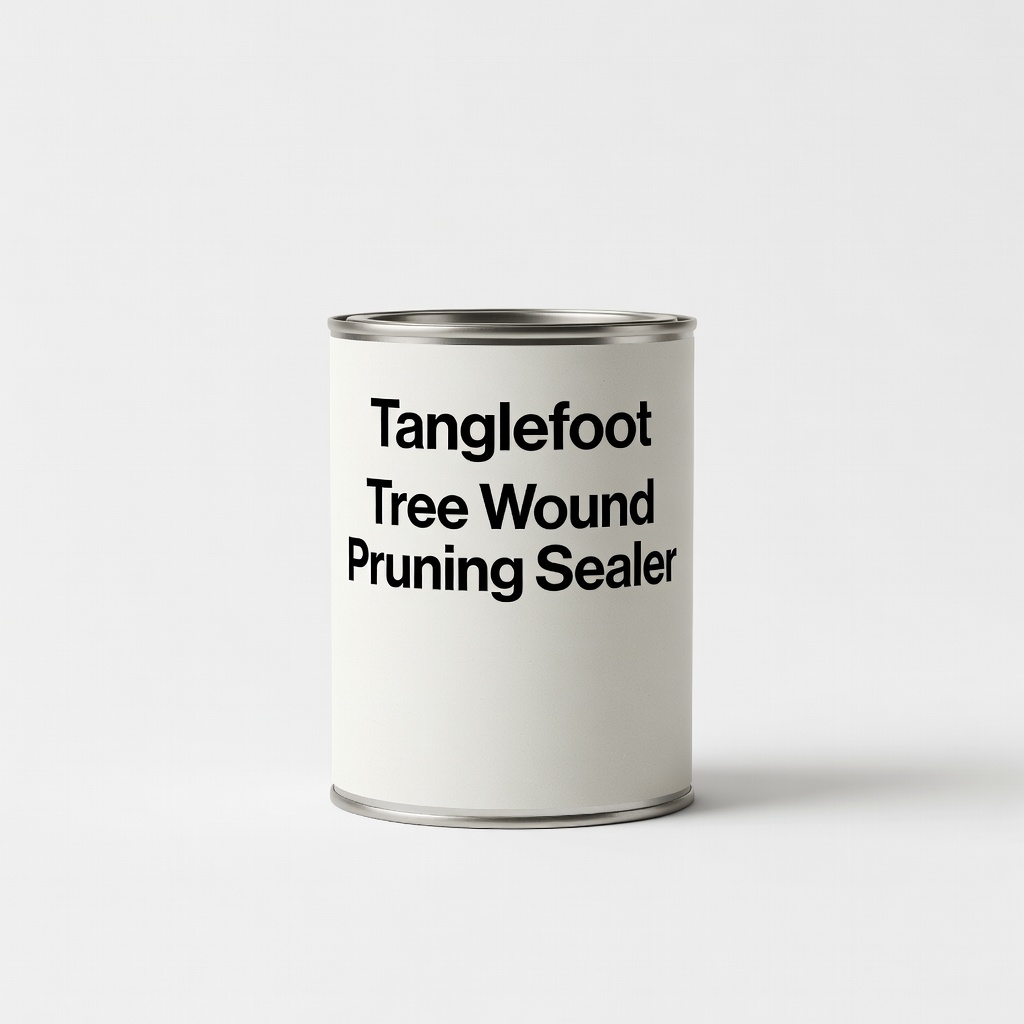
Tanglefoot Tree Wound Pruning Sealer
Helps seal large cuts to prevent insect entry and disease, especially on susceptible varieties.
Best for: Use on cuts over 1 inch for extra protection in humid climates.
Price Range: $8-$12