Succulents are beloved for their low-maintenance charm and unique shapes, but buying new plants can add up quickly. If you've ever wanted to multiply your favorites without breaking the bank, propagating from cuttings is the perfect solution. This method allows you to create exact clones of your existing plants, filling your space with more greenery in just a few weeks.
In this guide, you'll learn the beginner-friendly process of taking cuttings from healthy succulents and rooting them to grow new plants. We'll cover everything from selecting the right plant to caring for the new roots, using simple household items where possible. The process is straightforward and forgiving, ideal for those new to gardening.
Expect to spend about 30-45 minutes on the initial setup, with rooting taking 2-6 weeks depending on the succulent type. No advanced skills are needed—just patience and a bit of sunlight.
▸What You'll Need
- •Healthy mature succulent plant (e.g., Echeveria or Jade)
- •Clean, sharp knife or pruning shears
- •Well-draining potting soil (cactus/succulent mix required)
- •Small pots or containers with drainage holes (required)
- •Rooting hormone powder or gel (optional but recommended for faster rooting)
- •Spray bottle for misting (optional)
- •Clear plastic bag or dome for humidity (optional)
Estimated Time: 30-45 minutes for setup; 2-6 weeks for rooting
Difficulty: beginner
▸Step-by-Step Instructions
Step 1: Select a Healthy Succulent for Propagation
Start by choosing a mature, healthy succulent from your collection. Look for plants that are at least 3-6 months old with plump leaves or stems that aren't leggy or diseased. Popular choices include Echeveria, Sedum, or Crassula (Jade plant) as they root easily.
Why this matters: Using a strong parent plant ensures the cutting has the vigor to develop roots and grow. Inspect for pests or rot—discard any unhealthy parts to avoid spreading issues.
What to expect: You'll identify 2-4 suitable leaves or stems. Success here means selecting vibrant, firm material that snaps cleanly.
💡 Tips:
- •Choose morning hours when the plant is hydrated for easier cutting.
- •If you're new, start with leaf propagation on rosette types like Echeveria.
⚠️ Warnings:
- •Avoid propagating stressed plants, as they may not root well.
Step 2: Take the Cuttings
Using a clean, sharp knife or shears, cut a healthy leaf or stem section. For leaves, gently twist and pull from the base to get the whole leaf with a bit of stem tissue. For stems, make a clean 2-4 inch cut just below a node (where leaves attach).
This step is crucial because a clean cut minimizes damage and infection risk. Sterilize your tool with rubbing alcohol first.
Expect a quick, satisfying snap. The cutting should look fresh and juicy, not mushy. Place cuttings on a paper towel in a shaded spot to dry slightly.
💡 Tips:
- •Take more cuttings than needed—some may not root.
- •For stem cuttings, remove lower leaves to expose the node.
⚠️ Warnings:
- •Don't use dull tools; they can crush the plant tissue and invite bacteria.
Step 3: Let the Cuttings Callous Over
Lay the cuttings in a dry, indirect light area for 1-3 days until the cut end forms a dry, calloused layer. This is like a scab that protects against rot when planted.
Why it matters: Succulents are prone to rotting in moist conditions, so callousing is essential for success. Skip this for water propagation if you prefer.
You'll see the raw end turn from moist to dry and slightly wrinkled. Success looks like a firm, sealed surface ready for soil.
💡 Tips:
- •Keep them out of direct sun to prevent drying out too much.
- •For leaves, place them upright on their side—no need to bury yet.
⚠️ Warnings:
- •Rushing this step often leads to rot; be patient.
Step 4: Prepare the Planting Medium
Fill small pots with well-draining cactus or succulent soil mix. If using rooting hormone, dip the calloused end lightly into it before planting—this encourages root growth.
A good medium prevents waterlogging, mimicking the plant's natural arid habitat. Moisten the soil slightly but don't soak it.
Expect loose, gritty soil that's easy to poke fingers into. Pots should be 2-4 inches wide with drainage.
💡 Tips:
- •Mix in perlite or sand if your soil isn't drain-y enough.
- •Optional: Use a propagation tray for multiple cuttings.
⚠️ Warnings:
- •Regular potting soil retains too much water—avoid it.
Step 5: Plant the Cuttings
For leaves, lay them on top of the soil surface, pressing lightly so they touch. For stems, bury the calloused end 1-2 inches deep. Water sparingly—just enough to settle the soil.
This initiates rooting by providing stability and minimal moisture. Place in bright, indirect light.
Success: Cuttings stand firm without tipping. In 1-2 weeks, you may see tiny roots emerging.
💡 Tips:
- •Group similar types together for even care.
- •Use a humidity dome if your home is dry.
⚠️ Warnings:
- •Overwatering at this stage causes rot—err on the dry side.
Step 6: Care for the Rooting Cuttings
Keep soil lightly moist but not wet, watering only when the top inch dries out (every 7-10 days). Provide 4-6 hours of indirect sunlight daily. Maintain temperatures between 65-75°F.
Consistent care promotes root development without stress. After 2-4 weeks, gently tug to check for resistance indicating roots.
Expect gradual growth: Leaves may wrinkle slightly before perking up with roots. Full rooting in 4-6 weeks means new plantlets forming.
💡 Tips:
- •Mist leaves occasionally for humidity.
- •Rotate pots for even light exposure.
⚠️ Warnings:
- •Direct sun can scorch young cuttings—use a sheer curtain.
Step 7: Transplant Rooted Succulents
Once roots are 1-2 inches long and the plant is stable (4-6 weeks), move to a larger pot with fresh soil. Water thoroughly after transplanting.
This step allows the new plant to grow bigger. Treat it like an adult succulent from here.
Success: A thriving mini-plant that stands on its own, ready for your collection.
💡 Tips:
- •Fertilize lightly after 1 month with diluted succulent food.
- •Label pots with dates for tracking.
⚠️ Warnings:
- •Don't transplant too early; weak roots won't hold.
▸Pro Tips
- •Propagate in spring or summer for faster rooting due to active growth seasons.
- •Use aloe vera gel as a natural rooting aid if you skip hormone.
- •Start small: Propagate 3-5 cuttings to build confidence without overwhelming yourself.
- •Monitor humidity—40-60% is ideal; a pebble tray helps in dry climates.
- •Combine methods: Root leaves in soil while trying stems in water for variety.
- •Keep a journal of your propagations to note what works best for each type.
- •Harvest cuttings from the outer parts of the plant to encourage bushier growth in the parent.
▸Common Mistakes to Avoid
- •Overwatering early on, which leads to root rot—always let soil dry between waterings.
- •Planting without callousing, causing the cuttings to absorb too much moisture and decay.
- •Using poor-draining soil, trapping water and suffocating roots—opt for succulent-specific mixes.
- •Insufficient light, resulting in leggy growth—aim for bright indirect exposure.
- •Impatience with rooting time, disturbing cuttings too soon—wait for firm tugs before checking.
▸Troubleshooting
Problem: Cuttings are rotting at the base
Solution: Remove affected parts, let remaining callous longer, and replant in drier soil. Improve airflow to prevent future issues.
Problem: No roots after 4 weeks
Solution: Check light and temperature; try rooting hormone next time. Some types like Haworthia take longer—be patient up to 8 weeks.
Problem: Leaves shriveling or wrinkling
Solution: This is normal initially but if persistent, increase humidity or mist lightly. Ensure soil isn't bone-dry.
Problem: Pests on new growth
Solution: Isolate the plant and treat with neem oil spray. Prevent by starting with clean tools and parent plants.
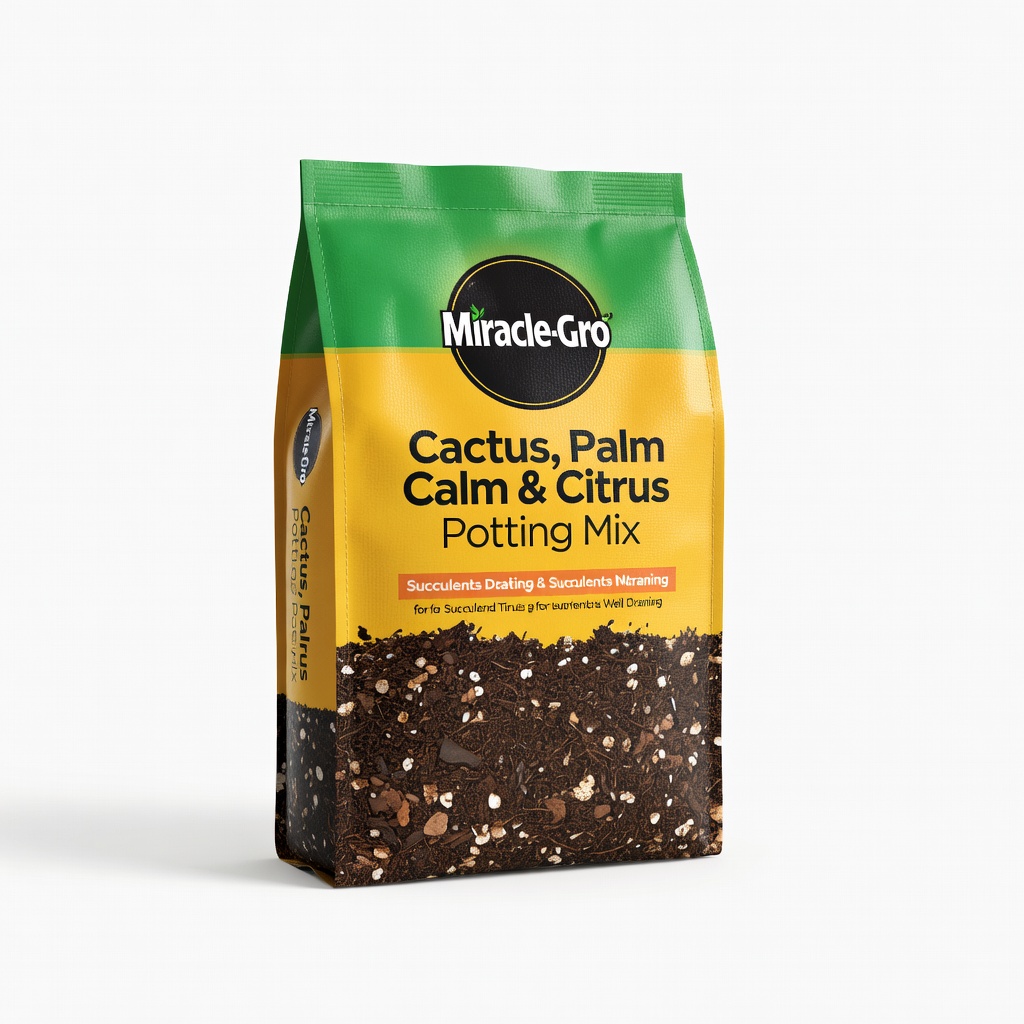
Miracle-Gro Cactus, Palm & Citrus Potting Mix
This soil mix provides excellent drainage essential for succulents, preventing root rot during propagation.
Best for: Use as the base medium when planting cuttings to mimic arid conditions.
Price Range: $10-15
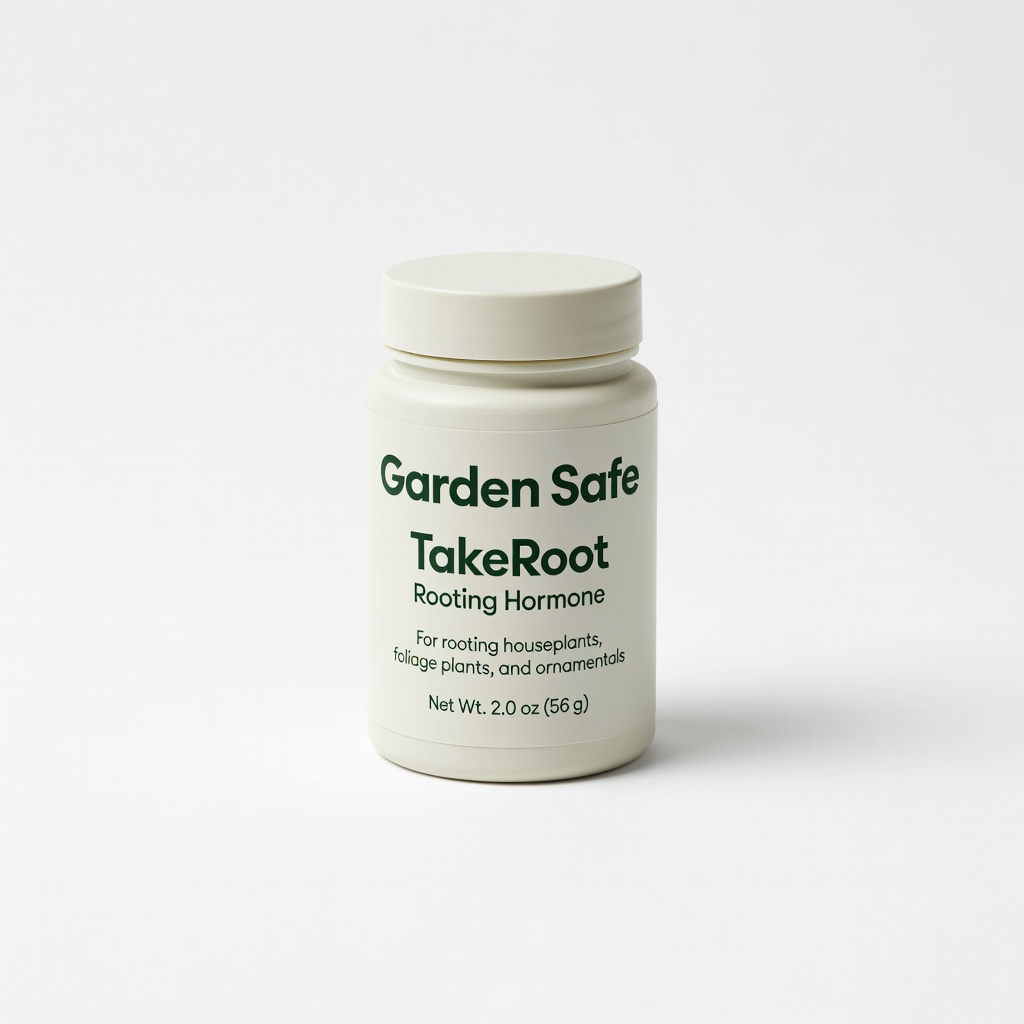
Garden Safe TakeRoot Rooting Hormone
It stimulates root growth quickly and safely, increasing success rates for beginners.
Best for: Dip calloused ends before planting stems or leaves for faster rooting in 2-4 weeks.
Price Range: $5-8
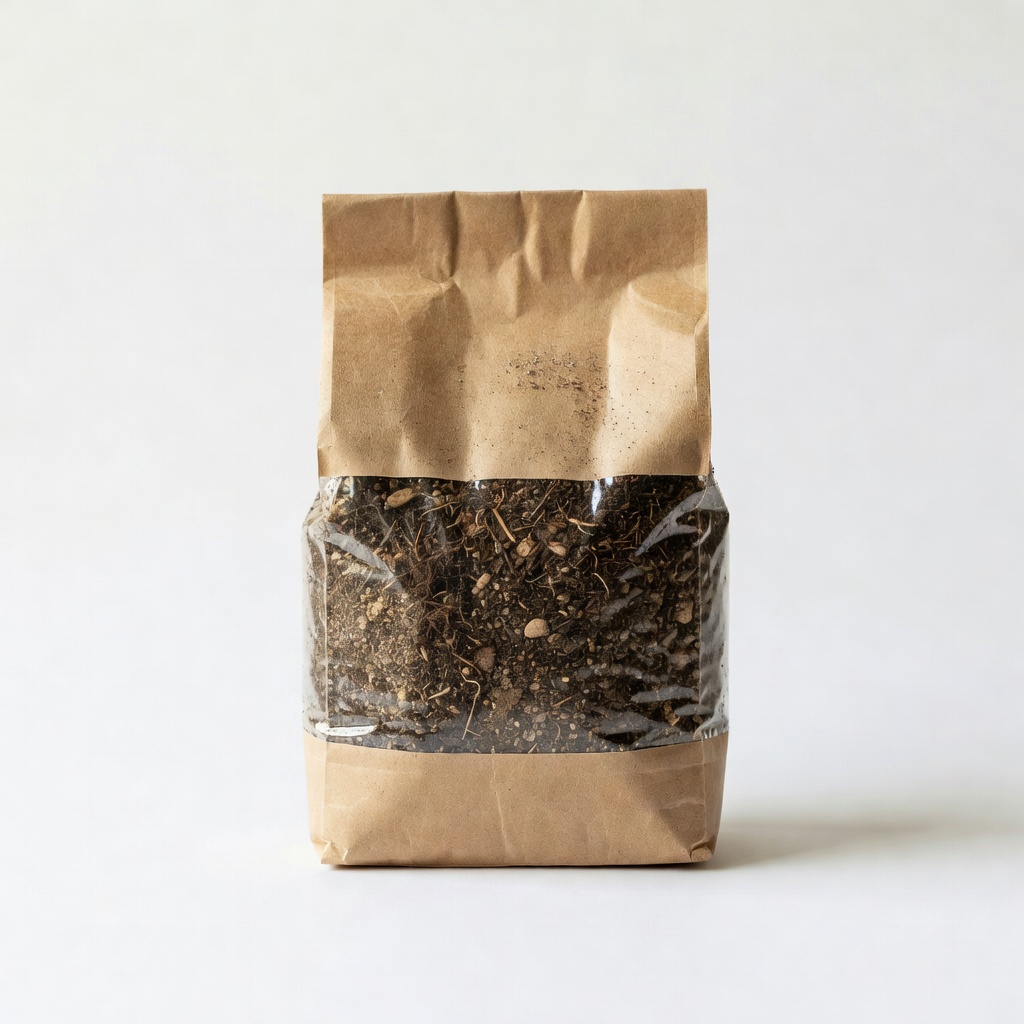
Hoffman Organic Cactus and Succulent Soil Mix
Organic and pre-mixed with perlite for superior aeration, ideal for organic gardeners.
Best for: Fill propagation pots to ensure healthy root development without added amendments.
Price Range: $12-18
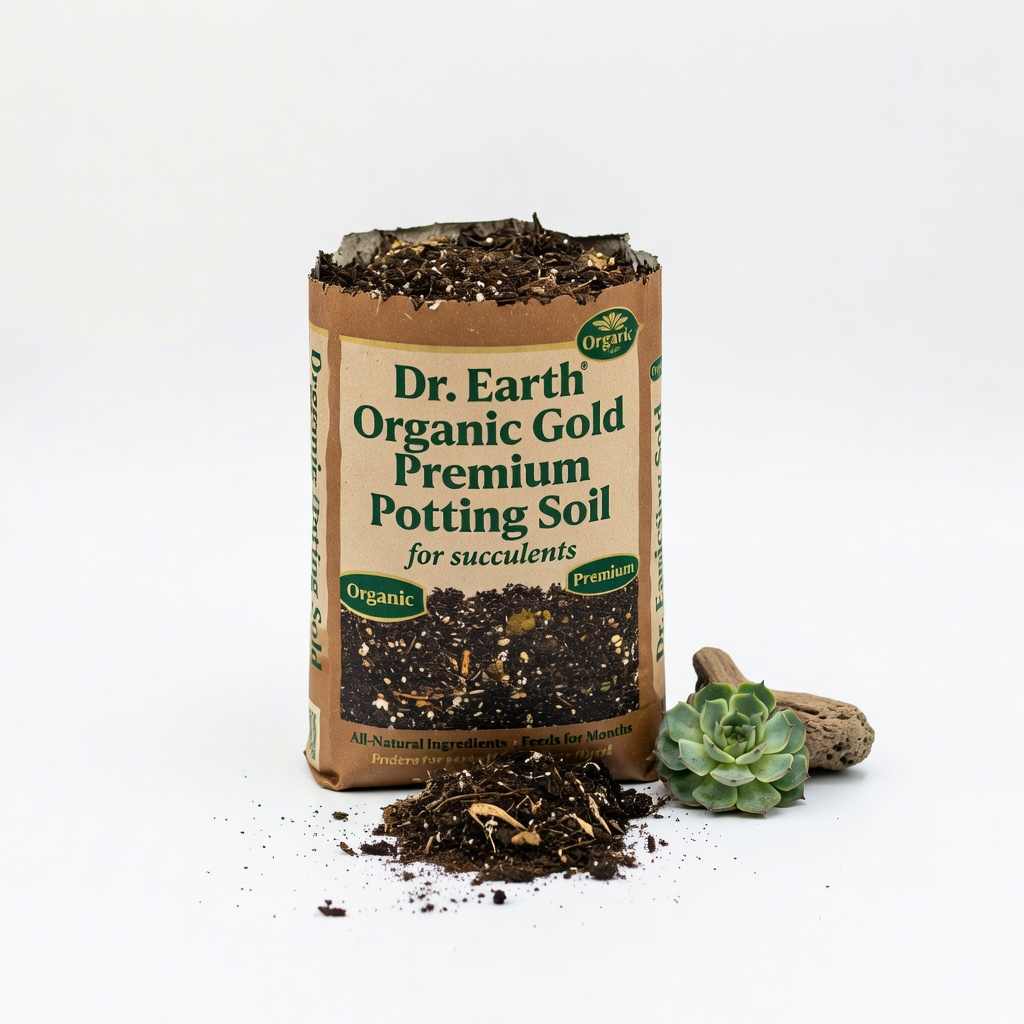
Dr. Earth Organic Gold Premium Potting Soil (for succulents)
Nutrient-rich yet draining, it supports long-term growth after rooting.
Best for: Transplant rooted succulents into this for ongoing health and minimal repotting.
Price Range: $15-20
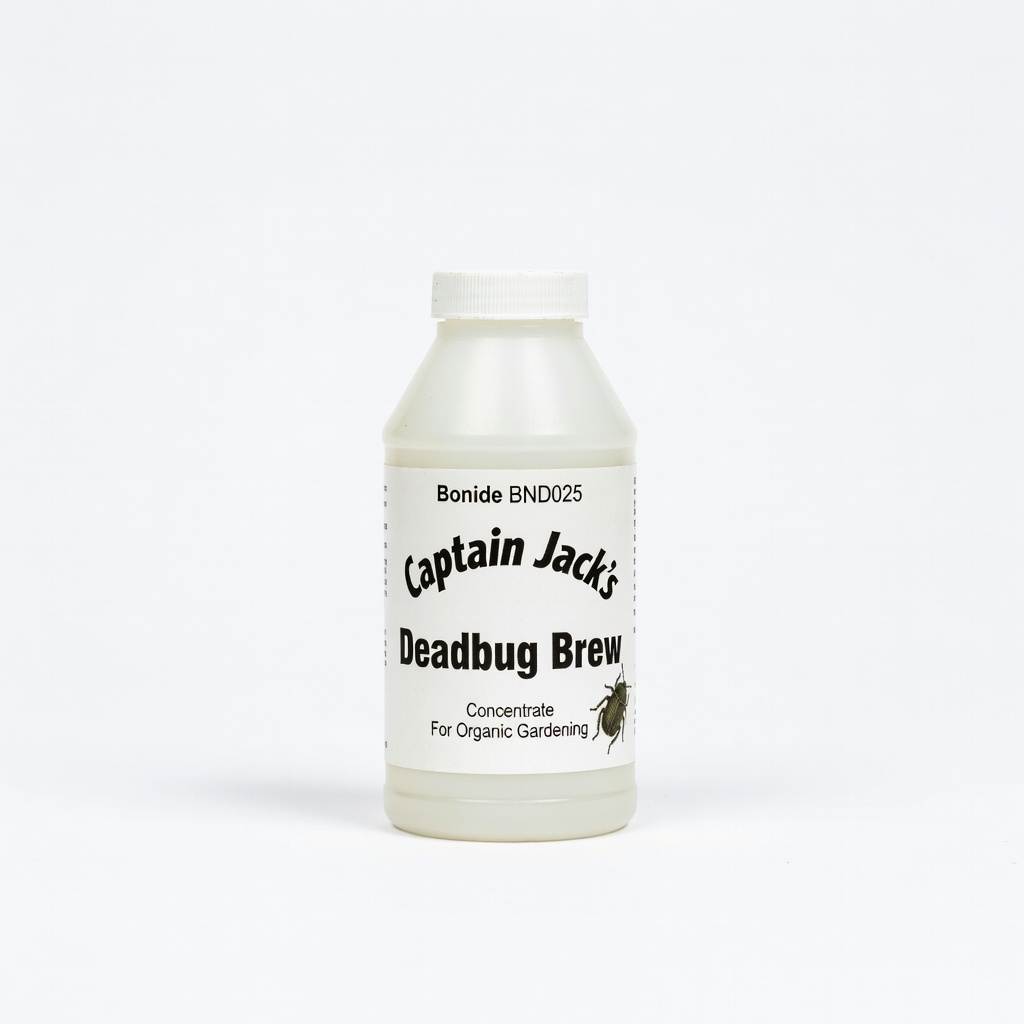
Bonide BND025 Captain Jack's Deadbug Brew
Effective organic pest control to protect new propagations from common insects like mealybugs.
Best for: Apply if pests appear during rooting to save your cuttings without harsh chemicals.
Price Range: $10-15