Struggling with persistent scratches or uneven finishes in metal polishing? Improper grit progression is a common culprit, leading to wasted time and subpar results. Advanced polishers know that systematically stepping through grit sizes removes imperfections progressively without introducing new ones.
In this guide, you'll learn a precise step-by-step method to progress grit sequences, from coarse sanding to ultra-fine polishing. Expect to spend 45-90 minutes on a small project, depending on surface size and condition. This advanced tutorial assumes familiarity with basic sanding and assumes access to a polishing station.
By the end, you'll produce professional-grade, defect-free metal surfaces ready for final buffing or plating, saving hours on rework.
▸What You'll Need
- •Wet/dry sandpaper or discs in grits 120, 220, 400, 600, 800, 1200, 2000, 3000 (required)
- •Diamond lapping films or micron pastes for ultra-fine stages (recommended)
- •Polishing compounds (cutting, polishing, final gloss)
- •Buffing wheels or pads (cotton, sisal, microfiber)
- •Variable-speed polisher or rotary tool (e.g., Dremel or bench grinder)
- •Distilled water and spray bottle for wet sanding
- •Safety gear: gloves, respirator, eye protection (required)
- •Clean microfiber cloths and isopropyl alcohol
- •Practice metal piece (stainless steel or aluminum sheet)
Estimated Time: 45-90 minutes for a 6x6 inch surface
Difficulty: advanced
▸Step-by-Step Instructions
Step 1: Understand Grit Progression Fundamentals
Grit progression is the sequential use of increasingly finer abrasives to remove scratches from the previous stage. Each grit should be roughly 1.5-2x finer than the prior (e.g., 400 after 220). This prevents visible scratches carrying over.
Success looks like: No deep scratches remain, and the surface feels uniformly smooth to the touch. Skipping steps creates 'holograms' or cross-hatching.
💡 Tips:
- •Memorize sequences: Coarse (120-220), Medium (400-600), Fine (800-2000), Ultra (3000+).
⚠️ Warnings:
- •Never jump grits by more than 2x; it embeds coarser particles.
Step 2: Assess Surface Condition
Inspect your metal under bright, angled light. Identify deepest scratches to choose starting grit (e.g., 120 for heavy pitting, 220 for light marks).
Clean with isopropyl alcohol to remove oils. Success: Surface is contaminant-free, scratches cataloged.
💡 Tips:
- •Use a 10x loupe for micro-scratches.
Step 3: Select and Prepare Your Grit Sequence
Standard sequence for stainless/aluminum: 220 → 400 → 600 → 800 → 1200 → 2000 → 3000 (lapping film). Cut sheets/discs to size, label by grit.
Success: Organized workstation with grits in order.
⚠️ Warnings:
- •Use wet/dry paper only; regular paper clogs on metal.
Step 4: Set Up Wet Sanding Station
Fill spray bottle with distilled water. Secure metal flat. Wear safety gear. Success: Workspace ready, no dry sanding risks.
💡 Tips:
- •Lubrication reduces heat and clogs.
Step 5: Sand with Starting Coarse Grit
Apply water, sand in straight lines or circles at 90° to prior scratches. Use light pressure, 200-400 RPM. Rinse often, inspect every 1-2 min.
Continue until scratches from prior grit vanish. Success: Uniform micro-scratches from current grit only.
⚠️ Warnings:
- •Avoid heavy pressure; it digs gouges.
Step 6: Progress Through Medium Grits (400-1200)
Switch grits, changing direction 90° each time. Spend equal time per grit (2-5 min/area). Wipe dry between stages.
Success: Surface transitions from matte to satin, touch smoothens progressively.
💡 Tips:
- •Finger test: No catch under nail means ready for next grit.
Step 7: Refine with Fine and Ultra-Fine Grits (1200-3000+)
Use diamond films or pastes for 2000+. Minimal pressure, more lubrication. Success: Near-mirror haze, reflects light evenly without distortion.
⚠️ Warnings:
- •Over-sanding ultra-fine removes too much material.
Step 8: Apply Compounds and Buff to Mirror Finish
Start with cutting compound on sisal wheel (800 RPM), progress to polishing compound on cotton wheel, finish with gloss on microfiber. Buff until shine emerges.
Inspect under light. Success: Defect-free mirror reflection.
💡 Tips:
- •Clean wheels between compounds.
Step 9: Final Inspection and Protection
Examine for haze/scratches. Apply metal sealant if needed. Success: Lasting, fingerprint-resistant finish.
▸Pro Tips
- •Always change sanding direction to spot lingering scratches.
- •Use a flexible backing pad for contoured surfaces.
- •Distilled water prevents mineral deposits.
- •Invest in a grit gauge for precise measurement.
- •Practice on scrap first to dial in pressure/speed.
- •LED inspection light reveals holograms instantly.
- •For high-production, use pneumatic tools for consistency.
▸Common Mistakes to Avoid
- •Skipping grits: Causes deep scratches to show through; always progress 1.5-2x finer.
- •Dry sanding metal: Leads to clogging and overheating; always use wet method.
- •Inconsistent pressure: Creates uneven finish; maintain light, even strokes.
- •Dirty workspace: Contaminates finer stages; clean thoroughly between grits.
- •Ignoring direction changes: Hides scratches; rotate 90° each step.
▸Troubleshooting
Problem: Holograms or swirl marks appear
Solution: Step back one grit and re-sand evenly; use slower speed.
Problem: Finish dulls quickly
Solution: Apply protective wax/sealant; avoid abrasive cleaners post-polish.
Problem: Paper clogs rapidly
Solution: Increase water flow; rinse paper under running water every 30 seconds.
Problem: Overheating/warping
Solution: Reduce RPM to <300; more frequent water breaks. Seek pro if warping persists.
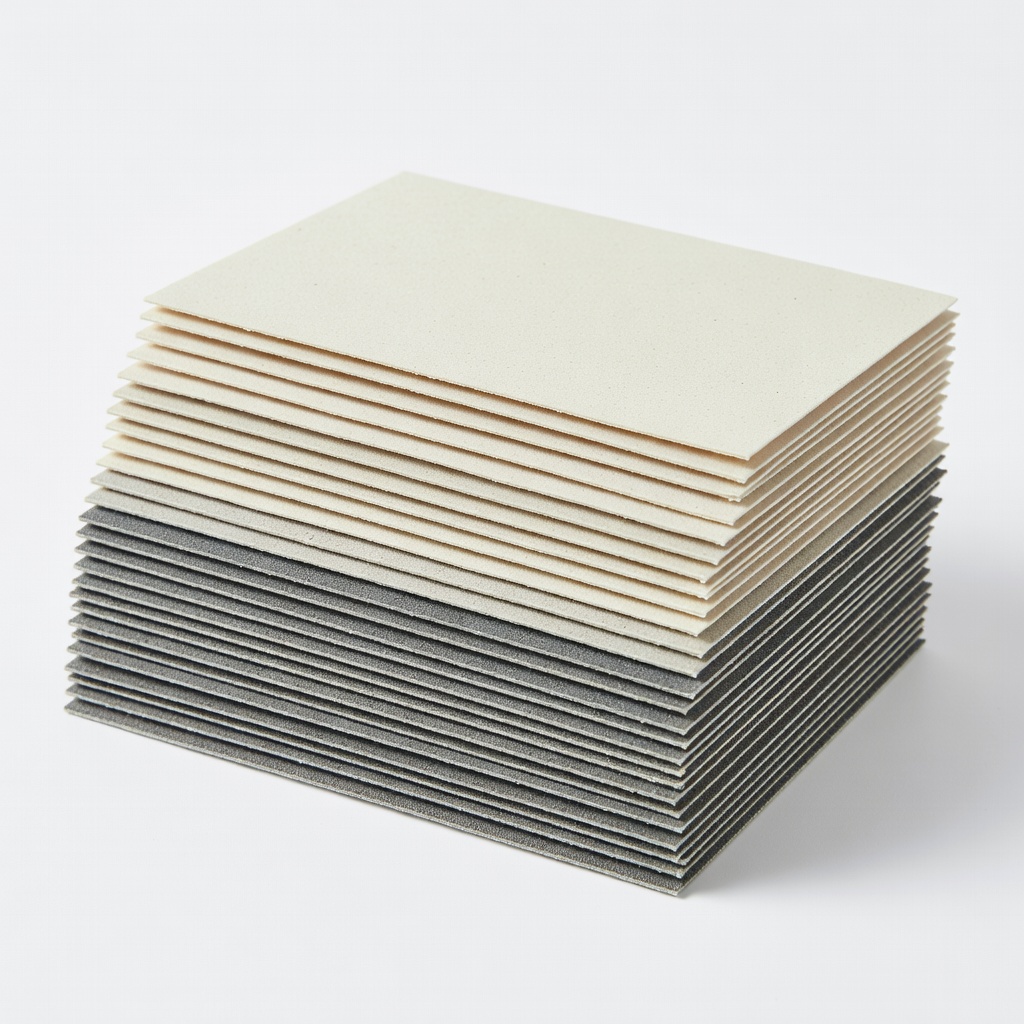
uxcell Wet Dry Sandpaper Assortment 100-3000 Grit (50 Sheets)
Provides full progression range for wet sanding metal; waterproof silicon carbide cuts fast without tearing.
Best for: Core sanding stages from coarse to fine on flat/curved surfaces.
Price Range: $14.99
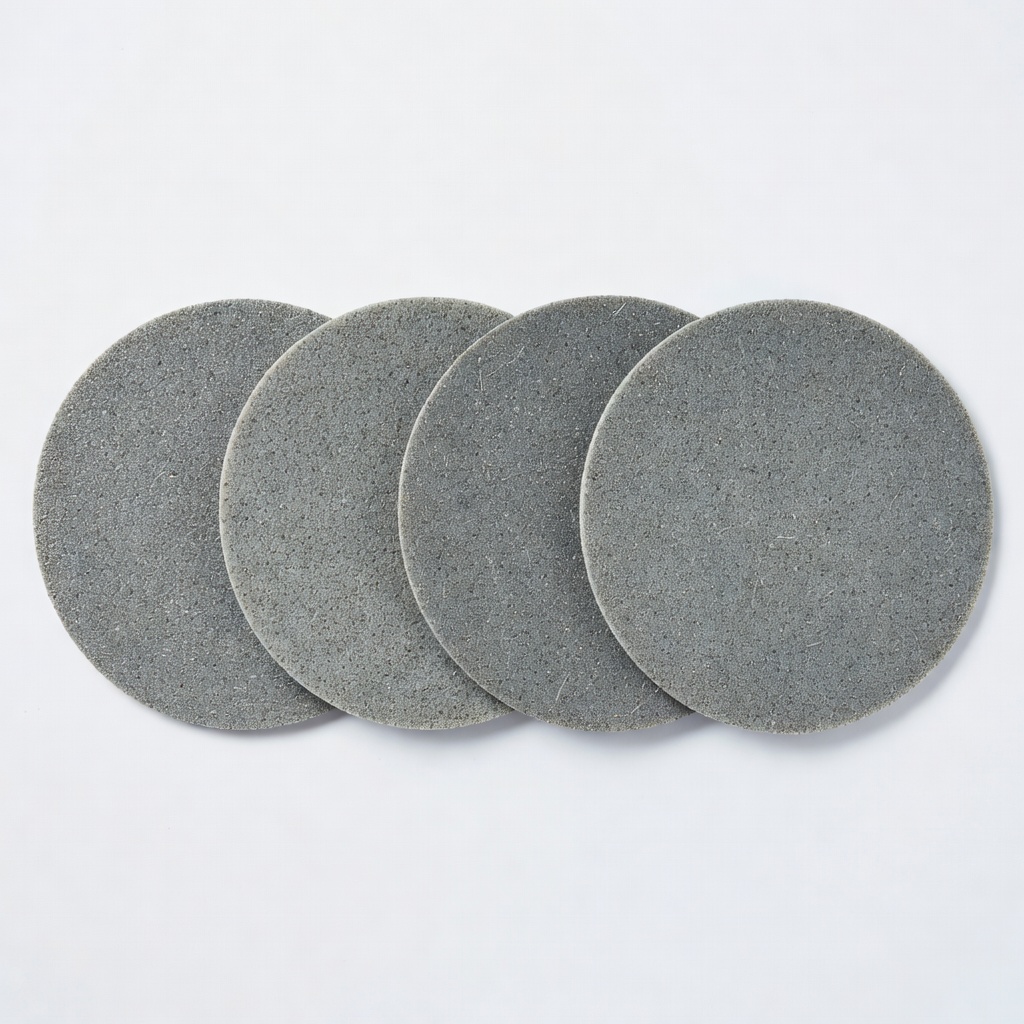
3M Abralon Discs 6" (Pack of 4, 400, 800, 1200, 2000 Grit)
Hook-and-loop design for easy progression; pyramid structure self-levels for uniform finish.
Best for: Mid-to-fine sanding on polishers/DA sanders for stainless or aluminum.
Price Range: $35-45
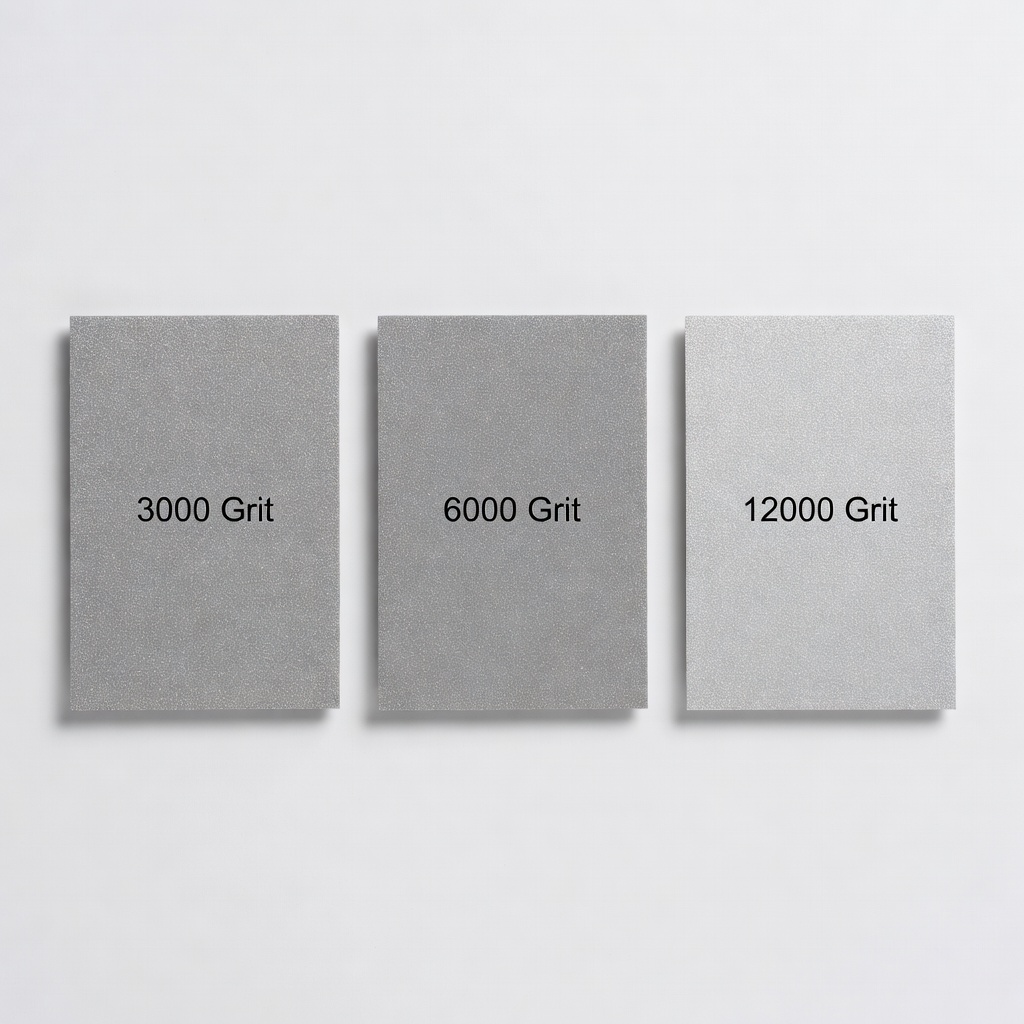
DMT Dia-Sharp Diamond Lapping Film Kit (3000, 6000, 12000 Grit)
Extra-fine diamond abrasive for haze-free pre-polish; long-lasting vs. paper.
Best for: Ultra-fine stages before compounding on precision parts.
Price Range: $50-70
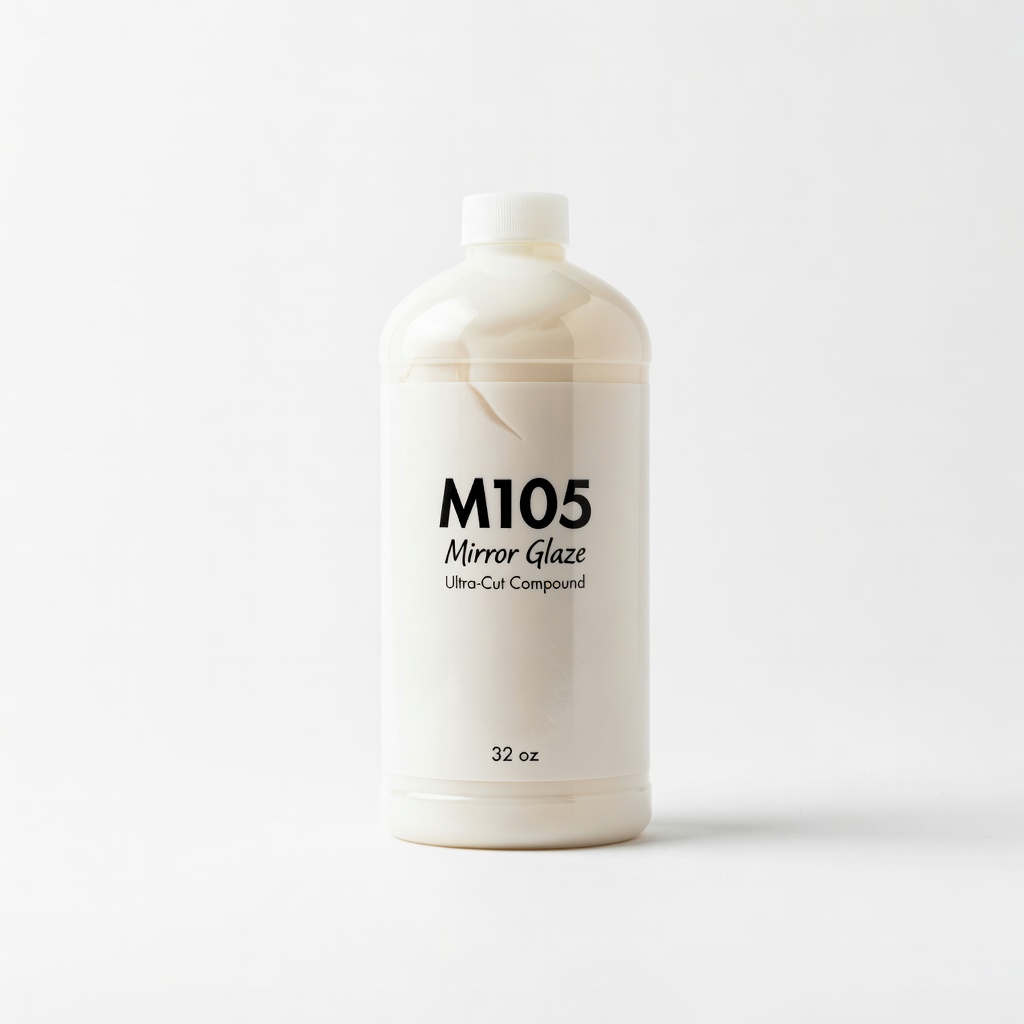
Meguiar's M105 Mirror Glaze Ultra-Cut Compound (32 oz)
Diminishing abrasives bridge sanding to polish; removes 1200+ grit marks quickly.
Best for: Heavy cutting after fine sanding for mirror prep.
Price Range: $25.99
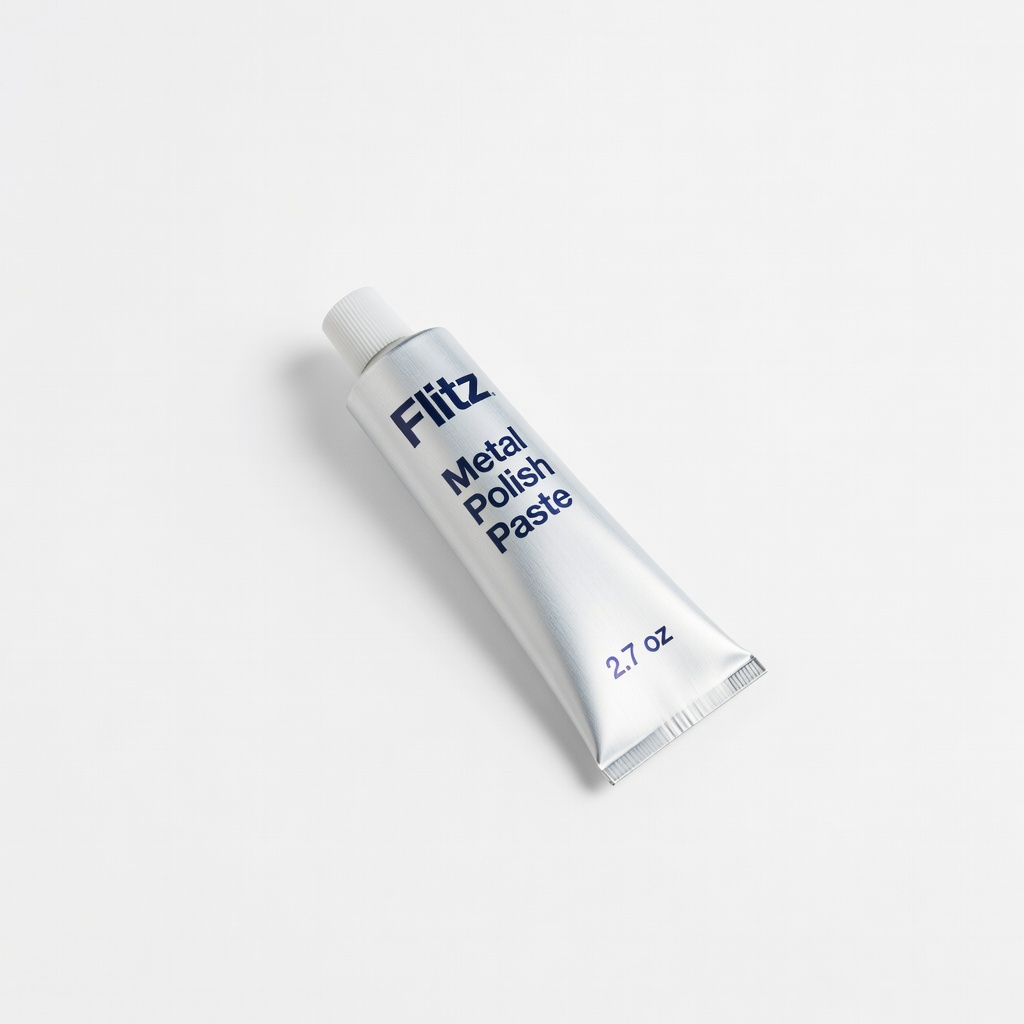
Flitz Metal Polish Paste (2.7 oz Tube)
Final gloss compound safe for all metals; non-abrasive for maintenance.
Best for: Last buffing stage and touch-ups.
Price Range: $11.99