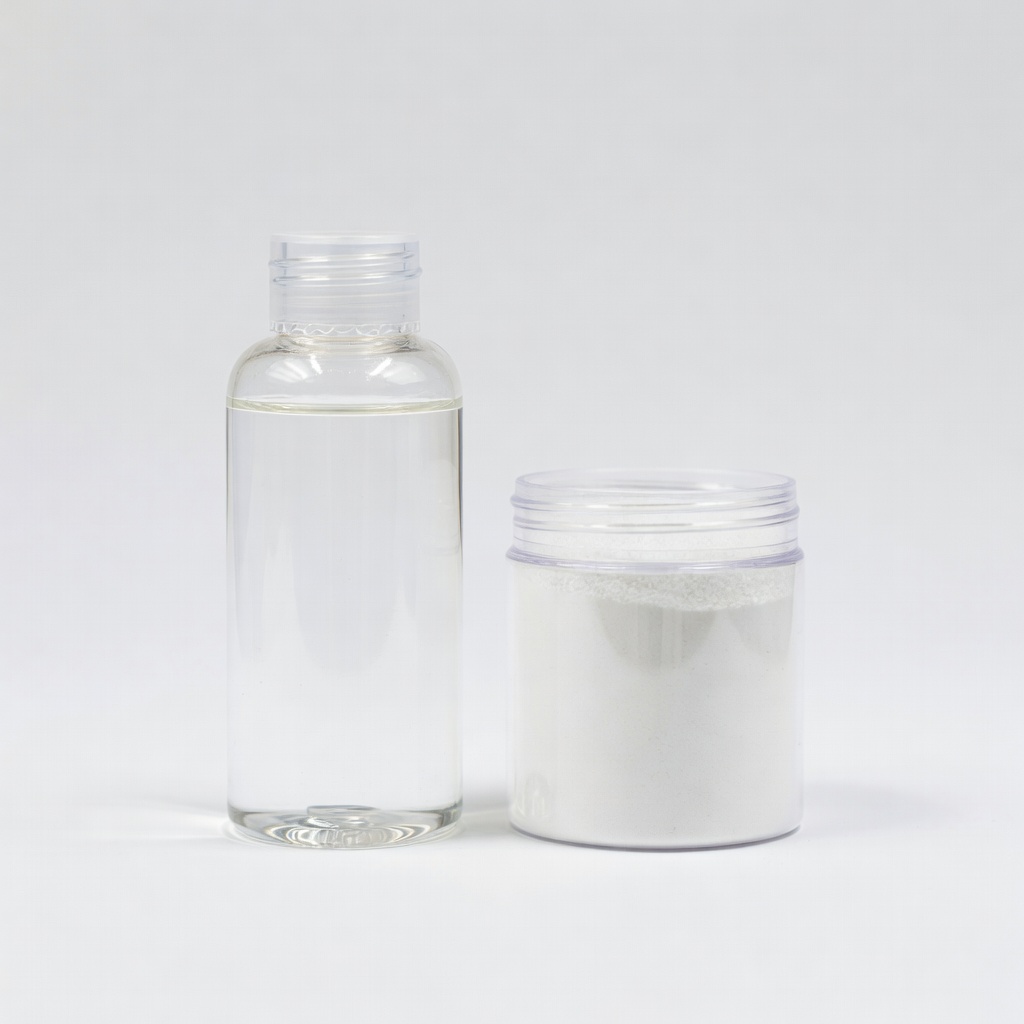
Modelones Acrylic Powder and Liquid Set (120ml)
Ideal for beginners practicing ratios on full sets.
$15.99
Modelones Acrylic Powder and Liquid Set (120ml) Finely milled powder and low-odor monomer mix perfectly for crack-free beads.
Get the App
Better experience on mobile
Learn beginner-friendly techniques to mix, apply, and care for acrylic powders and liquids for durable, crack-free manicures that last 3+ weeks.
Cracks in acrylic nails are a common frustration for beginners, leading to chipped looks and wasted time redoing your mani. Whether you're doing at-home nails or just starting nail art, preventing cracks ensures strong, beautiful results that hold up to daily wear.
In this guide, you'll learn proven steps to avoid cracking from improper mixing, application errors, and aftercare neglect. We'll cover everything from product selection to filing techniques, so your acrylics stay flawless. Expect to master prevention in one practice session—no advanced skills needed.
Total process takes 45-60 minutes per full set, with immediate improvements in nail strength.
Estimated Time: 45-60 minutes per full manicure set Difficulty: beginner
Start with professional-grade products to prevent chemical imbalances that cause cracks. Low-quality powders absorb unevenly, leading to weak bonds.
Look for non-yellowing monomer and finely milled powder. Test consistency by dipping your brush—good products form a smooth bead without stringiness.
Success looks like: Powder dissolves fully into liquid without lumps, creating a glossy patty.
💡 Tips:
⚠️ Warnings:
Clean, oil-free nails are crucial—moisture and oils weaken acrylic adhesion, causing lifts and cracks.
Remove old polish, push back cuticles, and buff the nail plate lightly. Apply dehydrator/primer to etch the surface.
Success looks like: Nails feel rough to touch (primed) but not damaged, no shine left.
💡 Tips:
⚠️ Warnings:
The #1 crack cause is wrong ratios. Use 1:2 (powder:liquid) for apex consistency—a firm but malleable bead.
Dip brush in liquid, wipe on dish edge, pick up powder to form a marble-sized bead. Let it sit 5-10 seconds to reach 'coffee stirring' stage.
Success looks like: Bead spreads smoothly without running or cracking when patted.
💡 Tips:
Thick layers shrink unevenly during curing, creating stress cracks. Apply 2-3 thin beads per nail.
Pat first bead at apex for strength, smooth toward cuticle and free edge. Overlap slightly for seamless bond.
Success looks like: Even, C-curve shape with no high spots or puddles.
⚠️ Warnings:
Over-filing thins acrylic, making it prone to cracks. File from 180 grit to shape, then 240 grit buffer.
Follow nail contours, blend seams. Seal edges to prevent peeling.
Success looks like: Glassy smooth surface, strong but flexible to light flex.
💡 Tips:
Acrylic cures via evaporation; rushed drying stresses it. Allow full cure (10-15 min), then apply cuticle oil.
Avoid water for 2 hours. Moisturize hands daily.
Success looks like: Nails feel hard, no tacky layer, flexible without snapping.
⚠️ Warnings:
Daily habits prevent environmental cracks. Use gloves for chores, avoid harsh chemicals.
Re-oil cuticles weekly, refill every 2-3 weeks.
Success looks like: Nails intact after 3 weeks of wear.
Problem: Bead cracks during mixing
Solution: Ratio off—increase powder slightly; ensure monomer is fresh.
Problem: Cracks appear after 1-2 days
Solution: Poor prep—re-prep nails next time; check for oils.
Problem: Yellowing and cracking
Solution: Low-quality monomer—switch to professional brand.
Problem: Lifting at cuticle
Solution: Over-push cuticles or no primer—be gentler.
Finely milled powder and low-odor monomer mix perfectly for crack-free beads.
Best for: Ideal for beginners practicing ratios on full sets.
Price Range: $15.99
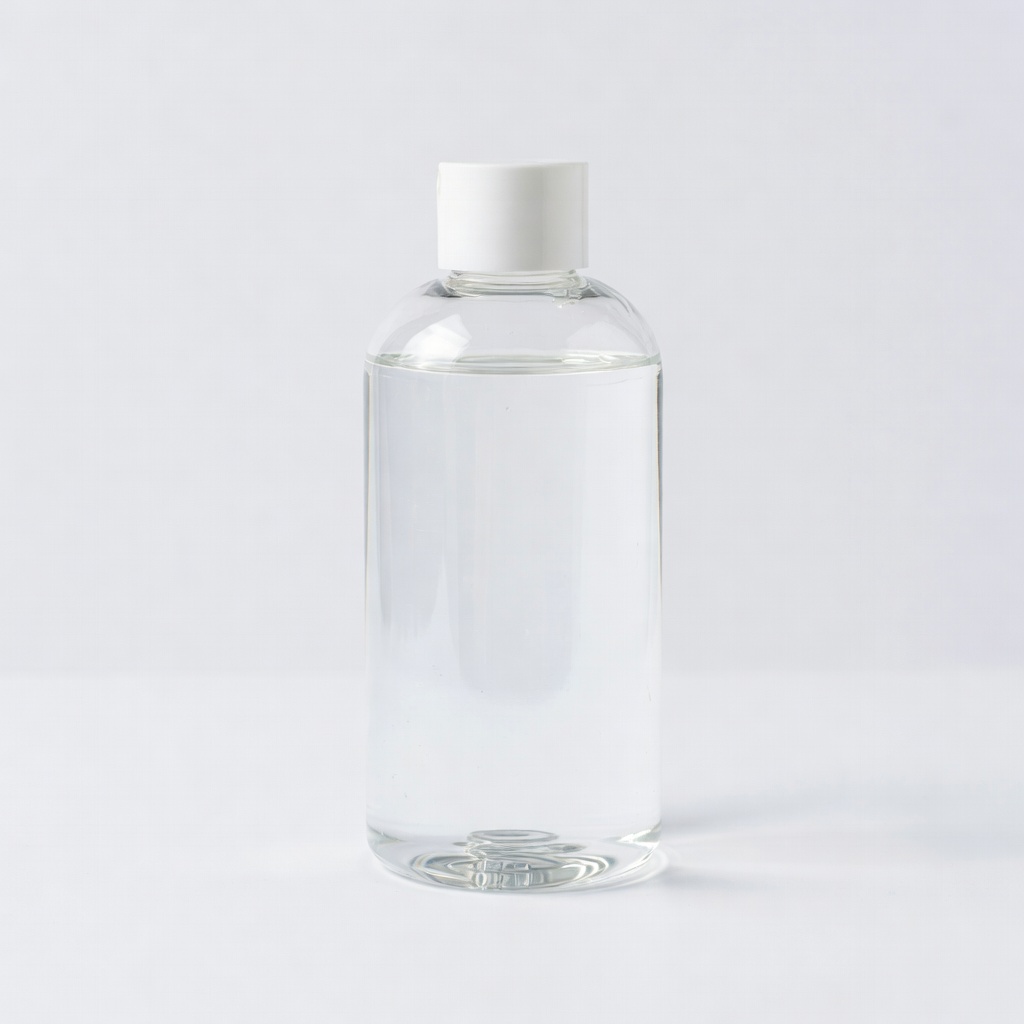
High-quality, non-yellowing formula prevents brittleness and cracking.
Best for: Daily use for strong, long-lasting acrylics.
Price Range: $19.99
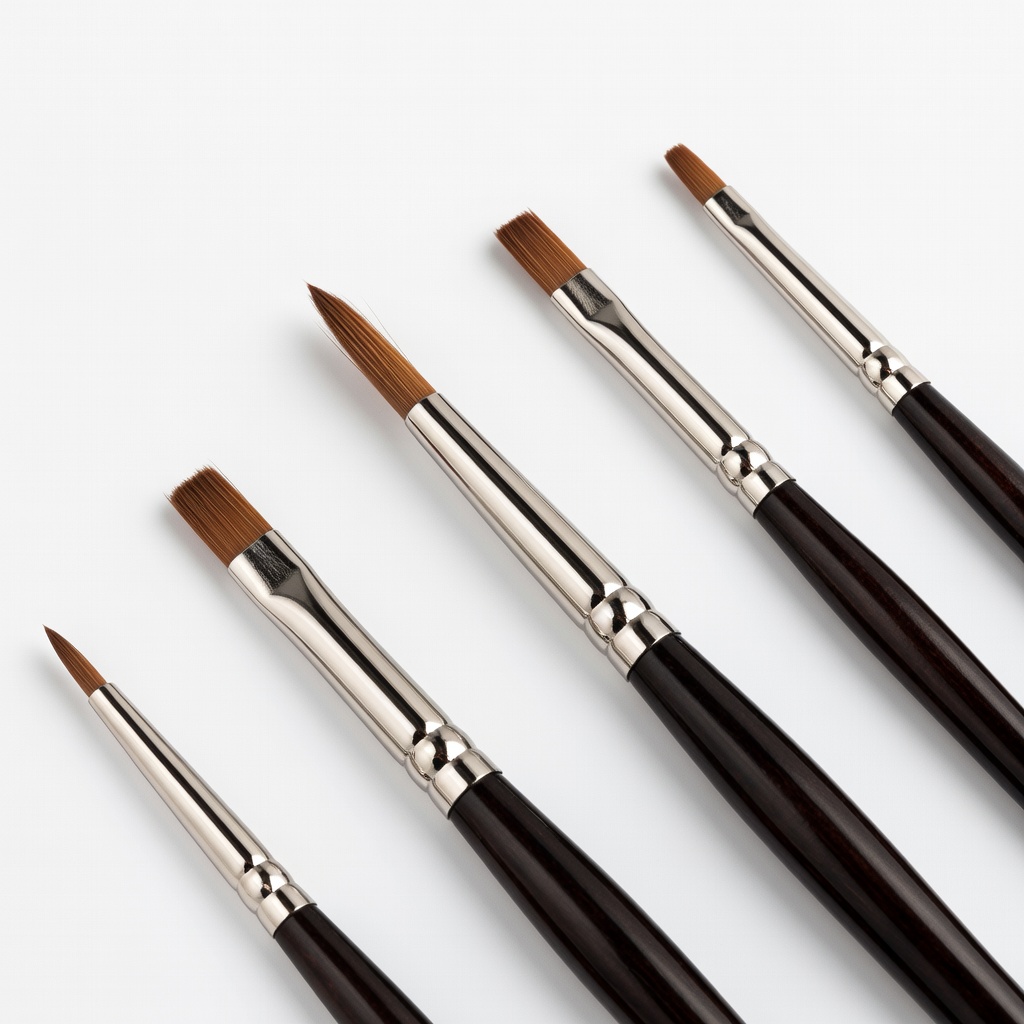
Precision tips control liquid pickup for perfect ratios every time.
Best for: Accurate bead formation to avoid runny or dry mixes.
Price Range: $9.99
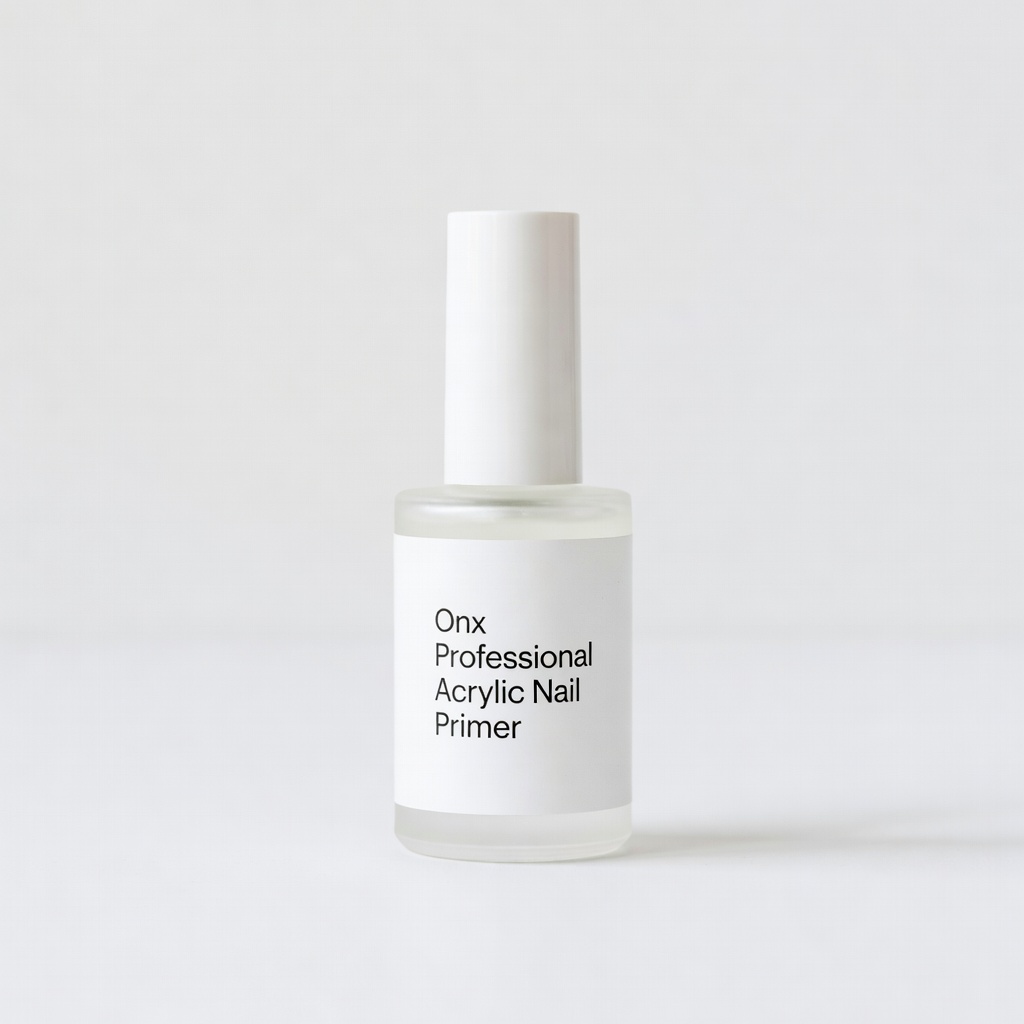
Acid-free dehydrator ensures oil-free adhesion, stopping lifts and cracks.
Best for: Prep step for all acrylic applications.
Price Range: $7.99
Ideal for beginners practicing ratios on full sets.
Modelones Acrylic Powder and Liquid Set (120ml) Finely milled powder and low-odor monomer mix perfectly for crack-free beads.
Daily use for strong, long-lasting acrylics.
Elite 99 Professional Acrylic Liquid Monomer (16oz) High-quality, non-yellowing formula prevents brittleness and cracking.
Accurate bead formation to avoid runny or dry mixes.
Beetles Acrylic Nail Brush Set (Size 8 Kolinsky) Precision tips control liquid pickup for perfect ratios every time.
Prep step for all acrylic applications.
Onyx Professional Acrylic Nail Primer Acid-free dehydrator ensures oil-free adhesion, stopping lifts and cracks.