Blisters are the most common hiking injury—affecting everyone from newbies to experienced trekkers. They form when friction, heat, and moisture combine, causing the outer layer of skin to separate and fill with fluid. The good news: with a few smart habits and the right gear, you can prevent blisters almost entirely.
In this guide, you'll learn a step-by-step approach to preventing blisters, from choosing the right boots and socks to staying dry and treating hot spots early. We'll also share product recommendations and answer common questions. By the time you hit the trail, your feet will be prepped for miles of comfortable hiking.
▸What You'll Need
- •Well-fitting hiking boots or trail runners (broken in)
- •Moisture-wicking socks (merino wool or synthetic, seamless)
- •Thin sock liners (optional, for double-sock system)
- •Blister prevention balm (e.g., Body Glide, Foot Glide)
- •Moleskin, leukotape, or blister plasters
- •Small scissors for trimming tape and toenails
- •Foot powder (optional, for wet conditions)
- •A small water bottle or cloth for rinsing/drying feet
- •Spare socks for long hikes
Estimated Time: 15–30 minutes of pre-hike preparation; plus a boot break-in period of 1–2 weeks.
Difficulty: beginner
▸Step-by-Step Instructions
Step 1: Choose the Right Hiking Footwear
Your first line of defense is footwear that actually fits. Many people buy boots that are too small or too narrow, which creates pressure points and friction. Shop for boots at the end of the day when your feet are naturally slightly swollen.
When trying on boots, wear the same sock thickness you plan to hike in. You should have about a thumb's width of space between your longest toe and the front of the boot. Your heel should stay in place when you walk, and the sides shouldn't pinch. Be mindful of the shape of your foot—some brands are wider, some narrower.
Aim for boots from reputable outdoor brands that are known for comfort and durability. If you prefer hiking in trail runners, apply the same fitting rules. The key is that the footwear follows your foot's natural movement and offers enough room to accommodate swelling on long hikes.
💡 Tips:
- •Buy from a store with a good return policy so you can test boots around the house before committing.
- •Waterproof boots help keep feet dry in wet conditions, but they can also make your feet sweat more—choose based on your climate.
⚠️ Warnings:
- •Avoid buying brand-new boots just before a long hike. They need time to break in and conform to your feet.
Step 2: Break In Your Boots Gradually
New boots have stiff material and sharp internal seams that can rub against your skin. Breaking them in slowly shapes the materials to your feet and reduces stiff spots.
Start by wearing your boots around the house for a few hours each day. Then take short walks of 20–30 minutes on easy terrain. Gradually increase the distance and difficulty over a week or two. This process lets you identify potential hot spots before you're far from a trailhead.
If you notice a specific area rubbing, use moleskin or tape on your foot before the next wear. As the boots soften, that spot should become less prominent.
💡 Tips:
- •Wearing boots in wet conditions then letting them dry can help speed up the molding process (do this with leather boots, not synthetic).
- •Use a boot dryer or stuff with newspaper to dry faster between walks.
⚠️ Warnings:
- •Do not skip the break-in process. Jumping straight into a long hike with stiff boots is a guaranteed recipe for blisters.
Step 3: Wear the Right Socks
Cotton socks are the worst choice for hiking—they absorb sweat, lose their shape, and become abrasive when damp, which increases friction. Instead, choose socks made of merino wool, synthetic fibers, or a blend. Merino wool is naturally temperature-regulating, moisture-wicking, and odor-resistant, making it ideal for most hikes.
Look for socks with a seamless toe and no bulky seams that could create pressure points. The thickness should match your boot. In warmer weather, thinner socks are fine, but in heavy boots, a thicker cushioned sock can reduce impact.
For very cold conditions, consider a mid-weight merino sock. For ultralight trail running, a thin synthetic sock works well. The right sock keeps your feet dry and reduces the friction that causes blisters.
💡 Tips:
- •Carry a second pair of socks in your pack and change into them when your feet get sweaty or if your socks get wet.
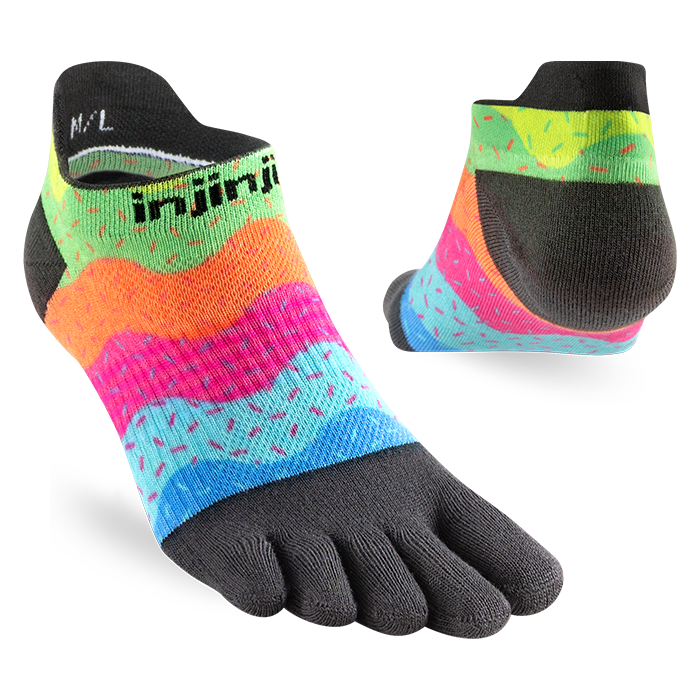
- •Try toe socks—they separate each toe and prevent friction between toes, which is great for blisters between digits.
⚠️ Warnings:
- •Never hike in cotton socks. Even if they feel fine at first, they quickly become sweaty and hot.
Step 4: Try Sock Liners or Double-Socking
A thin synthetic liner sock worn under a padded outer sock is a time-tested way to prevent blisters. The liner wicks moisture away from your skin, while the outer sock provides cushioning and absorbs friction. This double-layer system reduces the force on your skin.
If you don't want a second sock, consider toe socks like Injinji—they were developed specifically to prevent blisters by eliminating toe-to-toe friction. They also wick moisture and can be worn while canoeing or in warm weather.
Liners work best when they're snug but not tight. They shouldn't wrinkle. If you prefer a single sock, choose a high-quality pair that fits your foot precisely and has no irritating seams.
💡 Tips:
- •Some hikers use the double-sock technique even in summer—just make sure the liners are very thin.
- •Test your liner/outer combo before a short hike to make sure the fit inside your boot isn't too snug.
⚠️ Warnings:
- •Avoid loose, wrinkled liners—they create new folds that can cause blisters.
Step 5: Keep Your Feet Dry
Moisture softens the skin, making it more prone to friction and tearing. Sweat is the main culprit, but rain, stream crossings, and humidity also add moisture. Wearing moisture-wicking socks helps, but you also need to be proactive about keeping your feet dry.
If you know you have sweaty feet, dust your feet with foot powder before putting on socks. Some hikers use antiperspirant on their feet to reduce sweating. On longer hikes, change your socks once or twice a day—especially if they feel damp.
Take off your boots at rest breaks and let your feet air out for a few minutes. If you're hiking in consistently wet conditions, gaiters can keep water and debris out of your boots.
💡 Tips:
- •Carry a small bandana or microfiber cloth to dry your feet when you change socks.
- •If you have wet boots from a stream crossing, change your socks and let your boots dry on the outside of your pack while you eat lunch.
⚠️ Warnings:
- •Do not use too much foot powder—it can clump and cause friction. A light dusting is all you need.
Step 6: Apply Blister Prevention Balm or Tape
Before your hike, apply a blister prevention balm (like an anti-chafe stick) to any areas prone to blisters—heels, toes, sides of feet, and between toes. These balms reduce friction and help keep the skin smooth. Glide the balm on a few minutes before pulling on your socks so it sets a bit.
For known problem spots, you can also apply a thin layer of moleskin, leukotape, or even athletic tape. Cut a piece that covers the area smoothly and won't bunch up or wrinkle. Applying tape as a preventive measure works especially well when you know exactly where your boots rub.
Tape and balms are not mutually exclusive—some hikers use balm on the whole foot and tape on high-risk areas.
💡 Tips:
- •Apply tape the night before your hike to allow it to adhere better and not peel off during movement.
- •Use rounded corners when cutting moleskin so the edges don't lift and catch on your socks.
⚠️ Warnings:
- •Do not use regular scissors with a sharp point on your own skin—use bandage scissors or flatten the tip.
Step 7: Lace Your Boots Properly
Proper lacing ensures your foot stays snug but not cranky, prevents it sliding forward, and reduces the friction that creates blisters. A slip in the heel causes blisters at the back of the foot—use a heel-lock (or heel-loose) lacing technique.
To heel-lock, lace your boots normally to the top, then create a loop on each side and cross the lace through the loop to secure the heel. You can also adjust lacing at different zones: looser at the toe, firmer in the middle, and not too tight around the ankle. Boots that are too tight cut off circulation, and boots too loose let your foot slide.
Experiment with lacing until your foot feels stable and comfortable. A properly laced boot should not feel uncomfortable at any pressure point. If you feel persistent pinching, your boots may not fit correctly.
💡 Tips:
- •Learn multiple lacing patterns—the course of a hike may require re-lacing to relieve pressure.
- •Silicone lacing loops or locking hooks can keep laces from slipping during long hikes.
⚠️ Warnings:
- •Do not over-tighten your boots—this can reduce blood flow and cause numbness, which leads to imbalance and blisters.
Step 8: Stop at the First Sign of a Hot Spot
A hot spot is that tender, warm sensation you feel before a blister forms. It's your body's warning sign. If you feel one, stop immediately and take off your boots. Dry your feet thoroughly, remove any debris, and cover the hot spot with a rest room.
💡 Tips:
- •Carry a mini kit in a pocket so you can treat hot spots without digging in your pack.
- •If you don't have tape or plaster, use a piece of duct tape cut to size; it works in emergency.
⚠️ Warnings:
- •Ignoring a hot spot will almost always result in a blister that can ruin your hike or worse—become infected.
Step 9: Trim Toenails and Keep Feet Clean
Long toenails press against the front of your boots, causing subungual blister or black toenail. Trim toenails straight across with a clipper, without rounding the edges. Ideally, cut them just above the tip of your toe. Not too short, just even.
Clean feet are less prone to blisters—dirt and grit can cause friction. Wash your feet as part of your daily routine and make sure they're completely dry before putting on socks. If you have calluses or any rough skin, you can gently buff them with a pumice stone, but don't overdo it—over-buffing can make the skin tender.
💡 Tips:
- •Carry a pair of nail clippers in your first-aid kit for unexpected issues on the trail.
- •After a hike, wash your feet, dry them well, and apply lotion if you have any cracking.
⚠️ Warnings:
- •Leave a little extra length on toenails when hiking in cold weather—it helps protect the nail bed from impact.
Step 10: Pack a Blister First-Aid Kit
Even with the best prevention, blisters can still happen. Be prepared to treat them. Your kit should include: moleskin or leukotape, sterile blister plasters, alcohol wipes, antiseptic cream, bandages, scissors, a safety pin (for draining, if needed), and a small roll of duct tape.
Know how to use these: For a hot spot, cover with tape or plaster. For a fresh blister under pressure, some experts recommend draining it with a sterilized needle while leaving the skin intact. Then clean the area, apply antiseptic, and cover with blister plaster.
Carry this kit every time you hike, even on a short day trip. It's lightweight and can save you a lot of pain.
💡 Tips:
- •Use a small bag or pouch specifically for your blister kit—keep it easy to reach.
- •Waterproof your kit with a Ziploc bag so everything stays dry.
- •Practice using a blister plaster at home so you know how to apply it well.
⚠️ Warnings:
- •If a blister looks infected (redness, swelling, pus, warm to the touch), you should see a doctor as soon as you can.
▸Pro Tips
- •Wear your boots around the house for 1-2 hours daily for at least a week before hiking in them.
- •Rotate two pairs of socks—use one in the morning and the other in the afternoon to reduce moisture.
- •If you have one blister-prone area, apply a small proactive piece of tape before you start.
- •Use foot powders that don't contain cornstarch—some hikers find cornstarch creates clumps.
- •Take off your boots during long lunch stops to let your feet breath and dry naturally.
- •Choose a loose lacing and re-tie after your feet swell mid-hike.
- •When hiking to water, use waterproof boots or gaiters to keep your feet dry.
- •Break in new boots with the same socks you'll wear hiking.
▸Common Mistakes to Avoid
- •Wearing cotton socks because they feel soft—cotton absorbs moisture and creates friction.
- •Buying boots too small to look 'snug'—they cause constant pressure and blisters.
- •Skipping the break-in period—new boots are stiff and unforgiving.
- •Blaming boots for blisters when the real cause is improper lacing.
- •Popping blisters as soon as they form, which can lead to infection if not done cleanly.
▸Troubleshooting
Problem: A hot spot appears mid-hike.
Solution: Stop, dry the area, apply a thin layer of tape or a blister plaster before it turns into a blister.
Problem: You feel your foot sliding in your boot.
Solution: Re-lace your boots using the heel-lock technique to secure your ankle and stop the slide.
Problem: You get blisters between your toes.
Solution: Use toe socks or a small piece of tape between toes. Make sure your boots are roomy enough to allow toe spread.
Problem: Your feet sweat excessively.
Solution: Apply an antiperspirant to your feet, use foot powder, and consider footwear with better ventilation.
Problem: You start to see a blister despite prevention.
Solution: If it's small and not painful, cover it with a blister plaster. If it's large and painful, drain it with sterilized needle (keeping skin intact), clean, and cover. See a professional if signs of infection.
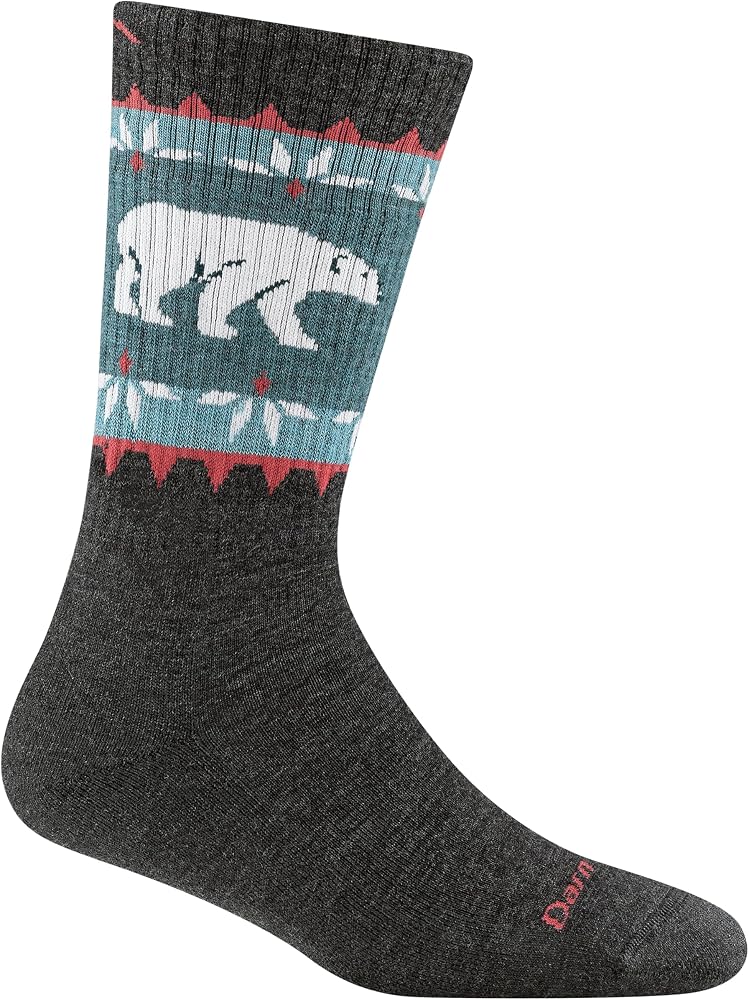
Merino Wool Hiking Socks (e.g., Darn Tough, Smartwool)
Merino wool wicks moisture, regulates temperature, and resists odor. Seamless construction prevents friction.
Best for: Wear them as your outer sock in all seasons; choose weight based on boot and weather.
Price Range: $15–$30 per pair
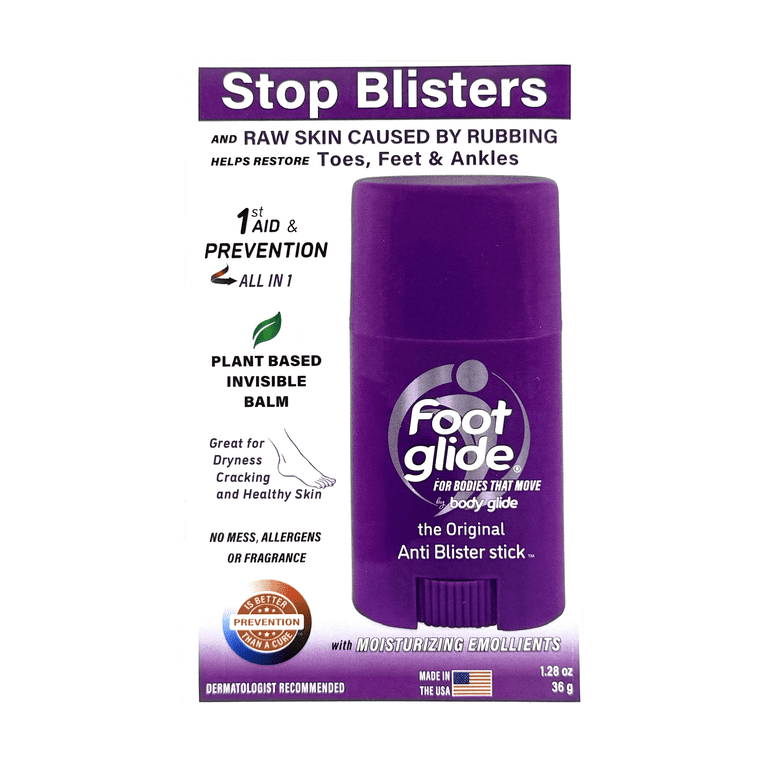
Body Glide Foot Glide Anti-Blister Balm
A dedicated foot formula that prevents friction and sweating, reducing hot spots and blisters.
Best for: Apply generously to heels, toes, and any other friction-prone areas before putting on socks.
Price Range: $8–$12
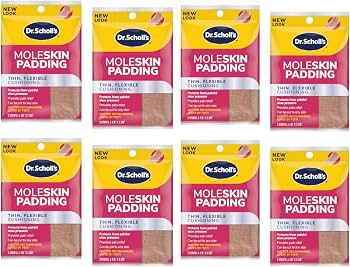
Moleskin Sheets (e.g., Dr. Scholl's Moleskin)
Classic barrier that protects hot spots and existing blisters. Easily cut to shape.
Best for: Cut a piece larger than the hot spot and apply directly; use a thin layer to avoid bunching.
Price Range: $5–$10
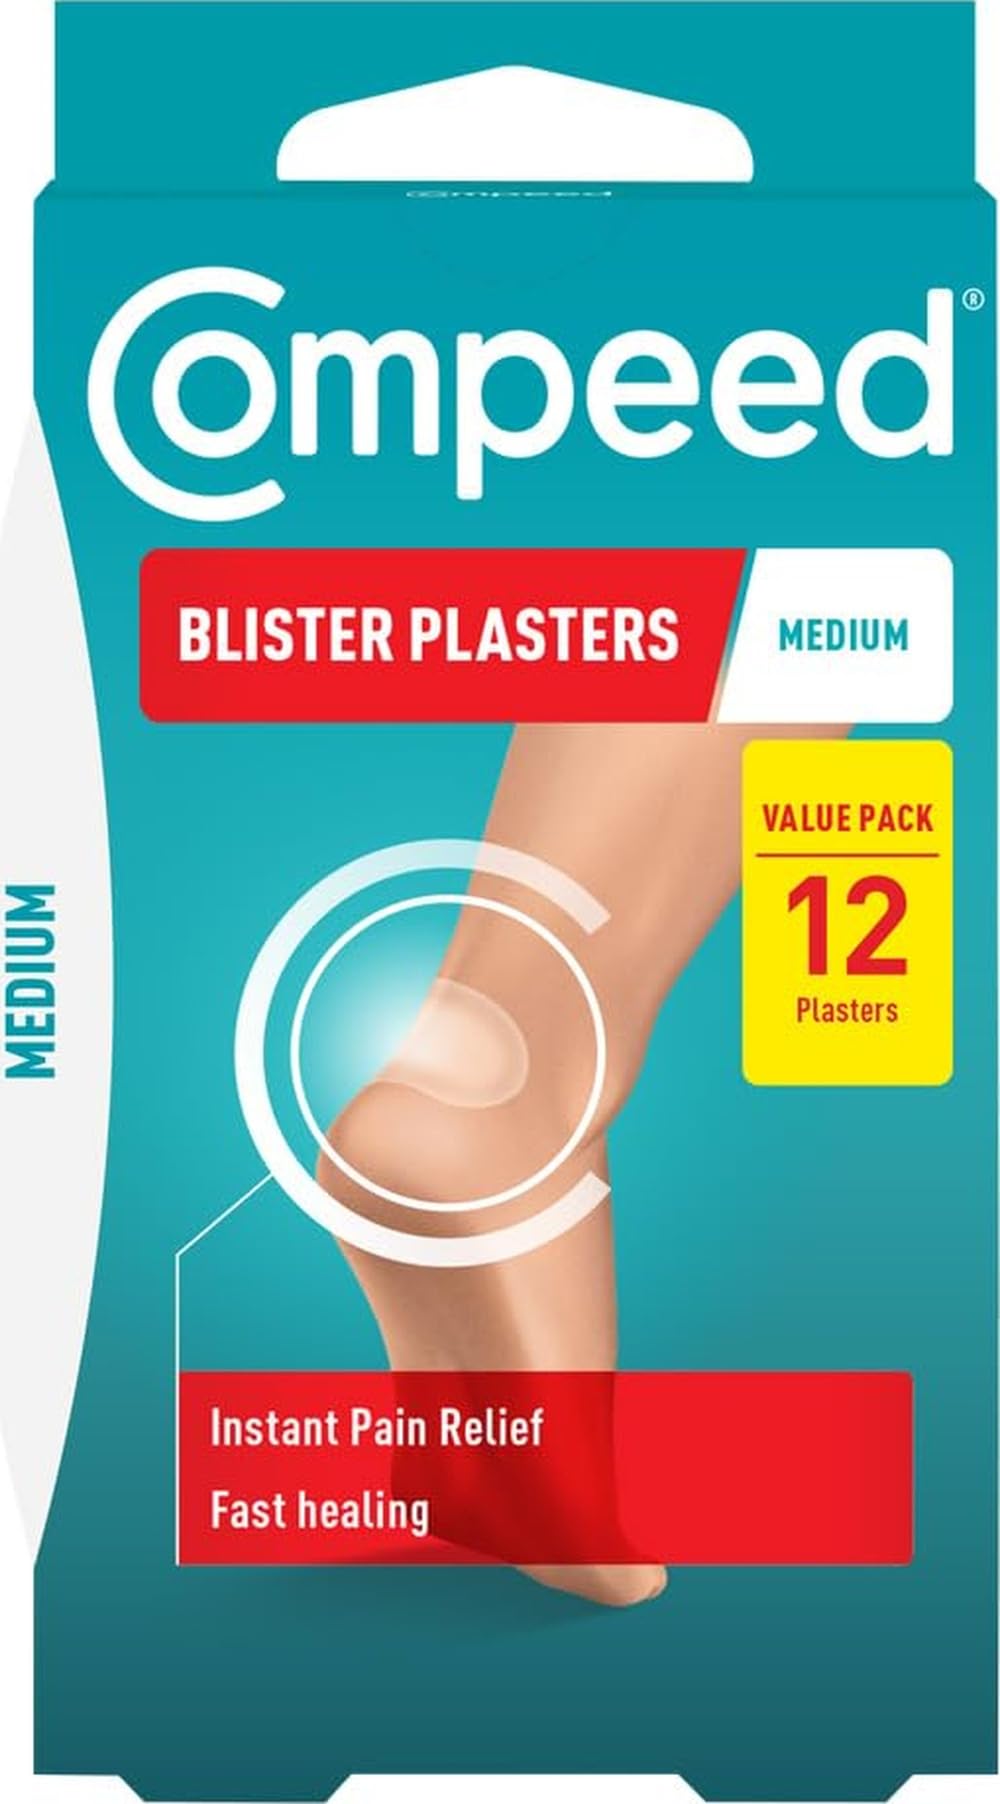
Compeed Blister Plasters
Advanced hydrocolloid plasters that adhere well, cushion the blister, and reduce pain while speeding up healing.
Best for: Place directly on a blister or hot spot; leave on for several days until it peels off naturally.
Price Range: $10–$15
Injinji Toe Socks
Designed specifically to prevent blisters by separating toes, reducing friction, and wicking moisture.
Best for: Wear as liner socks or alone in minimalist shoes; perfect for hikers prone to toe blisters.
Price Range: $15–$20