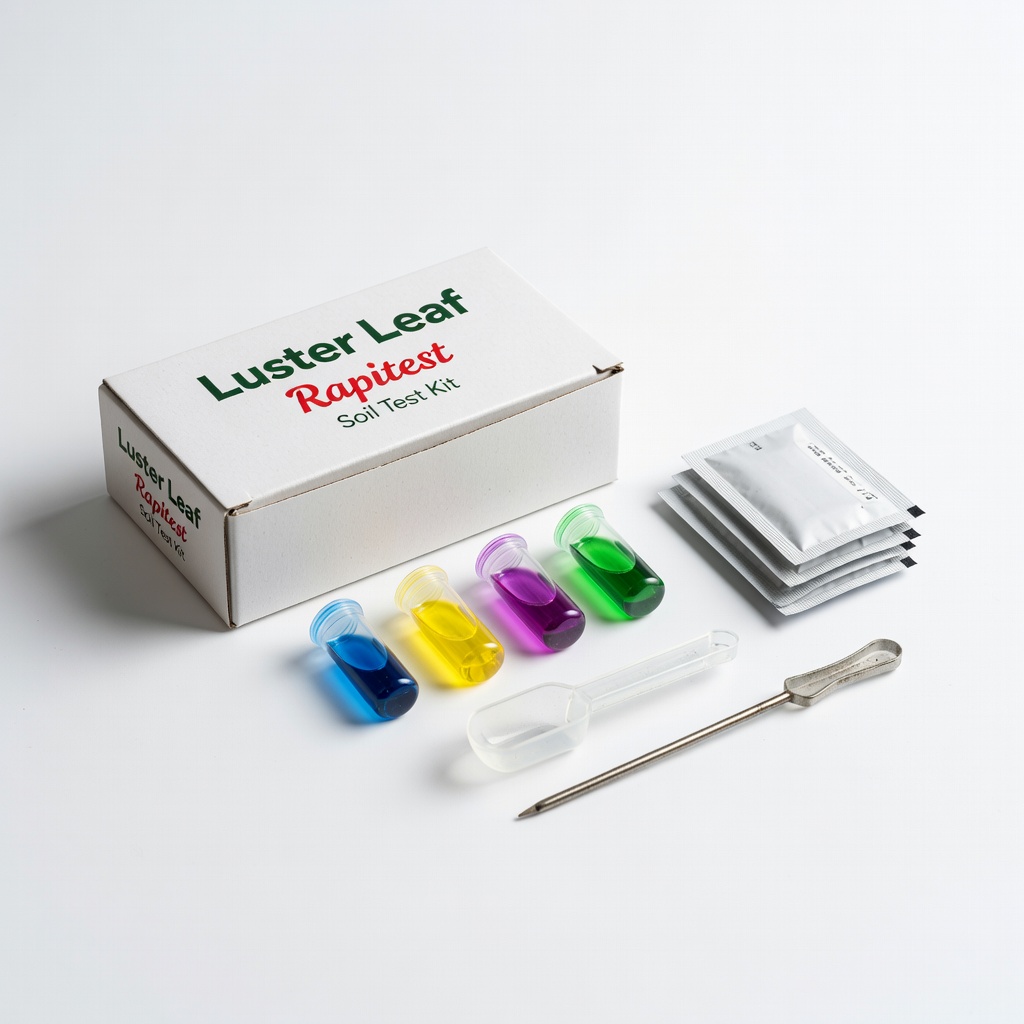
Luster Leaf Rapitest Soil Test Kit
Use before and after prep to ensure soil is vegetable-ready.
$15-$20
Luster Leaf Rapitest Soil Test Kit Accurate and easy-to-use for checking pH and key nutrients, essential for targeted amendments.
Get the App
Better experience on mobile
Master soil preparation to create nutrient-rich beds that boost vegetable yields and garden health in just a few hours.
Preparing soil for vegetable gardening is crucial because poor soil leads to weak plants, low yields, and wasted effort. Many gardeners skip this step, only to face stunted growth or pest issues later. By amending your soil properly, you'll create a fertile foundation that supports robust roots and abundant harvests.
In this guide, you'll learn how to test, till, and enrich your soil for optimal vegetable growth. We'll cover everything from assessing your current soil to adding the right amendments, tailored for intermediate gardeners who have some basic planting experience. The process focuses on organic methods to build long-term soil health.
Expect to spend 4-6 hours over one or two days, depending on your garden size. It's intermediate difficulty, involving physical labor like digging and testing, but rewarding with healthier plants from the start.
Estimated Time: 4-6 hours over 1-2 days Difficulty: intermediate
Select a sunny spot with at least 6-8 hours of direct sunlight daily, ideal for most vegetables. Measure out your garden bed—aim for 4x8 feet for beginners to manage. Remove weeds, rocks, and debris by hand or with a hoe to prevent competition for nutrients.
This step matters because a clean site ensures amendments mix evenly without obstacles. Expect a bare, flat area ready for deeper work. If your soil is compacted from foot traffic, lightly rake the surface first.
Tip: Mark boundaries with string and stakes for straight edges.
💡 Tips:
⚠️ Warnings:
Collect soil samples from several spots in your bed (about 6 inches deep) and mix them in a bucket. Use a soil test kit to check pH—vegetables thrive at 6.0-7.0. Also note texture: sandy (drains fast, low nutrients), clay (holds water, poor drainage), or loamy (ideal balance).
Testing is essential to avoid over- or under-amending, which can harm plants. Success looks like clear results on your kit, guiding what to add next. If pH is too acidic (below 6.0), plan for lime; too alkaline (above 7.0), use sulfur.
Expect variations across your yard—retest annually for ongoing health.
💡 Tips:
⚠️ Warnings:
Use a shovel or garden fork to dig 8-12 inches deep, turning the soil to break up clumps. Work in sections, removing roots as you go. For larger areas, consider renting a tiller, but avoid over-tilling to preserve soil structure.
Loosening improves aeration and root penetration, vital for vegetables like tomatoes or carrots. You'll see fluffy, dark soil instead of hard clods— that's success. Do this when soil is moist but not wet, like after light rain.
This step integrates with amending, setting up even distribution.
💡 Tips:
⚠️ Warnings:
Spread 2-4 inches of compost or aged manure over the tilled surface. Use a fork to mix it in thoroughly to the same depth. Organic matter boosts nutrients, improves drainage in clay, and retains moisture in sand.
This builds microbial life for sustained fertility—key for veggies. Expect the soil to look darker and crumbly. For nutrient-poor soil, add more; test results will confirm needs.
Pro Tip: Homemade compost is free and eco-friendly, but store-bought ensures consistency.
💡 Tips:
⚠️ Warnings:
Based on your test, sprinkle lime (for acidic soil) or sulfur (for alkaline) at recommended rates—usually 5-10 lbs per 100 sq ft. Rake it in and water lightly to activate. For veggies like brassicas, add gypsum if calcium is low.
Balancing pH unlocks nutrients; unbalanced soil starves plants. Success: Soil feels workable and smells earthy. Wait 1-2 weeks before planting to let amendments settle.
Monitor with a follow-up test if adjustments are heavy.
💡 Tips:
⚠️ Warnings:
Rake the surface smooth, creating gentle slopes away from the center for drainage. Break up any remaining clumps for a fine tilth. Water the bed lightly to settle everything.
A level bed prevents water pooling and ensures even planting. You'll have a uniform, ready-to-plant surface—that's your goal. Let it rest 24-48 hours.
This final touch prepares for seeds or transplants.
💡 Tips:
⚠️ Warnings:
After planting, check soil moisture weekly and re-amend annually. Mulch with straw to protect structure. Rotate crops to prevent nutrient depletion.
Ongoing care sustains fertility for future seasons. Expect thriving plants with deep green leaves and steady growth as signs of success.
💡 Tips:
⚠️ Warnings:
Problem: Soil remains too compacted after tilling
Solution: Add more organic matter and re-till lightly; consider gypsum for clay. If persistent, build raised beds.
Problem: pH won't adjust after amendments
Solution: Retest after 4-6 weeks; soil changes slowly. Apply in smaller doses next time and water well.
Problem: Poor drainage leading to puddles
Solution: Incorporate coarse sand or perlite; elevate beds if site is low. Seek pro help for severe grading issues.
Problem: Nutrient deficiencies show in plants
Solution: Do a follow-up soil test; add targeted fertilizers like bone meal for phosphorus. Consult extension services for diagnosis.
Accurate and easy-to-use for checking pH and key nutrients, essential for targeted amendments.
Best for: Use before and after prep to ensure soil is vegetable-ready.
Price Range: $15-$20
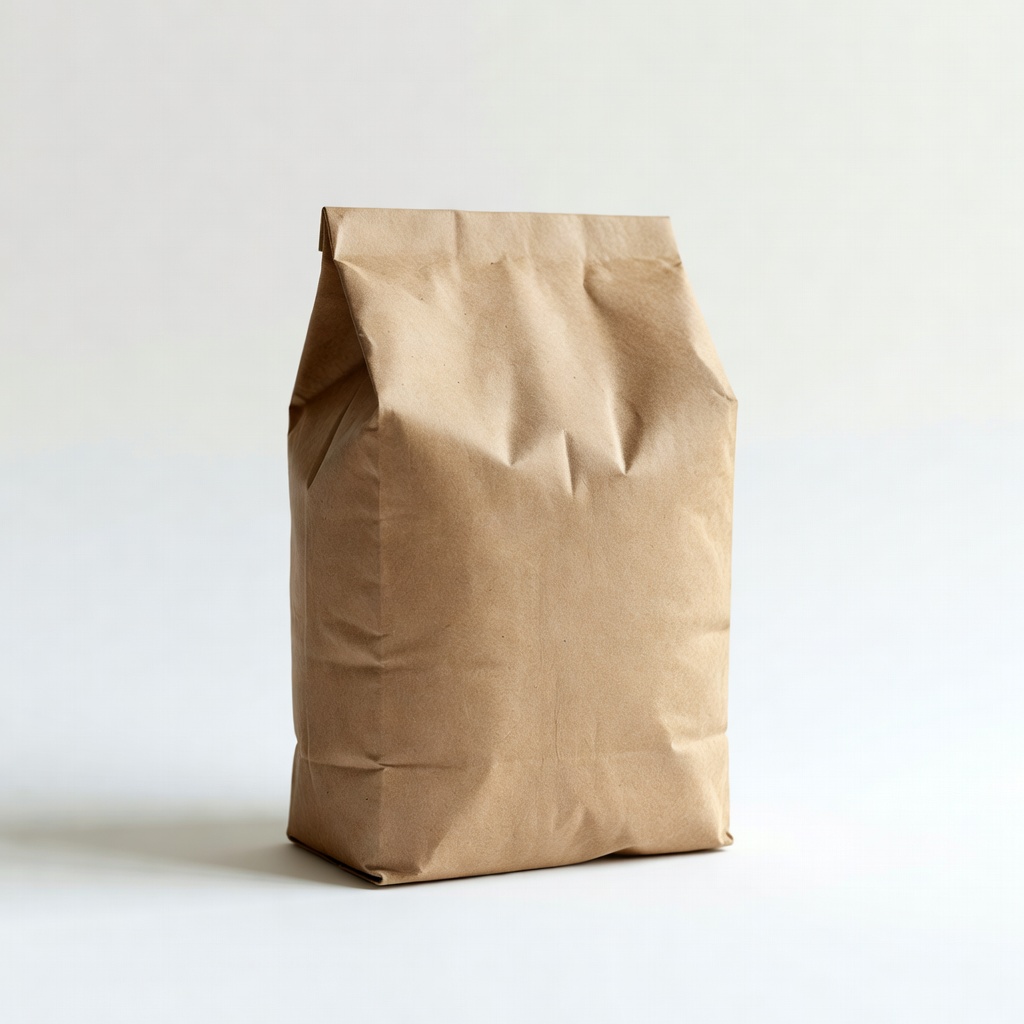
Nutrient-rich organic amendment that improves soil structure without burning plants.
Best for: Spread 2-4 inches to boost fertility in new or depleted beds.
Price Range: $8-$12 per 50 lb bag
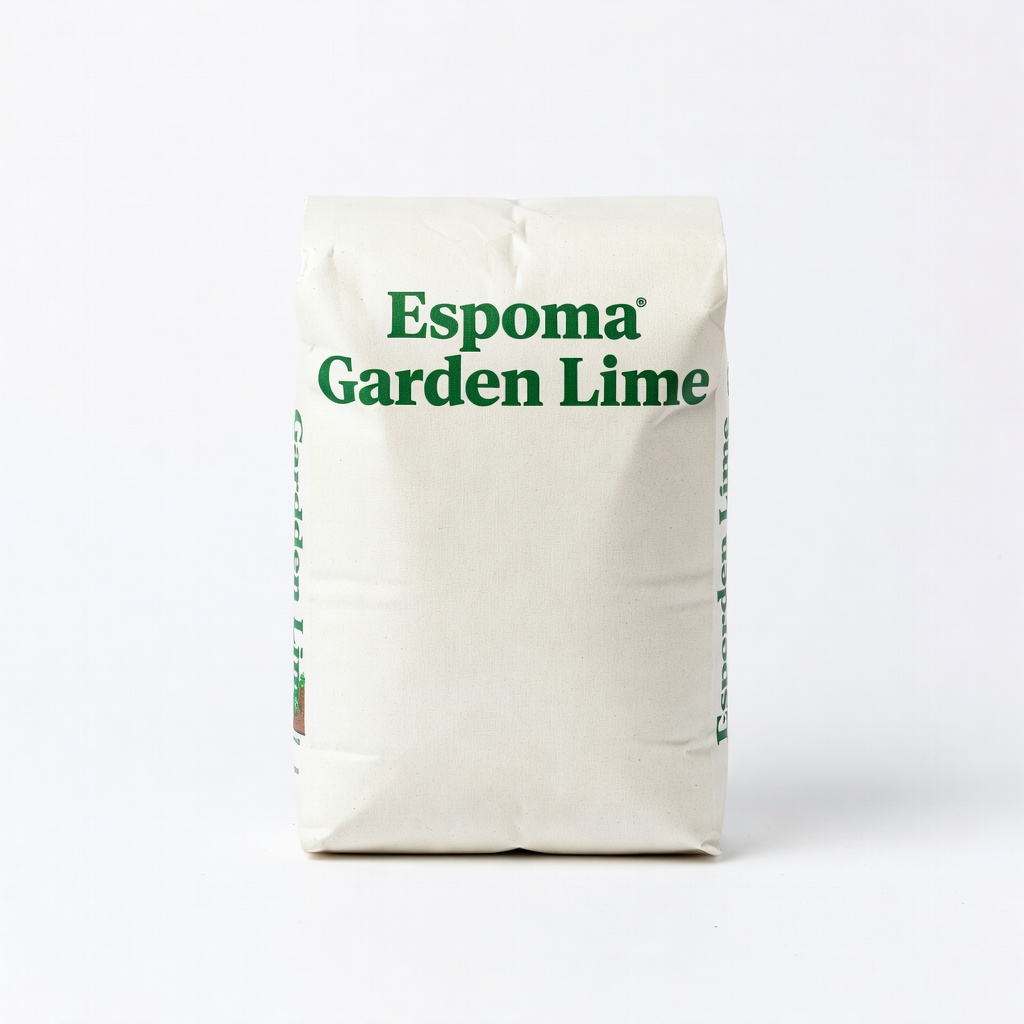
Fast-acting pelletized lime to raise pH in acidic soils, easy to spread evenly.
Best for: Apply based on test results for crops like cabbage that prefer neutral pH.
Price Range: $10-$15 per 5 lb bag
Gentle, microbe-rich additive that enhances soil biology and water retention.
Best for: Mix into beds for ongoing fertility, especially in sandy soils.
Price Range: $20-$25 per 4 lb bag
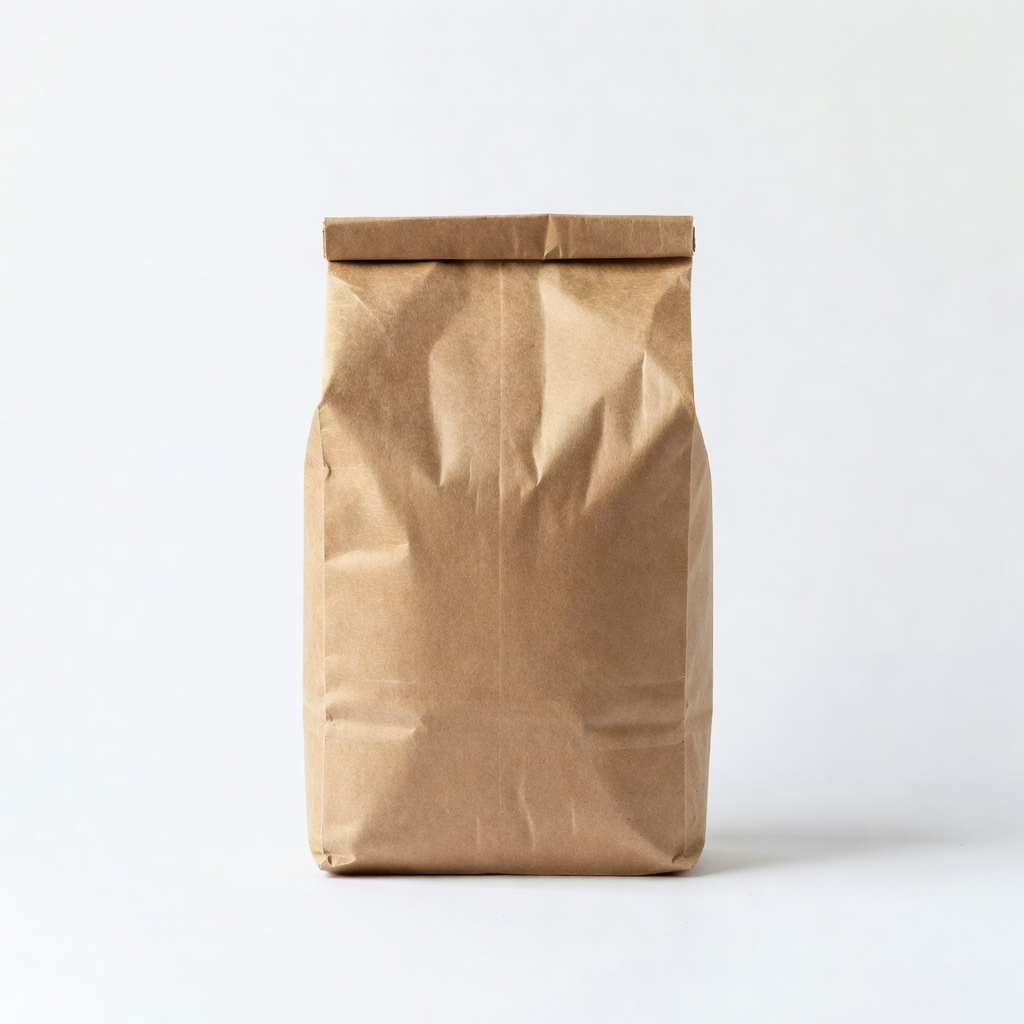
Effective for lowering high pH, promoting nutrient availability for acid-loving veggies.
Best for: Use in alkaline areas to balance soil before planting blueberries or potatoes.
Price Range: $12-$18 per 4 lb bag
Use before and after prep to ensure soil is vegetable-ready.
Luster Leaf Rapitest Soil Test Kit Accurate and easy-to-use for checking pH and key nutrients, essential for targeted amendments.
Spread 2-4 inches to boost fertility in new or depleted beds.
Black Kow Composted Cow Manure Nutrient-rich organic amendment that improves soil structure without burning plants.
Apply based on test results for crops like cabbage that prefer neutral pH.
Espoma Garden Lime Fast-acting pelletized lime to raise pH in acidic soils, easy to spread evenly.
Mix into beds for ongoing fertility, especially in sandy soils.
Dr. Earth Organic Worm Castings Gentle, microbe-rich additive that enhances soil biology and water retention.
Use in alkaline areas to balance soil before planting blueberries or potatoes.
Burpee Soil Sulfur Effective for lowering high pH, promoting nutrient availability for acid-loving veggies.