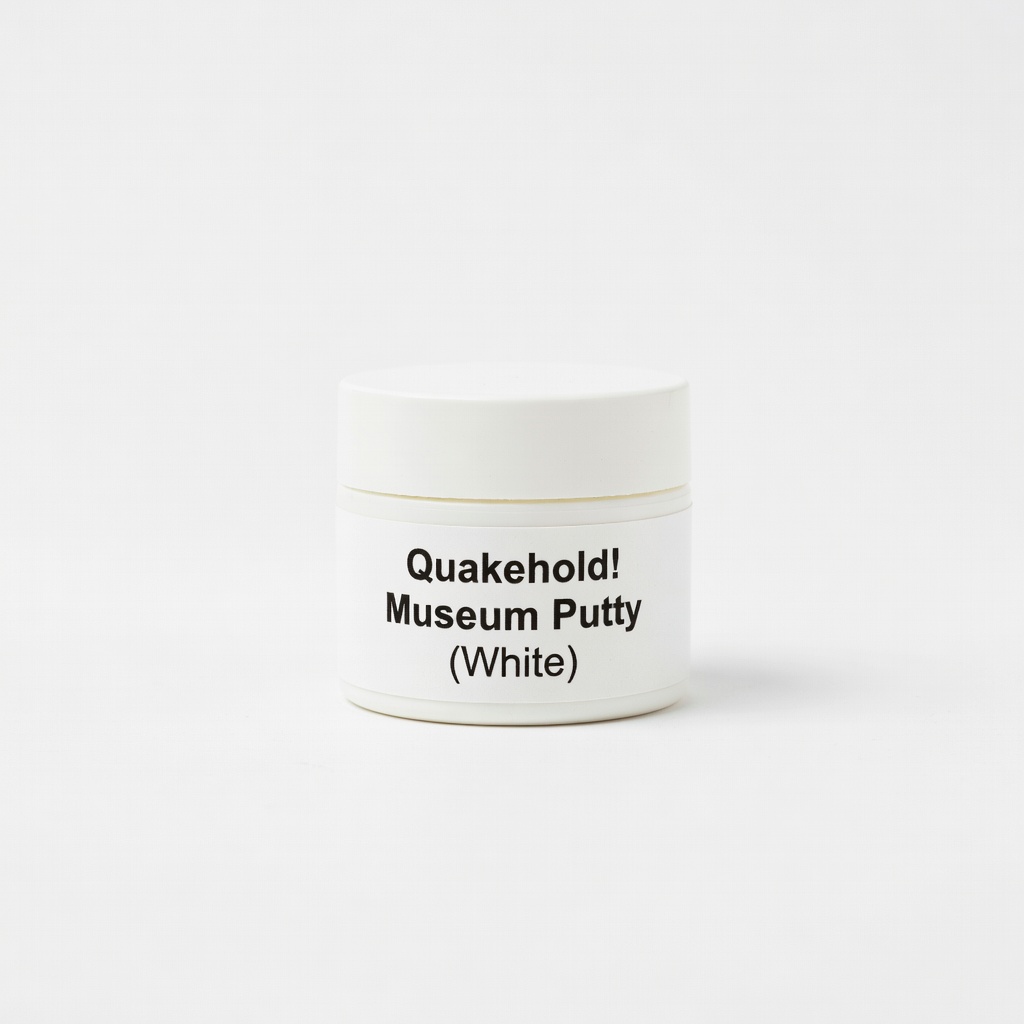
Quakehold! Museum Putty (White)
Stabilizing tilted vehicles on shelves.
$8.99
Quakehold! Museum Putty (White) Perfect non-damaging adhesive for securing poses without residue.
Get the App
Better experience on mobile
Transform static action figure vehicles into dynamic, eye-catching displays that showcase your collection's full potential in just 20-30 minutes.
Ever felt frustrated seeing your awesome action figure vehicles—like Transformers or GI Joe tanks—sitting lifelessly on a shelf? They deserve to look like they're bursting into action, not gathering dust. Proper posing elevates your display from basic to breathtaking, making your collection a conversation starter.
In this beginner-friendly guide, you'll learn simple techniques to pose vehicles dynamically while keeping them stable and protected. We'll cover cleaning, planning, posing, and finishing touches. No advanced skills needed—just patience and a few household items.
Expect to spend 20-30 minutes per vehicle. By the end, your displays will pop with motion and realism, impressing collectors and guests alike.
Estimated Time: 20-30 minutes per vehicle Difficulty: beginner
Start by selecting your action figure vehicle and inspecting it for dust or fingerprints. Use a soft microfiber cloth to gently wipe the exterior, focusing on wheels, windows, and details. For stubborn dirt, blow compressed air into crevices or use a soft brush.
Why it matters: A clean vehicle shows off paint details and prevents grime from damaging plastic over time. Expect a shiny, refreshed look that makes posing easier.
Success: Vehicle gleams without streaks or residue.
💡 Tips:
⚠️ Warnings:
Pick a stable shelf, desk, or dedicated display case. Ensure the surface is level and large enough (at least 12x12 inches for most vehicles). Place a non-slip mat or felt under the vehicle if the surface is slick.
Why it matters: A good base prevents tipping and allows for creative angles. Expect your vehicle to stay put during posing.
Success: Vehicle sits flat without wobbling.
💡 Tips:
Visualize the action: Is it speeding around a corner, jumping a ramp, or hovering in flight? Sketch a quick side view or reference real vehicle photos online. Consider scale if adding figures.
Why it matters: Planning avoids trial-and-error frustration. Expect 2-3 pose ideas refined to one dynamic choice.
Success: Clear mental image of the final dynamic pose.
💡 Tips:
Apply small dabs of museum putty or Blu-Tack to the underside of the wheels or chassis. Press firmly onto the display surface. Test by gently nudging— it should hold without sliding.
Why it matters: Stability lets you pose aggressively without crashes. Expect rock-solid hold even at angles.
Success: Vehicle resists movement but putty removes cleanly later.
⚠️ Warnings:
Rotate wheels to face forward or sideways for speed illusions. Slightly lift one side using putty shims under tires to simulate bumps or turns. For transformable vehicles, partially deploy wings or boosters.
Why it matters: This creates forward momentum. Expect a 'frozen action' vibe.
Success: Wheels appear ready to roll.
💡 Tips:
Prop the rear or front slightly higher with putty or wire supports hidden underneath. Aim for 10-20 degree tilts—use a phone level app to check. Secure any loose panels.
Why it matters: Lean adds drama without overbalancing. Expect thrilling speed or flight illusion.
Success: Natural tilt that holds position.
⚠️ Warnings:
Pose mini-figures in seats or on running boards, securing with tiny putty dots. Add debris, flames (from tissue), or ramps if available.
Why it matters: Figures bring life to the scene. Expect a storytelling diorama effect.
Success: Figures stay seated securely.
💡 Tips:
Position LED lights to highlight curves and details—under glow for ground effect or side lighting for shadows. Step back, adjust angles, and dust again.
Why it matters: Lighting makes poses pop. Expect museum-quality shine.
Success: Display looks professional from 5 feet away.
Problem: Vehicle tips over during posing
Solution: Add more putty to low side and widen base stance; use heavier risers.
Problem: Paint scratches from handling
Solution: Wear cotton gloves; handle by edges only.
Problem: Pose looks static from front
Solution: Exaggerate side tilt and wheel steer; add foreground elements.
Problem: Dust buildup post-display
Solution: Use glass case; dust weekly with blower.
Perfect non-damaging adhesive for securing poses without residue.
Best for: Stabilizing tilted vehicles on shelves.
Price Range: $8.99
Customizable lighting enhances vehicle details and creates dramatic effects.
Best for: Under-shelf glow or accent lighting for night displays.
Price Range: $19.99
Dust-proof protection with clear views for stable multi-vehicle poses.
Best for: Housing 3-6 posed vehicles safely.
Price Range: $24.99
Elevates vehicles for multi-level dynamic scenes without wobble.
Best for: Creating depth in large collections.
Price Range: $15.99
Safely removes dust from intricate vehicle parts pre- and post-posing.
Best for: Quick cleaning without disassembly.
Price Range: $9.99
Stabilizing tilted vehicles on shelves.
Quakehold! Museum Putty (White) Perfect non-damaging adhesive for securing poses without residue.
Under-shelf glow or accent lighting for night displays.
Govee RGBIC LED Strip Lights (16.4ft) Customizable lighting enhances vehicle details and creates dramatic effects.
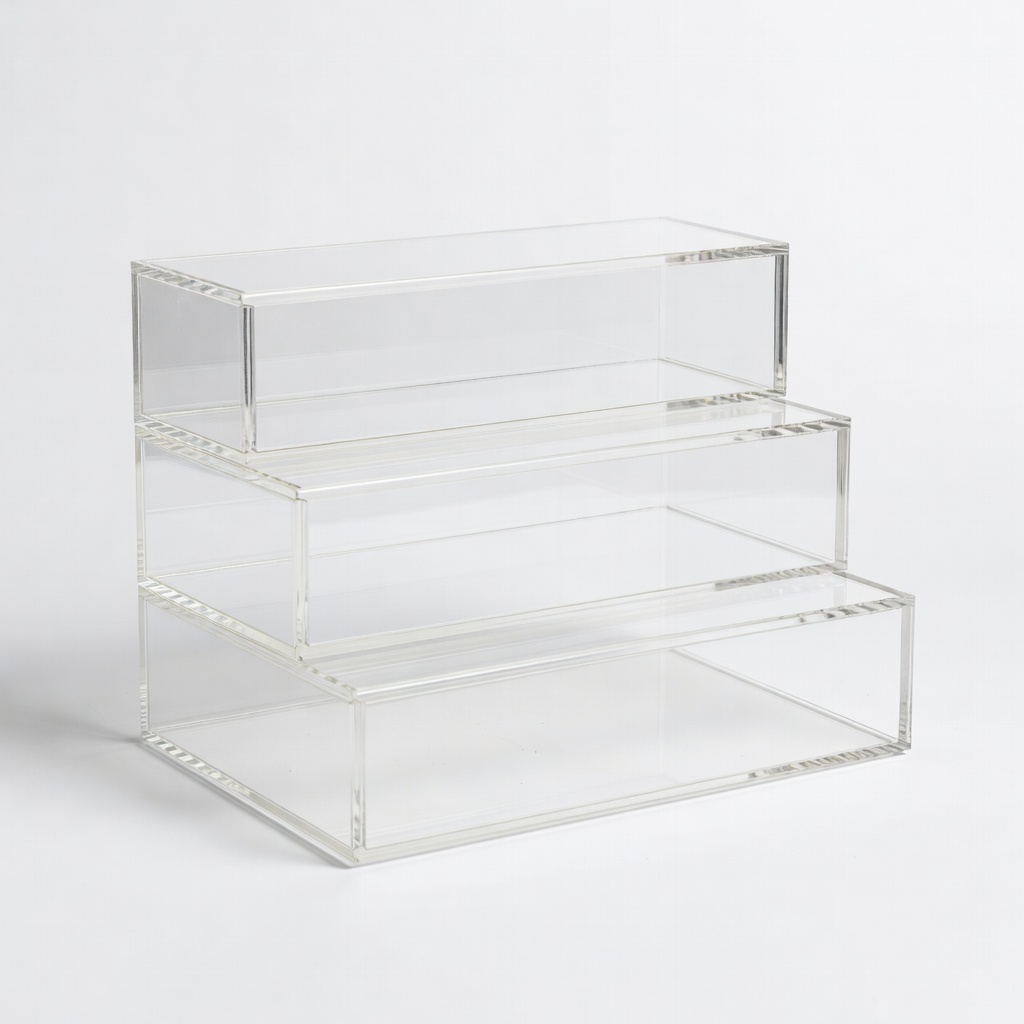
Housing 3-6 posed vehicles safely.
BCW Supplies Acrylic Display Case (3-Tier) Dust-proof protection with clear views for stable multi-vehicle poses.
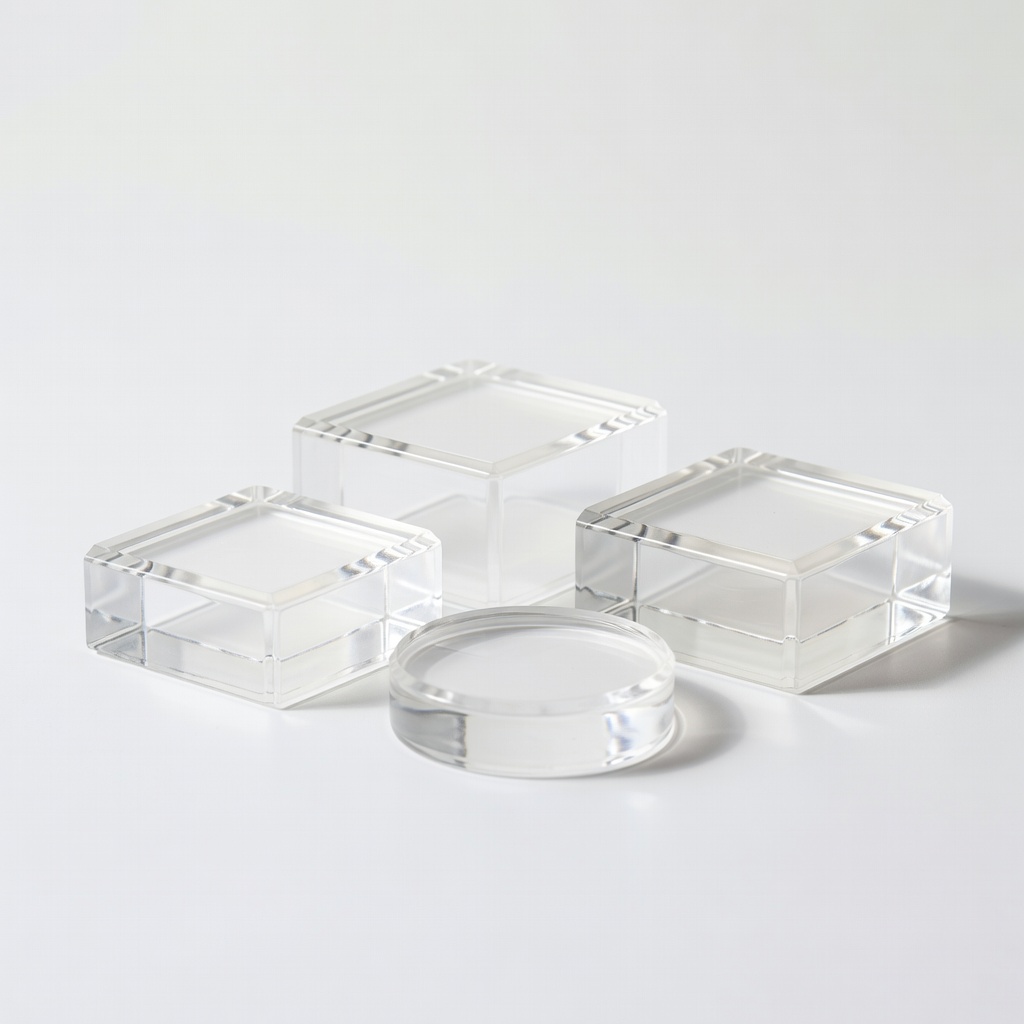
Creating depth in large collections.
Display Riser Set (4 Pack, Clear Acrylic) Elevates vehicles for multi-level dynamic scenes without wobble.

Quick cleaning without disassembly.
Falcon Dust-Off Compressed Air Safely removes dust from intricate vehicle parts pre- and post-posing.