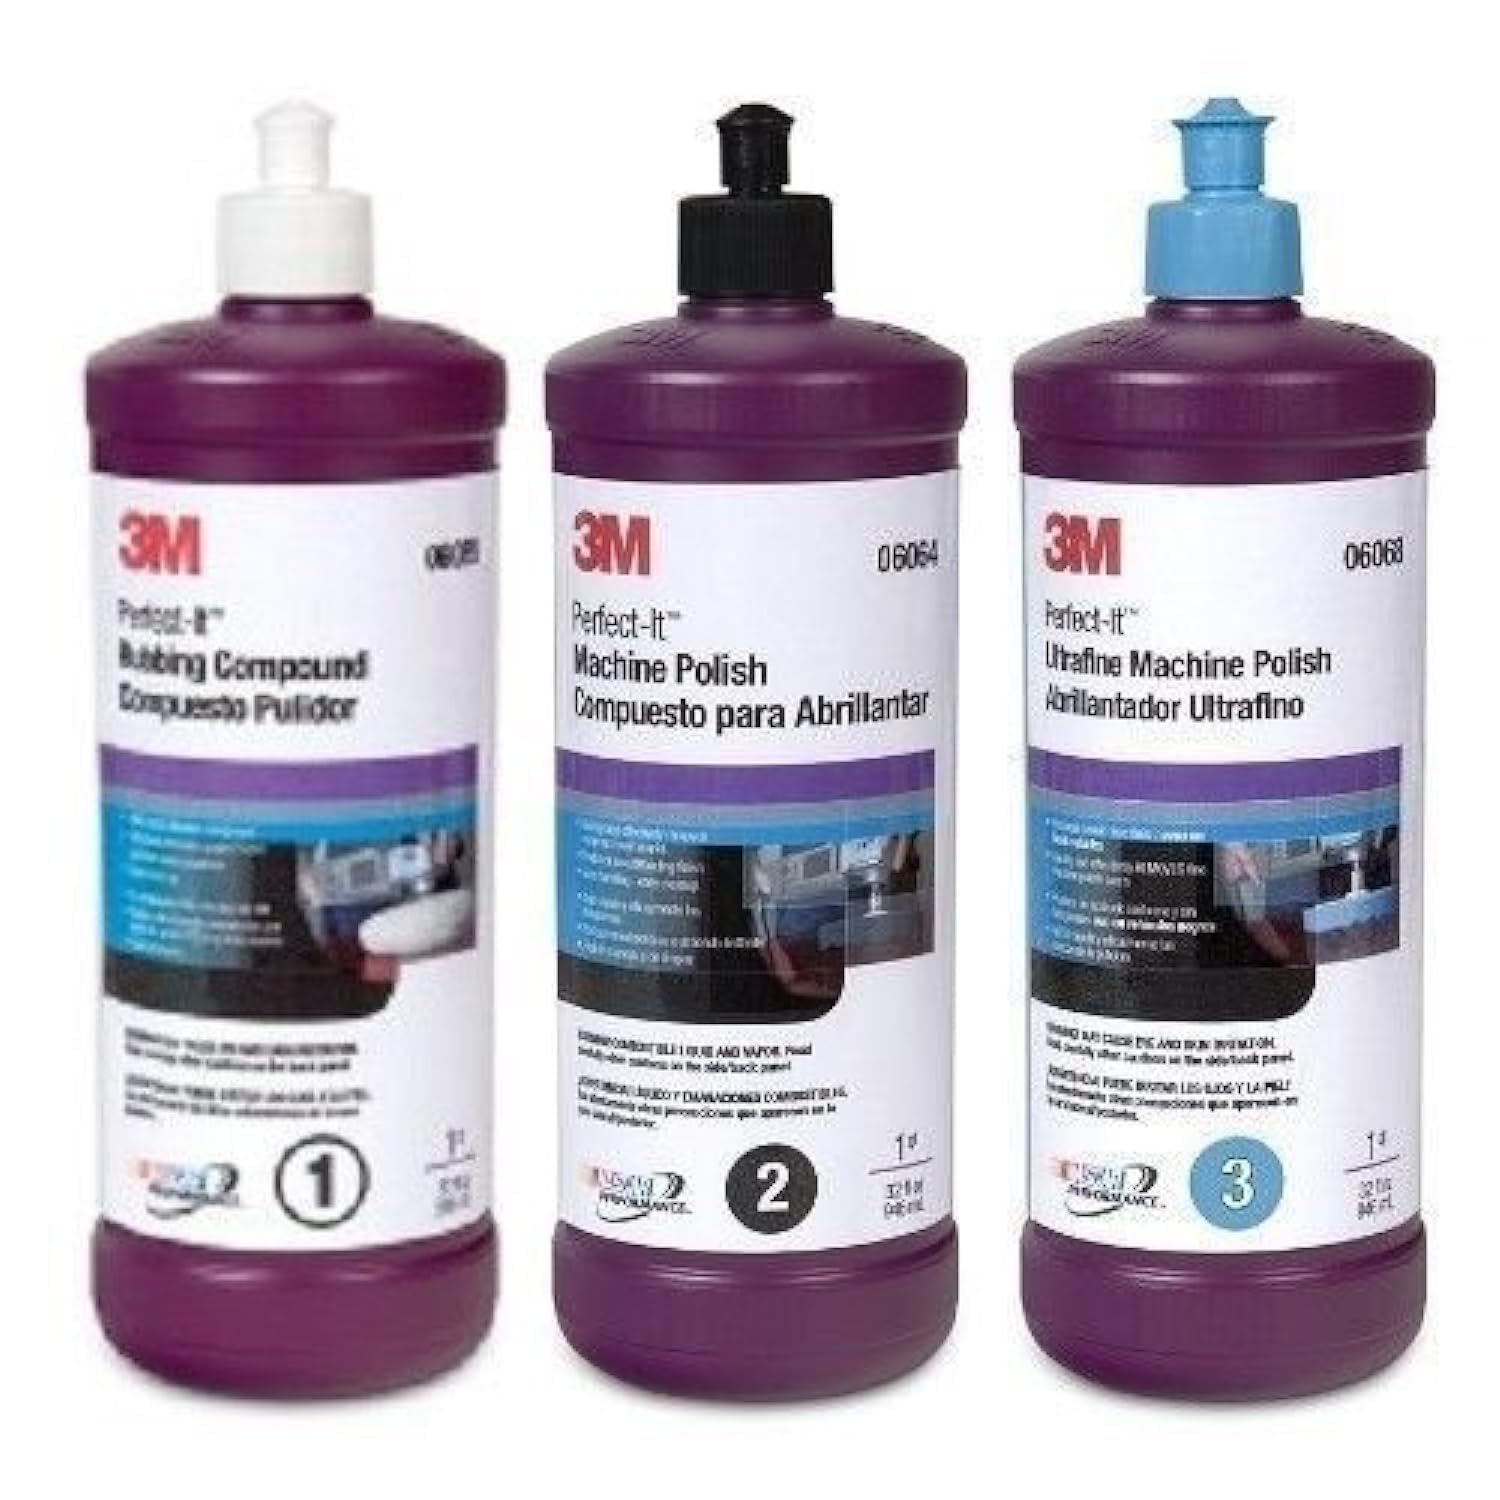
3M Perfect-It Rubbing Compound
Initial leveling after sanding on auto paint or metal.
$25-$30
3M Perfect-It Rubbing Compound Heavy-cutting abrasive compound removes 1000+ grit scratches fast without excessive dust.
Get the App
Better experience on mobile
Achieve a mirror-like finish on metal, wood, or auto surfaces with step-by-step techniques using abrasives for pro results at home.
Struggling with dull, scratched surfaces that make your projects look amateur? Polishing with abrasive finishing products transforms rough materials into gleaming masterpieces, whether you're restoring car parts, jewelry, or woodworking pieces. It's a game-changer for DIYers wanting professional-quality results without expensive outsourcing.
In this guide, you'll learn a foolproof process starting from surface prep to final buffing. We'll cover grit progression, compound application, and finishing touches tailored for intermediate users. Expect 30-90 minutes per project depending on size—perfect for weekends or quick fixes.
No guesswork: follow these steps for consistent shine, and avoid common pitfalls like swirl marks or overheating.
Estimated Time: 30-90 minutes per square foot or item Difficulty: intermediate
Set up in a dust-free, well-ventilated area with drop cloths to catch debris. Don your gloves, goggles, and mask—these abrasives create fine particles that irritate skin, eyes, and lungs.
Why it matters: A clean start prevents contamination, which causes haze in the finish. Expect a safe, organized space ready for action.
Image description: Photo of organized workbench with safety gear laid out and workpiece ready.
💡 Tips:
⚠️ Warnings:
Wash the workpiece with soap, water, and a degreaser like isopropyl alcohol. Dry completely with a microfiber cloth.
This removes oils, dirt, and old coatings that could embed in abrasives, ruining your polish. Success looks like a streak-free, matte surface ready for sanding—no residue under your finger.
💡 Tips:
Inspect under bright light; mark deep scratches with painter's tape. Determine starting grit: 400 for heavy damage, 800 for moderate.
Why: Proper grit matching saves time and prevents over-sanding. Expect to identify scratch depth clearly.
⚠️ Warnings:
Spray surface and 400-grit paper with distilled water. Sand in straight lines or circles (mark with tape to check progress), using light pressure. Wipe often to check.
Progress until scratches disappear and surface feels uniform. Rinse and dry. This levels the surface—expect a dull, even matte.
💡 Tips:
⚠️ Warnings:
Repeat sanding: 800 grit (perpendicular to previous lines), then 1200, 2000. Each pass removes scratches from prior grit.
Change direction 90 degrees each time for even removal. Success: smoother surface with each step, scratches halving in visibility.
💡 Tips:
Dab compound on a foam pad or cloth. Work in 2x2 ft sections with polisher at 1500-2000 RPM or by hand in circles.
This cuts micro-scratches. Expect hazy but leveling shine emerging.
⚠️ Warnings:
Switch to finer polish on clean pad. Polish at lower speed (1200 RPM) until swirl-free gloss appears.
Buff off residue with microfiber. Mirror shine achieved!
💡 Tips:
Check under LED light for haze/swirls. Repeat finer steps if needed. Wipe clean and apply wax/sealant.
Protects the finish long-term. Final result: flawless, reflective surface.
Problem: Holograms or swirl marks
Solution: Step back to coarser compound and lower speed; use finishing polish.
Problem: Surface burns or discoloration
Solution: Cool with water, sand lightly with 2000 grit, repolish.
Problem: Uneven finish
Solution: Check pressure consistency; restart grit progression.
Problem: Dust everywhere
Solution: Improve ventilation, use vacuum attachment; wet methods.
Heavy-cutting abrasive compound removes 1000+ grit scratches fast without excessive dust.
Best for: Initial leveling after sanding on auto paint or metal.
Price Range: $25-$30
Balanced cut and finish for intermediate users; works by hand or machine.
Best for: Mid-stage correction on larger surfaces like wheels or panels.
Price Range: $20-$25
Fine abrasive for final high-gloss on metals/jewelry; non-scratch formula.
Best for: Hand polishing small items or final buff.
Price Range: $12-$15
Premium waterproof sheets for precise progression; cuts clean.
Best for: All sanding steps on wet surfaces.
Price Range: $15-$20 for 5-pack
Foam pads grip compounds well, reduce sling for clean application.
Best for: With polishers for swirl-free results.
Price Range: $10-$15 for set
Initial leveling after sanding on auto paint or metal.
3M Perfect-It Rubbing Compound Heavy-cutting abrasive compound removes 1000+ grit scratches fast without excessive dust.
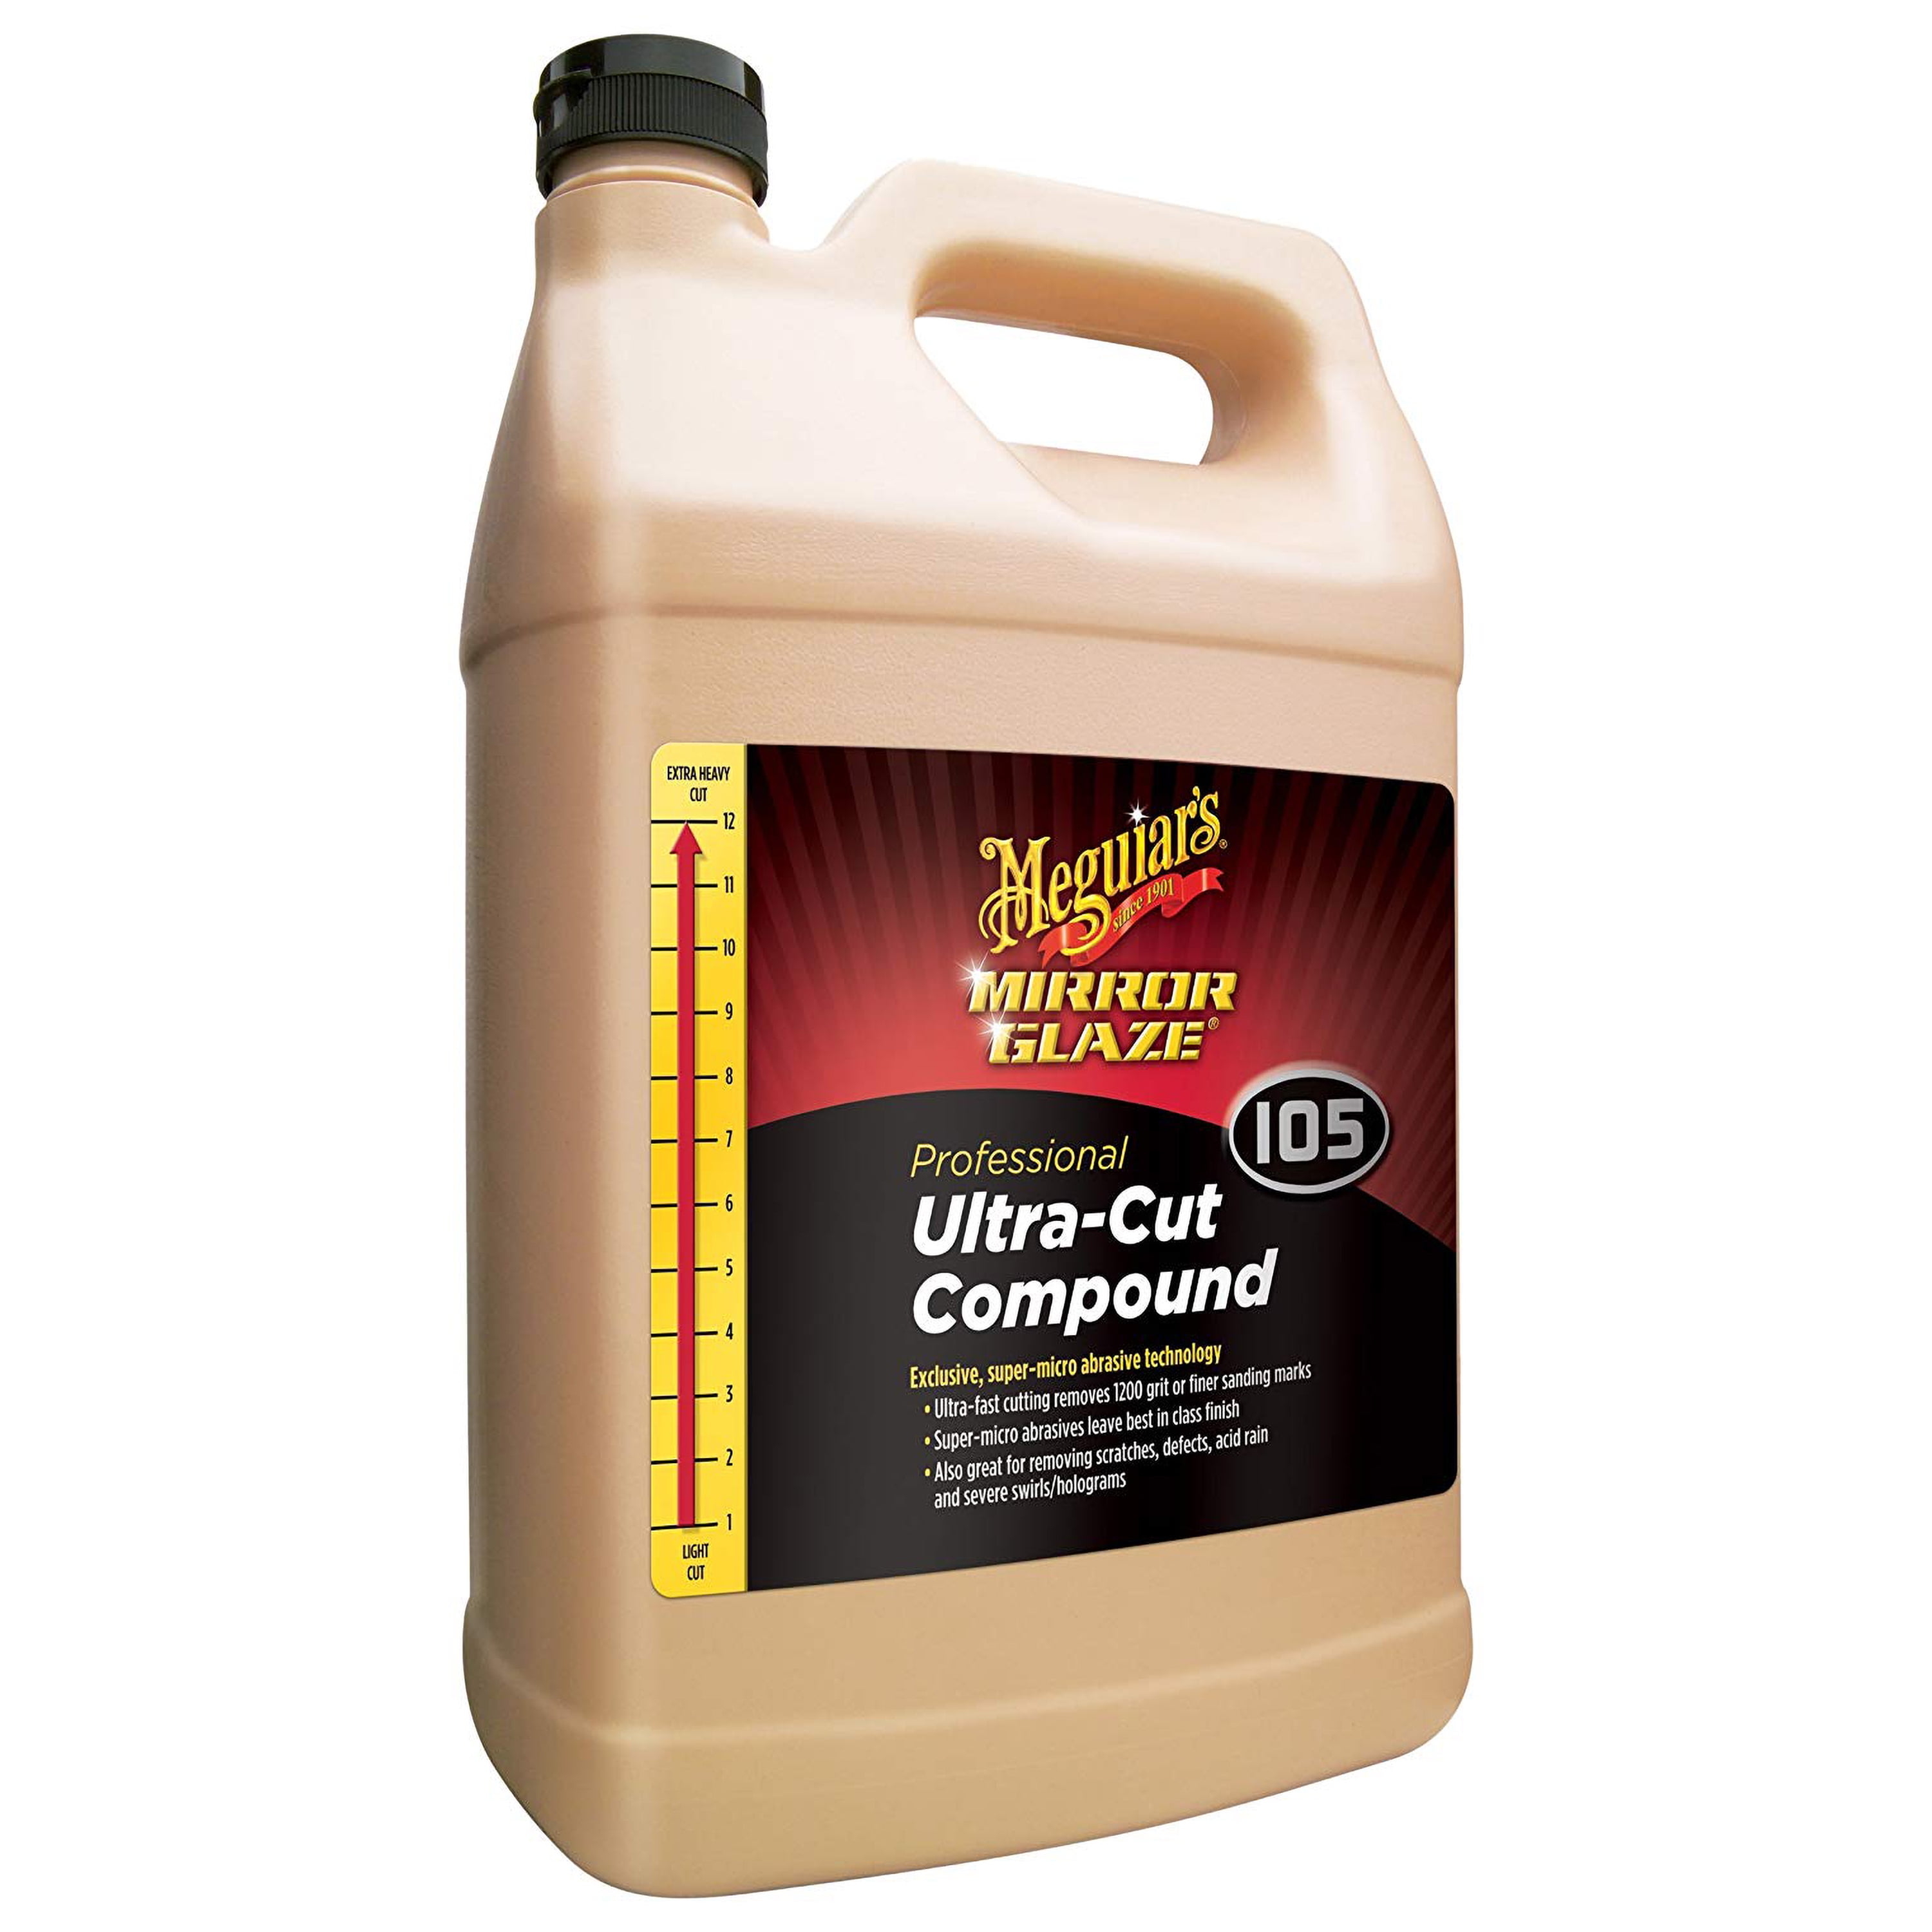
Mid-stage correction on larger surfaces like wheels or panels.
Meguiar's M105 Mirror Glaze Ultra-Cut Compound Balanced cut and finish for intermediate users; works by hand or machine.
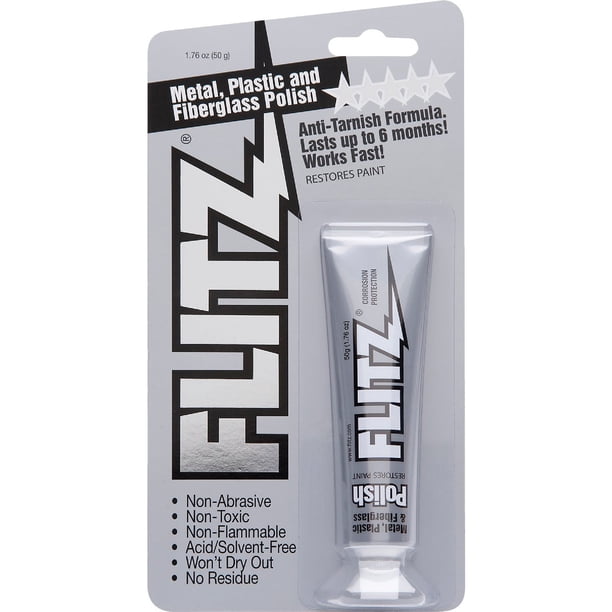
Hand polishing small items or final buff.
Flitz Multi-Purpose Polish Paste Fine abrasive for final high-gloss on metals/jewelry; non-scratch formula.

All sanding steps on wet surfaces.
3M Wetordry Sandpaper Assortment (400-2000 grit) Premium waterproof sheets for precise progression; cuts clean.
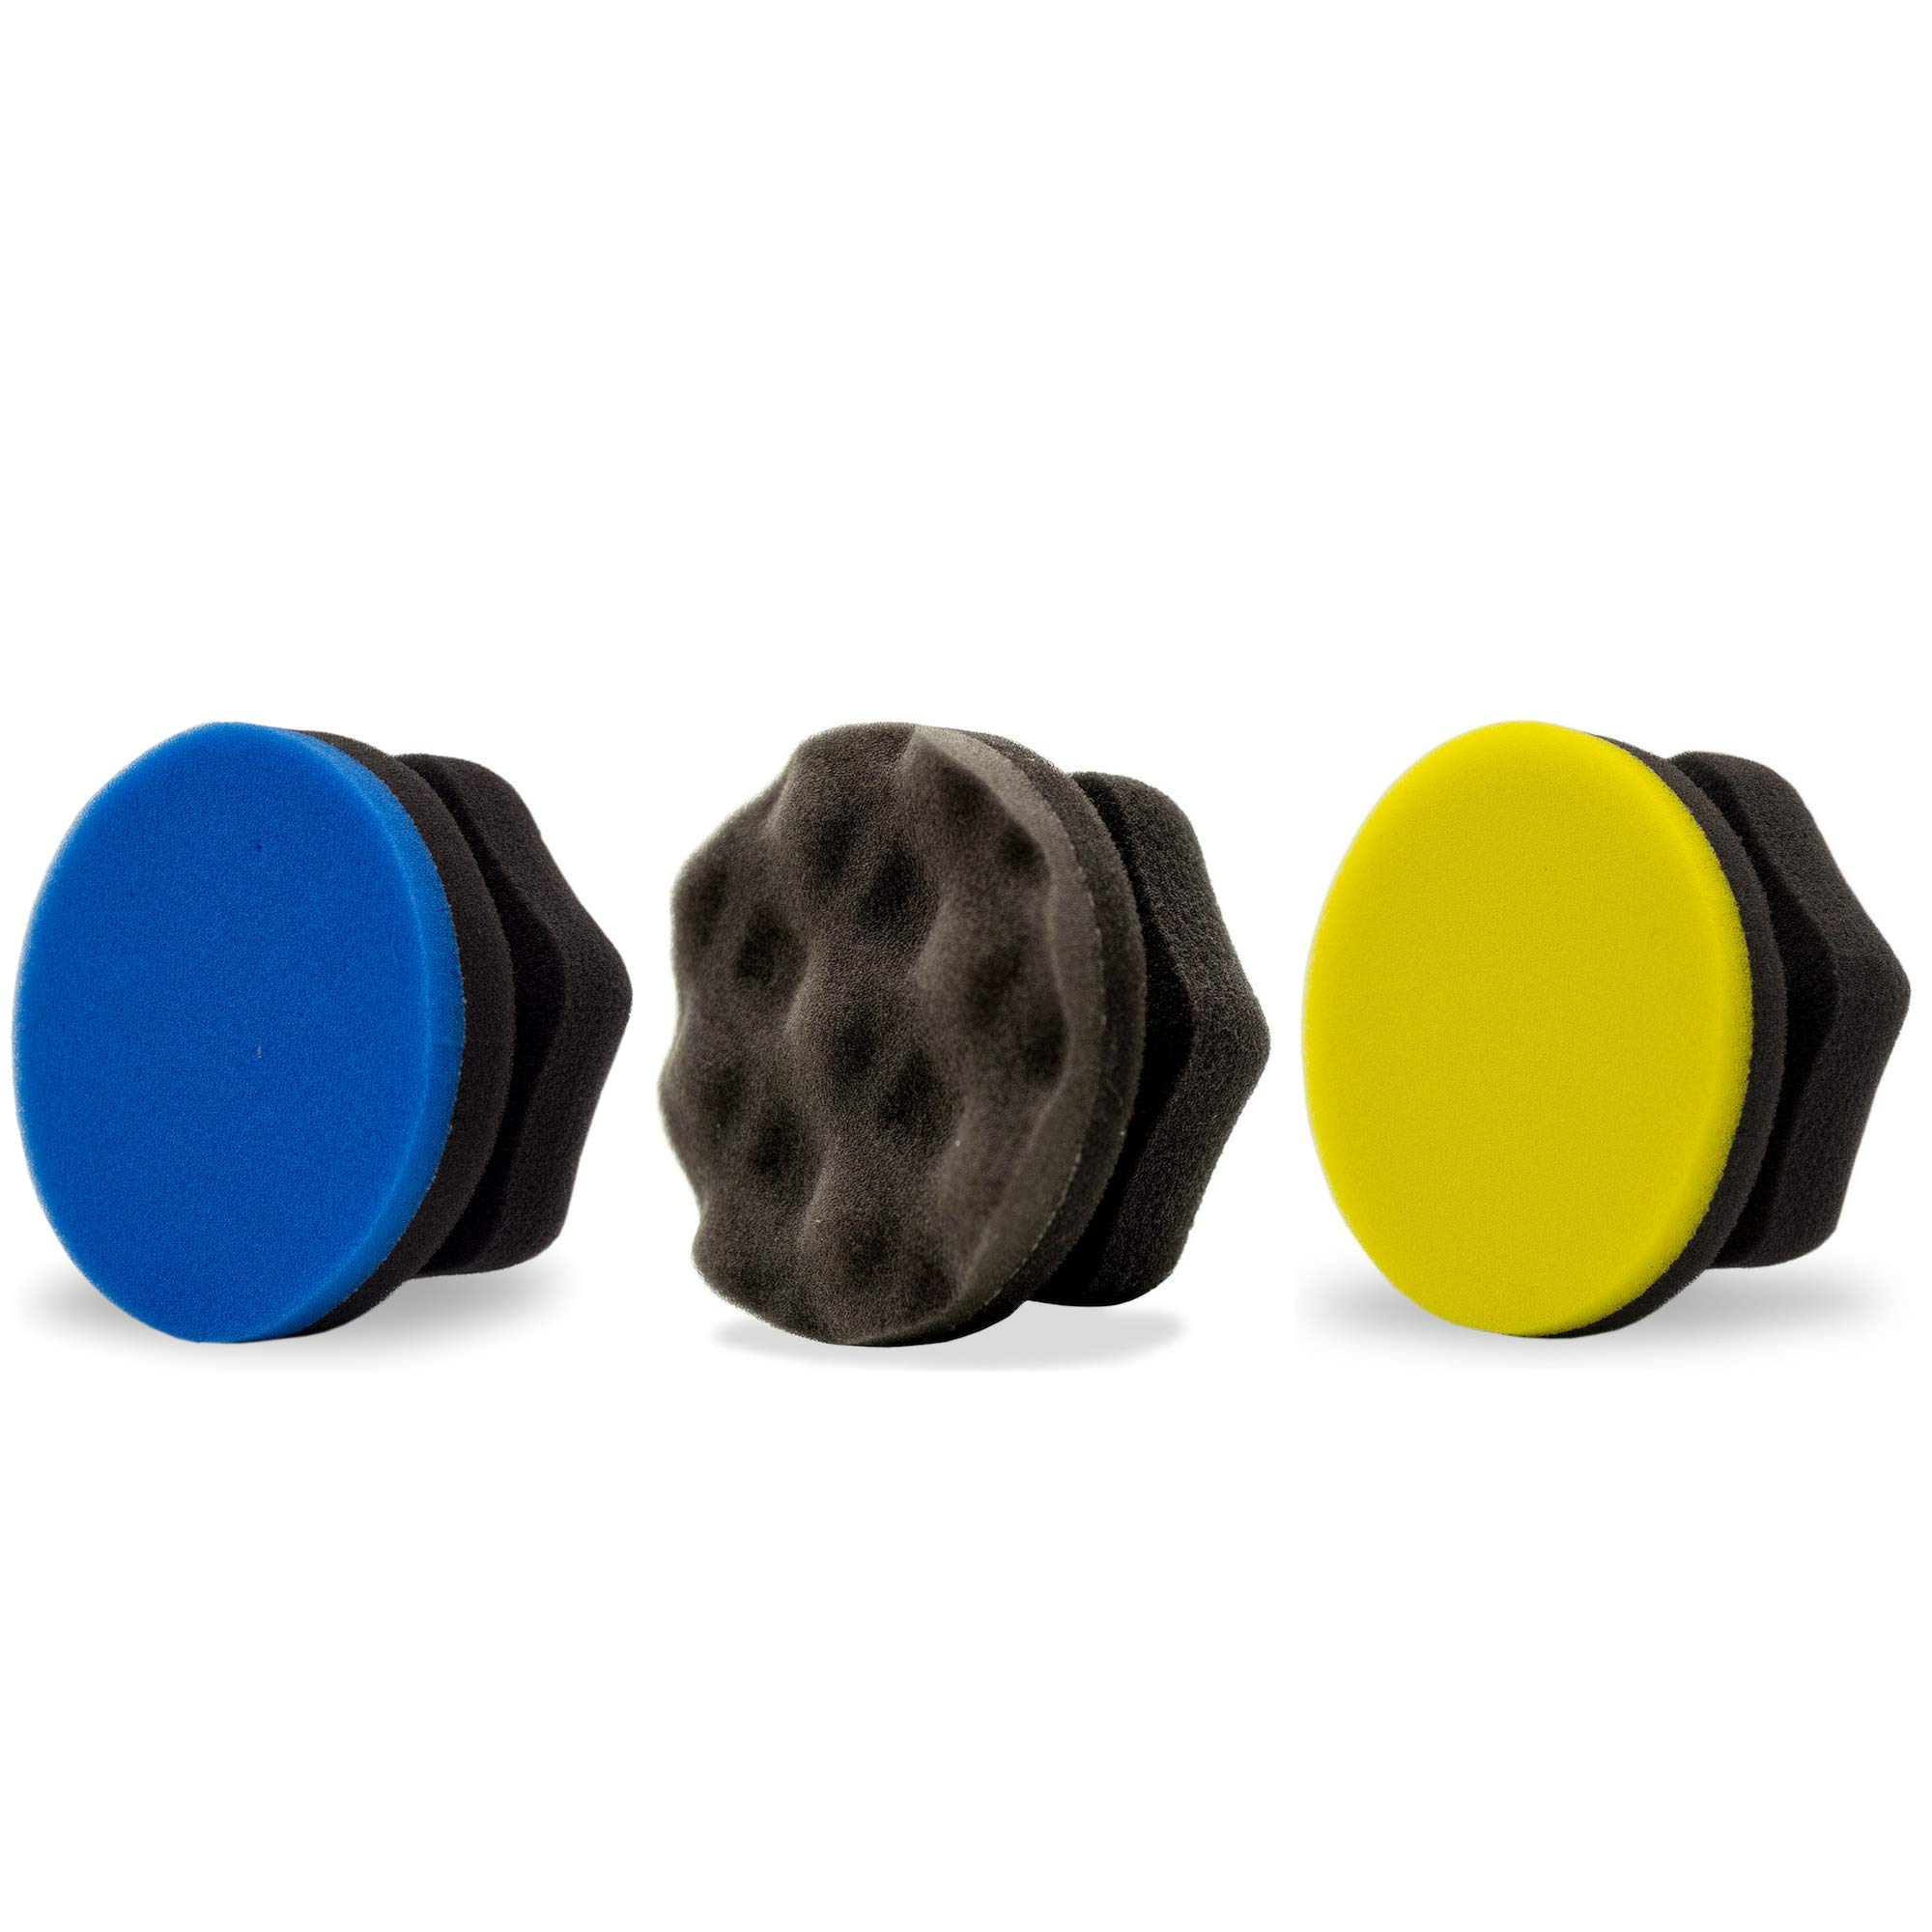
With polishers for swirl-free results.
Adam's Polishes Hex Grip Applicator Pads Foam pads grip compounds well, reduce sling for clean application.