Is your acoustic bass looking dull and lifeless? Polishing the body revives its natural beauty, protects the wood finish from wear, and makes it feel smooth under your hands—essential for maintaining value and playability.
In this guide, you'll learn a safe, step-by-step process tailored for beginners. We'll cover cleaning, polishing, and buffing using guitar-safe products to avoid damaging delicate nitrocellulose or polyurethane finishes common on acoustic basses.
Expect 30-60 minutes total, depending on your bass size. No advanced skills needed—just patience and the right tools.
▸What You'll Need
- •Microfiber cloths (at least 3 soft, lint-free)
- •Guitar-specific polish (e.g., Dunlop Formula 65)
- •Mild dish soap (unscented)
- •Distilled water
- •Optional: Guitar cleaner like naphtha or MusicNomad Detailer (required for heavy grime)
- •Soft workspace cloth or towel
- •Your acoustic bass guitar
Estimated Time: 30-60 minutes
Difficulty: beginner
▸Step-by-Step Instructions
Step 1: Prepare Your Workspace and Bass
Set up in a well-lit, dust-free area. Lay a soft microfiber towel on a stable table to rest your bass. Remove the bass from its case and inspect the body for scratches, dents, or loose parts. If strings are in the way, loosen them but don't fully remove unless polishing the neck joint.
Why it matters: A clean workspace prevents dust from scratching the finish during polishing. Expect a quick 5-minute setup with your bass ready for cleaning.
💡 Tips:
- •Work in natural light to spot imperfections.
⚠️ Warnings:
- •Avoid direct sunlight to prevent uneven drying.
Step 2: Dust Off Loose Debris
Gently wipe the entire body (top, back, sides, headstock) with a dry microfiber cloth to remove dust, fingerprints, and loose dirt. Use light pressure in straight lines, not circles yet.
This initial pass prevents grit from scratching during wet cleaning. Your bass should look cleaner but still show fingerprints or smudges.
💡 Tips:
- •Fold the cloth to use fresh sides often.
Step 3: Clean with Mild Soap Solution
Mix a few drops of mild dish soap in a bowl of distilled water. Dampen (not soak) a microfiber cloth, wring it out well, and wipe the body in sections. Focus on grimy areas like the edges and around the bridge.
Soap removes oils and sweat residue safely. Rinse the cloth frequently in clean water. Immediately dry with a second dry microfiber cloth to prevent water spots. The surface should feel clean and tack-free.
⚠️ Warnings:
- •Never submerge the bass or let water near the soundhole, electronics, or fretboard.
Step 4: Degrease with Guitar Cleaner (Optional but Recommended)
If residue remains, apply a small amount of guitar cleaner (like naphtha) to a cloth and wipe the body. This removes built-up polish or oils without harming the finish.
Skip if your bass is lightly soiled. The body will now be perfectly prepped—smooth and residue-free.
💡 Tips:
- •Test cleaner on a hidden spot first.
⚠️ Warnings:
- •Use sparingly; ventilate the area as naphtha is flammable.
Step 5: Apply Guitar Polish Sparingly
Dab a pea-sized amount of guitar polish onto a clean microfiber cloth or applicator pad. Work in 1x1 foot sections, using light circular motions with minimal pressure. Cover the top, back, and sides evenly.
Why: Builds a thin protective layer. Let it haze for 2-5 minutes. Avoid over-applying to prevent streaks.
💡 Tips:
- •Breathe on the cloth for better spread (old pro trick).
Step 6: Buff to a Shine
Use a fresh, dry microfiber cloth to buff each section vigorously in straight lines (back and forth, then side-to-side). Flip the cloth to a clean side as it dulls.
The haze will turn into a brilliant shine. Your bass body should gleam like new—smooth, reflective, and vibrant.
💡 Tips:
- •Buff harder for nitro finishes; elbow grease pays off.
⚠️ Warnings:
- •Don't use paper towels—they scratch.
Step 7: Final Inspection and Repeat if Needed
Hold the bass at different angles under light. Wipe any remaining haze and re-polish dull spots. Let rest 10 minutes before restringing or playing.
Success: Uniform shine across the body. Total process refreshes without buildup.
▸Pro Tips
- •Polish every 3-6 months for maintenance.
- •Use separate cloths for cleaning and buffing to avoid cross-contamination.
- •For vintage basses, use less polish to preserve patina.
- •Polish in sections to prevent drying too fast.
- •Combine with string cleaning for full refresh.
- •Store upright after polishing to avoid cloth marks.
- •Pro tip: Warm the polish slightly for easier application.
▸Common Mistakes to Avoid
- •Using household cleaners like Windex—strips finish; stick to guitar products.
- •Over-polishing in one go—causes buildup; do thin layers.
- •Buffing wet polish—leads to streaks; always let haze first.
- •Ignoring edges and back—results in uneven look.
- •Skipping drying—water damages wood.
▸Troubleshooting
Problem: White streaks or haze won't buff off
Solution: Re-clean with guitar cleaner, then reapply thin polish layer. Use more buffing pressure.
Problem: Swirls or scratches appear
Solution: Stop immediately; use guitar compound like MusicNomad Scratch Doctor for minor fixes, or consult a luthier.
Problem: Polish too thick, gummy feel
Solution: Wipe with naphtha and start over with less product.
Problem: Dull spots remain
Solution: Repeat polish/buff on that area only. Check for deep grime.
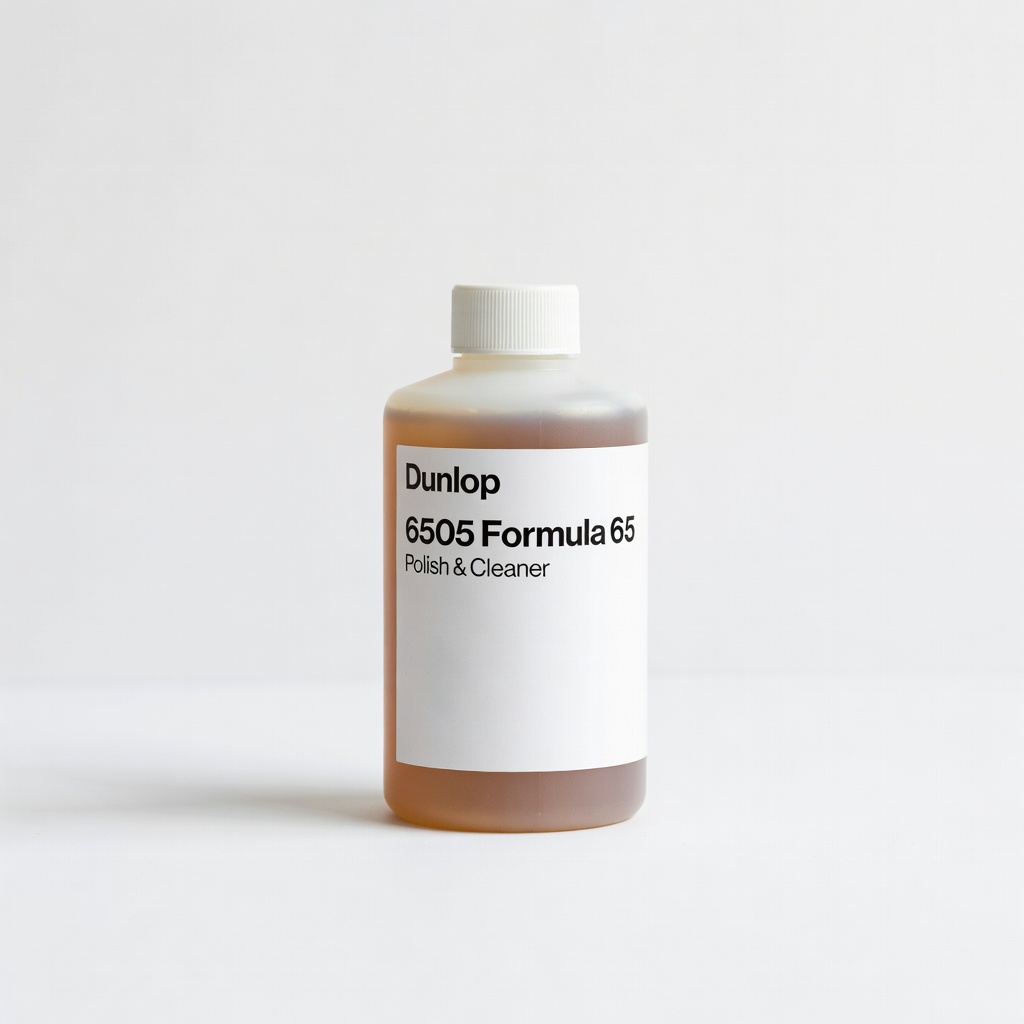
Dunlop 6505 Formula 65 Polish & Cleaner
Safe for all finishes including nitro on acoustic basses; cleans and polishes in one step.
Best for: Ideal for beginners needing a multi-purpose product for regular maintenance.
Price Range: $6.99
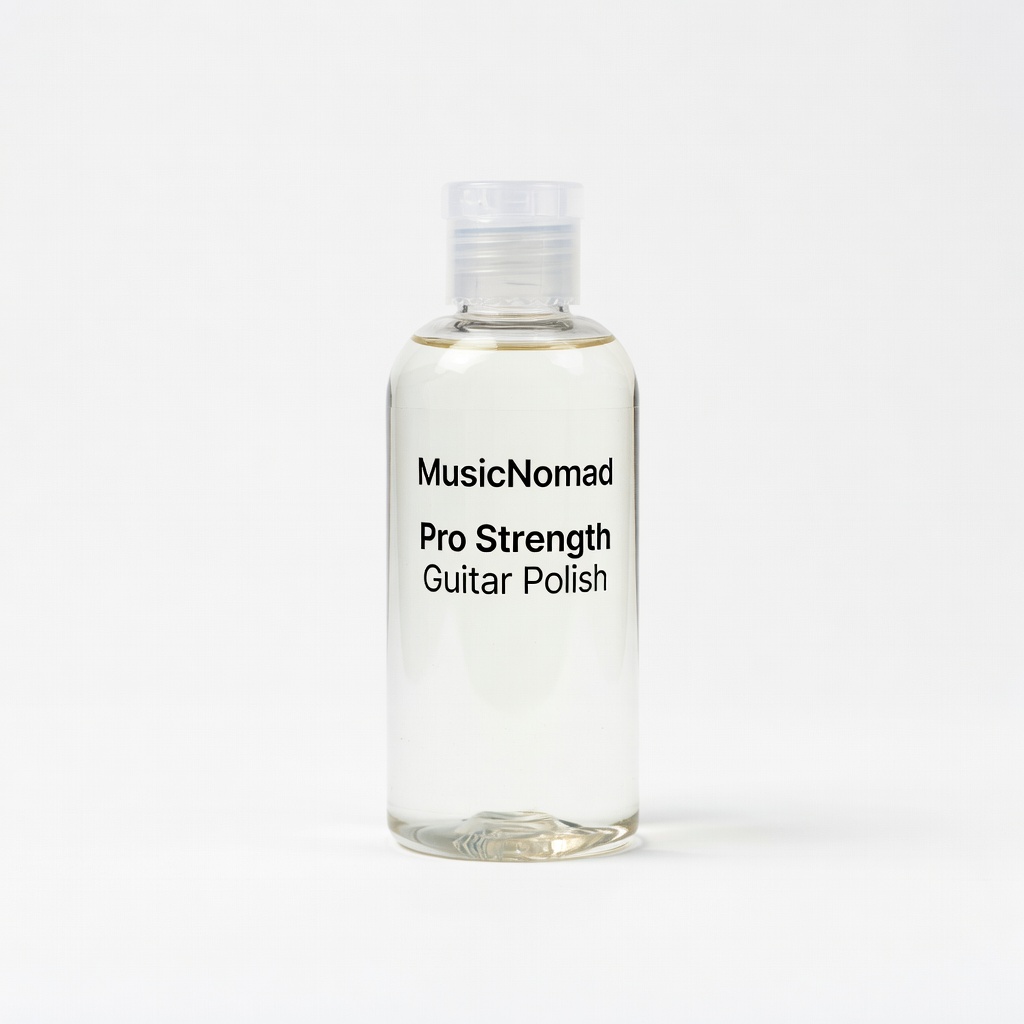
MusicNomad Pro Strength Guitar Polish
Provides long-lasting shine and UV protection without silicone buildup.
Best for: Best for heavy-use basses to restore deep gloss on tops and backs.
Price Range: $9.99
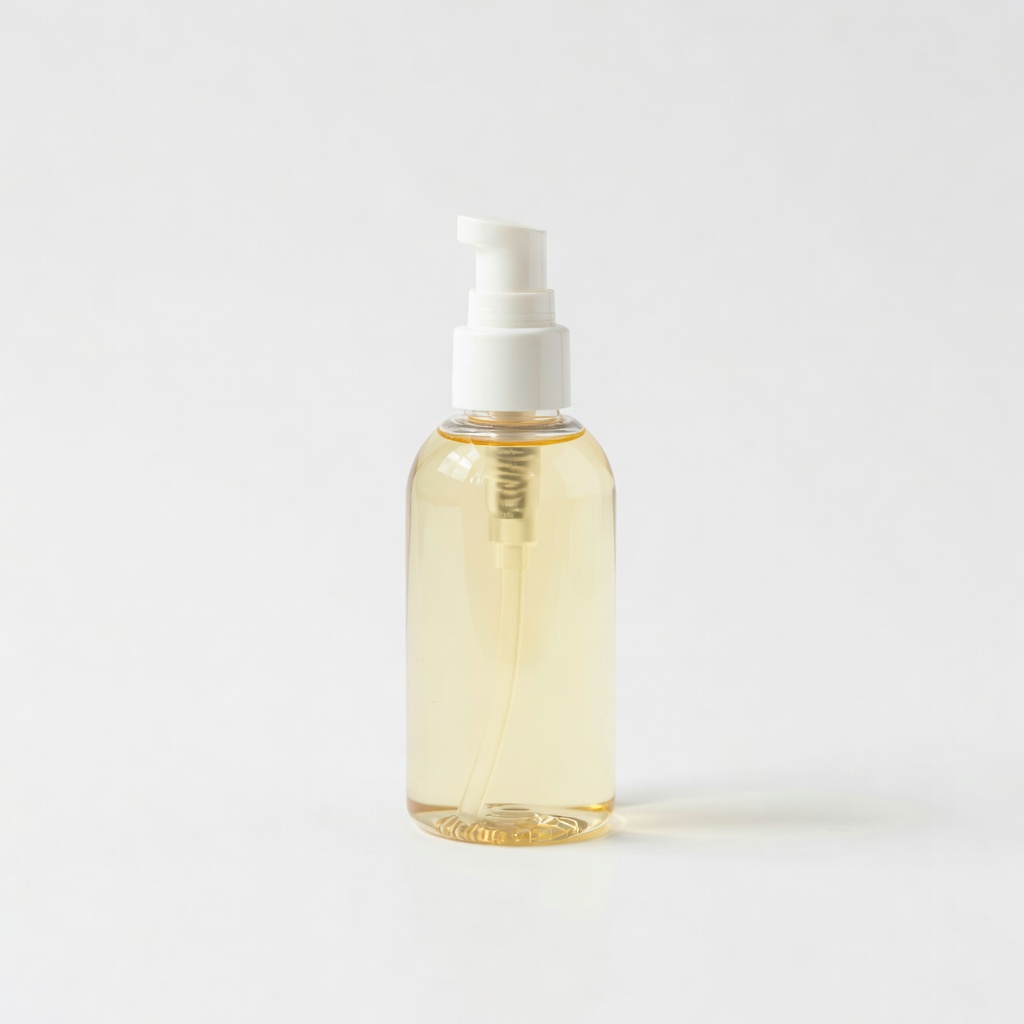
Martin Guitar Polish
Specifically formulated for acoustic instruments; gentle on thin finishes.
Best for: Perfect for high-end acoustic basses like Taylor or Martin models.
Price Range: $8.50
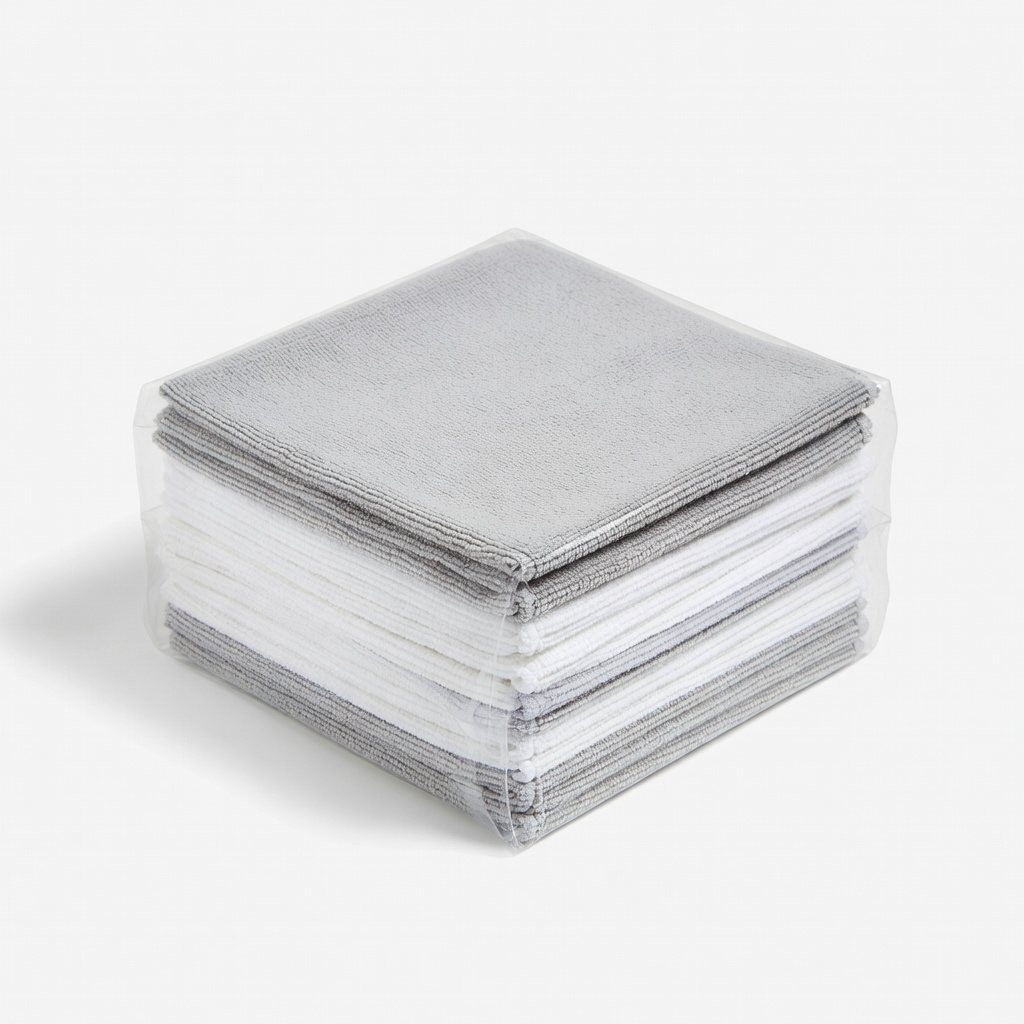
AmazonBasics Microfiber Cleaning Cloths (24-pack)
Ultra-soft, lint-free, and reusable for streak-free results.
Best for: Essential for all steps; one pack lasts years.
Price Range: $12.99