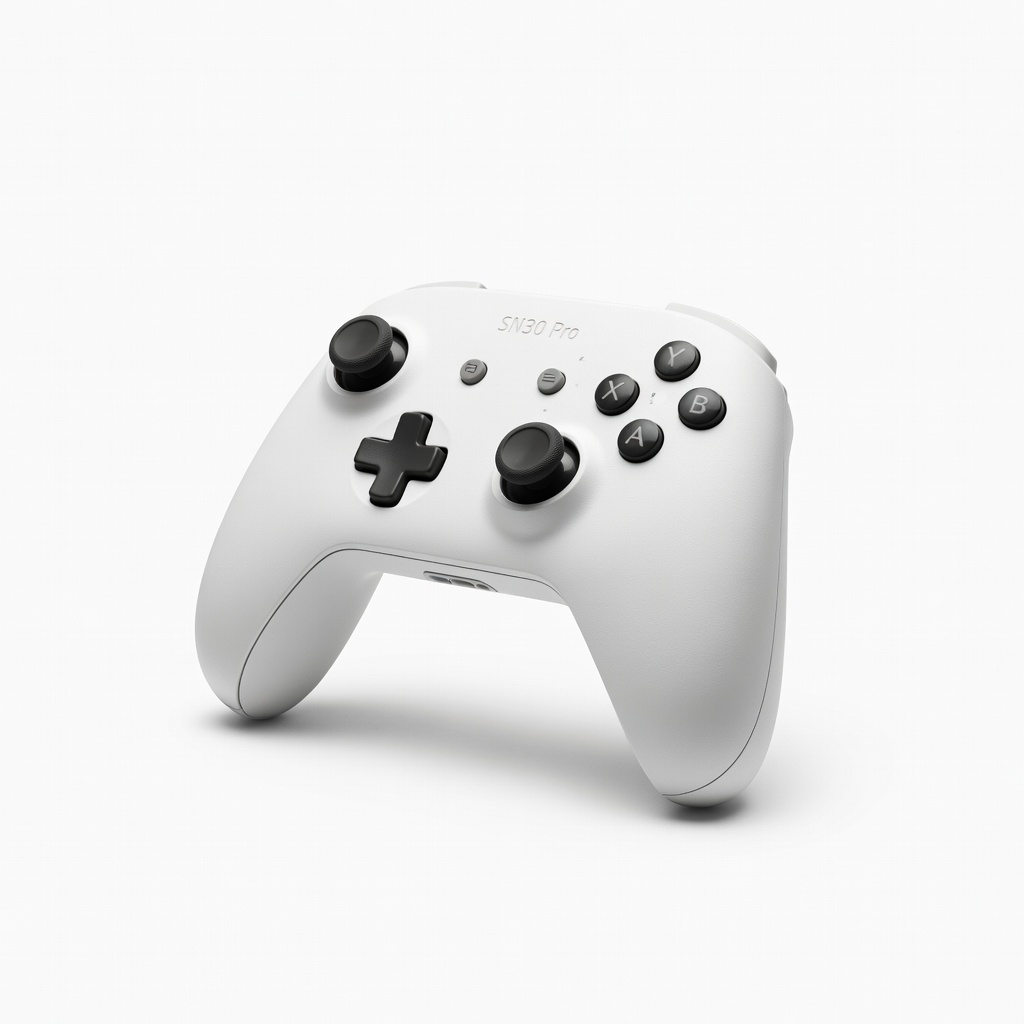
8BitDo SN30 Pro Controller
Wireless play on original consoles via USB adapter or PC link.
$49.99
8BitDo SN30 Pro Controller Replicates SNES/NES feel with modern Bluetooth, turbo functions ideal for fast action sequences.
Get the App
Better experience on mobile
Set up classic consoles like NES and SNES to enjoy Zelda, Metroid, and more on modern TVs with crisp video and responsive controls.
Reliving the thrill of 8-bit and 16-bit action & adventure games like The Legend of Zelda or Super Metroid is easier than ever, but dusty hardware and incompatible TVs often frustrate modern gamers. This guide solves those pain points, helping you get authentic retro gaming running smoothly.
You'll learn to select gear, clean and connect your console, optimize display output, and master gameplay techniques specific to action-adventure titles. Expect pixel-perfect action without emulation compromises.
The process takes 45-60 minutes for setup, suited for intermediate users with basic electronics knowledge. Once done, you'll be slashing enemies and exploring dungeons in no time.
Estimated Time: 45-60 minutes for setup + playtime Difficulty: intermediate
Pick a retro console that excels in action & adventure, like the NES for Zelda or SNES for A Link to the Past. Ensure it's functional—test power light if possible.
Select cartridges with save batteries intact for progress retention. Why? Action-adventure games rely on exploration and backtracking; dead saves mean restarts.
Success: Console powers on, games have labels intact.
💡 Tips:
⚠️ Warnings:
Unplug everything. Use compressed air to blow dust from console vents and cartridge slots. Wipe pins on cartridges and console connectors with isopropyl-dampened swab—gently, no soaking.
Why it matters: Dirty contacts cause 'blinking screen' errors common in 30+ year old systems. Dry fully (5-10 mins).
Success: Pins shiny, no residue.
💡 Tips:
Locate original RF/AV cables or upgrade to RGB for sharper image (SNES/Genesis support it). For HDMI TVs, prepare an AV-to-HDMI converter.
Test cables for frays. Label ends to avoid mix-ups.
Success: Cables uncoiled, ends clean.
⚠️ Warnings:
Plug AV cables: Yellow to video input, red/white to audio. For upscalers, connect console AV out to upscaler input, then HDMI to TV. Select correct TV input (e.g., AV1).
Why? Proper AV chaining prevents fuzzy, black screens.
Success: TV shows 'no signal'—normal until powered.
💡 Tips:
Plug in AC adapter (match voltage!). Insert a simple game like Super Mario Bros., power on. Expect Nintendo logo or title screen.
Adjust TV brightness/contrast for vibrant colors.
Success: Clear game audio/video, responsive D-pad.
⚠️ Warnings:
Power off, insert cartridge firmly until click. Blow slot if needed (removes debris). Power on—game boots to title screen.
Why specific? These games have complex maps; confirm load times under 30s.
Success: Hear iconic music, see adventure hub world.
💡 Tips:
Map buttons: A/B for attack/jump, D-pad for movement. For adventure games, practice item wheel/select. Adjust TV scanlines if using upscaler for authentic look.
Success: Fluid dodging enemies, navigating puzzles.
Dive in—explore, fight bosses. Save at owl statues (Zelda) or SRAM. After play, power off properly, store cartridges upright.
Why? Prevents battery drain. Play 30-60 min sessions.
Success: Beating first dungeon/boss.
💡 Tips:
Problem: No video/audio
Solution: Check all plugs, try different TV input/port. Test cables on another device.
Problem: Blinking/freezing screen
Solution: Deep clean pins again. Wiggle cartridge while running.
Problem: No save progress
Solution: Replace CR2032 battery in cartridge (easy solder job).
Problem: Controller unresponsive
Solution: Clean ports, test swap. Use wireless adapter.
Replicates SNES/NES feel with modern Bluetooth, turbo functions ideal for fast action sequences.
Best for: Wireless play on original consoles via USB adapter or PC link.
Price Range: $49.99
Upgrades composite to component/RGB for sharper, colorful adventure visuals without upscaler.
Best for: Direct TV connection for lag-free 240p gaming.
Price Range: $59.99
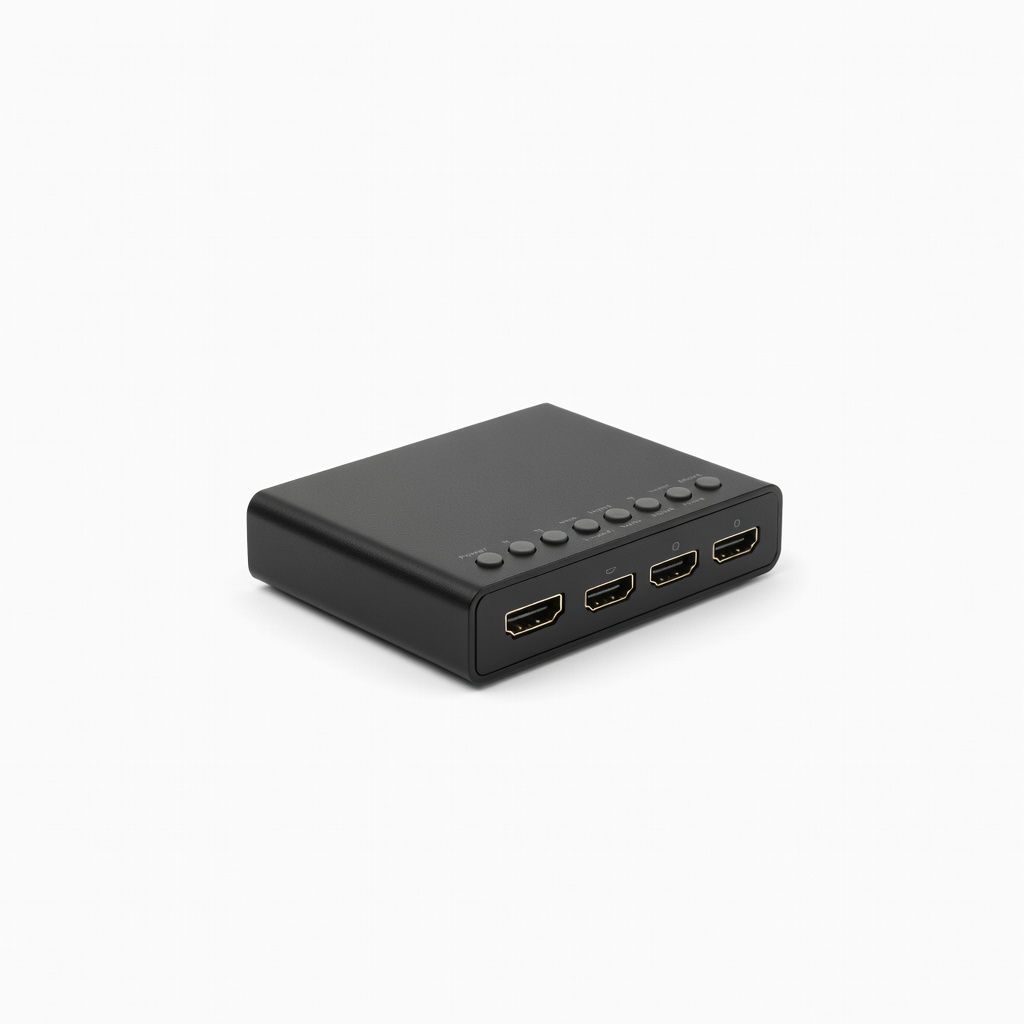
Converts AV to pristine HDMI with low latency, scanlines for authentic retro look.
Best for: Modern TVs lacking AV—perfect for intermediate setups.
Price Range: $99.99
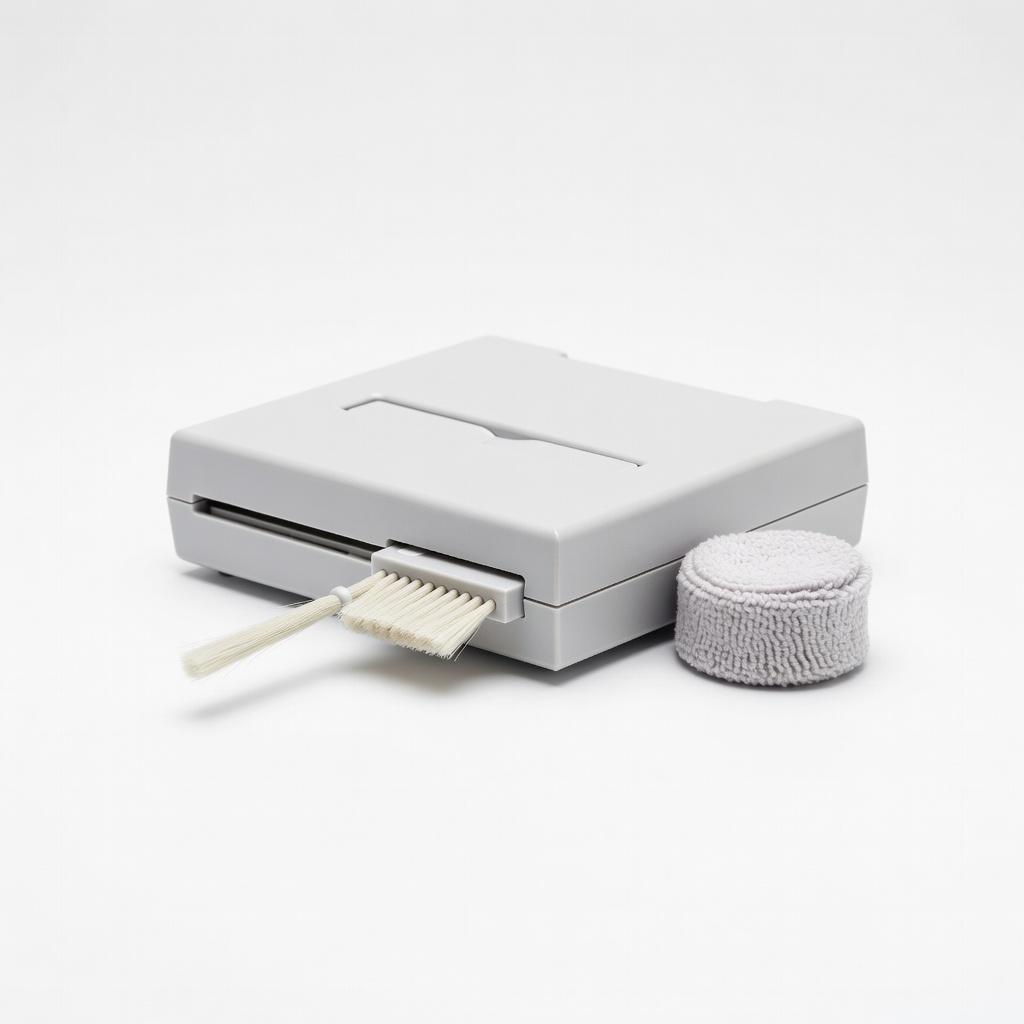
Quick, effective pin cleaning prevents most boot issues.
Best for: Before every session or new game.
Price Range: $12.99
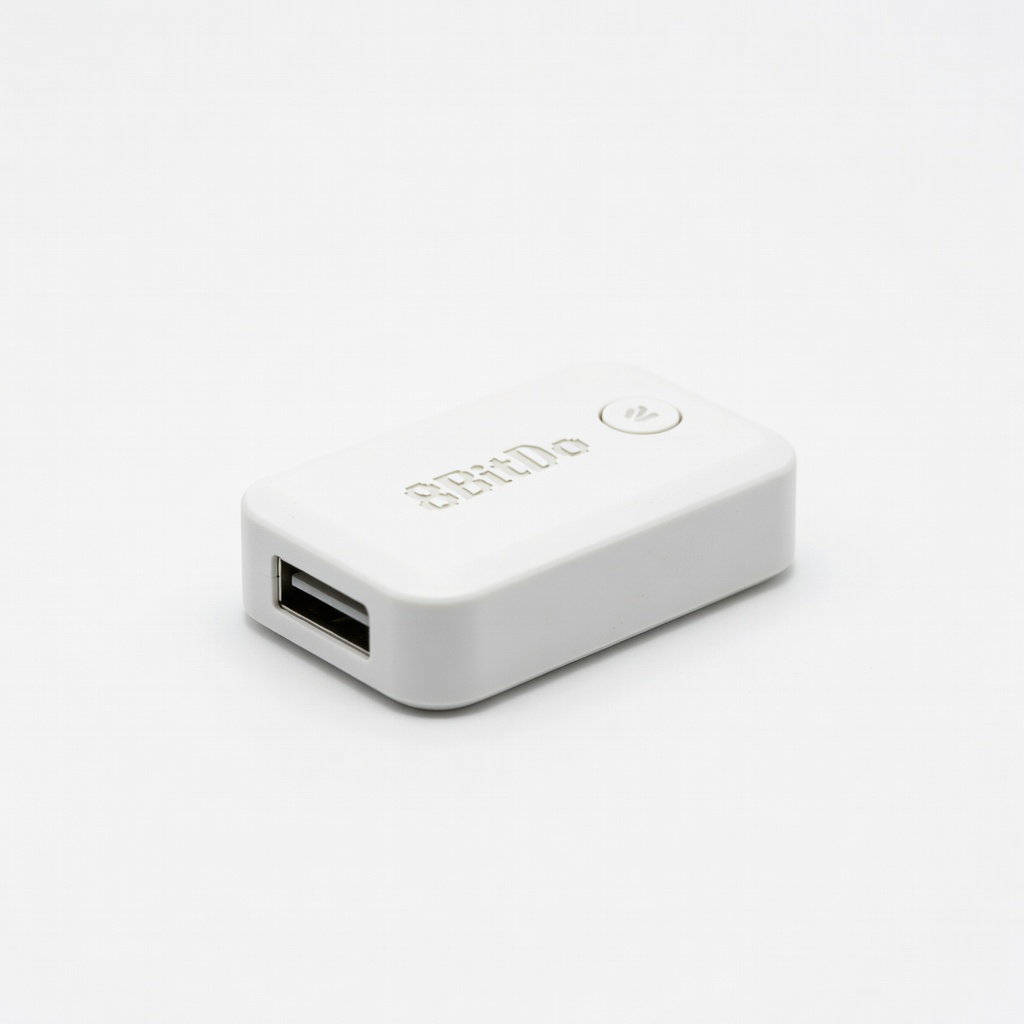
Adds wireless to original controllers for couch comfort.
Best for: Long adventure sessions without cable tangle.
Price Range: $19.99
Wireless play on original consoles via USB adapter or PC link.
8BitDo SN30 Pro Controller Replicates SNES/NES feel with modern Bluetooth, turbo functions ideal for fast action sequences.

Direct TV connection for lag-free 240p gaming.
Hyperkin HD RetroVision SNES Cables Upgrades composite to component/RGB for sharper, colorful adventure visuals without upscaler.
Modern TVs lacking AV—perfect for intermediate setups.
RetroTINK-2X Mini HDMI Upscaler Converts AV to pristine HDMI with low latency, scanlines for authentic retro look.
Before every session or new game.
KwikChip NES/SNES Cartridge Cleaner Quick, effective pin cleaning prevents most boot issues.
Long adventure sessions without cable tangle.
8BitDo Wireless USB Adapter 2 Adds wireless to original controllers for couch comfort.