Small 3V powered toys, like mini cars, talking books, and learning gadgets, bring excitement to playtime but pose risks if mishandled—especially button batteries that can cause serious injury if swallowed. As a parent or caregiver, knowing how to play safely protects your child while maximizing enjoyment.
In this beginner guide, you'll learn step-by-step how to select, set up, play with, and store 3V toys securely. Expect a quick 20-30 minute setup for your first toy, with ongoing habits that take seconds. No prior experience needed—just follow along for worry-free fun.
We'll cover everything from battery handling to supervision tips, drawing on child safety guidelines from organizations like the CPSC.
▸What You'll Need
- •Age-appropriate 3V powered toy (e.g., mini RC car or learning tablet using CR2032 batteries)
- •Fresh 3V lithium batteries (CR2032 or equivalent, required)
- •Phillips or flathead screwdriver (small size, required for some toys)
- •Adult supervision (always required)
- •Clean, dry cloth for wiping (optional)
- •Battery tester (optional but highly recommended for safety)
Estimated Time: 20-30 minutes for initial setup; 5 minutes per play session
Difficulty: beginner
▸Step-by-Step Instructions
Step 1: Choose an Age-Appropriate 3V Toy
Start by selecting a toy labeled for your child's age, typically 3+ for most 3V models. Check the box for '3V' or 'CR2032 battery' requirements and ensure it has child-safety certifications like ASTM or CE marks.
Why it matters: Toys for younger kids have larger parts and secure battery compartments to prevent choking hazards. Success looks like a toy with no small loose parts and clear instructions.
Inspect packaging for damage before buying.
💡 Tips:
- •Opt for toys with screw-secured battery doors over slide covers.
⚠️ Warnings:
- •Avoid toys without safety labels—they may have accessible batteries.
Step 2: Read the Manufacturer's Instructions
Unbox the toy and thoroughly read the manual, focusing on battery installation, play modes, and warnings. Note any age restrictions or adult assembly needs.
This step prevents errors like incorrect battery polarity. Expect 2-5 minutes; success is understanding all symbols and rules before proceeding.
💡 Tips:
- •Take a photo of instructions for quick reference later.
Step 3: Inspect the Toy and Battery Compartment
Examine the toy for cracks, loose wires, or sharp edges. Open the battery compartment (usually on the bottom) and ensure the cover is intact and screws are present.
Why? Damaged toys can expose wires or batteries. Clean inside with a dry cloth if dusty. Success: Compartment closes securely without gaps.
⚠️ Warnings:
- •Never use if compartment doesn't latch firmly—return or discard.
Step 4: Test and Insert Batteries Correctly
Use a battery tester to check your 3V batteries are at 3.0-3.2V. Insert matching polarity (+/- symbols align). Tighten screws firmly but don't overtighten.
Why it matters: Wrong insertion causes malfunctions or leaks. Success: Toy powers on with lights/sounds when switched.
💡 Tips:
- •Always remove batteries after play to prevent leaks.
Step 5: Test the Toy in a Safe Space
Place on a flat, soft surface away from water, stairs, or siblings. Power on and test all functions per instructions.
Observe for overheating or odd smells (rare but stop immediately if noticed). Success: Smooth operation for 5-10 minutes without issues.
⚠️ Warnings:
- •Keep away from eyes and mouth during testing.
Step 6: Set Clear Play Rules with Your Child
Explain rules: No mouthing, batteries stay inside, stop if broken. Demonstrate safe handling.
Why? Builds habits. Success: Child repeats rules back.
💡 Tips:
- •Use simple phrases like 'Batteries are yucky—keep toy away from mouth.'
Step 7: Supervise Playtime Actively
Stay within arm's reach during play. Watch for disassembly attempts or battery exposure.
Limit sessions to 15-20 minutes to avoid overuse. Success: Fun play without incidents.
⚠️ Warnings:
- •Never leave child alone with any battery-powered toy.
Step 8: Clean, Store, and Dispose Properly
Wipe toy with dry cloth, remove batteries, store in a dry bin out of reach. Dispose dead batteries in recycling (tape terminals).
Why? Prevents corrosion. Success: Toy ready for next use.
💡 Tips:
- •Label storage bin with child's name and date.
▸Pro Tips
- •Always buy extra batteries but store them locked away from kids.
- •Use a battery tester before every insertion to avoid weak performance.
- •Play on washable surfaces for easy cleanup.
- •Rotate toys weekly to maintain interest safely.
- •Teach 'stop and tell adult' for any toy malfunction.
- •For multiple toys, label battery types on each.
- •Supervise even older kids (8+) with small toys.
▸Common Mistakes to Avoid
- •Leaving batteries inside during storage—causes leaks; always remove.
- •Using rechargeable batteries—wrong voltage can damage toy; stick to lithium 3V.
- •Inadequate supervision—leads to disassembly; stay close.
- •Ignoring age labels—risks choking; match to child's age.
- •Not taping battery terminals for disposal—fire hazard; tape first.
▸Troubleshooting
Problem: Toy won't power on
Solution: Check battery polarity and freshness with tester; clean contacts with rubbing alcohol.
Problem: Battery compartment won't close
Solution: Ensure batteries are flush; if damaged, stop use and contact manufacturer.
Problem: Toy gets hot during play
Solution: Unplug batteries immediately; inspect for shorts—discard if faulty.
Problem: Child tries to open compartment
Solution: Add duct tape over screws temporarily; reinforce rules and supervise closer.
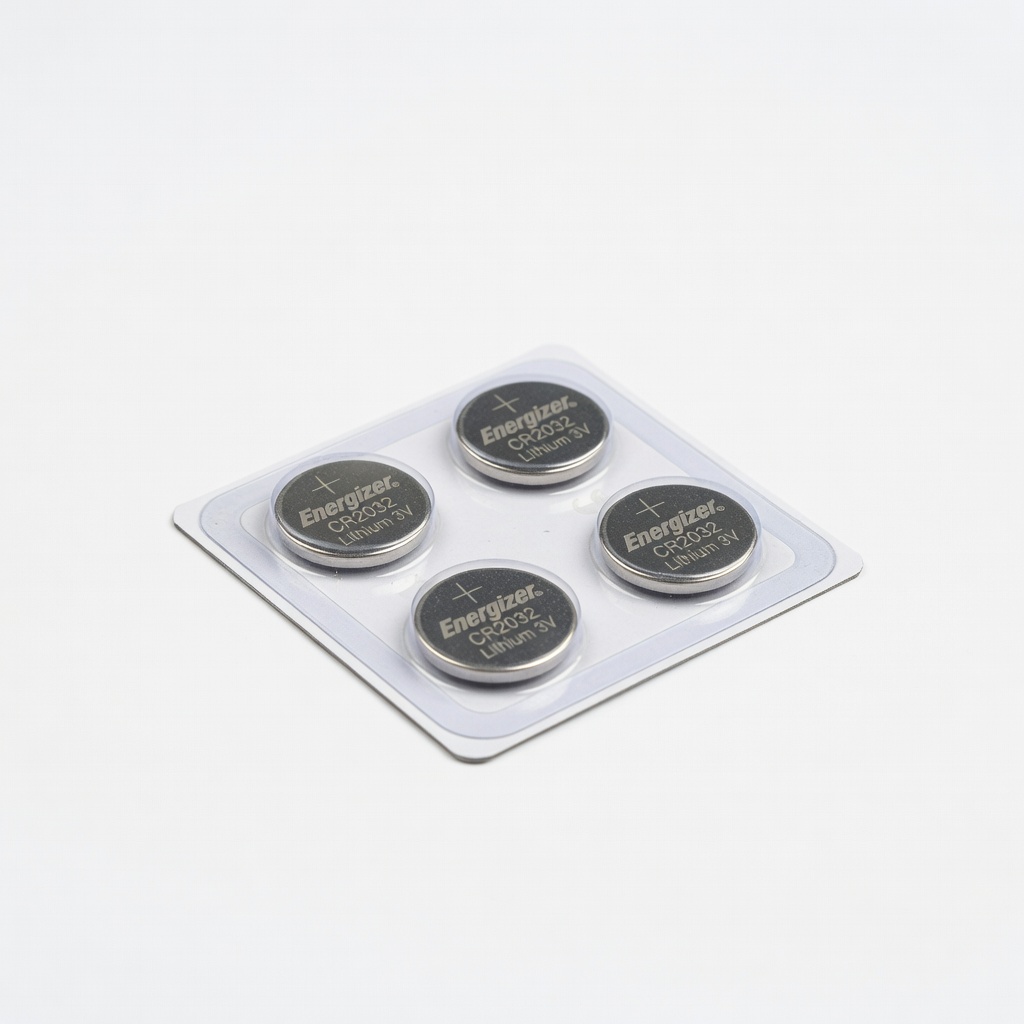
Energizer CR2032 Lithium 3V Batteries (4-Pack)
Reliable, long-lasting power source specifically for 3V toys; leak-proof design enhances safety.
Best for: Essential replacement for all steps involving battery insertion.
Price Range: $5-7
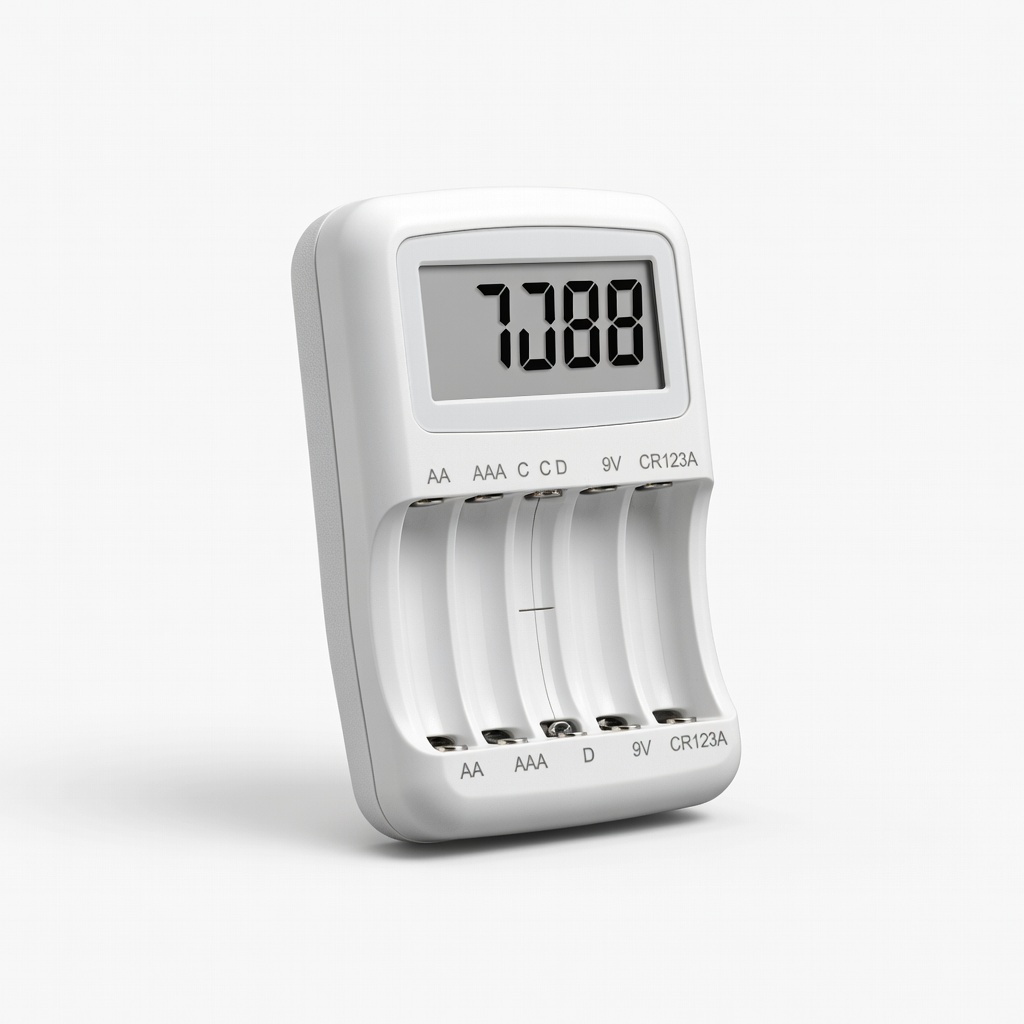
Accutest Digital Battery Tester (AA/AAA/C/D/9V/CR123A)
Quickly verifies 3V battery health to prevent failures and unsafe play.
Best for: Test batteries before every use in Step 4.
Price Range: $8-12
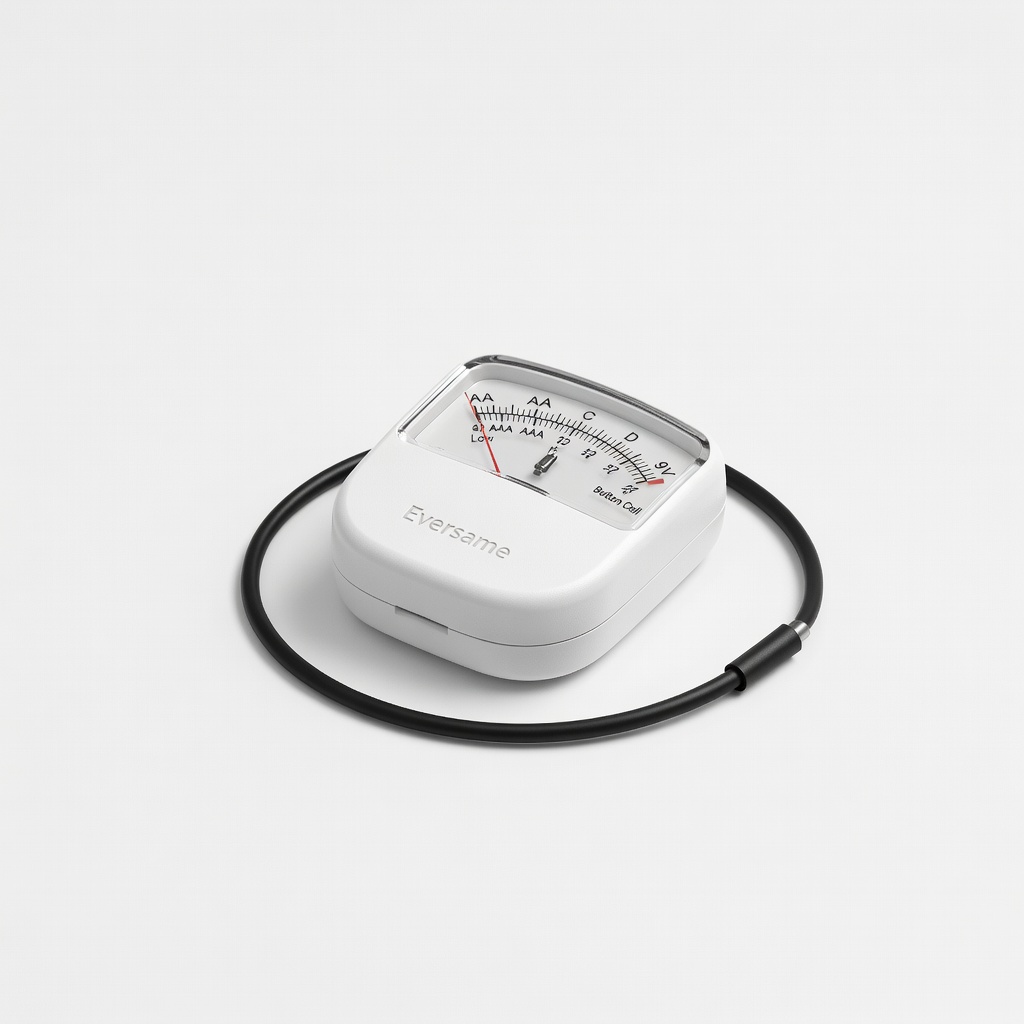
Eversame Universal Battery Tester
Compact, accurate voltage checker for multiple sizes including CR2032; LED indicators for easy reading.
Best for: Ongoing testing during storage and setup.
Price Range: $10-15
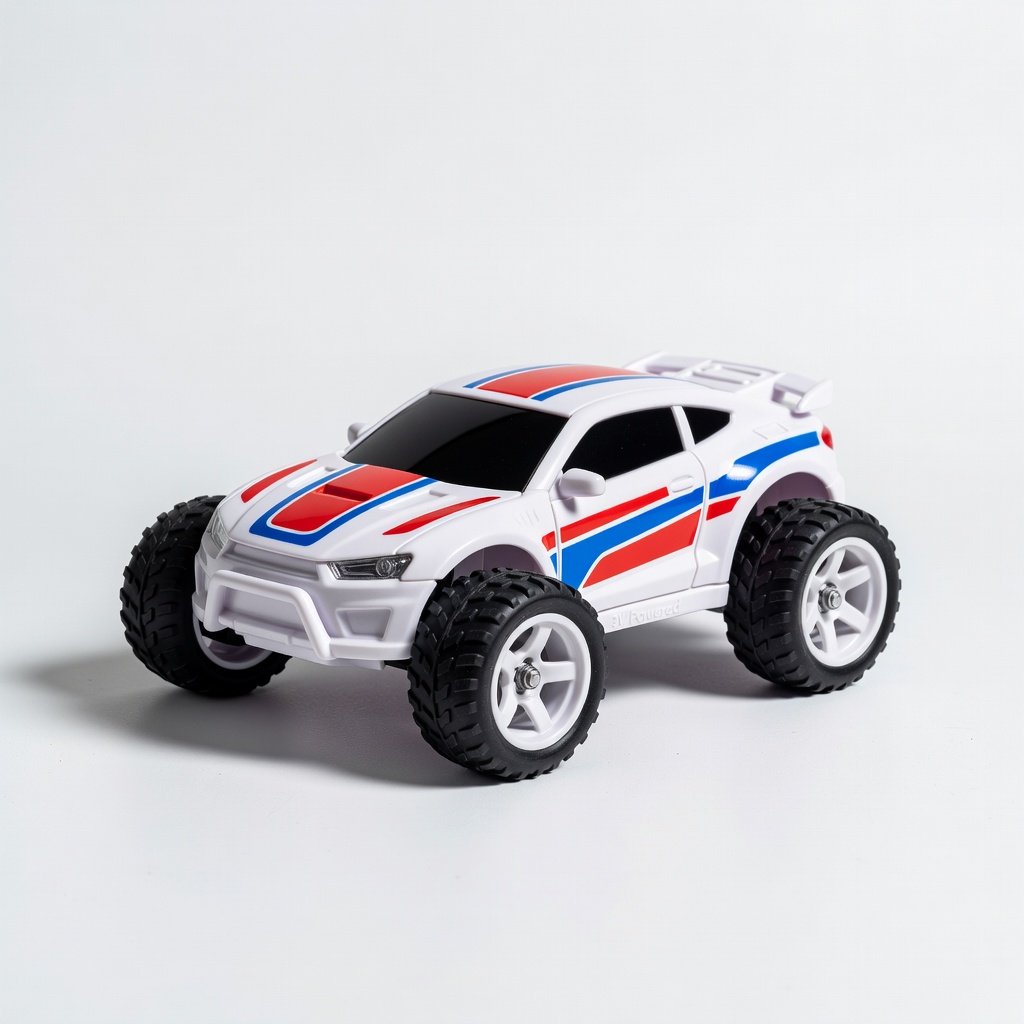
Kidzlane Mini RC Stunt Car (3V Powered)
Safe, durable example toy with secure screw battery door; ideal for beginners.
Best for: Practice safe play as recommended in Step 1.
Price Range: $15-20
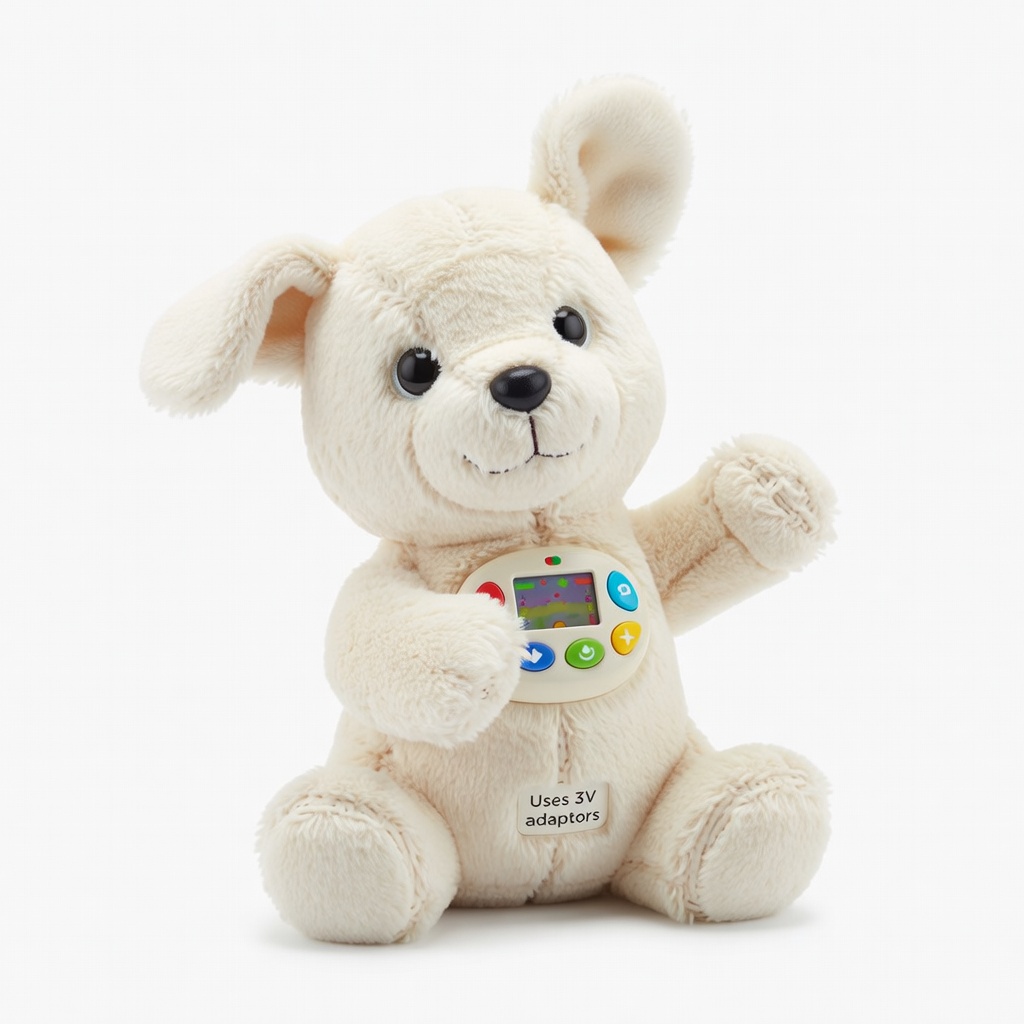
VTech KidiBees Dance and Move Puppy (uses 3V adaptors)
Interactive, educational toy with robust safety features for supervised play.
Best for: Fun, age-appropriate toy for Steps 5-7.
Price Range: $20-25