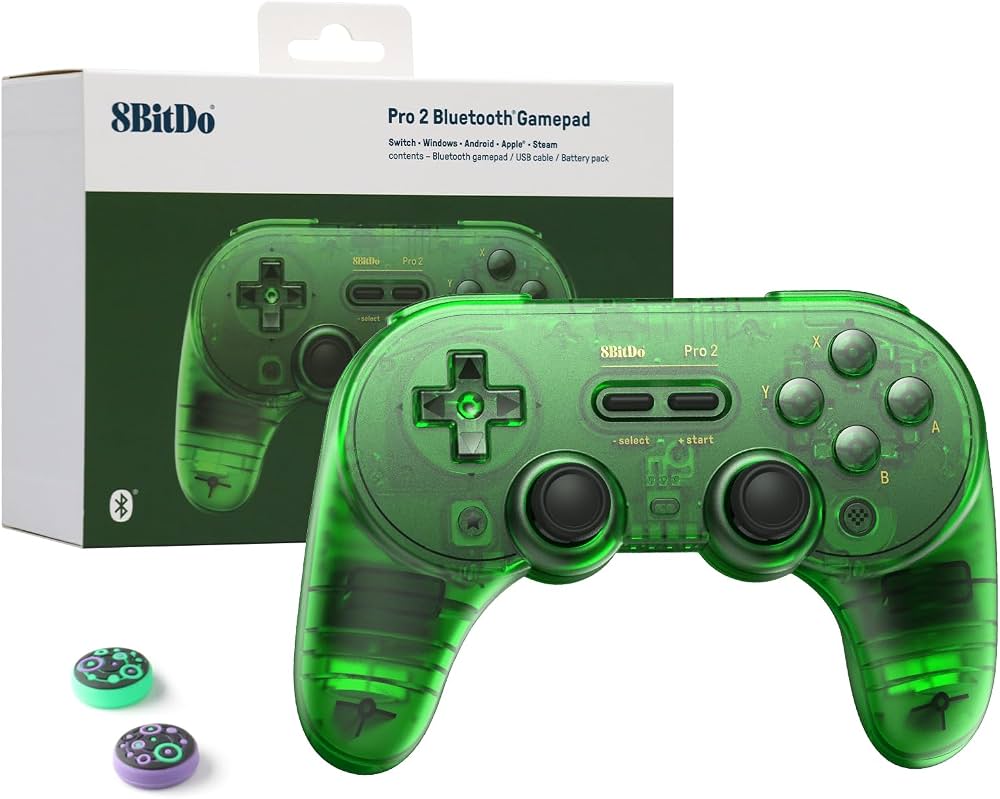
8BitDo Pro 2 Bluetooth Gamepad
Wireless control setup—pairs via Bluetooth or USB.
$49.99
8BitDo Pro 2 Bluetooth Gamepad Excellent D-pad and buttons mimic 3DO controller perfectly for emulation.
Get the App
Better experience on mobile
Relive classics like Road Rash on your PC with this step-by-step guide to setting up 3DO emulation perfectly.
The 3DO Interactive Multiplayer was a powerhouse 32-bit console from 1993, boasting games with FMV and stunning graphics ahead of its time. But with aging hardware failing and discs degrading, modern emulation is the best way to enjoy titles like The Need for Speed or Gex without the hassle. If you've got fond memories but no working 3DO, this guide solves that pain point.
You'll learn to install a reliable emulator, source legal BIOS and ROMs, configure everything for smooth play, and optimize for controllers. The process uses free tools like 4DO or RetroArch, taking about 45 minutes for intermediates comfortable with software installs and file management.
Expect arcade-perfect emulation at full speed on any modern PC—no soldering or hardware mods required. By the end, you'll be racing in Road Rash with retro vibes intact.
Estimated Time: 30-60 minutes Difficulty: intermediate
Start by selecting an emulator. For Windows, 4DO offers the best accuracy and ease. Download from 4do.sourceforge.net. For multi-platform (including RetroArch with 3DO core), grab it from retroarch.com.
Why it matters: 4DO emulates 3DO hardware near-perfectly, handling FMV and audio flawlessly. Extract the ZIP to a folder like C:\Emulation\4DO. Success looks like a clean executable file ready to run—no installers needed for 4DO.
Tip: Verify downloads with SHA hashes from official sites to avoid malware.
💡 Tips:
⚠️ Warnings:
3DO emulation requires BIOS files (system firmware). Dump them from your own 3DO console using tools like ImgBurn for CDs. Common files: panafz10.bin (USA), panafz10e.bin (Europe), panafz10a.bin (Asia).
Place them in the emulator's BIOS folder (e.g., 4DO\bios). Why? BIOS handles boot-up and hardware emulation. Success: Emulator detects BIOS without errors on first launch.
Legal note: Only use files from your hardware—sharing BIOS is gray-area but dumping your own is fully legal.
💡 Tips:
⚠️ Warnings:
Rip your 3DO discs to .iso using ImgBurn (free). Select your game CD, create image file. Store in a ROMs\3DO folder.
Popular games: Road Rash, Need for Speed. Why? Emulators read ISOs directly. Success: Files play in a disc drive emulator like Daemon Tools if needed, but most handle raw ISOs.
Preservation tip: Label ROMs clearly for organization.
💡 Tips:
⚠️ Warnings:
For 4DO: Run 4DO.exe. Set BIOS path in Options > Directories. For RetroArch: Install, download 3DO core via Online Updater.
Scan for ROMs in playlist. Why configure early? Prevents path errors later. Success: Main menu loads with no BIOS warnings.
💡 Tips:
⚠️ Warnings:
File > Open Image > Select ROM.iso. Game boots to 3DO logo. Press Start.
Tweak video: Fullscreen, integer scaling for crisp pixels. Why? Tests full setup. Success: Smooth 60FPS gameplay with sound.
💡 Tips:
Map keyboard or connect controller in Input settings. Boost frames if laggy (modern PCs rarely need).
Save config. Why optimize? Matches original feel. Success: Responsive controls, widescreen optional.
💡 Tips:
⚠️ Warnings:
Use F5 for save state, F7 load. Test FMV in games like Corpse Killer.
Success: Instant saves work, no crashes.
💡 Tips:
Problem: No BIOS detected
Solution: Verify file names exact (case-sensitive), place in correct folder, relaunch.
Problem: Game crashes on load
Solution: Check ISO integrity with checksum tools; try .bin/.cue rip.
Problem: Audio crackling
Solution: Switch audio driver to WASAPI in emulator settings.
Problem: Controller not responding
Solution: Calibrate in Windows Game Controllers panel first.
Problem: Slow performance
Solution: Disable VSync, lower resolution; ensure GPU drivers updated.
Excellent D-pad and buttons mimic 3DO controller perfectly for emulation.
Best for: Wireless control setup—pairs via Bluetooth or USB.
Price Range: $49.99
Fast storage for large 3DO ISO libraries (games up to 700MB each).
Best for: ROM organization and quick loading.
Price Range: $99.99
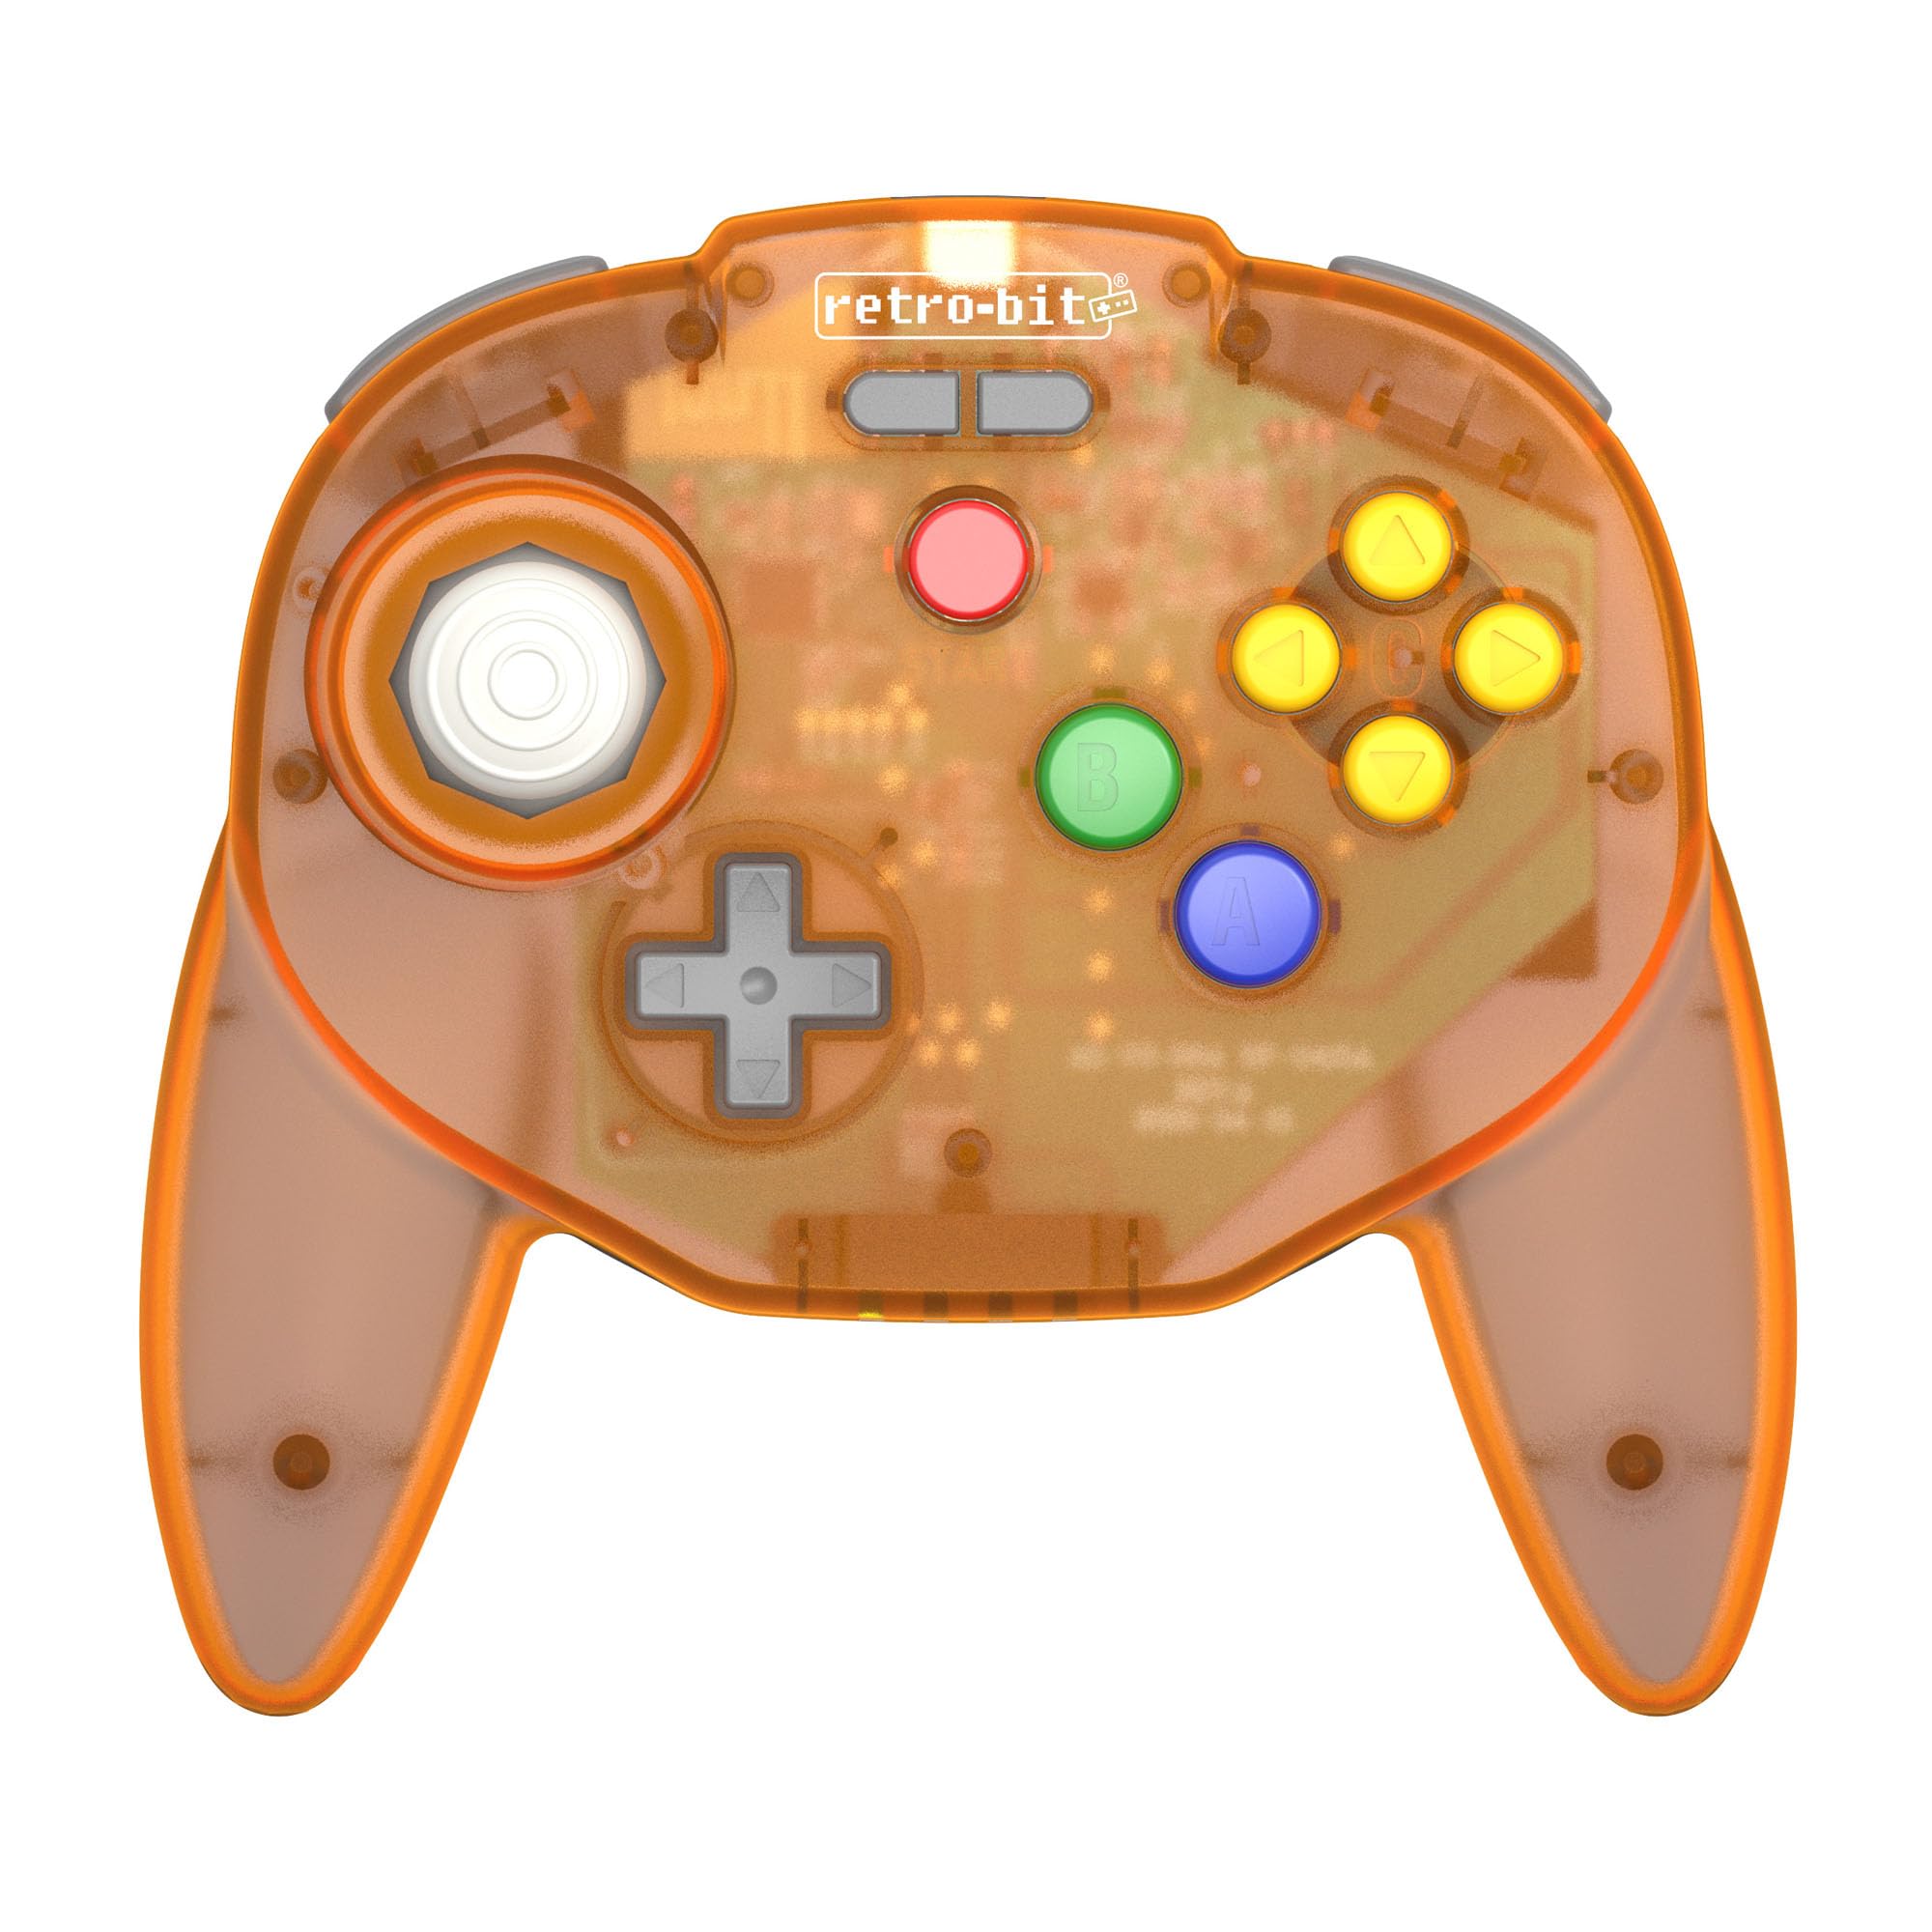
USB plug-and-play with 3DO-like ergonomics for authentic feel.
Best for: Budget wired option for PC emulation.
Price Range: $29.99
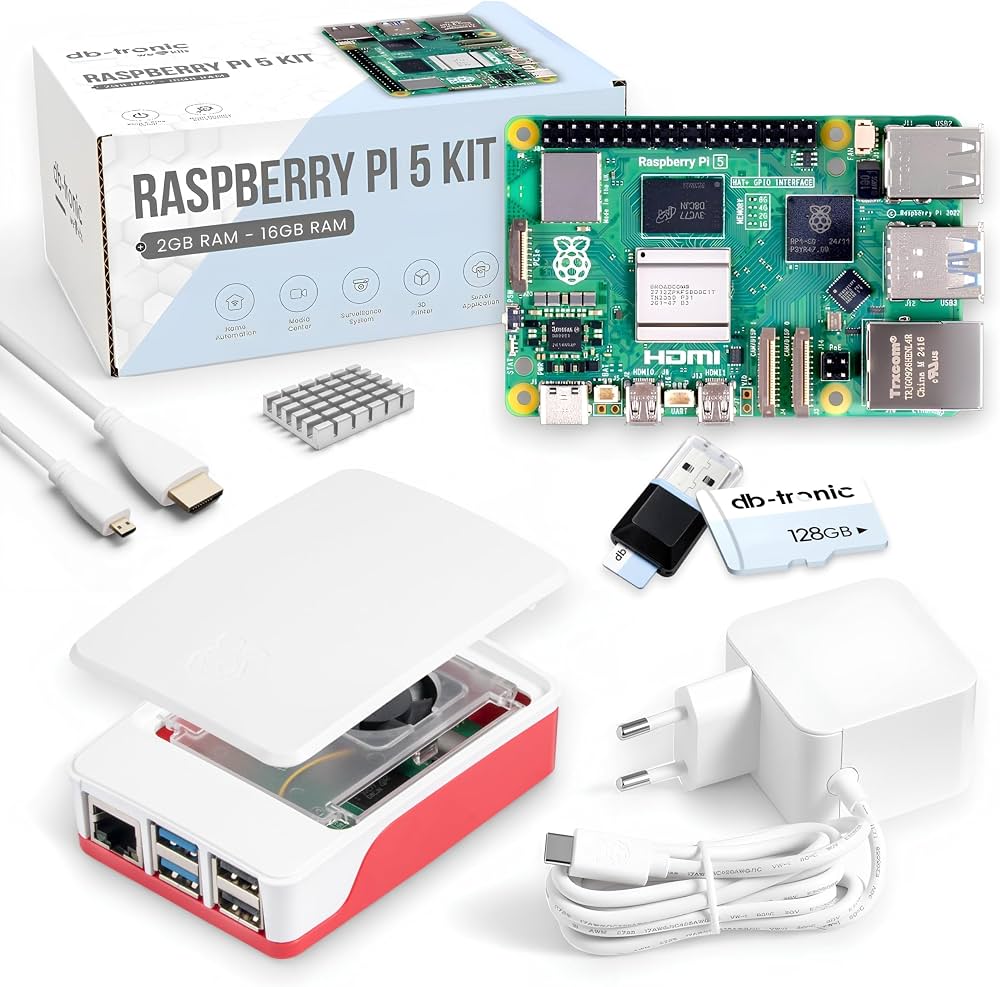
Dedicated emulation box running RetroArch—portable 3DO setup.
Best for: Living room console replacement.
Price Range: $100-$150
Wireless control setup—pairs via Bluetooth or USB.
8BitDo Pro 2 Bluetooth Gamepad Excellent D-pad and buttons mimic 3DO controller perfectly for emulation.

ROM organization and quick loading.
SanDisk 1TB Extreme Portable SSD Fast storage for large 3DO ISO libraries (games up to 700MB each).
Budget wired option for PC emulation.
Retro-Bit Tribute 64 Controller USB plug-and-play with 3DO-like ergonomics for authentic feel.
Living room console replacement.
Raspberry Pi 5 8GB RAM Kit Dedicated emulation box running RetroArch—portable 3DO setup.