
VIVOSUN 10x20.75 inch Seedling Heat Mat
Indoors during spring; plugs into thermostat for precision.
$25.99
VIVOSUN 10x20.75 inch Seedling Heat Mat Provides consistent 70-85°F bottom heat essential for uniform germination in cool homes.
Get the App
Better experience on mobile
Learn to plan and execute seed germination step-by-step for healthy seedlings with minimal equipment and high success rates.
Starting plants from seeds is rewarding but frustrating for beginners when germination fails due to poor planning. Common issues like incorrect temperature or overwatering lead to wasted time and money. This guide solves that by teaching you how to plan effectively.
You'll learn everything from seed selection to monitoring, ensuring 70-90% germination rates. The process covers planning (30 minutes) and active germination (7-21 days), perfect for home gardeners growing veggies, herbs, or flowers.
Expect simple steps, no advanced skills needed. By the end, you'll have a thriving germination setup ready for transplanting.
Estimated Time: 30 minutes planning + 7-21 days for germination Difficulty: beginner
Choose viable, fresh seeds suited to your climate and goals. Opt for beginner-friendly varieties like tomatoes, peppers, basil, or lettuce, which germinate reliably in 7-14 days.
Check seed packets for germination rates (aim for 85%+), days to sprout, and requirements. Buy from reputable sources to avoid old stock. Plan for your growing season—start indoors 6-8 weeks before last frost.
Success looks like: Packets with clear info and high viability rating.
💡 Tips:
⚠️ Warnings:
Look up each seed's needs: temperature (most 70-85°F), light (dark for some like lettuce), moisture, and depth (usually 1/4 inch).
Use seed packet or online charts. Note ideal range—e.g., beans need warmth, not light to germinate.
Success looks like: A notes sheet with temp, depth, and time for each seed type.
💡 Tips:
Assemble your list from 'What You Need.' Sterilize trays by washing with 10% bleach solution and rinsing.
Moisten seed mix beforehand—it should hold shape but not drip water.
Success looks like: Clean, organized setup ready to go.
💡 Tips:
⚠️ Warnings:
Place trays on a waterproof tray in a warm spot (70-85°F). Add heat mat if below 70°F. Cover with dome for 80-90% humidity.
Position under grow lights 2-4 inches above if indoors.
Success looks like: Stable temp/humidity readings on your gauge.
💡 Tips:
Fill trays with moist mix. Plant at packet depth—press lightly, cover thinly. Space seeds 1-2 inches apart.
Label each cell with variety and date.
Success looks like: Evenly spaced seeds, lightly covered, labeled clearly.
💡 Tips:
⚠️ Warnings:
Mist daily to keep top moist but not soggy. Vent dome daily to prevent mold. Keep temps steady—use heat mat thermostat.
Provide 14-16 hours light once sprouted.
Success looks like: Consistent moisture, no drying or pooling.
💡 Tips:
Check daily for sprouts (7-21 days). Thin to strongest seedling per cell when 2 true leaves appear.
Success looks like: Healthy green sprouts, 1-2 inches tall.
⚠️ Warnings:
Harden off seedlings outdoors 7-10 days before planting. Move to garden when 4-6 inches tall.
Success looks like: Robust seedlings ready for soil.
💡 Tips:
Problem: No germination after 2 weeks
Solution: Check temp/moisture; reseed with fresh batch if needed.
Problem: Mold on soil surface
Solution: Increase airflow, reduce watering; remove affected area.
Problem: Leggy, stretched seedlings
Solution: Lower lights closer or increase light duration.
Problem: Seedlings fall over (damping-off)
Solution: Use sterile mix, bottom-water, and add cinnamon as fungicide.
Provides consistent 70-85°F bottom heat essential for uniform germination in cool homes.
Best for: Indoors during spring; plugs into thermostat for precision.
Price Range: $25.99
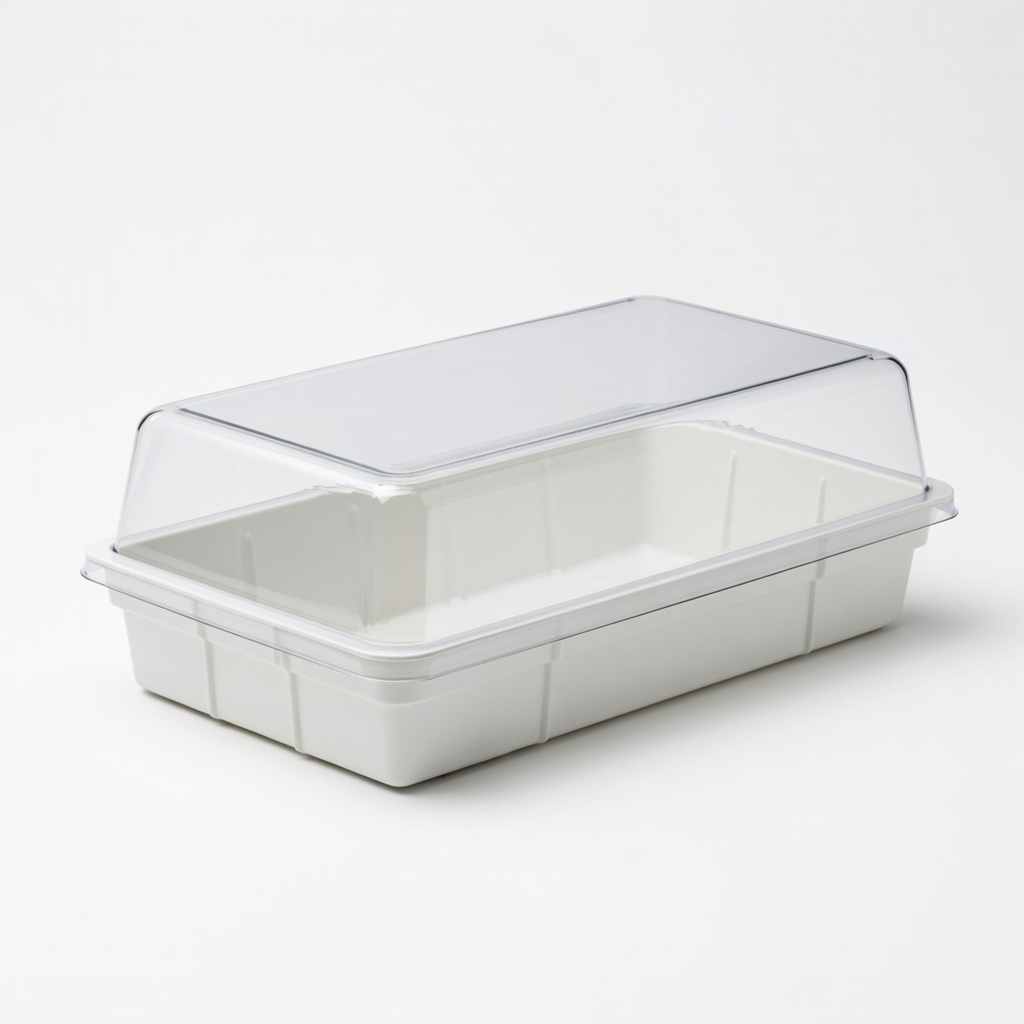
Durable trays maintain humidity and allow venting to prevent mold.
Best for: Starting dozens of seeds; stackable for space-saving.
Price Range: $15-$25
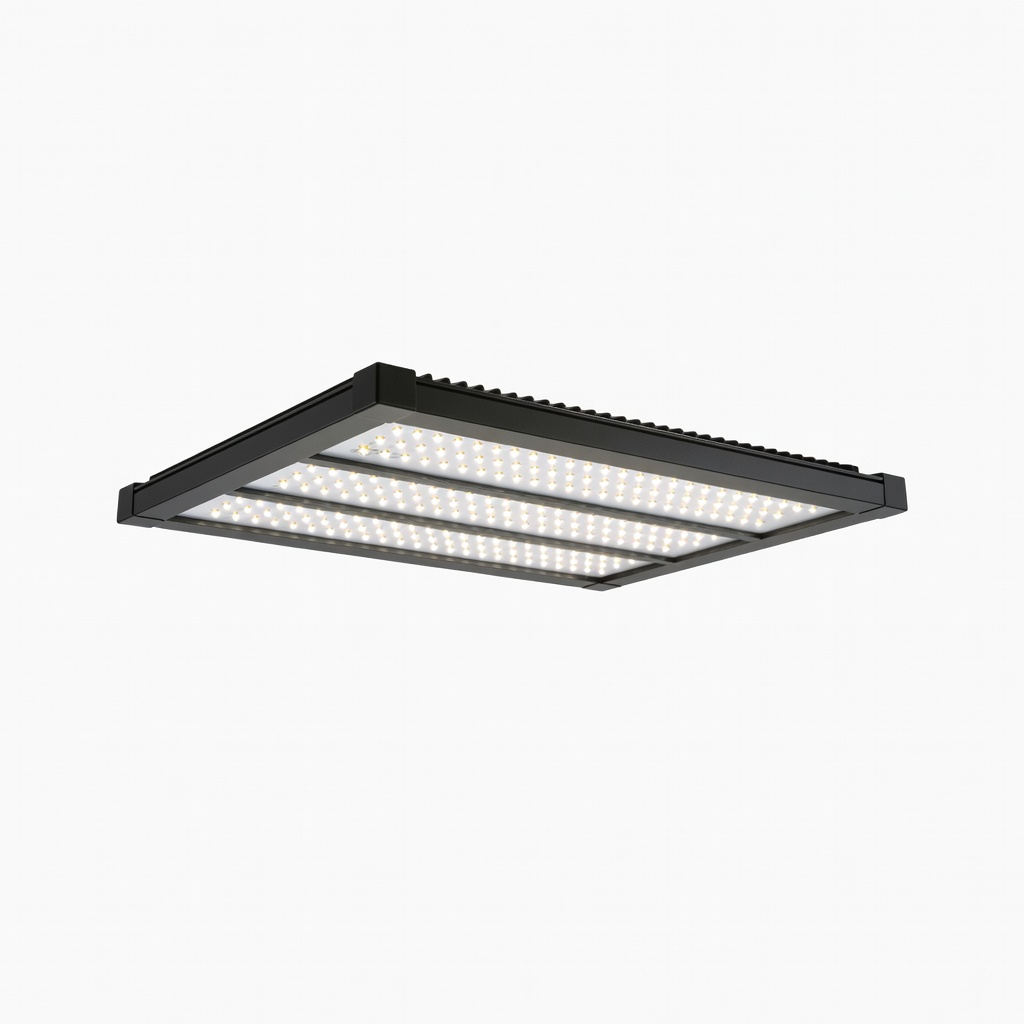
Full-spectrum light mimics sun, preventing leggy growth post-sprout.
Best for: Indoor setups without windows; covers 2x2 ft area.
Price Range: $65.99
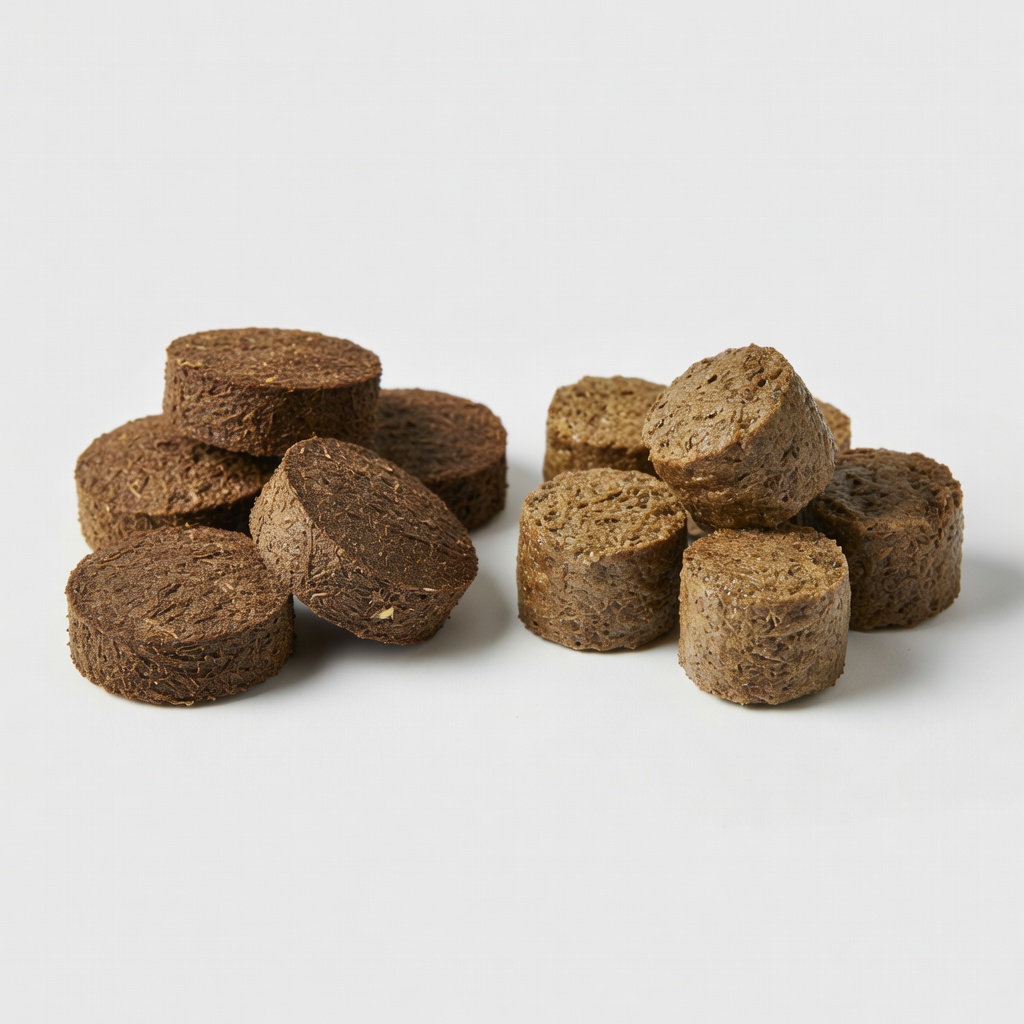
Pre-measured, expandable pellets simplify sowing and transplanting.
Best for: Mess-free for beginners; direct plant to garden.
Price Range: $9.99
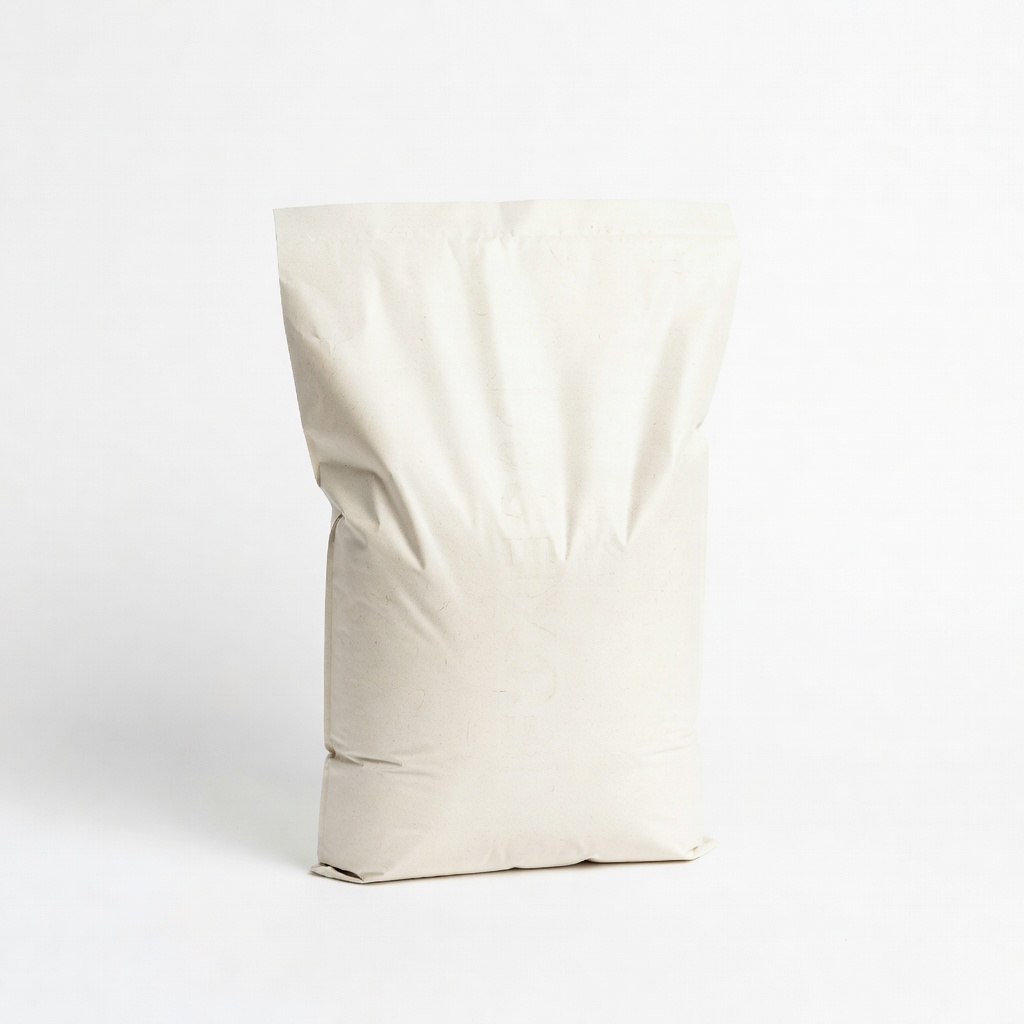
Light, mycorrhizae-enriched mix promotes strong roots and disease resistance.
Best for: Custom soil alternative for better results.
Price Range: $19.99
Indoors during spring; plugs into thermostat for precision.
VIVOSUN 10x20.75 inch Seedling Heat Mat Provides consistent 70-85°F bottom heat essential for uniform germination in cool homes.
Starting dozens of seeds; stackable for space-saving.
Bootstrap Farmer 1020 Seed Tray with Humidity Dome Durable trays maintain humidity and allow venting to prevent mold.
Indoor setups without windows; covers 2x2 ft area.
Mars Hydro TS-600 LED Grow Light Full-spectrum light mimics sun, preventing leggy growth post-sprout.
Mess-free for beginners; direct plant to garden.
Jiffy-7 Peat Pellets 36mm Pre-measured, expandable pellets simplify sowing and transplanting.
Custom soil alternative for better results.
FoxFarm Light Warrior Seed Starting Mix Light, mycorrhizae-enriched mix promotes strong roots and disease resistance.