In today's screen-heavy world, outdoor play is essential for children's physical health, social skills, and imagination. Yet many parents and educators struggle with creating structured play areas that are both fun and safe. Poorly planned activity centers can lead to boredom, injuries, or underused spaces.
This guide teaches beginners how to plan effective outdoor activity centers step-by-step. You'll assess your space, choose age-appropriate activities, ensure safety, and budget smartly. By the end, you'll have a detailed blueprint ready for implementation.
Expect 2-4 hours of planning time. No prior experience needed—just enthusiasm for kid-friendly fun. The result? A vibrant play area that kids return to daily.
▸What You'll Need
- •Measuring tape or laser measure (required)
- •Graph paper or digital planning app like SketchUp Free (required)
- •Pencils, eraser, and notebook (required)
- •Access to outdoor space dimensions (required)
- •Budget spreadsheet (Google Sheets or paper; required)
- •Safety guidelines from CPSC (free online; required)
- •Optional: Camera or phone for site photos
Estimated Time: 2-4 hours
Difficulty: beginner
▸Step-by-Step Instructions
Step 1: Assess Your Outdoor Space
Start by measuring your available area. Walk the space, note dimensions (length, width, height clearances), slopes, sun/shade patterns, and obstacles like trees or fences. Take photos from multiple angles.
This matters because mismatched equipment leads to cramped, unsafe layouts. Expect a site map sketch showing usable square footage—aim for at least 300 sq ft for 4-6 kids.
Mark permanent features like patios or utilities to avoid them.
💡 Tips:
- •Measure twice for accuracy.
- •Note drainage issues to prevent mud pits.
⚠️ Warnings:
- •Avoid planning over septic tanks or power lines.
Step 2: Define Goals and Age Group
Identify who will use the center: ages (e.g., 2-5 toddlers or 5-12 school-age), group size, and goals like gross motor skills, sensory play, or quiet reading.
Why? Activities must match development stages to prevent frustration or injury. Success: A list of 3-5 goals, e.g., 'Develop balance for 3-5 year olds.'
💡 Tips:
- •Consult pediatric guidelines for age-appropriate play.
⚠️ Warnings:
- •Don't mix high-risk activities for mixed ages without zones.
Step 3: Research Activity Types
Brainstorm zones: active (swings, climbing), creative (sandbox, art station), sensory (water play, music), and rest (benches). List 8-10 ideas suited to your space.
This ensures variety to keep kids engaged. Expect a categorized list with pros/cons, like 'Swings: fun but need 6ft fall zone.'
💡 Tips:
- •Use free resources like NAEYC play guides.
Step 4: Sketch the Layout
On graph paper (1 sq = 1 ft), draw a scaled layout. Place high-traffic zones centrally, separate active from quiet areas, and ensure 6-9ft fall zones under equipment.
Why it matters: Good flow prevents collisions. Success looks like a bird's-eye view with labeled zones and paths.
💡 Tips:
- •Use apps like Floor Planner for digital tweaks.
⚠️ Warnings:
- •Overcrowd—leave 20% open space.
Step 5: Prioritize Safety Features
Incorporate CPSC standards: soft surfacing (mulch/rubber), rounded edges, no gaps >3.5in. Plan supervision spots and fences if near roads.
Critical for injury prevention. Check off: fall zones, anchors, accessibility ramps.
💡 Tips:
- •Add shaded areas with umbrellas.
⚠️ Warnings:
- •Skip impact-absorbing surfaces under swings.
Step 6: Create a Budget and Shopping List
Estimate costs: equipment ($200-2000), surfacing ($100+), maintenance. List must-haves vs. nice-to-haves, source from local stores/Amazon.
Keeps project realistic. Success: Spreadsheet totaling under budget with links.
💡 Tips:
- •Shop sales; start small and expand.
Step 7: Review and Get Feedback
Share plan with family, teachers, or online forums. Adjust based on input, finalize with timeline.
Refines for real-world use. Expect minor tweaks.
💡 Tips:
- •Test layout with chalk outlines on ground.
⚠️ Warnings:
- •Ignore local zoning laws.
Step 8: Finalize and Schedule Build
Print/digital plan with materials list. Set phases: Week 1 install surfacing, Week 2 equipment.
Leads to action. Success: Ready-to-build blueprint.
💡 Tips:
- •Weather-proof materials for longevity.
▸Pro Tips
- •Incorporate nature: Use logs for stepping stones to save money.
- •Zone by energy: High-energy near edges, calm in center.
- •Rotate toys seasonally to maintain interest.
- •Add DIY elements like tire swings for budget fun.
- •Plant pollinator gardens nearby for educational tie-in.
- •Use gravel paths for easy wheelchair access.
- •Test with kids: Observe play patterns before finalizing.
▸Common Mistakes to Avoid
- •Underestimating fall zones, leading to injuries—always check CPSC charts.
- •Overloading budget on one item—prioritize multi-use equipment.
- •Ignoring sun exposure, causing unused hot zones—plan shade.
- •No maintenance plan, resulting in splinters/rust—schedule checks.
- •Forgetting accessibility, excluding some kids—add ramps.
▸Troubleshooting
Problem: Space too small for desired activities
Solution: Scale down to vertical play like climbing walls or multi-use platforms; re-assess in Step 1.
Problem: Budget overrun
Solution: Swap expensive kits for DIY; hunt deals or used gear from Facebook Marketplace.
Problem: Poor drainage causing puddles
Solution: Elevate equipment on gravel base; consult landscaper if severe.
Problem: Kids not using certain zones
Solution: Observe play, swap underused activities; add themes like 'pirate ship sandbox'.
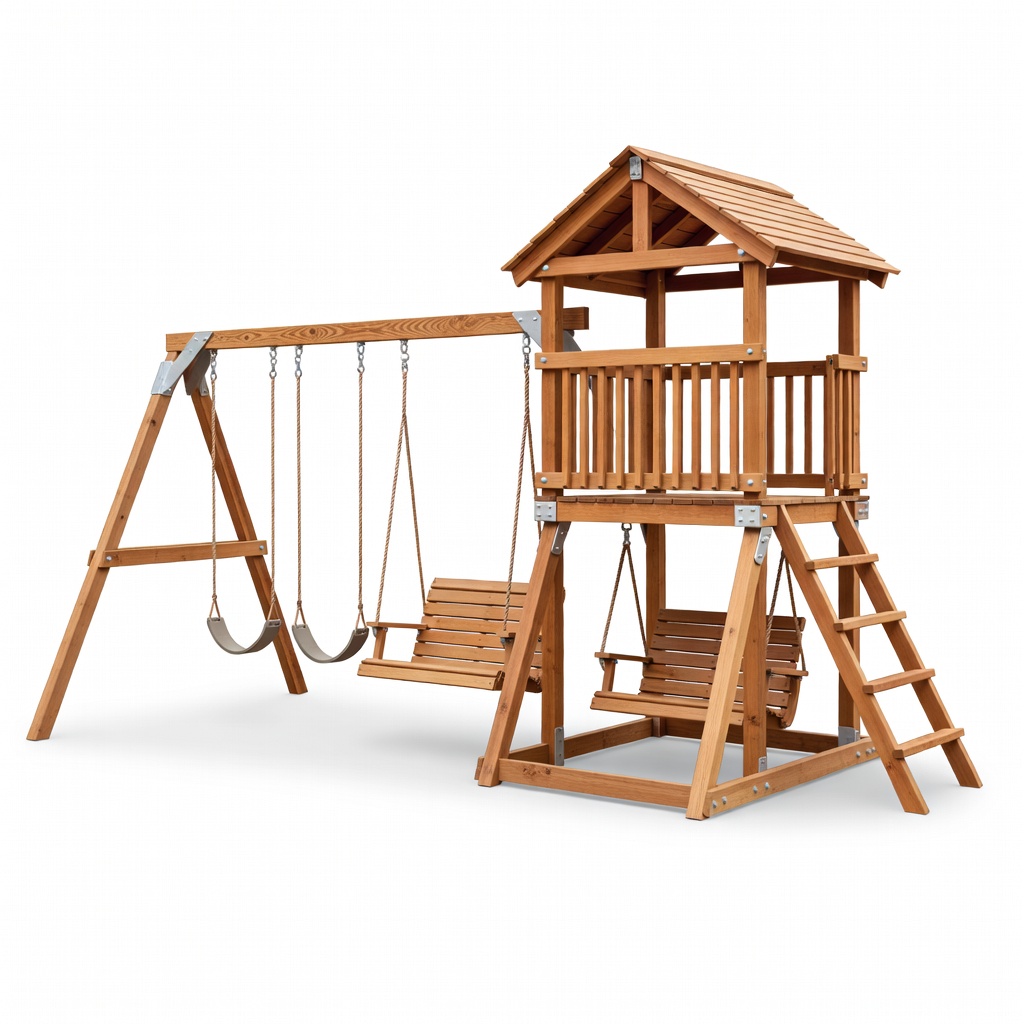
Backyard Discovery Weston Cedar Swing Set
Modular, easy-assembly kit perfect for active zones; holds 6+ kids with swings, slide, and fort.
Best for: Core active center for ages 3-10; quick install in small-medium yards.
Price Range: $399.99-$499.99
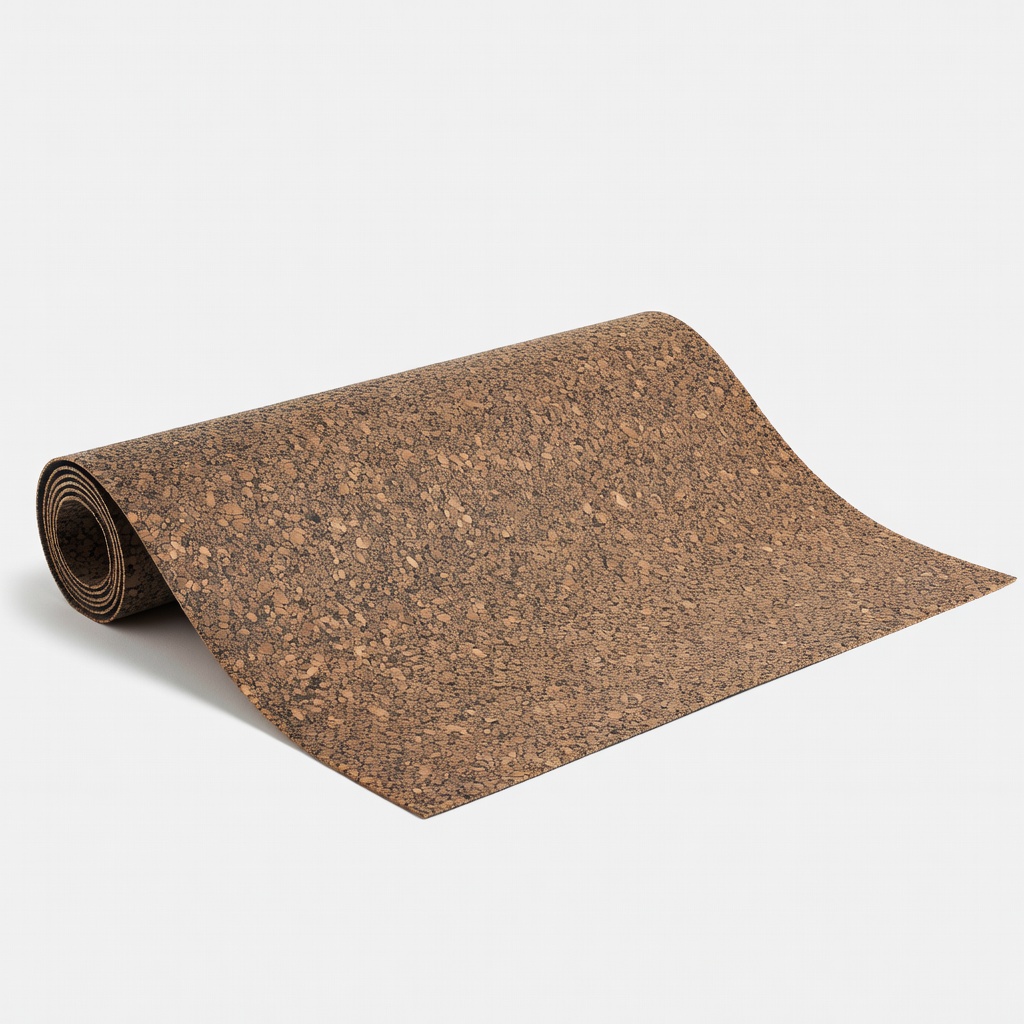
Rubber-Cal Cork Rubber Rolls 1/4"
Excellent impact-absorbing surfacing; durable, non-slip for under swings/climbers.
Best for: Safety layer in fall zones; cuts to size for custom layouts.
Price Range: $29.99-$50 per roll
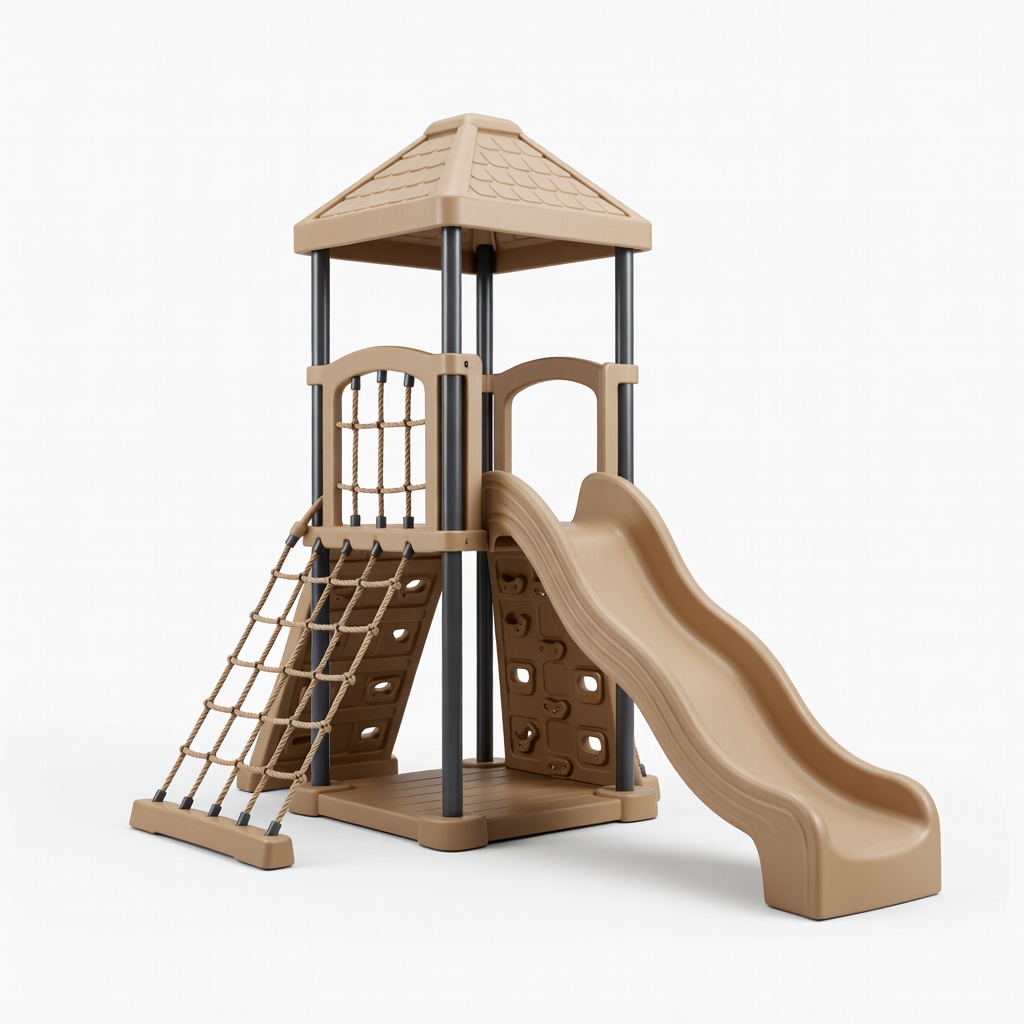
Lifetime 60182 Adventure Tower Playset
All-in-one climber with slides, trapeze; weather-resistant for long-term use.
Best for: Compact climbing/sensory zone for beginners; minimal assembly.
Price Range: $599.99-$699.99
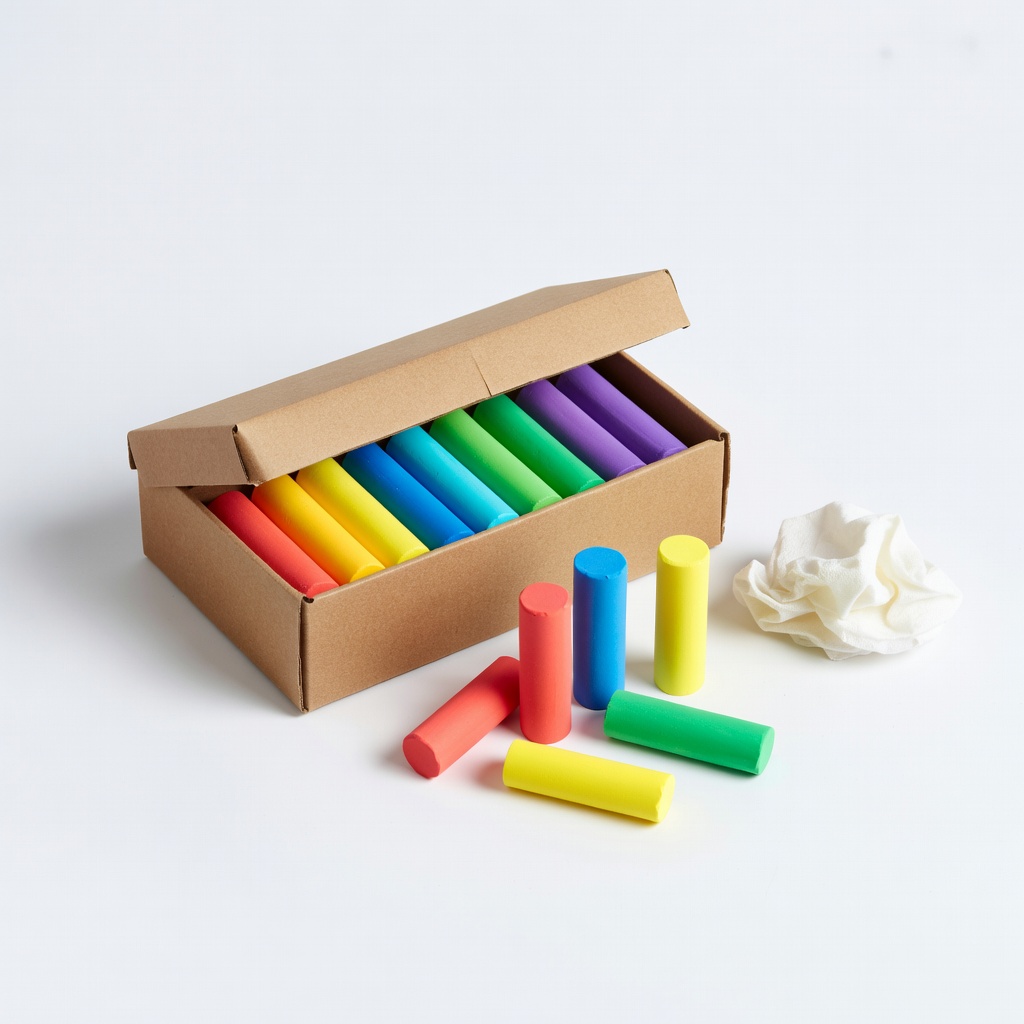
Crayola Washable Outdoor Chalk Kit
Temporary marking for testing layouts; inspires creative zones.
Best for: Outline zones before building; art station starter.
Price Range: $9.99-$15
Bosch GLM20 Laser Measure
Precise, easy distance tool for accurate space assessment.
Best for: Step 1 measuring; faster than tape for large areas.
Price Range: $29.99-$39.99