Dreaming of fresh homegrown veggies but stuck with a small balcony, patio, or backyard? Many urban dwellers and beginners face the challenge of limited space, yet with the right layout, you can grow a surprising abundance of tomatoes, herbs, and greens without wasting an inch. This guide tackles that pain point head-on, showing you how to create a productive vegetable garden that fits your lifestyle.
In this step-by-step tutorial, you'll learn to assess your space, select the best crops, and arrange them for optimal growth and ease of harvest. By the end, you'll have a detailed plan ready to implement, whether on raised beds or containers. The process is straightforward, requiring no advanced skills—just some planning time.
Expect to spend 1-2 hours sketching and researching, with beginner-friendly steps that build confidence. No prior gardening experience needed; we'll cover everything from sunlight basics to companion planting.
▸What You'll Need
- •Graph paper or plain paper and pencil for sketching
- •Measuring tape or ruler to measure your space
- •Access to sunlight data (use a smartphone app like Sun Seeker, optional)
- •Garden journal or notebook for notes
- •Seeds or seedlings (optional, for visualization; start with seed packets)
- •Basic computer or phone for researching plant needs (free online resources)
Estimated Time: 1-2 hours
Difficulty: beginner
▸Step-by-Step Instructions
Step 1: Assess Your Available Space
Start by measuring the exact dimensions of your small space, whether it's a 4x4 foot patio, a sunny windowsill, or a 10x10 foot yard. Note the shape—rectangular, L-shaped, or irregular—and any obstacles like walls, fences, or furniture. This step ensures your layout fits reality and avoids overcrowding.
Why it matters: Small spaces demand precision to prevent shading or competition for resources. Walk around and observe during different times of day to log fixed features. Success looks like a simple sketch with measurements, giving you a clear boundary to work within.
Use your measuring tape to jot down lengths and widths; for vertical spaces, measure shelf or railing heights too.
💡 Tips:
- •Take photos of the area from multiple angles for reference.
- •Consider multi-level options like shelves for balconies.
⚠️ Warnings:
- •Don't forget to account for access paths—leave at least 18 inches for walking.
Step 2: Evaluate Sunlight and Microclimate
Track sunlight exposure in your space over a day or two. Most vegetables need 6-8 hours of direct sun daily, but leafy greens tolerate partial shade. Check for wind patterns, as small spaces can be wind tunnels near buildings.
This is crucial because mismatched light leads to poor yields—tomatoes won't fruit without enough sun. Expect to identify 'full sun' (6+ hours), 'partial shade' (4-6 hours), or 'shade' zones. Use a free app or just observe shadows. Success: A shaded diagram showing sunny vs. shady spots.
Mark these on your initial sketch to guide plant placement.
💡 Tips:
- •Morning sun is ideal for heat-sensitive plants like peppers.
- •In very hot climates, add shade cloth for afternoon protection.
⚠️ Warnings:
- •Avoid placing tall plants in low-light areas; they'll block even less light for others.
Step 3: Choose Vegetables Suited for Small Spaces
Select compact, high-yield varieties that thrive in limited areas, like bush beans, cherry tomatoes, lettuce, radishes, and herbs such as basil or chives. Research mature sizes—aim for plants under 2 feet tall or wide unless using vertical supports.
Why it matters: Overambitious choices like sprawling pumpkins waste space and frustrate beginners. List 5-10 veggies based on your preferences and season (e.g., cool-season kale for spring). Success: A shortlist with each plant's space needs, sun requirements, and harvest time noted.
Consult seed catalogs or apps for dwarf varieties; prioritize succession planting for continuous harvest.
💡 Tips:
- •Start with 4-6 types to avoid overwhelm.
- •Include everbearing crops like strawberries for year-round interest.
⚠️ Warnings:
- •Skip thirsty plants like corn if water access is limited.
Step 4: Plan for Soil, Water, and Containers
Decide on growing method: in-ground, raised beds, or containers/pots. For small spaces, containers or 1-2 foot raised beds work best to control soil quality. Ensure good drainage to prevent root rot.
This foundation affects everything—poor soil means weak plants. Test soil pH if in-ground (aim for 6.0-7.0); otherwise, use potting mix. Success: A noted plan for bed sizes (e.g., two 2x3 foot beds) and irrigation setup like drip lines.
Sketch container placements, ensuring easy access for watering.
💡 Tips:
- •Use self-watering pots for forgetful beginners.
- •Amend soil with compost for nutrients.
⚠️ Warnings:
- •Overcrowded pots dry out fast—match container size to plant roots.
Step 5: Incorporate Companion Planting
Arrange plants that benefit each other, like planting basil near tomatoes to deter pests, or marigolds to repel nematodes. Group tall plants (e.g., corn) on the north side to avoid shading shorter ones.
Companion planting boosts health and yield in tight spaces without chemicals. Draw a rough grid on graph paper, spacing plants per their mature size (e.g., 12 inches for lettuce). Success: A layout where no plant overshadows another, with paths for harvest.
Factor in rotation to prevent soil depletion next season.
💡 Tips:
- •Use the 'three sisters' method: corn, beans, squash in one mound for efficiency.
- •Add flowers like nasturtiums for edible pest control.
⚠️ Warnings:
- •Avoid planting fennel near anything—it inhibits growth.
Step 6: Sketch and Refine Your Layout
Transfer your notes to a final scaled drawing, using 1 square inch = 1 foot on graph paper. Include labels for plants, paths, and features like trellises for vertical growth.
This visualizes efficiency—ensure 70% planting space, 30% access. Walk through mentally: Can you reach everything? Adjust for aesthetics too. Success: A clean, labeled plan ready for implementation.
Digitize if preferred using free tools like Garden Planner app.
💡 Tips:
- •Color-code sun needs for quick reference.
- •Plan for seasonal changes, like fall crop swaps.
⚠️ Warnings:
- •Don't ignore weight—rooftops need structural checks.
Step 7: Review and Adjust for Sustainability
Double-check for water efficiency, pest management (e.g., row covers), and maintenance ease. Calculate rough costs for setup and ongoing care.
Sustainability ensures long-term success in small spaces. Success: A balanced plan that fits your time and budget, with notes on composting or rainwater collection.
Get feedback from a gardening forum if unsure.
💡 Tips:
- •Incorporate pollinator plants like borage to aid veggies.
- •Schedule planting dates based on your last frost.
⚠️ Warnings:
- •Overplanning leads to inaction—keep it simple for year one.
▸Pro Tips
- •Vertical gardening with trellises can double your space—hang pots on walls for herbs.
- •Use succession planting: Sow quick crops like radishes every two weeks for steady harvest.
- •Mulch with straw to retain moisture and suppress weeds in small beds.
- •Start seeds indoors 4-6 weeks early to jumpstart the season.
- •Group water-needy plants together to simplify irrigation.
- •Label everything in your journal for learning from year one.
- •Incorporate reflective surfaces like white walls to bounce extra light.
- •Rotate crops annually to maintain soil health without much effort.
▸Common Mistakes to Avoid
- •Overcrowding plants: Leads to disease and low yields; avoid by sticking to spacing guidelines.
- •Ignoring sunlight: Plants stretch or fail; always map exposure first.
- •Choosing wrong varieties: Sprawlers take over; opt for compact types from the start.
- •Neglecting paths: Makes harvesting hard; allocate space for 18-24 inch walkways.
- •Forgetting soil prep: Poor nutrition stunts growth; test and amend before planting.
▸Troubleshooting
Problem: Insufficient sunlight after planting
Solution: Relocate movable containers or use reflective mulch; supplement with grow lights if indoors.
Problem: Pests invading the layout
Solution: Introduce beneficial insects like ladybugs or use organic neem oil; check companions for natural deterrence.
Problem: Poor drainage causing root rot
Solution: Add perlite to soil mix or elevate pots; ensure holes in containers—repot if needed.
Problem: Space feels too cramped post-setup
Solution: Prune aggressively or thin seedlings early; revise layout next season with more vertical elements.
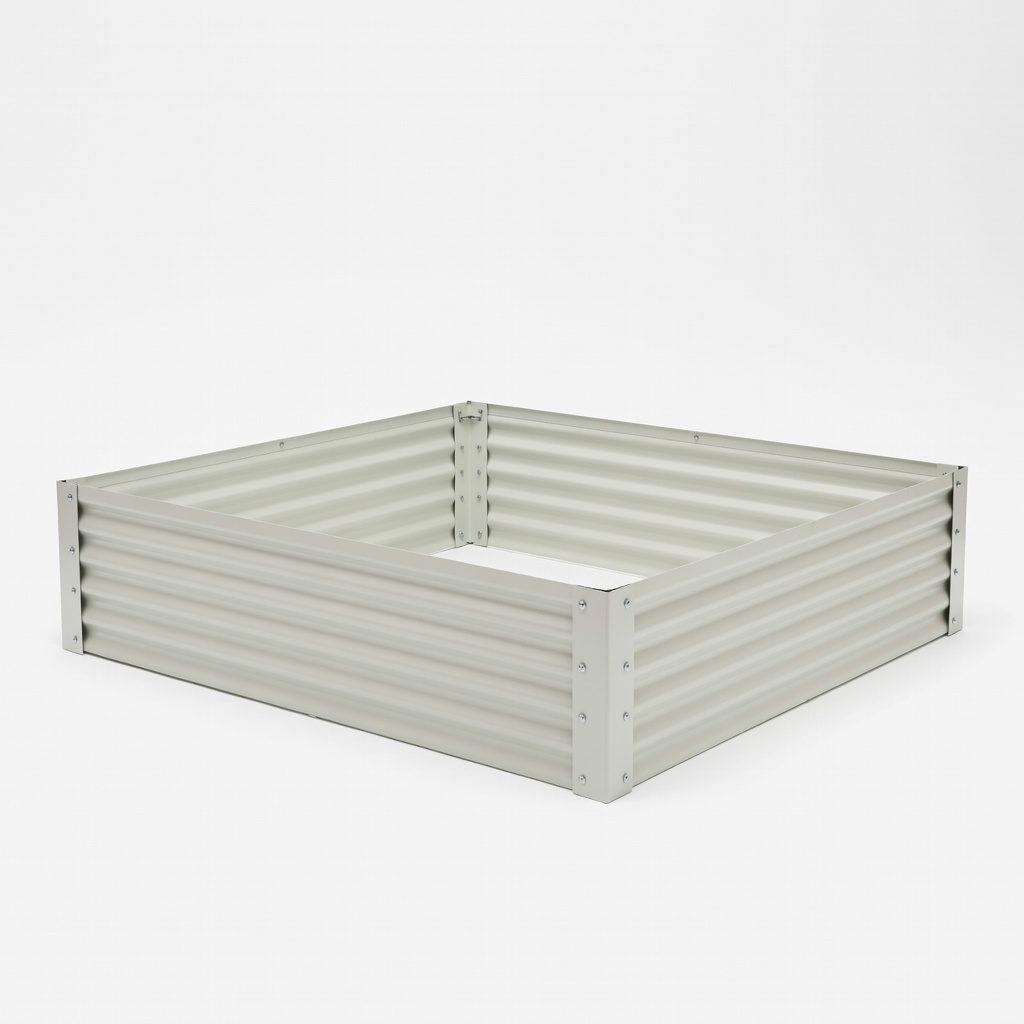
Vego Garden Raised Garden Bed Kit (Metal, 3x3 Feet)
Ideal for small spaces as it's modular, rust-resistant, and elevates soil for better drainage and ergonomics.
Best for: Use for in-ground alternative on patios or balconies to create defined planting zones without digging.
Price Range: $100-$150
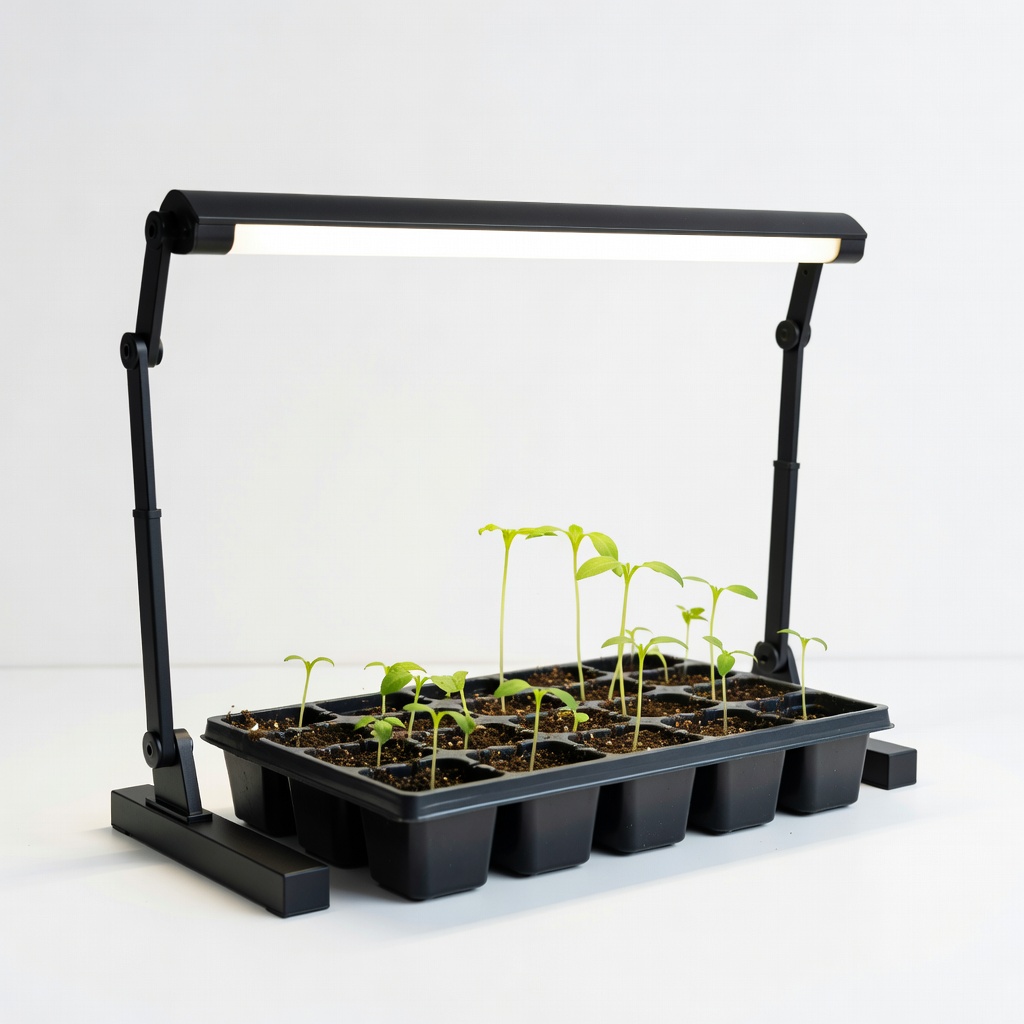
Burpee Seed Starting Kit with Grow Light
Helps beginners start compact veggie seeds indoors, ensuring strong seedlings for limited outdoor space.
Best for: Perfect for planning phase visualization and early growth before transplanting to your layout.
Price Range: $20-$30
Stanley 25-Foot PowerLock Tape Measure
Durable and accurate for precise space measurements, essential for scaling your layout correctly.
Best for: Measure areas during assessment to avoid planning errors in tight spots.
Price Range: $10-$15
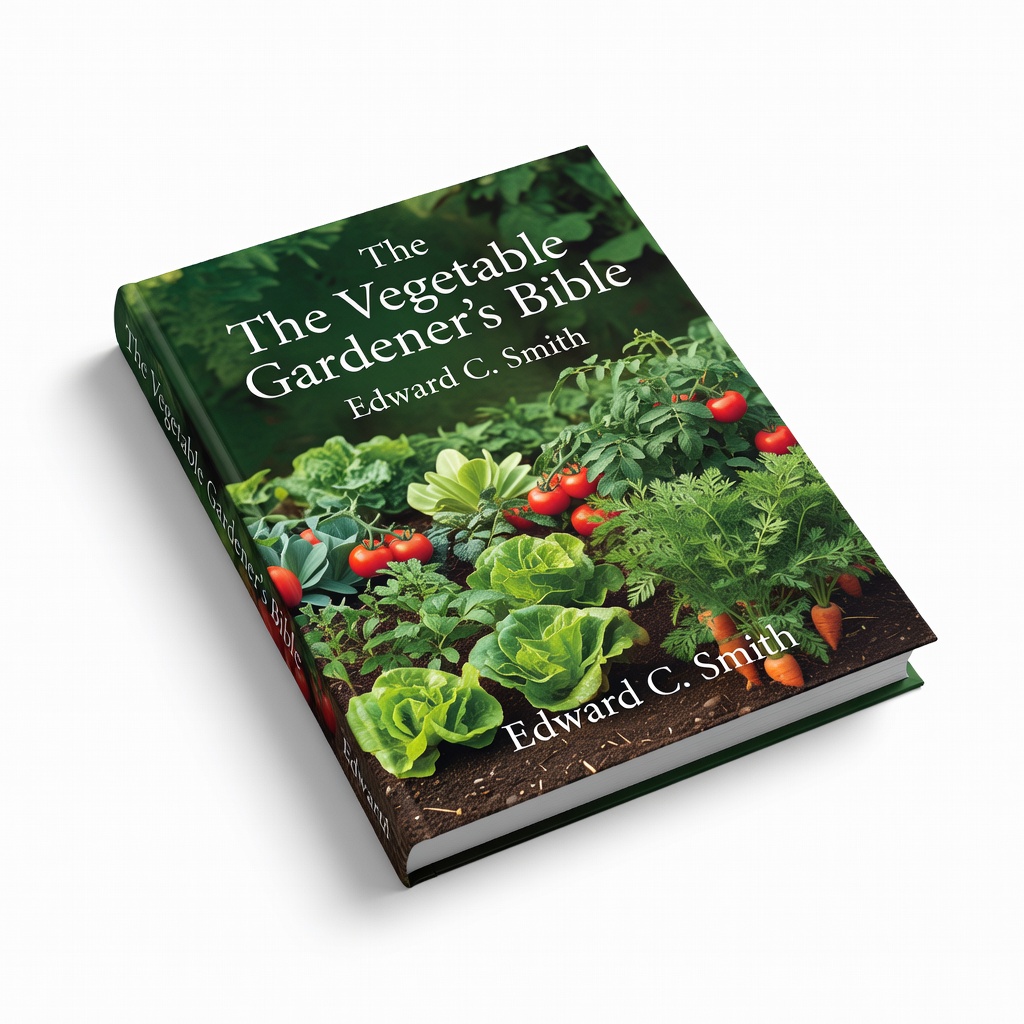
The Vegetable Gardener's Bible by Edward C. Smith
Comprehensive guide with layout tips and small-space strategies, great for beginners referencing during planning.
Best for: Consult for crop selection and companion ideas to refine your sketch.
Price Range: $15-$20
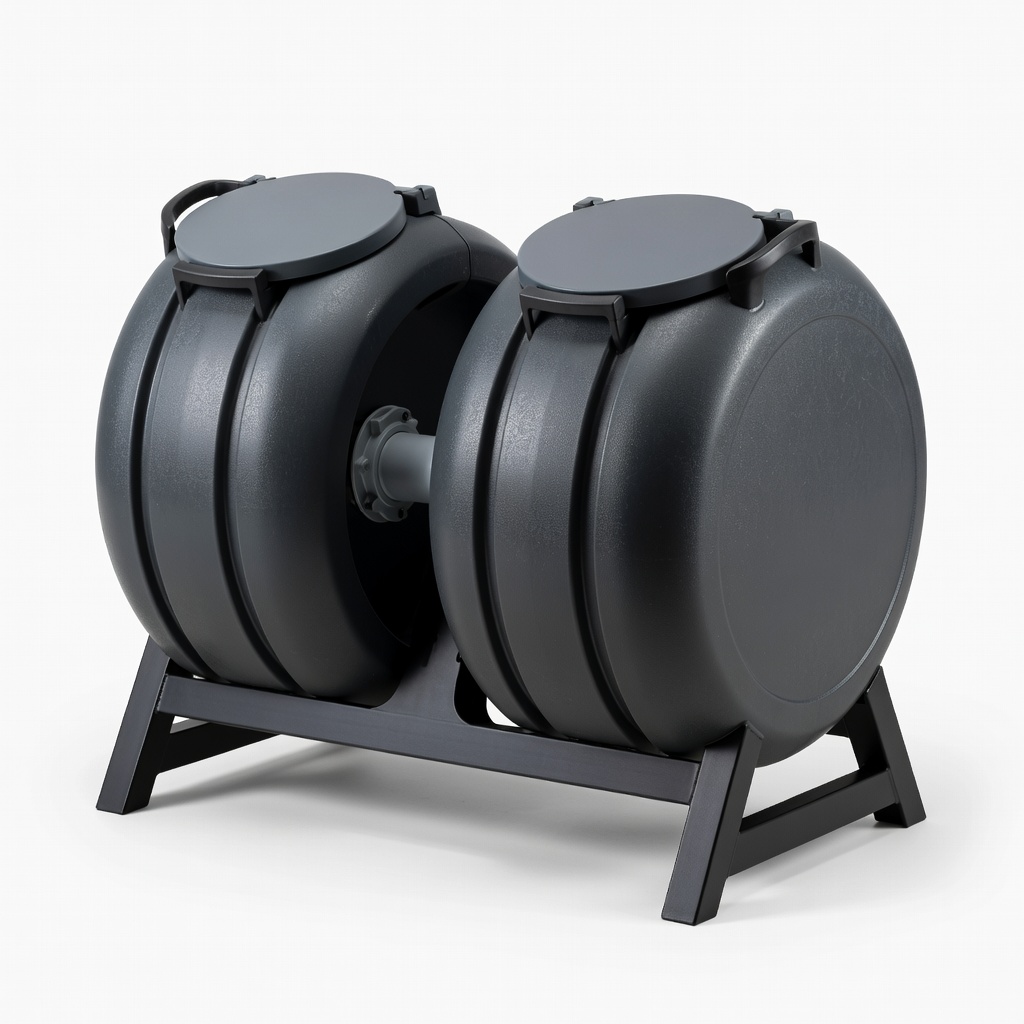
FCMP Outdoor IM4000 Tumbling Composter
Compact design fits small yards, providing nutrient-rich compost to enrich your garden soil.
Best for: Build soil fertility for your layout, reducing need for store-bought amendments.
Price Range: $80-$100