
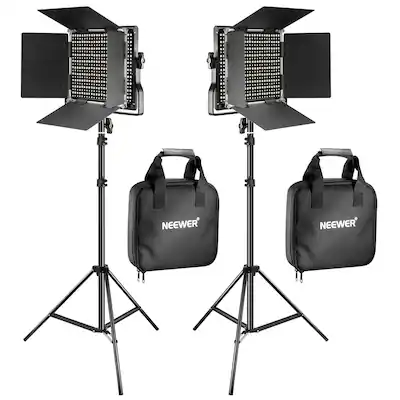
Neewer 2-Pack 660 LED Video Lights
Main lighting for calendar setups—adjustable stands for 45-degree angles.
$89.99
Neewer 2-Pack 660 LED Video Lights Dimmable, daylight-balanced lights perfect for even product illumination without hotspots.
Get the App
Better experience on mobile
Capture pro-level photos of your animal calendars that skyrocket online sales with this intermediate step-by-step guide.
Struggling to sell your handmade animal calendars because blurry or poorly lit photos turn buyers away? High-quality product photography can increase conversions by up to 30% on platforms like Etsy and Amazon. This guide solves that pain point by teaching you proven techniques tailored for calendars featuring cute animals.
You'll learn everything from setup to editing, creating images that showcase every month's artwork, spiral binding, and details crisply. No need for a fancy studio—use affordable gear for results that look professional. Expect to spend 1-2 hours per calendar, assuming intermediate photography skills like manual camera control.
By the end, you'll have a portfolio of sales-ready photos optimized for e-commerce, ready to upload and watch orders roll in.
Estimated Time: 1-2 hours per calendar Difficulty: intermediate
Clear a flat, spacious table or surface in a room with no windows to avoid natural light interference. Cover it with a large sheet of white seamless paper as your backdrop, securing it taut with tape to prevent wrinkles. This creates a clean, infinite white background that makes your animal calendars pop without distractions.
Why it matters: A professional setup eliminates shadows and reflections, mimicking e-commerce giants like Amazon. Expect a distraction-free zone where your calendar is the star.
Hang the backdrop vertically if displaying the calendar open, curving it at the base for seamless transition.
💡 Tips:
⚠️ Warnings:
Position two LED or softbox lights at 45-degree angles from the calendar, about 3-4 feet away and slightly above eye level. Use diffusers to soften light and set to 5500K daylight color temperature for true colors.
This key lighting technique, called 'clamshell' for flat products, ensures even illumination without hot spots on glossy calendar pages. Test by placing a white card—if it's pure white without shadows, you're golden.
Power on lights and adjust intensity to 50-70% to start.
💡 Tips:
⚠️ Warnings:
Prop the closed calendar on a small wooden easel or hang it open on a stand to show front cover and a sample month. For spirals, gently open to reveal binding without creasing.
This showcases thickness, animal illustrations, and quality materials buyers care about. Success: Calendar stands naturally, filling 70% of the frame without tilting.
💡 Tips:
Mount camera on tripod, set to manual mode: ISO 100, aperture f/8-f/11 for sharpness, shutter 1/125s. Focus manually on the calendar's center using live view magnified 10x.
White balance to 'daylight' or custom off a gray card. Shoot in RAW for editing flexibility. Why? These settings capture tack-sharp details of fur textures and print quality.
💡 Tips:
⚠️ Warnings:
Position camera parallel to the calendar for a perfectly level hero shot. Use self-timer or remote to avoid shake. Capture 3 bracketed exposures for HDR blending later.
Expect crisp, distortion-free images highlighting cover art. Check histogram for balanced exposure—no clipping.
💡 Tips:
Capture 45-degree side view for thickness, close-ups of pages/edges, and open flat lay showing 2-3 months. Rotate for lifestyle shots with props like coffee mug.
Variety builds buyer trust—details prove quality. Aim for 10-15 images per calendar.
💡 Tips:
Transfer to computer, import into Lightroom. Adjust exposure, white balance, sharpen (Amount 50-70), and remove dust spots. Crop to 1:1 or 4:3 for e-com, boost vibrance for animal colors.
Export at 2000px wide, 72 DPI JPEG sRGB. Success: Punchy, professional images ready for upload.
💡 Tips:
⚠️ Warnings:
View on multiple screens for consistency. Resize thumbnails (500px) and add watermarks if needed. Upload to your sales platform and A/B test.
Final check: Colors true? Details sharp? Files under 2MB?
💡 Tips:
Problem: Glare on glossy covers
Solution: Angle lights more obliquely or add polarizing filter on lens.
Problem: Shadows in corners
Solution: Add third light or large reflector opposite main lights.
Problem: Colors too warm/cool
Solution: Custom white balance with gray card before each session.
Problem: Soft focus on details
Solution: Stop down to f/11, check focus peaking, clean lens.
Dimmable, daylight-balanced lights perfect for even product illumination without hotspots.
Best for: Main lighting for calendar setups—adjustable stands for 45-degree angles.
Price Range: $89.99
Stable, affordable tripod with ball head for precise camera positioning.
Best for: Holding camera steady for sharp shots during long exposures.
Price Range: $24.49
Wrinkle-free, professional infinite white background for clean e-com photos.
Best for: Base surface and wall for flat lays and propped displays.
Price Range: $29.99
Multi-surface collapsible reflector fills shadows cheaply.
Best for: Bouncing light under calendars for perfect evenness.
Price Range: $24.99
Premium build for heavier cameras, quick release for efficiency.
Best for: Pro setups needing fast adjustments between angles.
Price Range: $69.88
Main lighting for calendar setups—adjustable stands for 45-degree angles.
Neewer 2-Pack 660 LED Video Lights Dimmable, daylight-balanced lights perfect for even product illumination without hotspots.
Holding camera steady for sharp shots during long exposures.
Amazon Basics 60-Inch Lightweight Tripod Stable, affordable tripod with ball head for precise camera positioning.
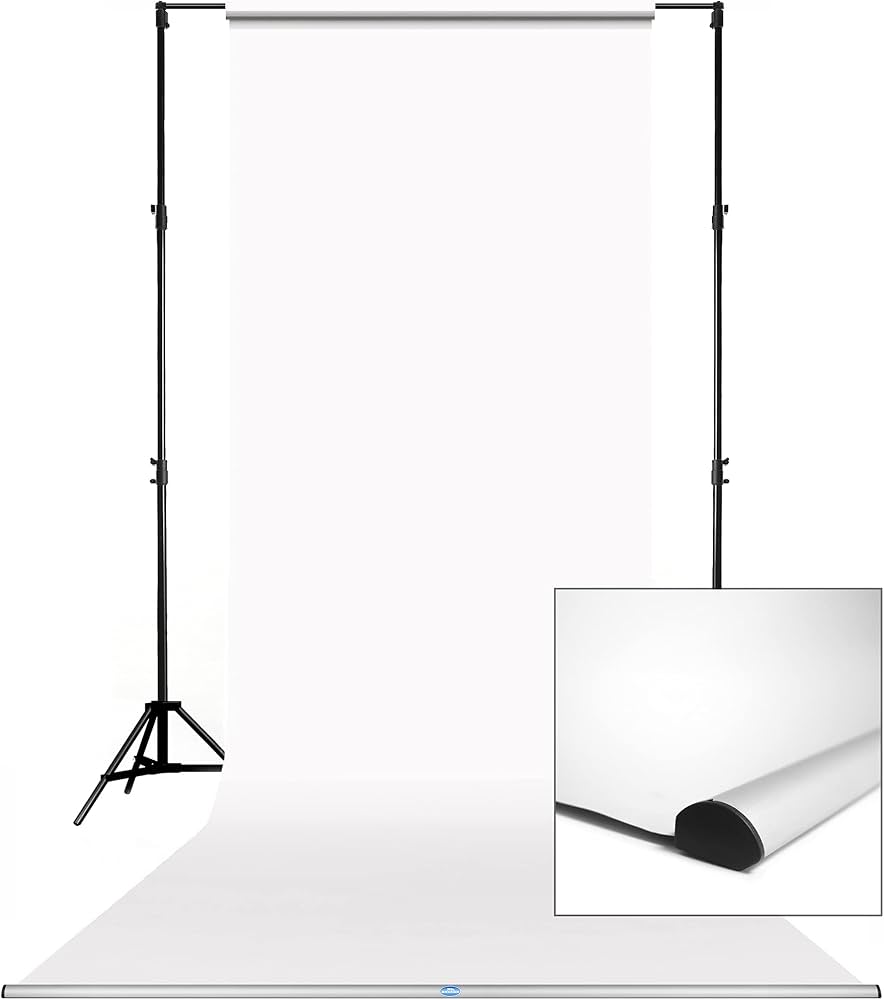
Base surface and wall for flat lays and propped displays.
Savage Seamless Paper Backdrop 53" White Wrinkle-free, professional infinite white background for clean e-com photos.
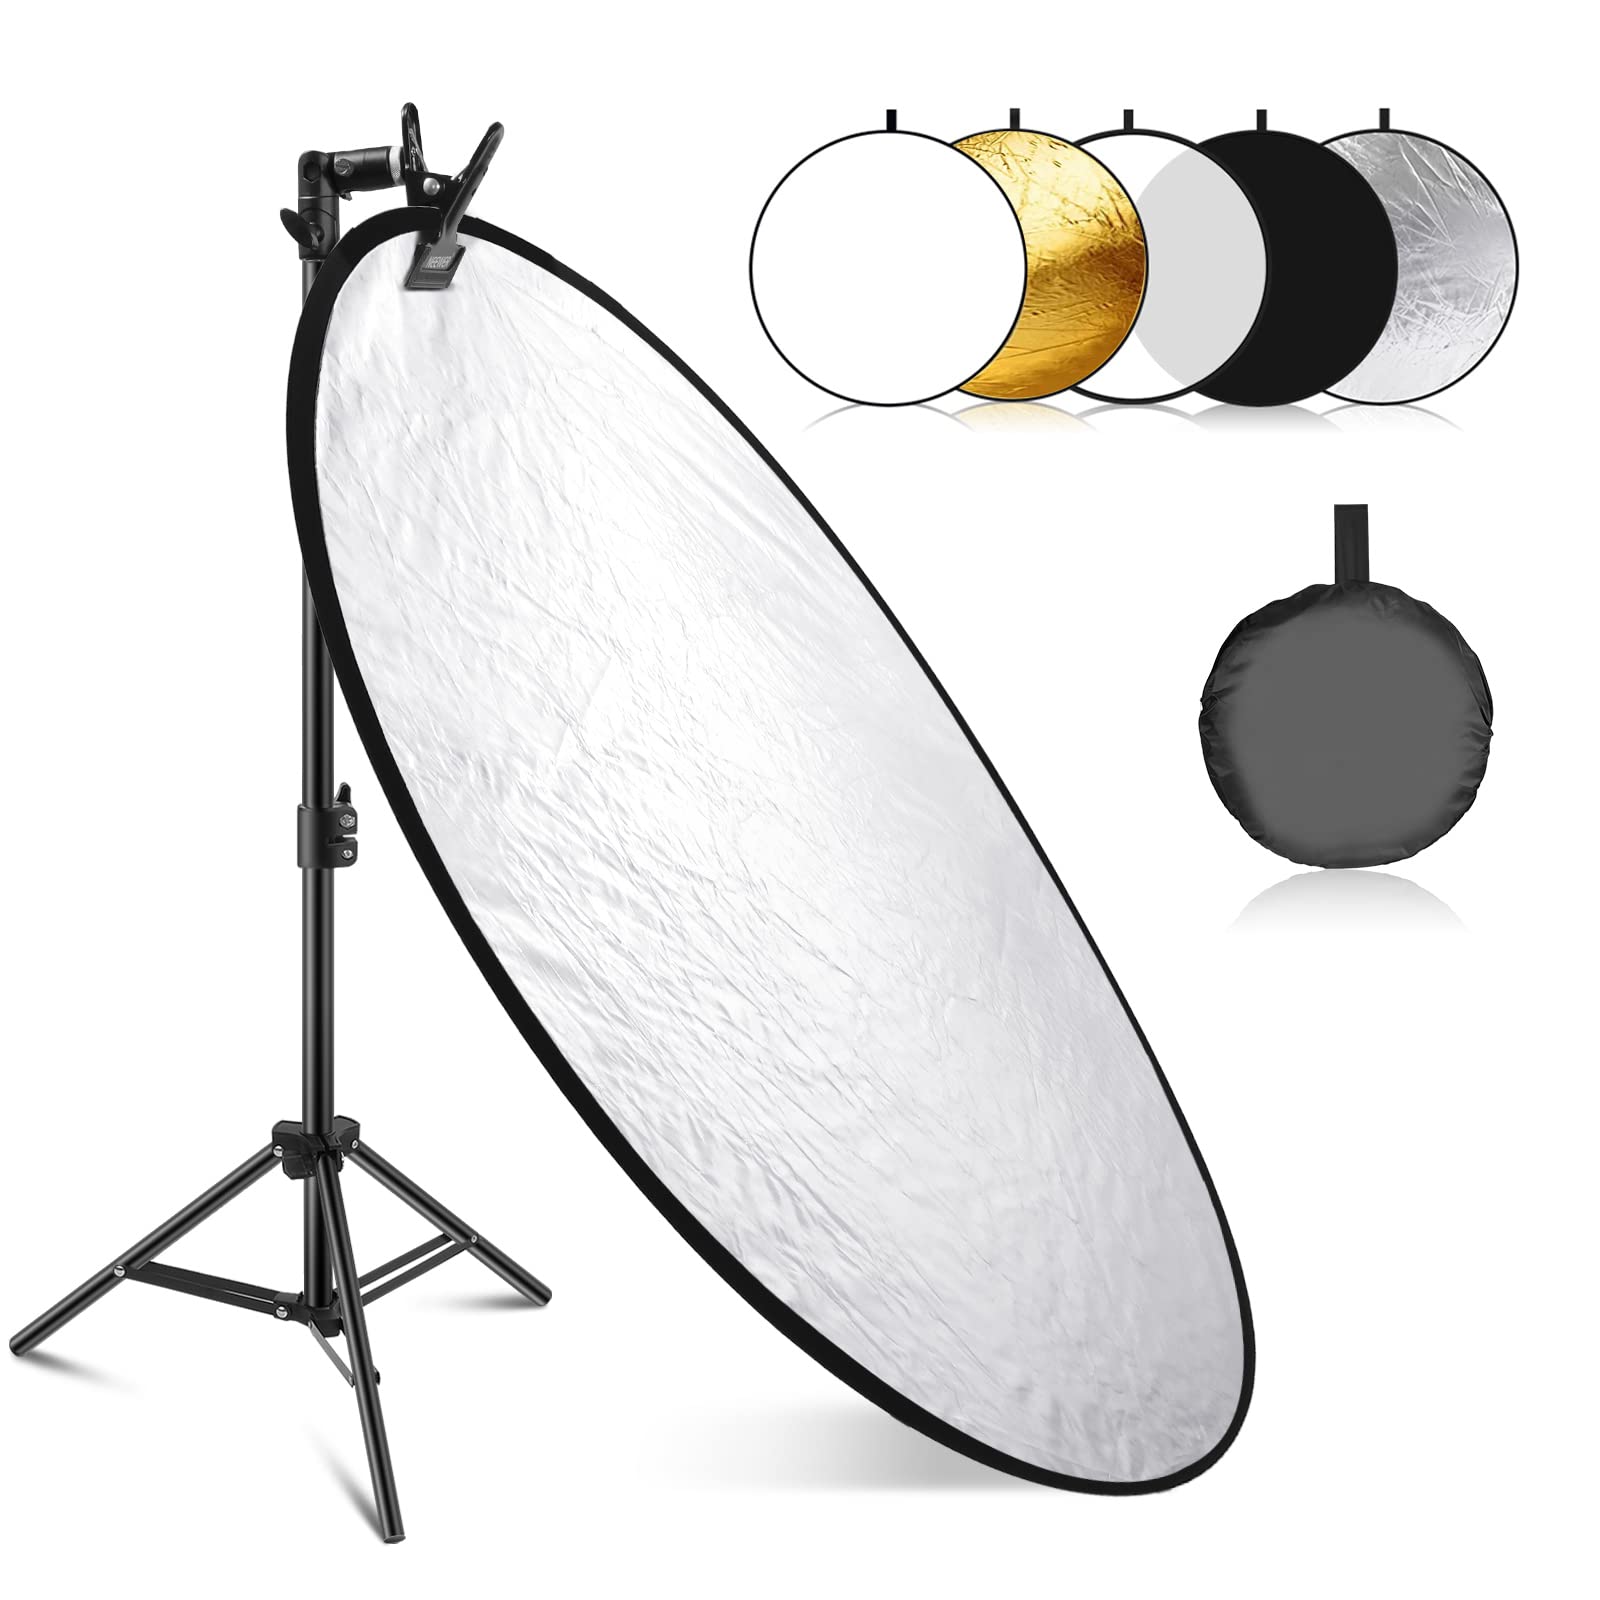
Bouncing light under calendars for perfect evenness.
Neewer 5-in-1 Light Reflector 43-inch Multi-surface collapsible reflector fills shadows cheaply.
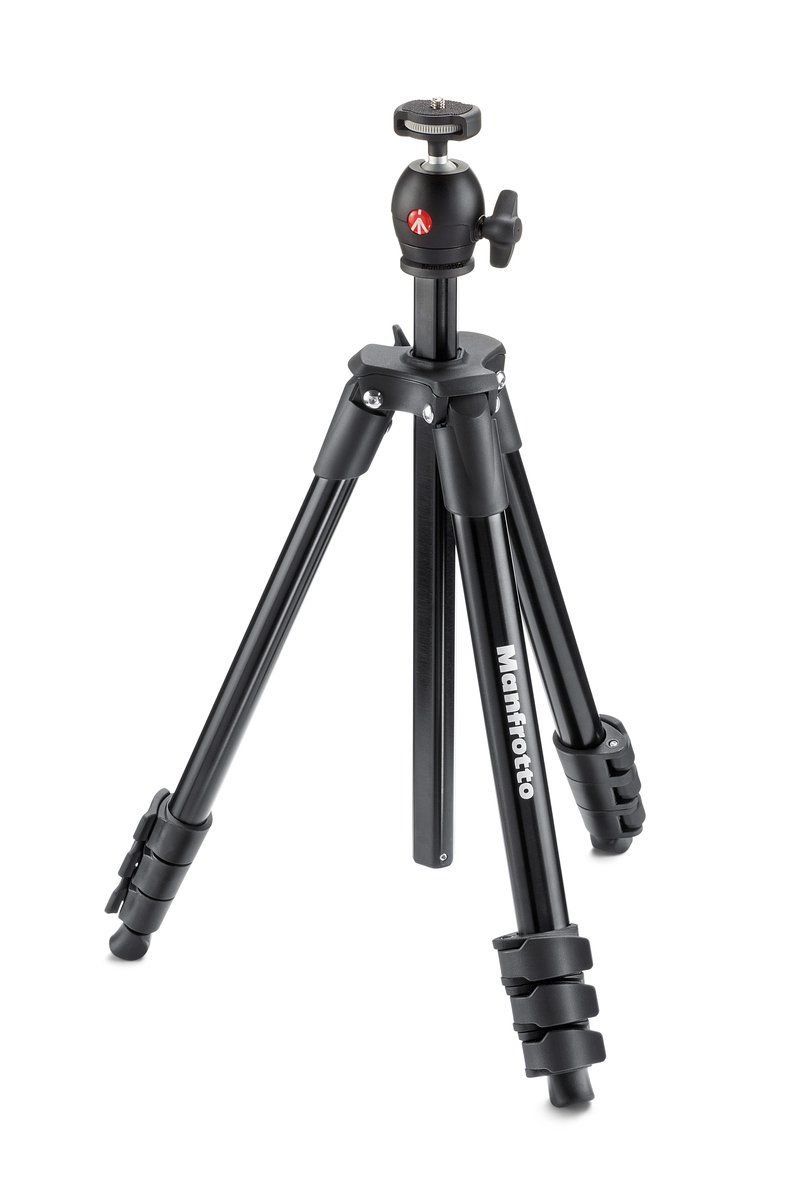
Pro setups needing fast adjustments between angles.
Manfrotto Compact Action Tripod with Ball Head Premium build for heavier cameras, quick release for efficiency.