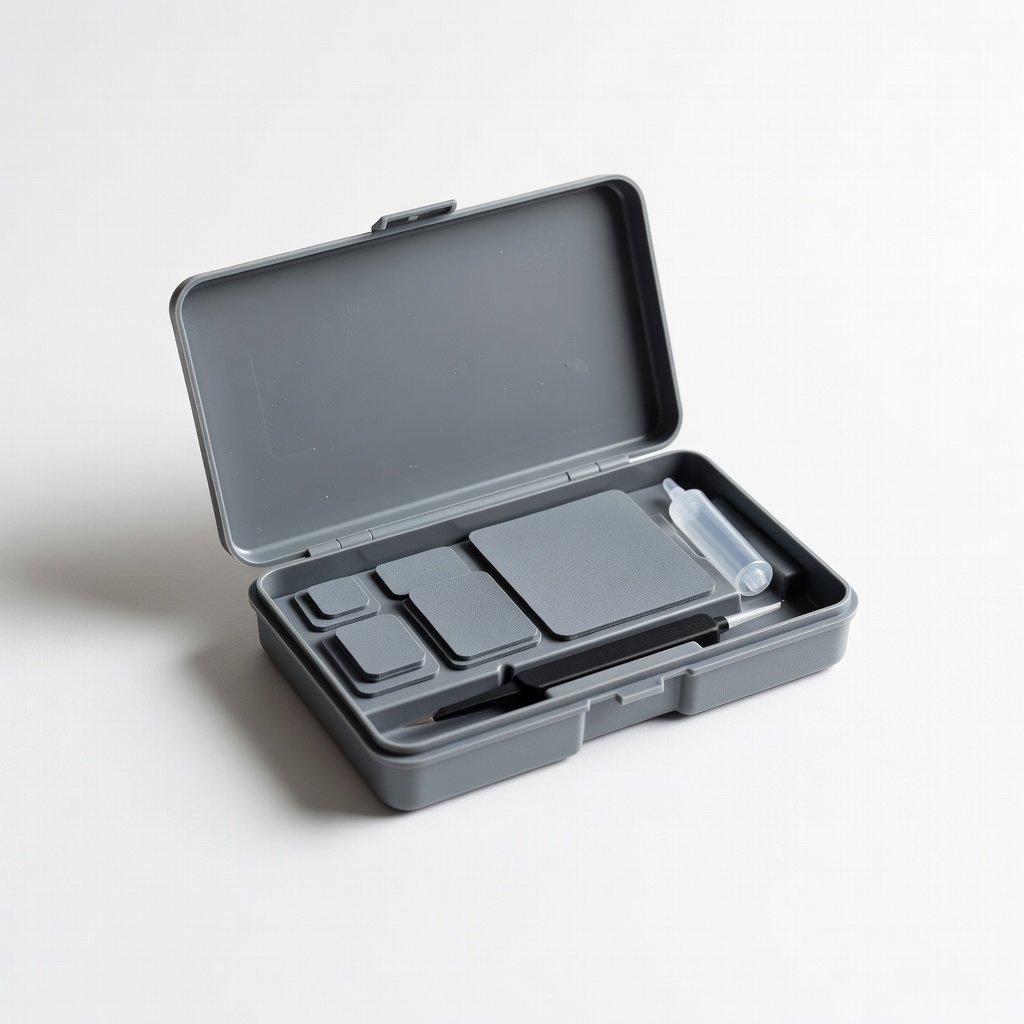
Coleman Airbed Repair Kit
Ideal for pinholes and small tears up to 4 inches.
$8-10
Coleman Airbed Repair Kit Includes pre-cut vinyl patches and strong adhesive perfect for air mattresses.
Get the App
Better experience on mobile
Fix leaks in your air mattress in under 30 minutes with simple steps and get back to comfy sleep—no tools needed.
Waking up on the hard floor because your air mattress deflated overnight is a nightmare, especially during camping trips or guest stays. Leaks are common due to punctures from sharp objects, wear over time, or manufacturing defects, but you don't need to buy a new one. This guide shows you how to quickly locate and patch leaks yourself.
You'll learn a foolproof method using the soap test to find leaks, prepare the surface, and apply a durable patch. The process is beginner-friendly, requires minimal supplies, and works on most vinyl or PVC air mattresses. Expect success in 15-30 minutes, with full curing in 24 hours for best results.
By the end, your mattress will hold air overnight, saving you time and money.
Estimated Time: 15-30 minutes (plus 24 hours curing time) Difficulty: beginner
Start by fully deflating your air mattress using the built-in valve or pump. Push out as much air as possible by folding and pressing down on the mattress. This flattens it for easier inspection.
Why it matters: A deflated mattress lets you access all surfaces without air pressure interfering. Expect a limp, foldable mattress ready for the next step.
Tip: Work in a clean, dry area like a garage floor to avoid dirt contamination.
💡 Tips:
⚠️ Warnings:
Inflate the mattress to about 50-70% full using a pump. Mix dish soap with water in a spray bottle (1:10 ratio) or sponge it on.
This semi-inflated state creates enough pressure to reveal bubbles at leak points. You'll see soapy water bubbling where air escapes—mark it immediately with a marker.
Why it matters: The soap test is the fastest, most accurate way to pinpoint leaks without guessing.
💡 Tips:
⚠️ Warnings:
Once you spot bubbles, circle the leak with a marker. Deflate the mattress fully again.
Expect 1-3 leak spots usually; note their size (most are pinholes under 1/4 inch). This prepares for repair without air interference.
Pro note: Check both sides and all seams thoroughly.
💡 Tips:
Wipe the marked area with rubbing alcohol on a cloth to remove soap residue, dirt, and oils. Let it dry completely (1-2 minutes).
Cleanliness ensures the patch bonds properly. A dirty surface leads to peeling later.
Why it matters: Adhesives need a grease-free base for a waterproof seal.
⚠️ Warnings:
Lightly sand the leak spot and a 1-inch border around it using fine-grit sandpaper. Sand in circles until dull and matte—no shine.
This creates 'tooth' for the adhesive to grip vinyl. Wipe away dust with alcohol again.
Expect a rough, prepared patch zone ready for glue.
💡 Tips:
⚠️ Warnings:
Spread a thin, even layer of repair glue from the kit over the roughened area. Cut the patch 1-2 inches larger than the leak, remove backing, and press firmly over the glue.
Use a roller or finger to eliminate air bubbles. Apply pressure for 1-2 minutes.
Why it matters: Oversized patches seal edges completely. Success looks like a smooth, adhered patch.
💡 Tips:
Allow 24 hours to cure fully (quick test after 4 hours if needed). Inflate fully and check for leaks with soap again.
Pat yourself on the back—your mattress holds air! Sprinkle talcum powder inside to prevent sticking.
Final check: Leave inflated overnight.
💡 Tips:
Problem: Patch not sticking
Solution: Re-clean with alcohol, roughen more, and apply fresh glue. Ensure 24-hour cure.
Problem: Leak still there after patch
Solution: Check for multiple holes nearby; apply overlapping patches. Re-test with soap.
Problem: Valve leak
Solution: Tighten valve or use plumber's tape; replace if damaged (seek pro).
Problem: Mattress too old/thin
Solution: Patches won't hold on tears >2 inches—consider replacement.
Includes pre-cut vinyl patches and strong adhesive perfect for air mattresses.
Best for: Ideal for pinholes and small tears up to 4 inches.
Price Range: $8-10
Self-adhesive, no glue needed for ultra-quick fixes; UV-resistant and waterproof.
Best for: Instant patches for beginners during camping emergencies.
Price Range: $12-15
Double-sided tape for flexible, permanent seals on inflatables.
Best for: Seam leaks or when glue isn't available.
Price Range: $10-12
Complete kit with patches for all inflatables; budget-friendly.
Best for: Multiple leaks on cheap air mattresses.
Price Range: $9-11
Heavy-duty for larger punctures; includes cleaner.
Best for: Camping gear with rough use.
Price Range: $15-20
Ideal for pinholes and small tears up to 4 inches.
Coleman Airbed Repair Kit Includes pre-cut vinyl patches and strong adhesive perfect for air mattresses.
Instant patches for beginners during camping emergencies.
Tear-Aid Type A Vinyl Repair Patch Self-adhesive, no glue needed for ultra-quick fixes; UV-resistant and waterproof.

Seam leaks or when glue isn't available.
Gear Aid Seam Grip WP Repair Tape Double-sided tape for flexible, permanent seals on inflatables.
Multiple leaks on cheap air mattresses.
Slime 70011 Patch Kit Complete kit with patches for all inflatables; budget-friendly.
Camping gear with rough use.
Star brite Waterproof Repair Kit Heavy-duty for larger punctures; includes cleaner.