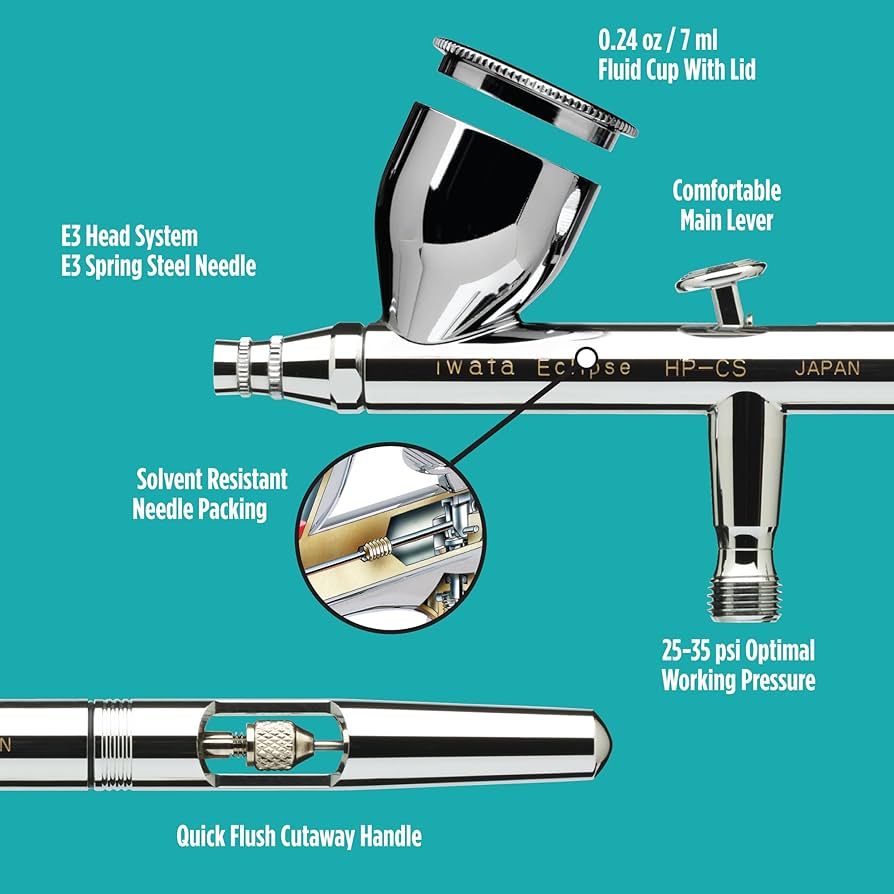
Iwata Eclipse HP-CS Airbrush
All airbrushing steps for smooth gradients
$150-$175
Iwata Eclipse HP-CS Airbrush Precision 0.35mm needle perfect for base coats and details; gravity feed reduces clogs (ASIN: B0006IUWTS)
Get the App
Better experience on mobile
Transform store-bought action figures into stunning custom masterpieces using advanced airbrushing and layering techniques for pro-level results.
In the world of action figure collectors and customizers, a plain factory finish just doesn't cut it. Custom painting lets you create unique characters, hyper-realistic skin tones, or battle-worn armor that stands out in any display. But for advanced hobbyists, it's not just slapping on color—it's about achieving depth, realism, and durability through precise techniques like zenithal priming and glazing.
This guide walks you through the complete process, from disassembly to final varnish, tailored for experienced painters ready to level up with airbrushes and specialized paints. You'll learn pro workflows that save time and prevent common pitfalls like cracking or peeling.
Expect 15-25 hours total, spread over 5-7 days to account for drying times. It's advanced work requiring steady hands, patience, and practice on scraps first.
Estimated Time: 15-25 hours over 5-7 days (including drying) Difficulty: advanced
Carefully take apart your figure using screwdrivers, pliers, or heat (hairdryer on low for PVC joints). Remove all factory paint with acetone or Simple Green soak if needed—test on a small area first.
Why it matters: Painting assembled figures leads to missed seams and awkward angles. Success looks like clean, separated parts ready for priming—no glue residue or stress marks.
Label parts with tape for easy reassembly.
💡 Tips:
⚠️ Warnings:
Wash parts in dish soap and warm water, scrub with old toothbrush. Degrease with 90% isopropyl alcohol wipes. Dry completely (24 hours).
This removes mold release agents causing paint failure. Expect glossy, fingerprint-free surfaces—any residue will make primer bubble.
💡 Tips:
⚠️ Warnings:
Mount parts on wire arms in a light box. Spray thin plastic primer from above (zenithal)—darker at bottom, lighter top. Let dry 1 hour, sand 400-grit if rough, re-prime.
Advanced technique mimics natural light for shading base. Success: Smooth gradient from black base to white highlights.
💡 Tips:
⚠️ Warnings:
Mix paints 1:1 thinner. Airbrush base colors following zenithal (dark low, light high). 2-3 thin passes, dry 30 min between.
Builds opacity without obscuring primer shadows. Check: Even coverage, no pooling.
💡 Tips:
⚠️ Warnings:
Switch to fine brushes/airbrush needle (0.2mm). Blend midtones over base, edge highlighting raised areas. Tackle eyes, logos first.
Creates depth—pro figures pop here. Expect subtle transitions, crisp details.
💡 Tips:
⚠️ Warnings:
Apply thinned washes (1:3 water) to recesses. Wipe excess with damp brush. Multiple shades for realism (brown skin crevices, blue armor).
Enhances contrast dramatically. Success: Dramatic without muddying.
💡 Tips:
⚠️ Warnings:
Drybrush chips/scratches with silver/metallics. Add pigments/oil dots for rust. Stencils for decals.
Advanced customization shine. Looks battle-tested, not toy-like.
💡 Tips:
⚠️ Warnings:
Airbrush 2-3 thin varnish coats (gloss first for protection, matte topcoat). Dry 24 hours. Reassemble with plastic glue.
Protects from handling. Final: Durable, even sheen.
💡 Tips:
⚠️ Warnings:
Problem: Paint bubbling or peeling
Solution: Poor prep—strip, reclean, reprime thinner coats.
Problem: Airbrush spitting/clogging
Solution: Clean needle daily, strain paint, check thinner ratio.
Problem: Colors too flat/no depth
Solution: Redo zenithal prime and add more value contrasts.
Problem: Varnish hazing
Solution: Thin more coats; use retarder in humid areas.
Precision 0.35mm needle perfect for base coats and details; gravity feed reduces clogs (ASIN: B0006IUWTS)
Best for: All airbrushing steps for smooth gradients
Price Range: $150-$175
Pre-thinned acrylics optimized for airbrush; durable on plastic (ASIN: B0045KX4O4 for similar set)
Best for: Base coats, metallics, and weathering
Price Range: $35-$45
Bonds directly to PVC without sanding; flexible finish (ASIN: B07D7J8Q5S)
Best for: Zenithal priming step
Price Range: $8-$12
Ultra-fine spray, non-yellowing protection for toys (ASIN: B07H5G9Z3Q)
Best for: Final varnish for durability
Price Range: $18-$22
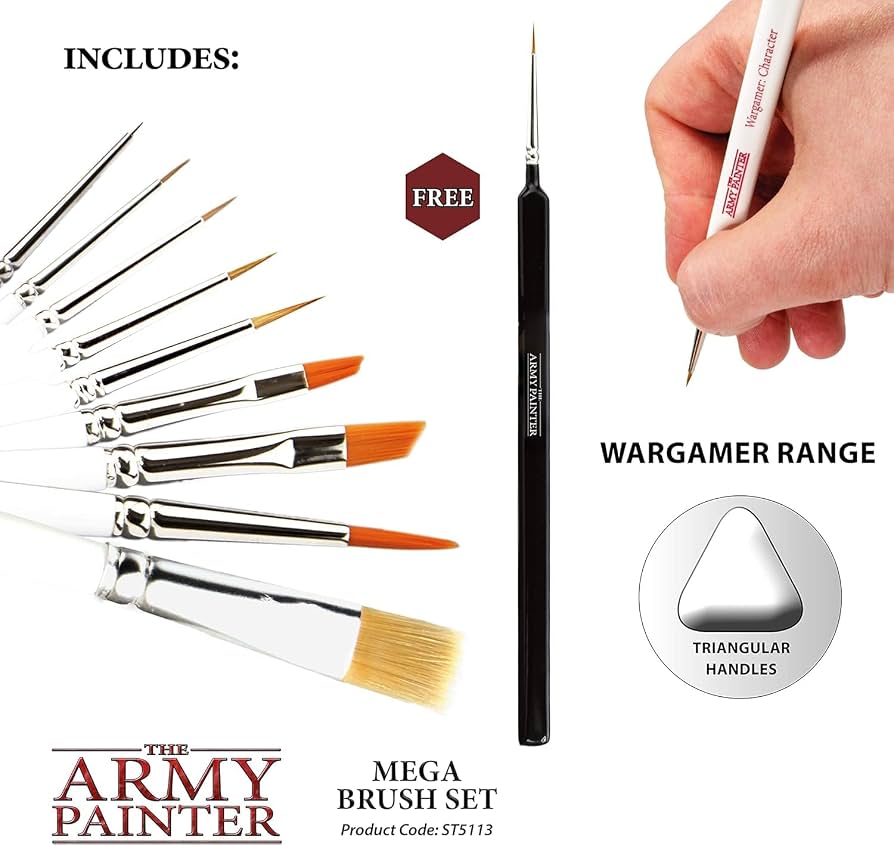
High-quality synthetics hold point for tiny details (ASIN: B07H4H9J7G)
Best for: Eye painting and edge highlights
Price Range: $25-$30
All airbrushing steps for smooth gradients
Iwata Eclipse HP-CS Airbrush Precision 0.35mm needle perfect for base coats and details; gravity feed reduces clogs (ASIN: B0006IUWTS)
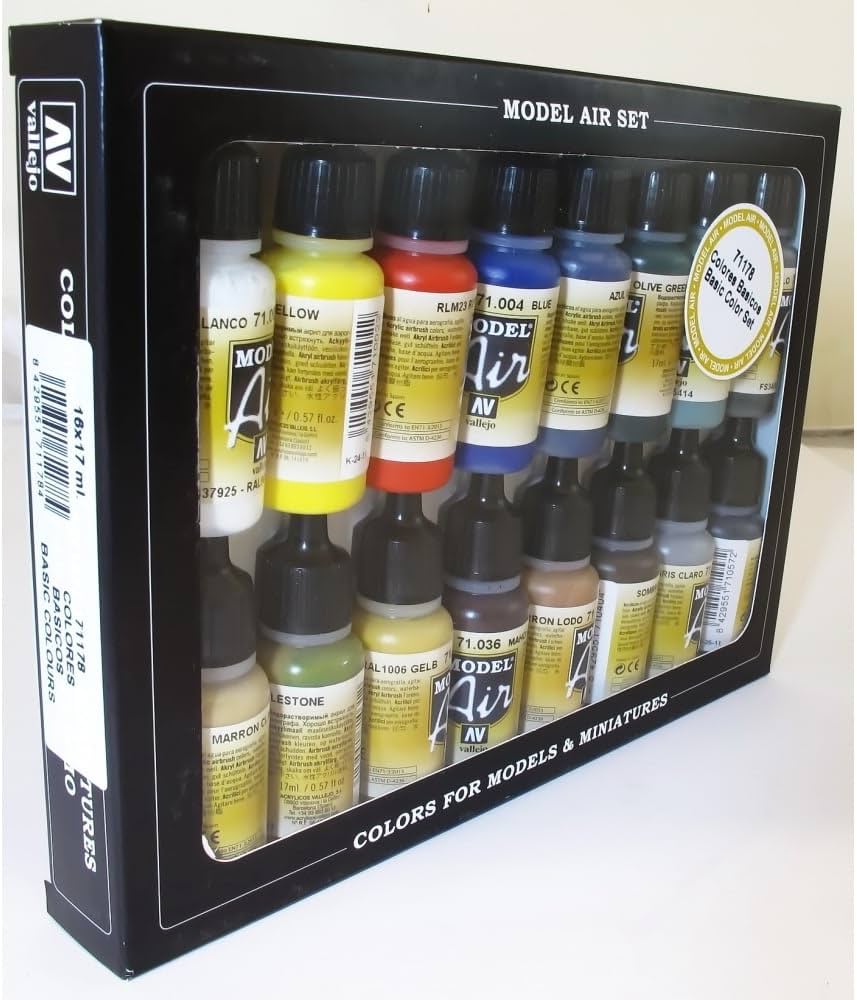
Base coats, metallics, and weathering
Vallejo Model Air Basic Set (16 colors) Pre-thinned acrylics optimized for airbrush; durable on plastic (ASIN: B0045KX4O4 for similar set)
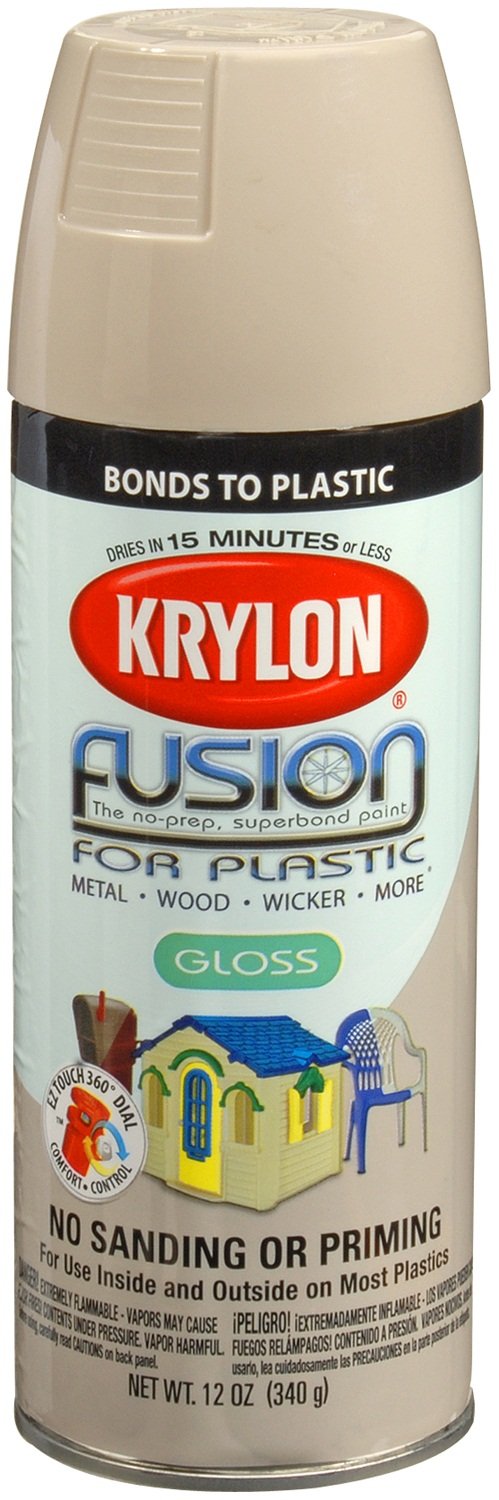
Zenithal priming step
Krylon Fusion for Plastic Spray Primer Bonds directly to PVC without sanding; flexible finish (ASIN: B07D7J8Q5S)
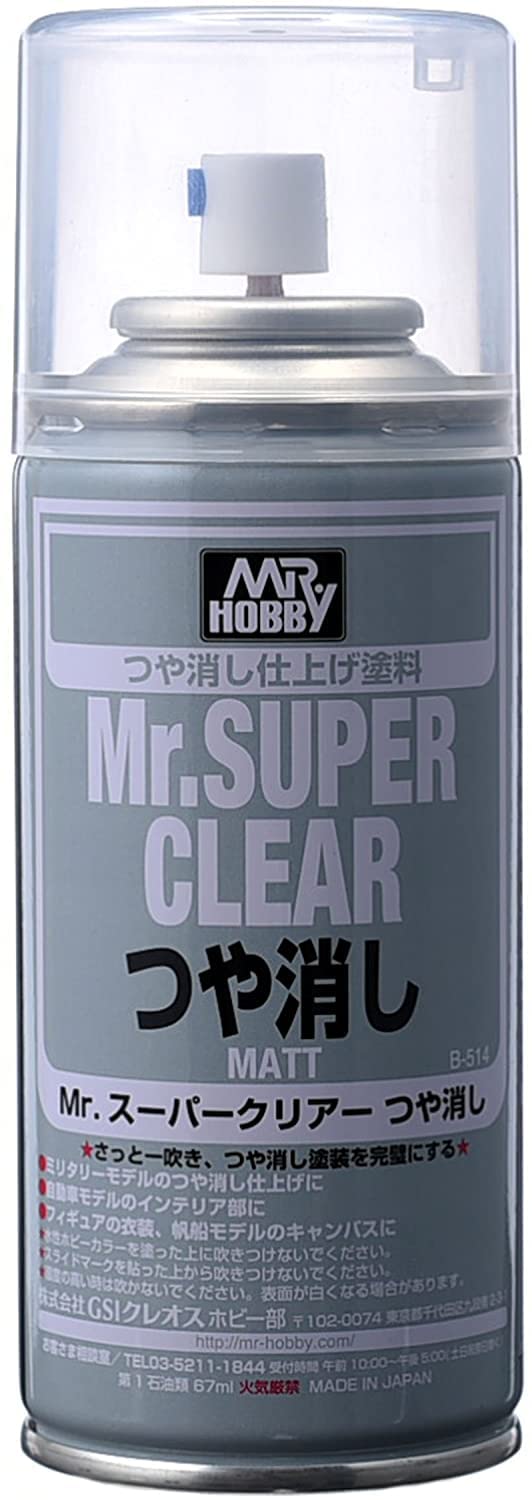
Final varnish for durability
Mr. Hobby Mr. Super Clear III Matte Ultra-fine spray, non-yellowing protection for toys (ASIN: B07H5G9Z3Q)
Eye painting and edge highlights
Army Painter Wargamer Mega Brush Set High-quality synthetics hold point for tiny details (ASIN: B07H4H9J7G)