Painting a room can breathe new life into your home, but the thought of dealing with splatters, drips, and endless cleanup often deters beginners. If you've ever ended a project with more mess than masterpiece, you're not alone—many DIYers struggle with protecting surfaces and avoiding chaos. The good news? With the right preparation and tools, you can achieve professional-looking results without the hassle.
In this guide, you'll learn step-by-step how to paint a room while minimizing mess, from prepping the space to efficient cleanup. We'll cover essential techniques like using drop cloths and painter's tape to shield floors, furniture, and trim. Expect a straightforward process that focuses on prevention over correction, making it accessible even if you've never held a paintbrush before.
This project is beginner-friendly and typically takes 4-6 hours for a small 10x12 room (plus drying time), spread over a weekend to allow for coats to set. By the end, you'll have a beautifully painted room and confidence for future projects.
▸What You'll Need
- •High-quality painter's tape (e.g., 1-inch width for edges)
- •Canvas or plastic drop cloths (at least 9x12 feet)
- •Angled paintbrush (2-3 inches for cutting in)
- •Roller with extension pole (9-inch roller cover for walls)
- •Paint tray and liner
- •Ladder or step stool
- •Sandpaper or deglosser (for prepping walls if needed)
- •Primer (if walls are unpainted or stained)
- •Interior latex paint (low-VOC for easier cleanup)
- •Putty knife and spackle (for filling holes)
- •Rags, sponges, and mild soap (for cleanup)
- •Optional: Paint edger tool for straight lines
Estimated Time: 4-6 hours for painting a small room, plus 2-4 hours drying time between coats; complete over 1-2 days
Difficulty: beginner
▸Step-by-Step Instructions
Step 1: Prepare the Room and Gather Supplies
Start by clearing the room of furniture, or move pieces to the center and cover them with plastic sheeting. Remove outlet covers, switch plates, and any hardware using a screwdriver. This step is crucial because a cluttered space leads to accidental spills and hard-to-reach areas.
Next, inspect walls for cracks, holes, or dirt. Clean surfaces with a damp sponge and mild detergent, then let them dry completely. Why does this matter? Clean, smooth walls ensure paint adheres properly and reduces the chance of visible imperfections later.
Lay out all your supplies in an organized spot. Expect a tidy workspace that sets you up for success—success here looks like a furniture-free room with protected items and prepped walls ready for taping.
💡 Tips:
- •Work in a well-ventilated area and wear old clothes to avoid any minor splatters.
- •Label removed hardware bags to make reassembly easy.
⚠️ Warnings:
- •Don't skip cleaning dusty walls; it can cause paint to peel over time.
Step 2: Protect Floors and Trim with Drop Cloths and Tape
Unroll drop cloths across the entire floor, overlapping edges by 6 inches and securing with tape if using plastic. For canvas cloths, they grip better and absorb minor drips without slipping. This prevents paint from reaching your flooring, which is the biggest source of mess in painting projects.
Apply painter's tape along baseboards, window frames, and ceilings where walls meet. Press firmly for a tight seal to avoid bleed-through. Why it matters: Proper protection saves hours on cleanup and protects your home's surfaces from damage.
What success looks like: Floors fully covered without wrinkles, and crisp tape lines that create clean edges—no exposed areas or loose tape.
💡 Tips:
- •Use blue painter's tape for easy removal without residue.
- •Tape in sections to avoid overwhelming yourself.
⚠️ Warnings:
- •Avoid cheap masking tape; it can tear paint when removed.
Step 3: Fill and Sand Imperfections
Use a putty knife to apply spackle over holes or cracks, then let it dry for 1-2 hours. Once dry, sand smooth with 120-grit sandpaper until flush with the wall.
Wipe away dust with a tack cloth or damp rag. This step ensures a professional finish by creating a smooth canvas—uneven surfaces lead to bumpy paint jobs.
Expect walls that feel silky to the touch, free of debris, ready for primer or paint. It's a small effort that pays off in a flawless result.
💡 Tips:
- •Sand lightly to avoid damaging the wall texture.
- •Feather edges of spackle for seamless blending.
⚠️ Warnings:
- •Over-sanding can create new imperfections; stop when smooth.
Step 4: Apply Primer if Necessary
If your walls are new, dark-colored, or stained, roll on a coat of primer using a clean roller. Start from the top and work down in sections, keeping a wet edge to avoid lap marks.
Primer seals the surface and improves paint adhesion, reducing the need for multiple topcoats and minimizing drips from thin paint layers. Let it dry for 2-4 hours.
Success: Even, uniform coverage with no streaks, and walls ready for color without absorbing too much paint.
💡 Tips:
- •Use a tinted primer matching your paint color for better coverage.
- •Work quickly in 3x3 foot sections.
⚠️ Warnings:
- •Skipping primer on porous walls can lead to uneven color and more mess from excess paint.
Step 5: Cut In Edges with a Brush
Dip your angled brush into paint, tapping off excess on the tray. 'Cut in' by painting a 2-3 inch border along ceilings, corners, and trim, using steady, light strokes.
This technique creates a guide for the roller and prevents mess on adjacent surfaces. Why it matters: It ensures crisp lines without tape bleed.
What to expect: Clean, straight edges that blend seamlessly—practice on cardboard first if nervous.
💡 Tips:
- •Hold the brush like a pencil for control.
- •Paint in one direction to avoid brush marks.
⚠️ Warnings:
- •Don't overload the brush; excess paint causes drips.
Step 6: Roll the Walls Efficiently
Pour paint into the tray liner, load the roller by rolling back and forth, then apply in a W or M pattern from top to bottom. Use the extension pole for reach without ladders.
Roll in thin, even coats to minimize drips and splatter—thicker layers lead to runs. Why it matters: Proper rolling distributes paint uniformly, reducing touch-ups.
Success looks like full coverage with a velvety sheen, no holidays (missed spots), and minimal overspray.
💡 Tips:
- •Maintain a wet edge by overlapping slightly.
- •Take breaks to avoid fatigue-induced mistakes.
⚠️ Warnings:
- •Don't roll too fast; it causes splatter on floors despite protection.
Step 7: Apply Second Coat and Let Dry
Once the first coat is dry (2-4 hours), repeat cutting in and rolling for the second coat. This builds depth and coverage for a durable finish.
Light sanding between coats smooths any imperfections. Expect a richer color and smoother texture.
After the final coat, allow 24 hours before removing tape to prevent peeling.
💡 Tips:
- •Use a different roller direction for the second coat to hide seams.
- •Check for drips immediately and smooth them.
⚠️ Warnings:
- •Rushing drying time can cause tape to pull paint.
Step 8: Clean Up with Minimal Effort
Peel off tape at a 45-degree angle while paint is still slightly tacky. Fold and roll drop cloths to trap debris, then dispose or wash.
Rinse brushes and rollers in soapy water immediately; for rollers, use a spinner tool if available. This keeps tools usable and prevents hardened paint mess.
Success: A spotless room with no residue, ready for furniture return.
💡 Tips:
- •Clean as you go between coats to avoid buildup.
- •Store leftover paint sealed for future touch-ups.
⚠️ Warnings:
- •Letting paint dry on tools turns a quick clean into a chore.
▸Pro Tips
- •Work top to bottom to catch drips on protected lower areas.
- •Use a paint shield or index card behind the brush for extra edge protection.
- •Opt for semi-gloss paint in high-traffic areas for easier future cleaning.
- •Ventilate the room with fans to speed drying and reduce fumes.
- •Mix paint thoroughly before starting to ensure consistent color.
- •Practice your rolling technique on cardboard to build confidence.
- •Keep a damp rag handy for quick wipe-ups of minor spills.
▸Common Mistakes to Avoid
- •Not taping properly, leading to paint on trim—avoid by pressing tape firmly and removing it promptly.
- •Overloading the roller, causing splatters—use the tray's ridges to remove excess paint.
- •Skipping primer on new drywall, resulting in blotchy coverage—always prime absorbent surfaces.
- •Painting in direct sunlight, which causes uneven drying—choose a shaded or overcast day.
- •Ignoring ventilation, leading to headaches and poor adhesion—open windows or use fans.
▸Troubleshooting
Problem: Paint drips or runs on the wall
Solution: Smooth immediately with a dry brush or roller while wet; sand and repaint dry drips after drying.
Problem: Bleed-through under tape
Solution: Apply a thin layer of paint over tape edges before main application; use high-quality tape.
Problem: Uneven roller marks or holidays
Solution: Maintain a wet edge and use quality roller covers; back-roll lightly for texture matching.
Problem: Paint not adhering well
Solution: Ensure walls are clean and dry; apply primer if needed. Seek pro help if walls have mold or major damage.
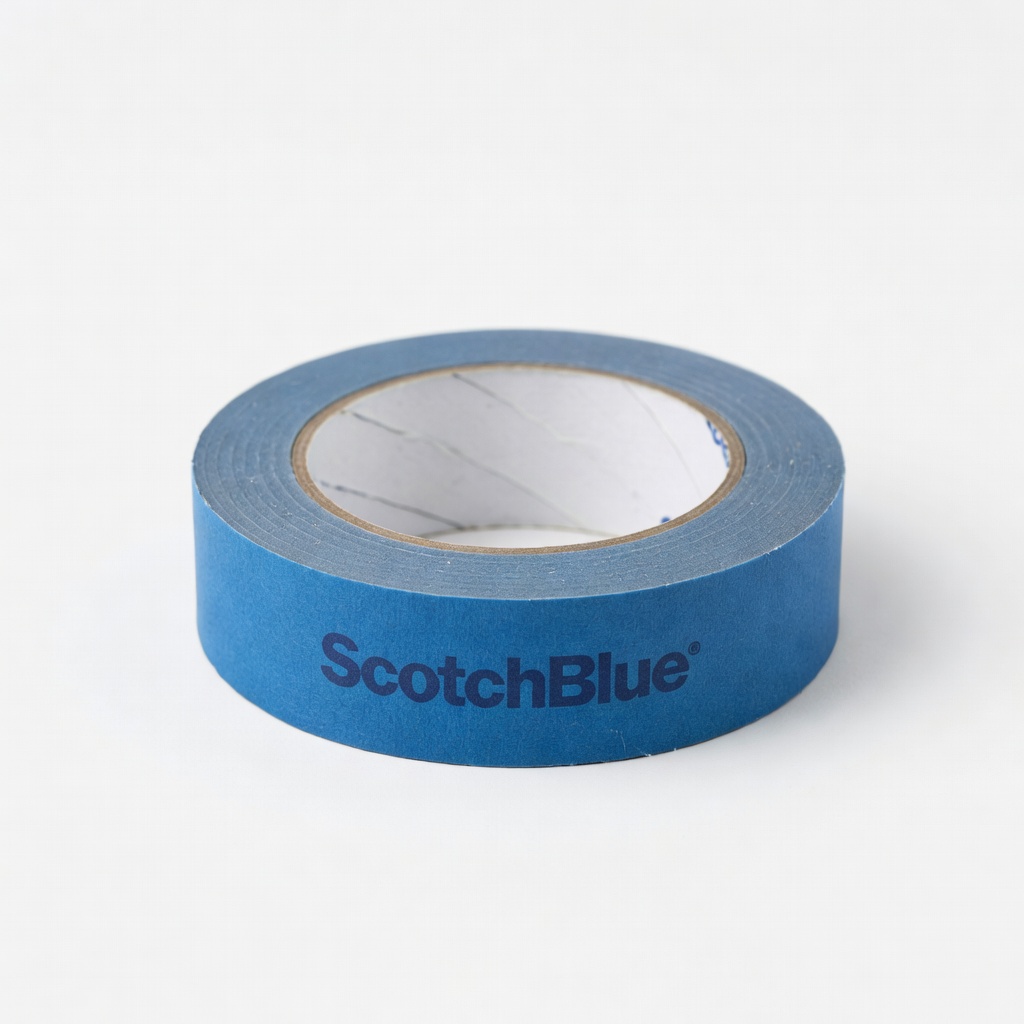
3M ScotchBlue Original Painter's Tape, 1.88-Inch
This tape provides clean lines without residue, essential for mess-free edging and trim protection.
Best for: Use for masking baseboards, ceilings, and windows during cutting in and rolling.
Price Range: $6.99
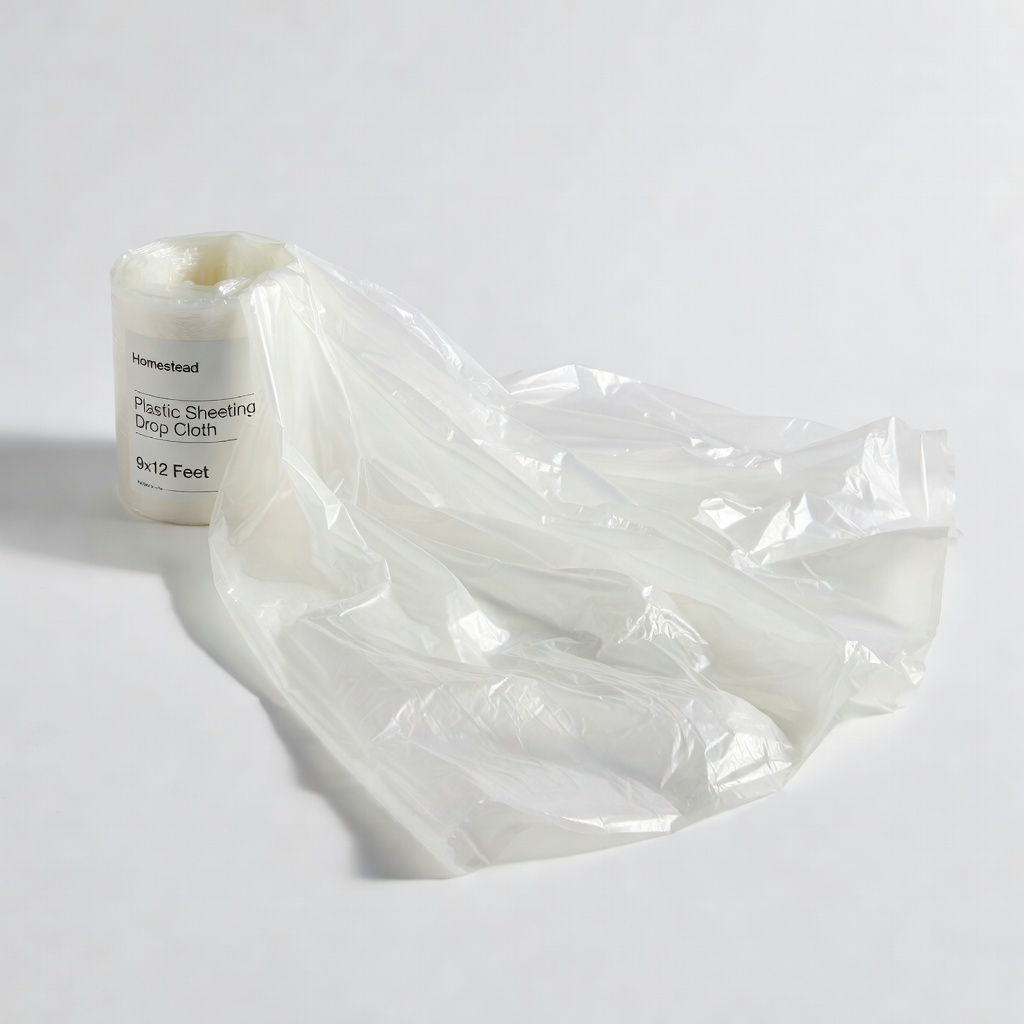
Homestead Plastic Sheeting Drop Cloth, 9x12 Feet
Durable and waterproof, it catches drips effectively while being easy to fold and dispose of post-project.
Best for: Cover floors and furniture to prevent paint splatters from reaching surfaces.
Price Range: $9.99
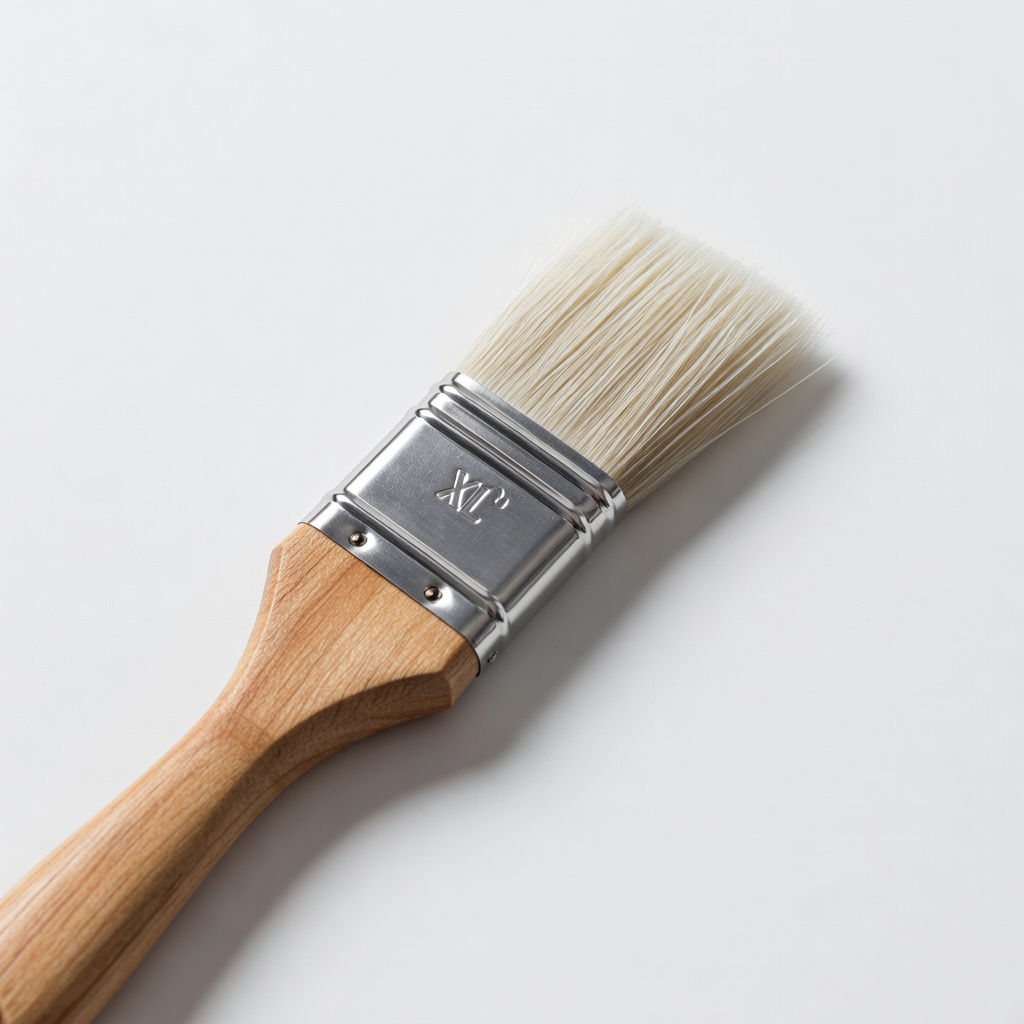
Purdy XL Glide Angled Paint Brush, 2.5-Inch
High-quality synthetic bristles hold paint well and provide precise control for minimal mess cutting in.
Best for: Ideal for edging corners and trim without brush marks or drips.
Price Range: $12.99
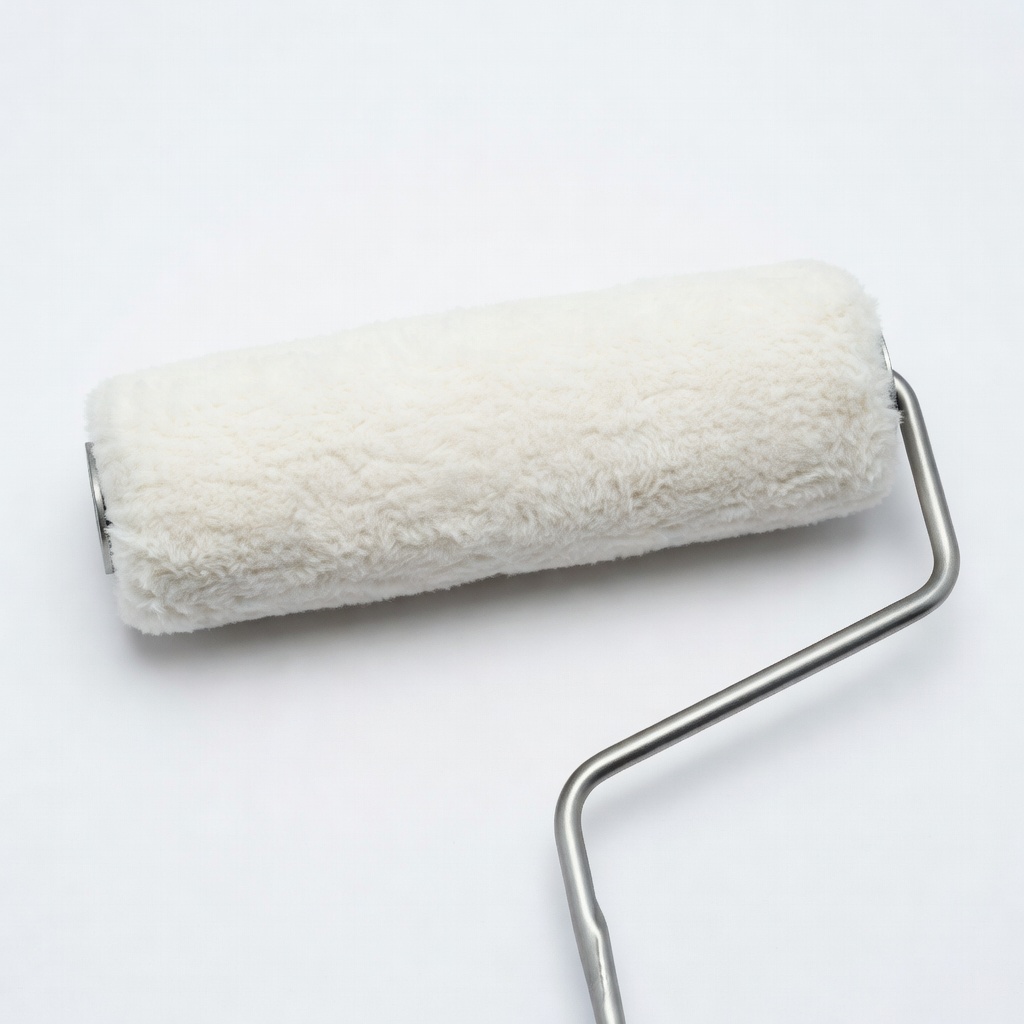
Wooster Sherlock 9-Inch Roller Cover with Frame
The fabric naps evenly and sheds minimally, reducing lint and splatter for smooth wall application.
Best for: For rolling large wall areas efficiently with an extension pole to avoid ladder use.
Price Range: $14.99
Zinsser Bulls Eye 1-2-3 Primer, 1-Gallon
Fast-drying and stain-blocking, it preps walls quickly to prevent absorption issues and excess paint use.
Best for: Apply to new or repaired walls before painting for better adhesion and fewer coats.
Price Range: $24.99