Painting a room can turn a tired space into something fresh and inviting. But if you've ever painted without proper prep, you know the frustration: patchy coverage, drips on trim, and peeling paint. The secret to a professional finish isn't the paint—it's the preparation.
In this guide, we'll walk you through the ceiling-to-floor prep process that pro painters use. You'll learn how to clear and protect your space, clean and repair your walls, tape off trim like a pro, and decide when priming is necessary. By the end, you'll be ready to roll on paint with confidence and achieve that smooth, polished look you've been dreaming of.
Expect to spend a good chunk of your project on prep—often as much time as painting itself. For a typical 10x12 room, budget 2–4 hours for prep, plus drying time for patches and primer. No special skills are required; just a little patience and the right tools.
▸What You'll Need
- •Drop cloths (canvas or plastic)
- •Painter's tape (blue or purple, 'edge-lock' style preferred)
- •Putty knife or flexible spackle knife
- •Spackling paste or lightweight joint compound
- •Sanding sponge or sandpaper (120–220 grit)
- •Cleaning supplies: TSP substitute, bucket, sponge or cloth
- •Primer (optional, depending on wall condition)
- •Paintable caulk and caulk gun (optional for pro finish)
- •Vacuum cleaner or microfiber cloths for dust removal
- •Screwdriver or drill to remove outlet covers and switch plates
- •Step ladder for high areas
Estimated Time: 2–4 hours for a typical room, plus drying time for patches and primer
Difficulty: beginner
▸Step-by-Step Instructions
Step 1: Clear the Room and Protect Floors
Move furniture to the center of the room or out of the room entirely. Cover any remaining furniture with plastic sheeting or canvas drop cloths to protect it from dust and splatter. Remove artwork, curtains, and hardware like outlet covers and switch plates.
Lay drop cloths on the floor, covering the entire area where you'll be painting. Overlap the edges and tuck them along the baseboard line. Canvas drop cloths are more slip-resistant and absorbent than plastic, making them ideal for the floor. Tape down the edges with painter's tape to keep them from shifting while you work.
This step is about creating a safe, clean workspace. Taking time to protect your belongings and floors prevents accidents and saves you from messy cleanup later. Once everything is covered, you can move on with confidence.
💡 Tips:
- •Use canvas drop cloths for floors—they are less slippery and more durable than plastic.
- •If you're painting the ceiling, cover the floor with plastic sheeting first, then a canvas layer for absorbency.
⚠️ Warnings:
- •Don't skip removing outlet covers and switch plates—paint on them looks sloppy and can become stuck.
Step 2: Clean the Walls Thoroughly
Mix a small amount of mild detergent or TSP (trisodium phosphate) substitute with warm water in a bucket. Using a sponge or microfiber cloth, wash the walls from the bottom to the top to avoid streaks and drips. Pay special attention to areas near light switches, kitchen counters, and doorways, where grease and grime tend to accumulate.
After washing, go over the walls with a damp cloth dipped in plain water to remove any soapy residue. Let the walls dry completely—this usually takes an hour or two, depending on humidity and air circulation.
This step is non-negotiable. Even if your walls look clean, invisible oils and dirt will prevent paint from bonding properly, leading to peeling or blistered paint later. Professional painters always clean the surface before prepping, and you should too.
💡 Tips:
- •For heavy grease (e.g., in the kitchen), use a degreasing cleaner or a stronger TSP mixture.
- •A spray bottle with vinegar and water works for light cleaning and is eco-friendly.
⚠️ Warnings:
- •Don't skip cleaning even if walls look clean—dirt and grease are often invisible until you paint over them.
- •If using TSP, wear gloves and goggles—it is a strong chemical.
Step 3: Repair Holes and Cracks
Inspect the walls for nail holes, dents, and cracks. Use a putty knife to fill small holes and shallow dents with spackling paste. For each hole, load the knife with a small amount of spackle and press it into the hole, scraping off the excess. For cracks, enlarge the crack slightly with the edge of a sharp knife to create a 'V' shape, then fill it with spackle or joint compound.
For larger holes (over 1/4 inch), use a self-adhesive mesh patch and joint compound, or a patching kit. Apply the patch, cover it with a thin layer of compound, and let it dry according to package directions.
Allow the spackle to dry completely—typically 1–2 hours. Once dry, check your work. If the patch shows shrinkage or a rough surface, apply a second thin coat. The goal is a perfectly smooth, flush surface that will disappear under paint.
💡 Tips:
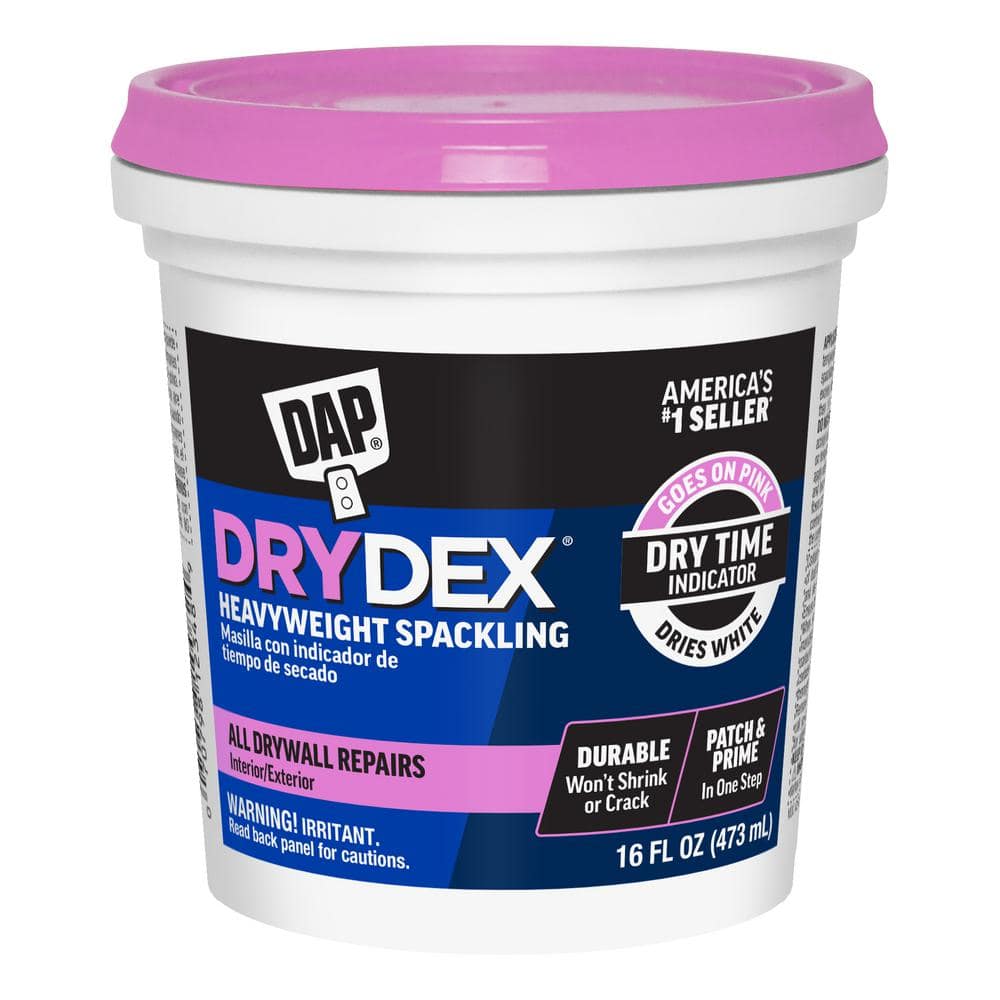
- •Use lightweight spackle that resists shrinking and cracking, like DAP Drydex.
- •For hairline cracks, make a V-shape with a knife to create a better grip for the filler.
⚠️ Warnings:
- •Don't use regular spackle for large holes—it can shrink and crack. Use a proper patching compound.
- •Don't overfill; it creates extra sanding work and can leave a bump.
Step 4: Sand Patched Areas and Wipe Down
After the patches are completely dry, sand them smooth using a medium-grit sanding sponge (120–150 grit). Use a circular motion and feather the edges so that the patch blends seamlessly with the surrounding wall. For larger repairs, switch to a fine-grit sandpaper (220 grit) for a smoother finish.
Sanding creates fine dust, so be sure to wear a dust mask and work in a well-ventilated room. Once you've sanded all the patches, wipe the entire wall with a damp cloth or use a vacuum with a brush attachment to remove all dust. Dust is a major enemy of paint—it will cause poor adhesion and a rough finish if left behind.
Don't be tempted to skip this step. Professional painters spend time on sanding because it makes the difference between a wall that looks okay and one that looks flawlessly smooth.
💡 Tips:
- •Use a sanding block or sponge instead of just your fingers to avoid waves in the surface.
- •Vacuums with HEPA filters minimize airborne dust and make cleanup easier.
⚠️ Warnings:
- •Don't oversand the patches—you may remove too much and reveal the tape or create a divot.
- •Always wear a dust mask when sanding to protect your lungs.
Step 5: Tape Off Trim, Windows, and Doors
Apply painter's tape along the edges of baseboards, door frames, window sills, and any other areas you want to protect from paint. Press the tape down firmly with your fingernail or a putty knife to create a tight seal. This is what will give you those crisp, clean lines.
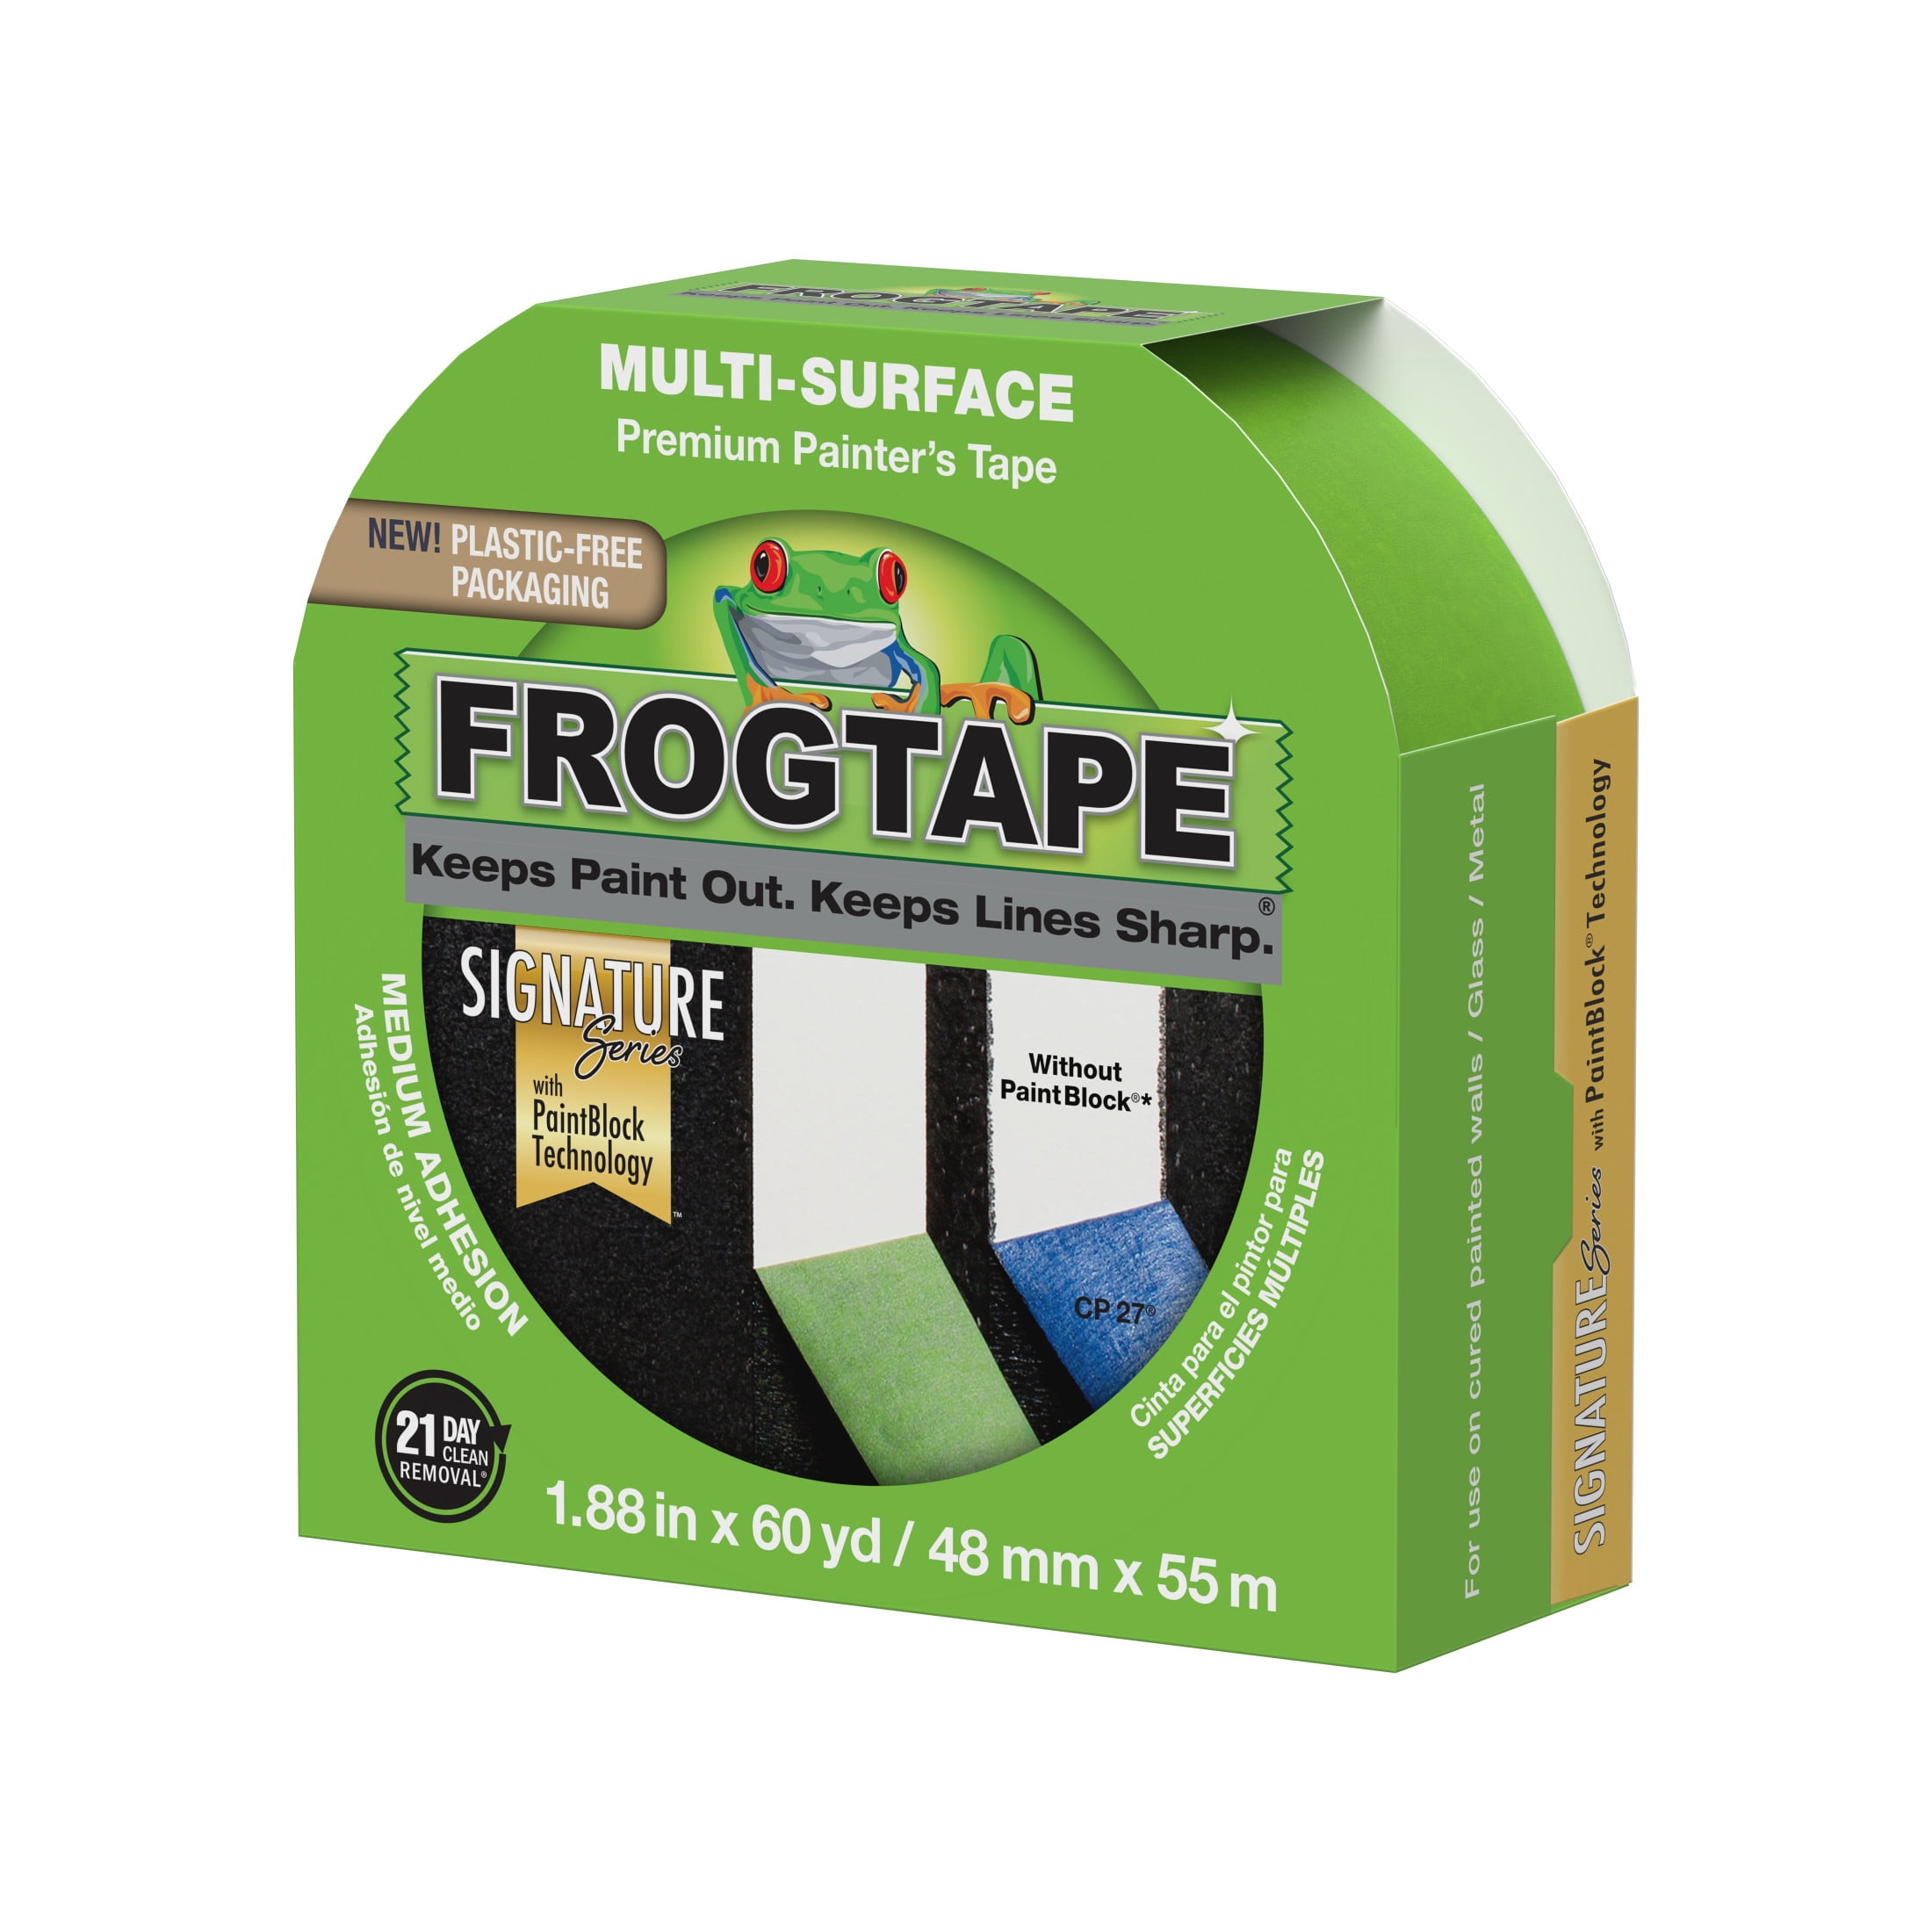
Choose a high-quality tape designed for clean edges, such as Frog Tape or 3M Blue. For textured walls, use a tape with 'edge-lock' technology that expands to fill gaps and prevents paint bleed. When applying, follow the curves of the trim and overlap the ends of tape strips to avoid leaving gaps.
Take your time with this step—it's tedious but crucial. If tape is applied loosely, paint will creep underneath and ruin your lines. A little extra effort here saves you hours of touch-up work later.
💡 Tips:
- •Use a roller of paint thinner on the tape edge to seal it (works well with latex paint).
- •For perfect corners, tear the tape at a 45° angle for a tight fit.
⚠️ Warnings:
- •Don't stretch the tape too tightly—it can lift paint when removed.
- •Remove tape within 24 hours of painting to avoid bonding.
- •Don't use regular masking tape—it leaves sticky residue and often bleeds.
Step 6: Prime the Walls (If Needed)
Decide whether your walls need primer. Priming is essential when: the walls are new bare drywall, you're covering stains (water, smoke, or marker), you've done major patching, or you're making a dramatic color change (dark to light). Primer seals the surface, provides adhesion, and blocks stains from bleeding through your paint.
Use a high-quality interior latex primer. Apply it with a roller and a brush for cutting in around edges. Start with the edges and corners, then use the roller to paint in the larger areas. Let the primer dry according to the manufacturer's instructions—usually 1–3 hours.
If you're only patching a few areas, you can skip priming the entire wall and just 'spot-prime' the patches. Use a small brush or spray primer over each patch. Once dry, you're ready to paint. If you're painting over an old coat of paint in good condition, primer may not be necessary, but it's always a safe choice for a uniform finish.
💡 Tips:
- •Tint the primer to match your paint color for better coverage and fewer coats.
- •Use a stain-blocking primer for stubborn marks like ink or crayon.
⚠️ Warnings:
- •Don't skip primer over stains—they will bleed through your paint and ruin the finish.
- •Don't use paint as a primer; it doesn't have the same adhesion properties.
Step 7: Fill Gaps and Caulk (Pro Move)
To achieve a truly professional finish, fill any gaps between the wall and baseboards, trim, or window frames with paintable acrylic latex caulk. Load a caulk gun with the caulk tube, cut the tip at a 45° angle, and squeeze a thin, even bead along the gap. Use a wet finger or a caulk smoothing tool to press the caulk into the seam and create a smooth, concave line.
This step is optional for beginners, but it's a pro-level technique that hides imperfections and prevents light from passing through gaps. It also keeps insects and drafts out.
Let the caulk dry for at least 30 minutes to an hour before painting over it. Once it's dry, you can paint directly over it—it will blend seamlessly into the wall and trim.
💡 Tips:
- •Practice on a piece of cardboard before doing the actual seam.
- •Keep a damp rag handy to clean up any excess caulk immediately.
⚠️ Warnings:
- •Don't overapply caulk—it's messy and hard to remove once dry.
- •Make sure the caulk is paintable; some silicone caulks are not.
▸Pro Tips
- •Use a high-quality brush and roller to avoid fiber marks and improve paint flow.
- •Work from top to bottom when painting to catch drips and avoid overdoing your already-painted areas.
- •Use a roller extension pole to reach the ceiling without stretching or stepping on furniture.
- •Keep a damp rag handy for quick drips and smudges—wet latex paint comes off easily.
- •Set up a 'paint station' with all your tools in a small tray or bucket so you don't have to search for things mid-project.
- •Label your painter's tape with the color you'll paint on each side (e.g., 'wall' vs 'trim') to avoid confusion.
- •If you plan to paint both walls and trim, paint the trim first—it's easier to tape over freshly painted walls later.
- •For perfect corners, use a 'cutting in' technique: dip your brush into paint, then tap it on the can opening to remove excess—this prevents drips.
▸Common Mistakes to Avoid
- •Skipping the wall cleaning step—dirt and grease cause paint to peel or blister.
- •Using cheap tape or leaving it on too long, resulting in paint bleed or tape that pulls off the paint.
- •Painting without primer over stains or bare drywall, leading to discoloration and poor adhesion.
- •Overloading the roller with paint, causing drips, runs, and an uneven texture.
- •Removing painter's tape only after the paint is fully dry (more than 24 hours)—this often takes chunks of paint off with it.
▸Troubleshooting
Problem: Paint bleeds under the painter's tape even though you pressed it down.
Solution: Use a tape with edge-lock technology (like Frog Tape) and make sure the tape is well-adhered. You can also run a thin layer of your paint color along the tape edge to seal it, then go back with the actual color.
Problem: Spackle cracks after drying.
Solution: Apply a second thin coat and let it dry completely. Use a flexible spackle specifically for areas that may expand/contract with temperature changes.
Problem: Patched spots look darker or shinier than the rest of the wall after painting.
Solution: These are usually signs of 'flash'—poor adhesion or lack of primer. Prime the patched areas before painting, and consider using a flat paint finish to reduce sheen differences.
Problem: Tape pulls off paint when removed.
Solution: Score the tape line with a utility knife first, or remove the tape while the paint is still slightly wet. If it's already dry, use a hairdryer to gently warm the tape before peeling.
Frog Tape Multi-Surface Painter's Tape
Creates sharp, clean paint lines with its patented PaintBlock technology. It's the go-to for professionals and works well on smooth and semi-textured surfaces.
Best for: Taping around trim, windows, doors, and between colors.
Price Range: $10-$20 per 2-pack
DAP DapDrydex Spackling for Small Holes
Dries in about 2.5 hours, resists shrinking and cracking, and is easy to sand—making it a reliable choice for quick wall repairs.
Best for: Filling nail holes, small dents, and hairline cracks.
Price Range: $5-$10 per tub
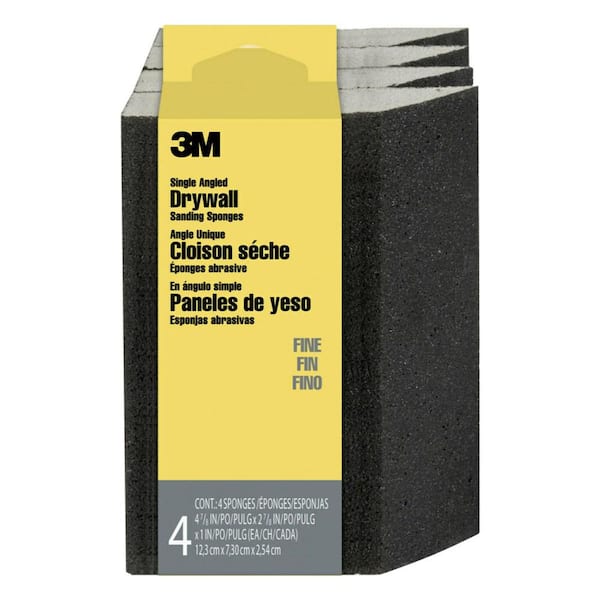
3M Sanding Sponge (Medium and Fine Grit)
Flexible and comfortable to hold, these sponges are ideal for feathering patch edges and smoothing out imperfections without digging into the wall.
Best for: Sanding spackled areas and prepping walls for painting.
Price Range: $5-$12 for a pack
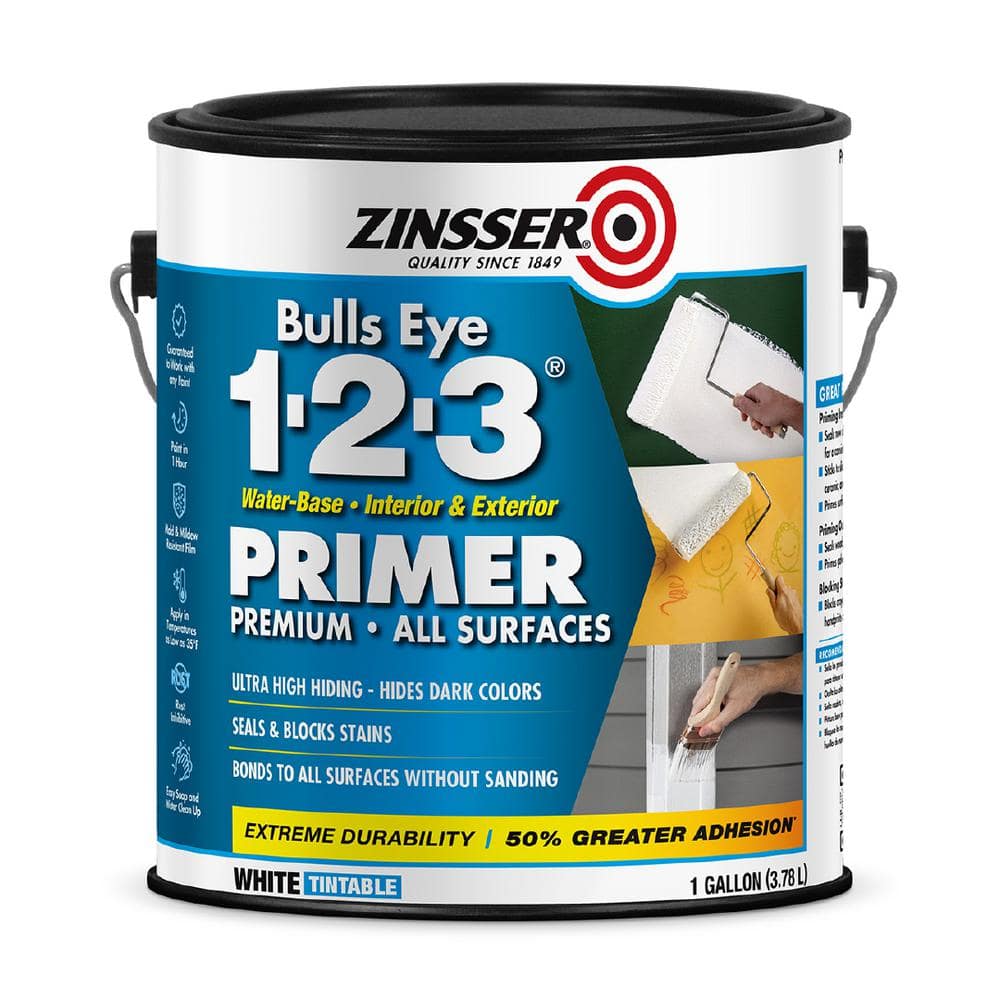
Zinsser Bulls Eye 1-2-3 Primer
A versatile water-based primer that seals stains, blocks odors, adheres to glossy surfaces, and ensures your paint goes on smoothly—a must-have for many projects.
Best for: Priming patched areas, stains, or bare drywall before painting.
Price Range: $15-$25 per gallon
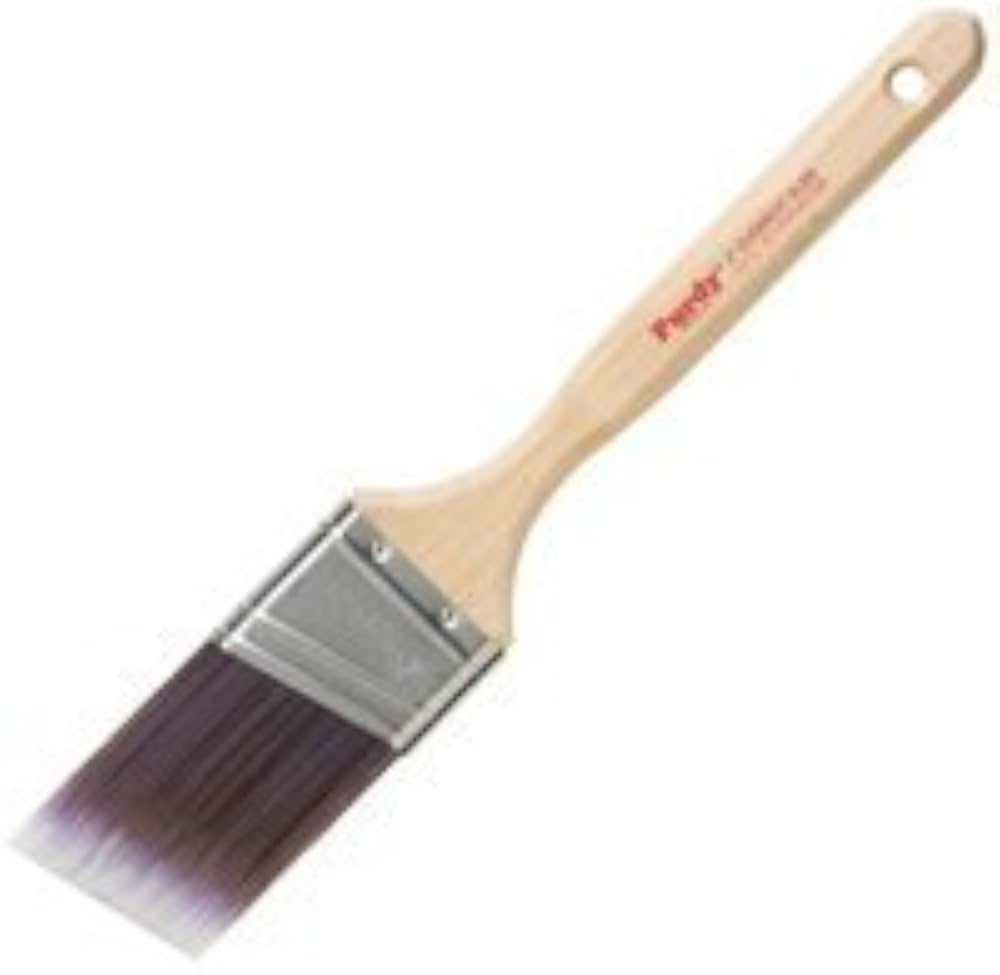
Purdy White Dove Gloss Angled Paint Brush
A professional-grade nylon brush that holds its shape, doesn't shed bristles, and gives smooth, streak-free strokes—perfect for cutting in around edges.
Best for: Cutting in along trim, ceilings, and corners for a crisp finish.
Price Range: $10-$20 per brush