If you've ever yanked open a drawer only to face a chaotic mess of AC adapters, chargers, and cords spilling everywhere, you're not alone. This common clutter problem wastes time, frustrates daily routines, and can even lead to damaged cables or forgotten devices. Organizing them properly saves space, reduces stress, and makes grabbing the right adapter effortless.
In this beginner-friendly guide, you'll learn a step-by-step method to sort, group, and store multiple AC adapters neatly in drawers. We'll cover everything from decluttering to labeling, using affordable tools anyone can find. No special skills required—just 30-45 minutes and a bit of patience.
By the end, your drawers will look professional, adapters easy to find, and you'll have a system that stays organized long-term. Perfect for home offices, gadget enthusiasts, or anyone with too many devices.
▸What You'll Need
- •All your AC adapters and chargers (gather from around the house)
- •Drawer (empty or partially cleared)
- •Ziplock bags or small plastic bags (quart-size or smaller)
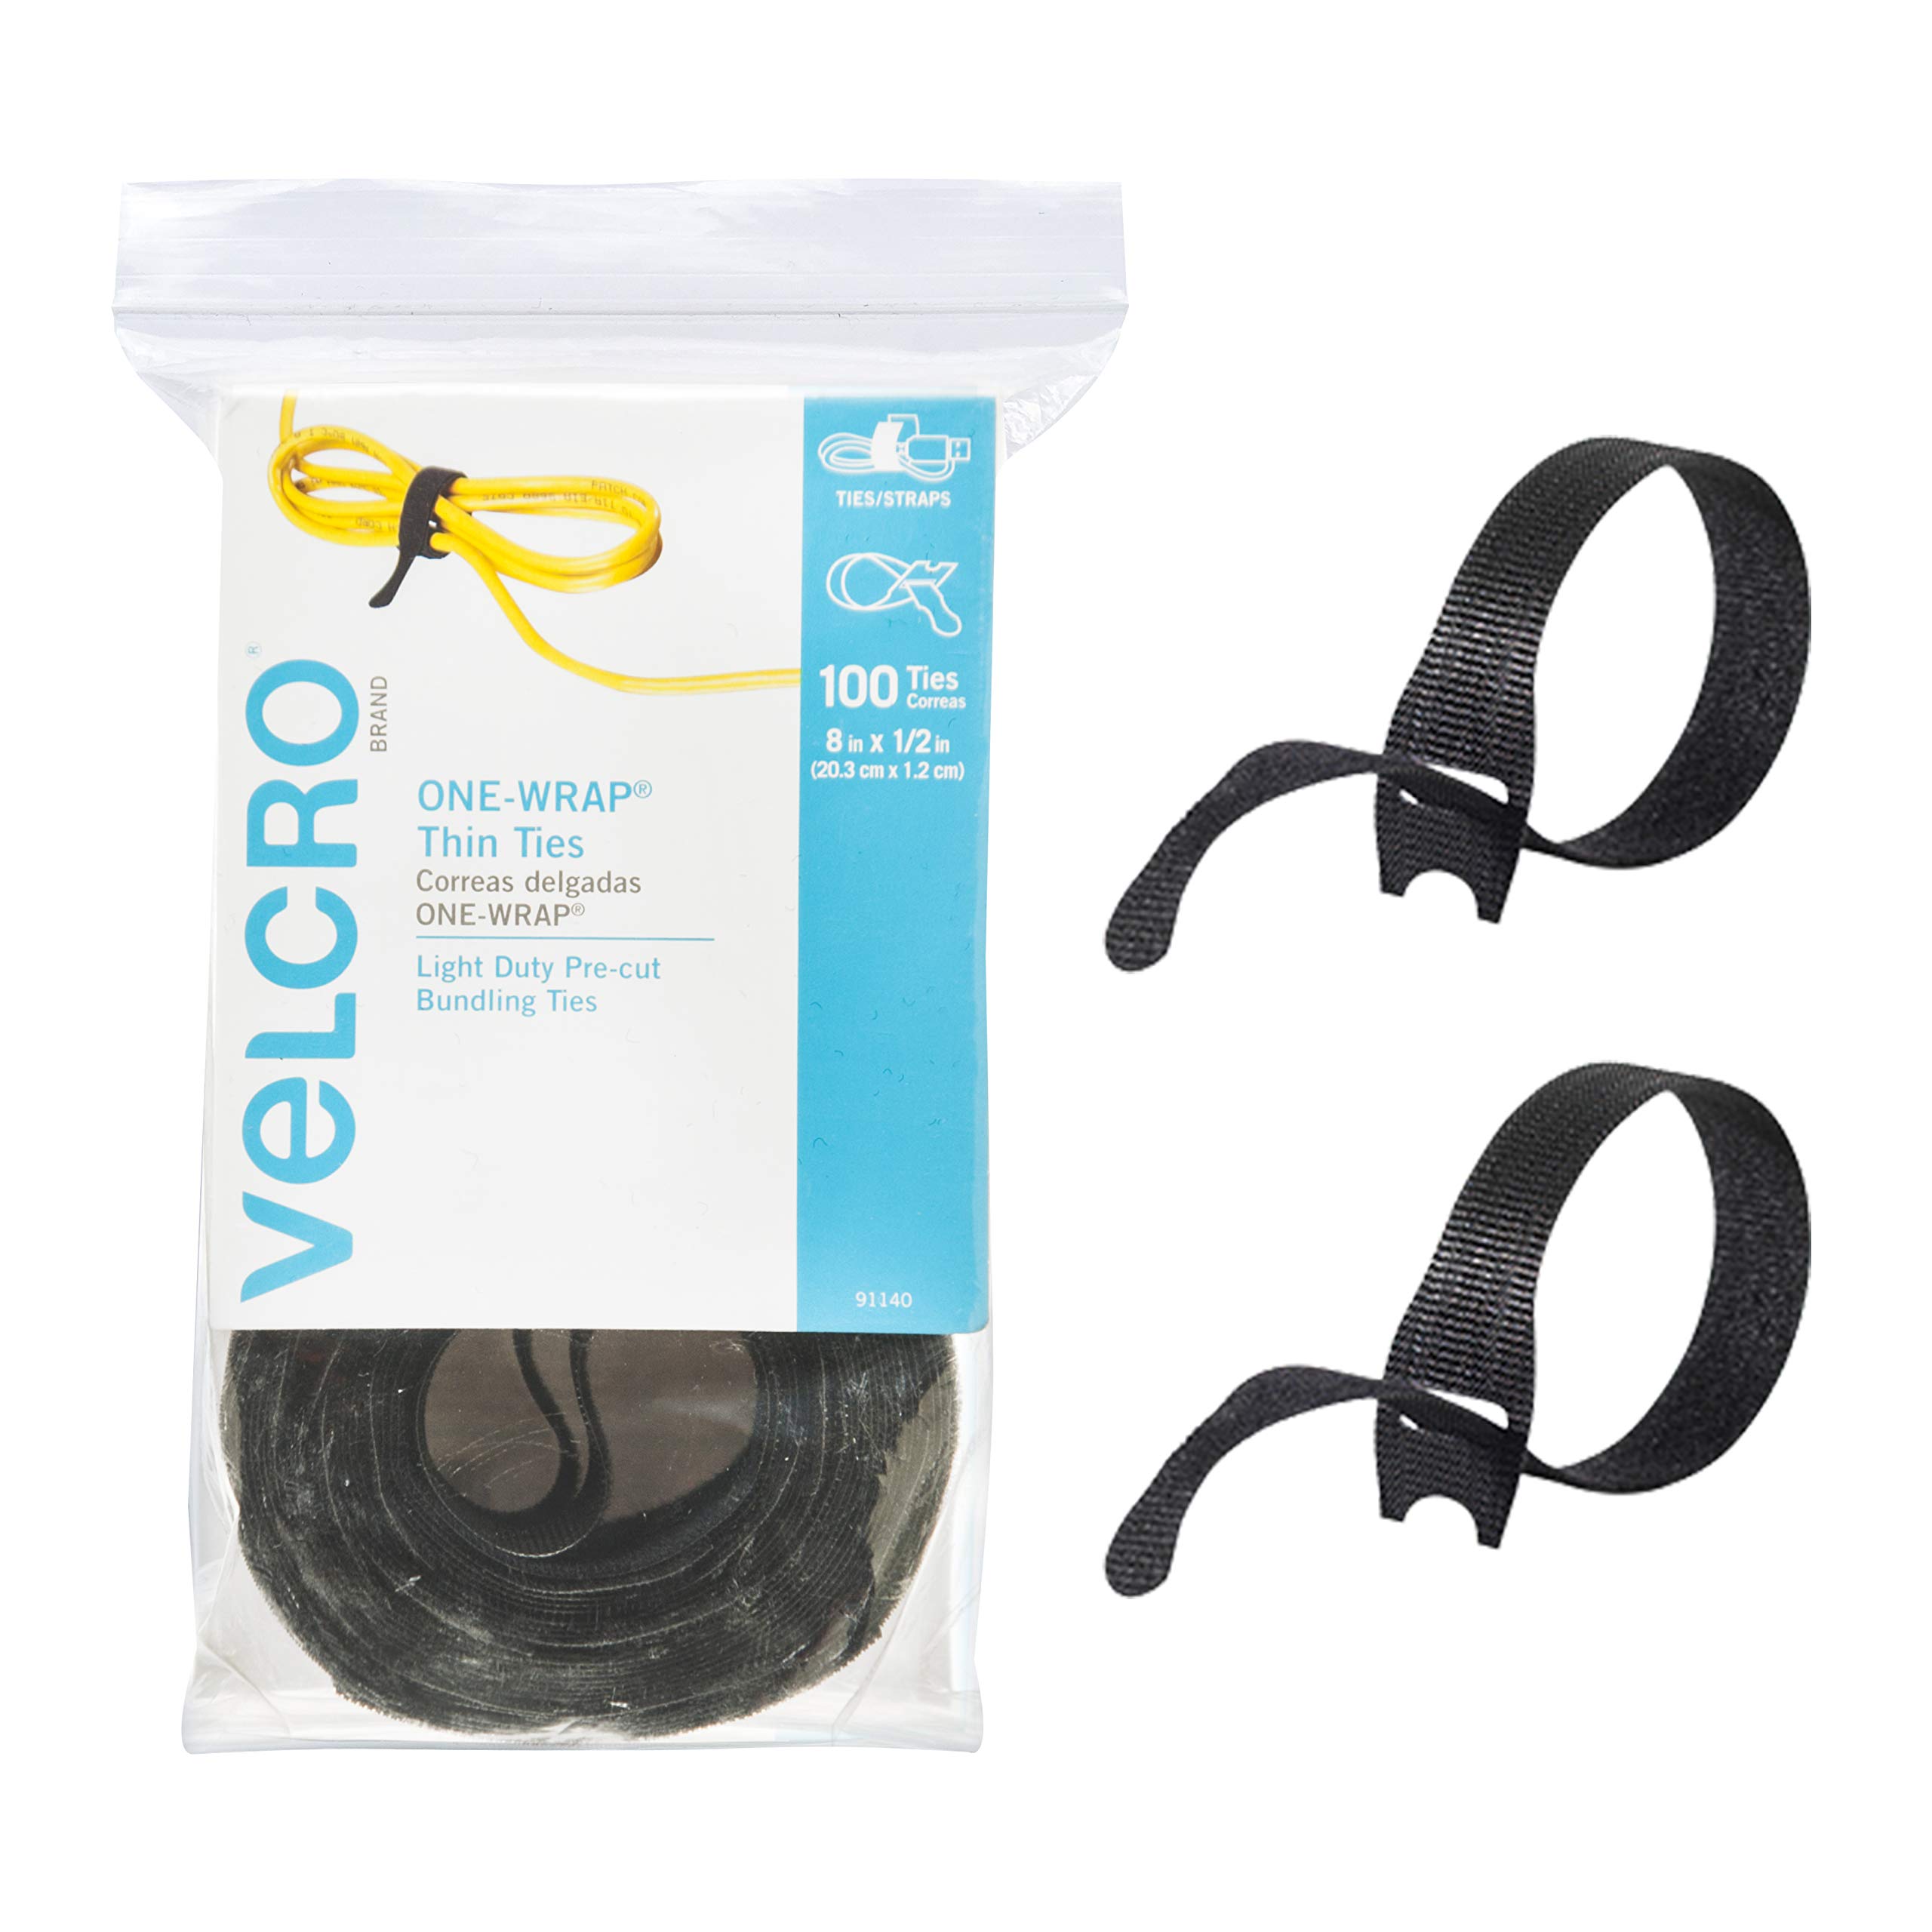
- •Cable ties or Velcro straps (reusable)
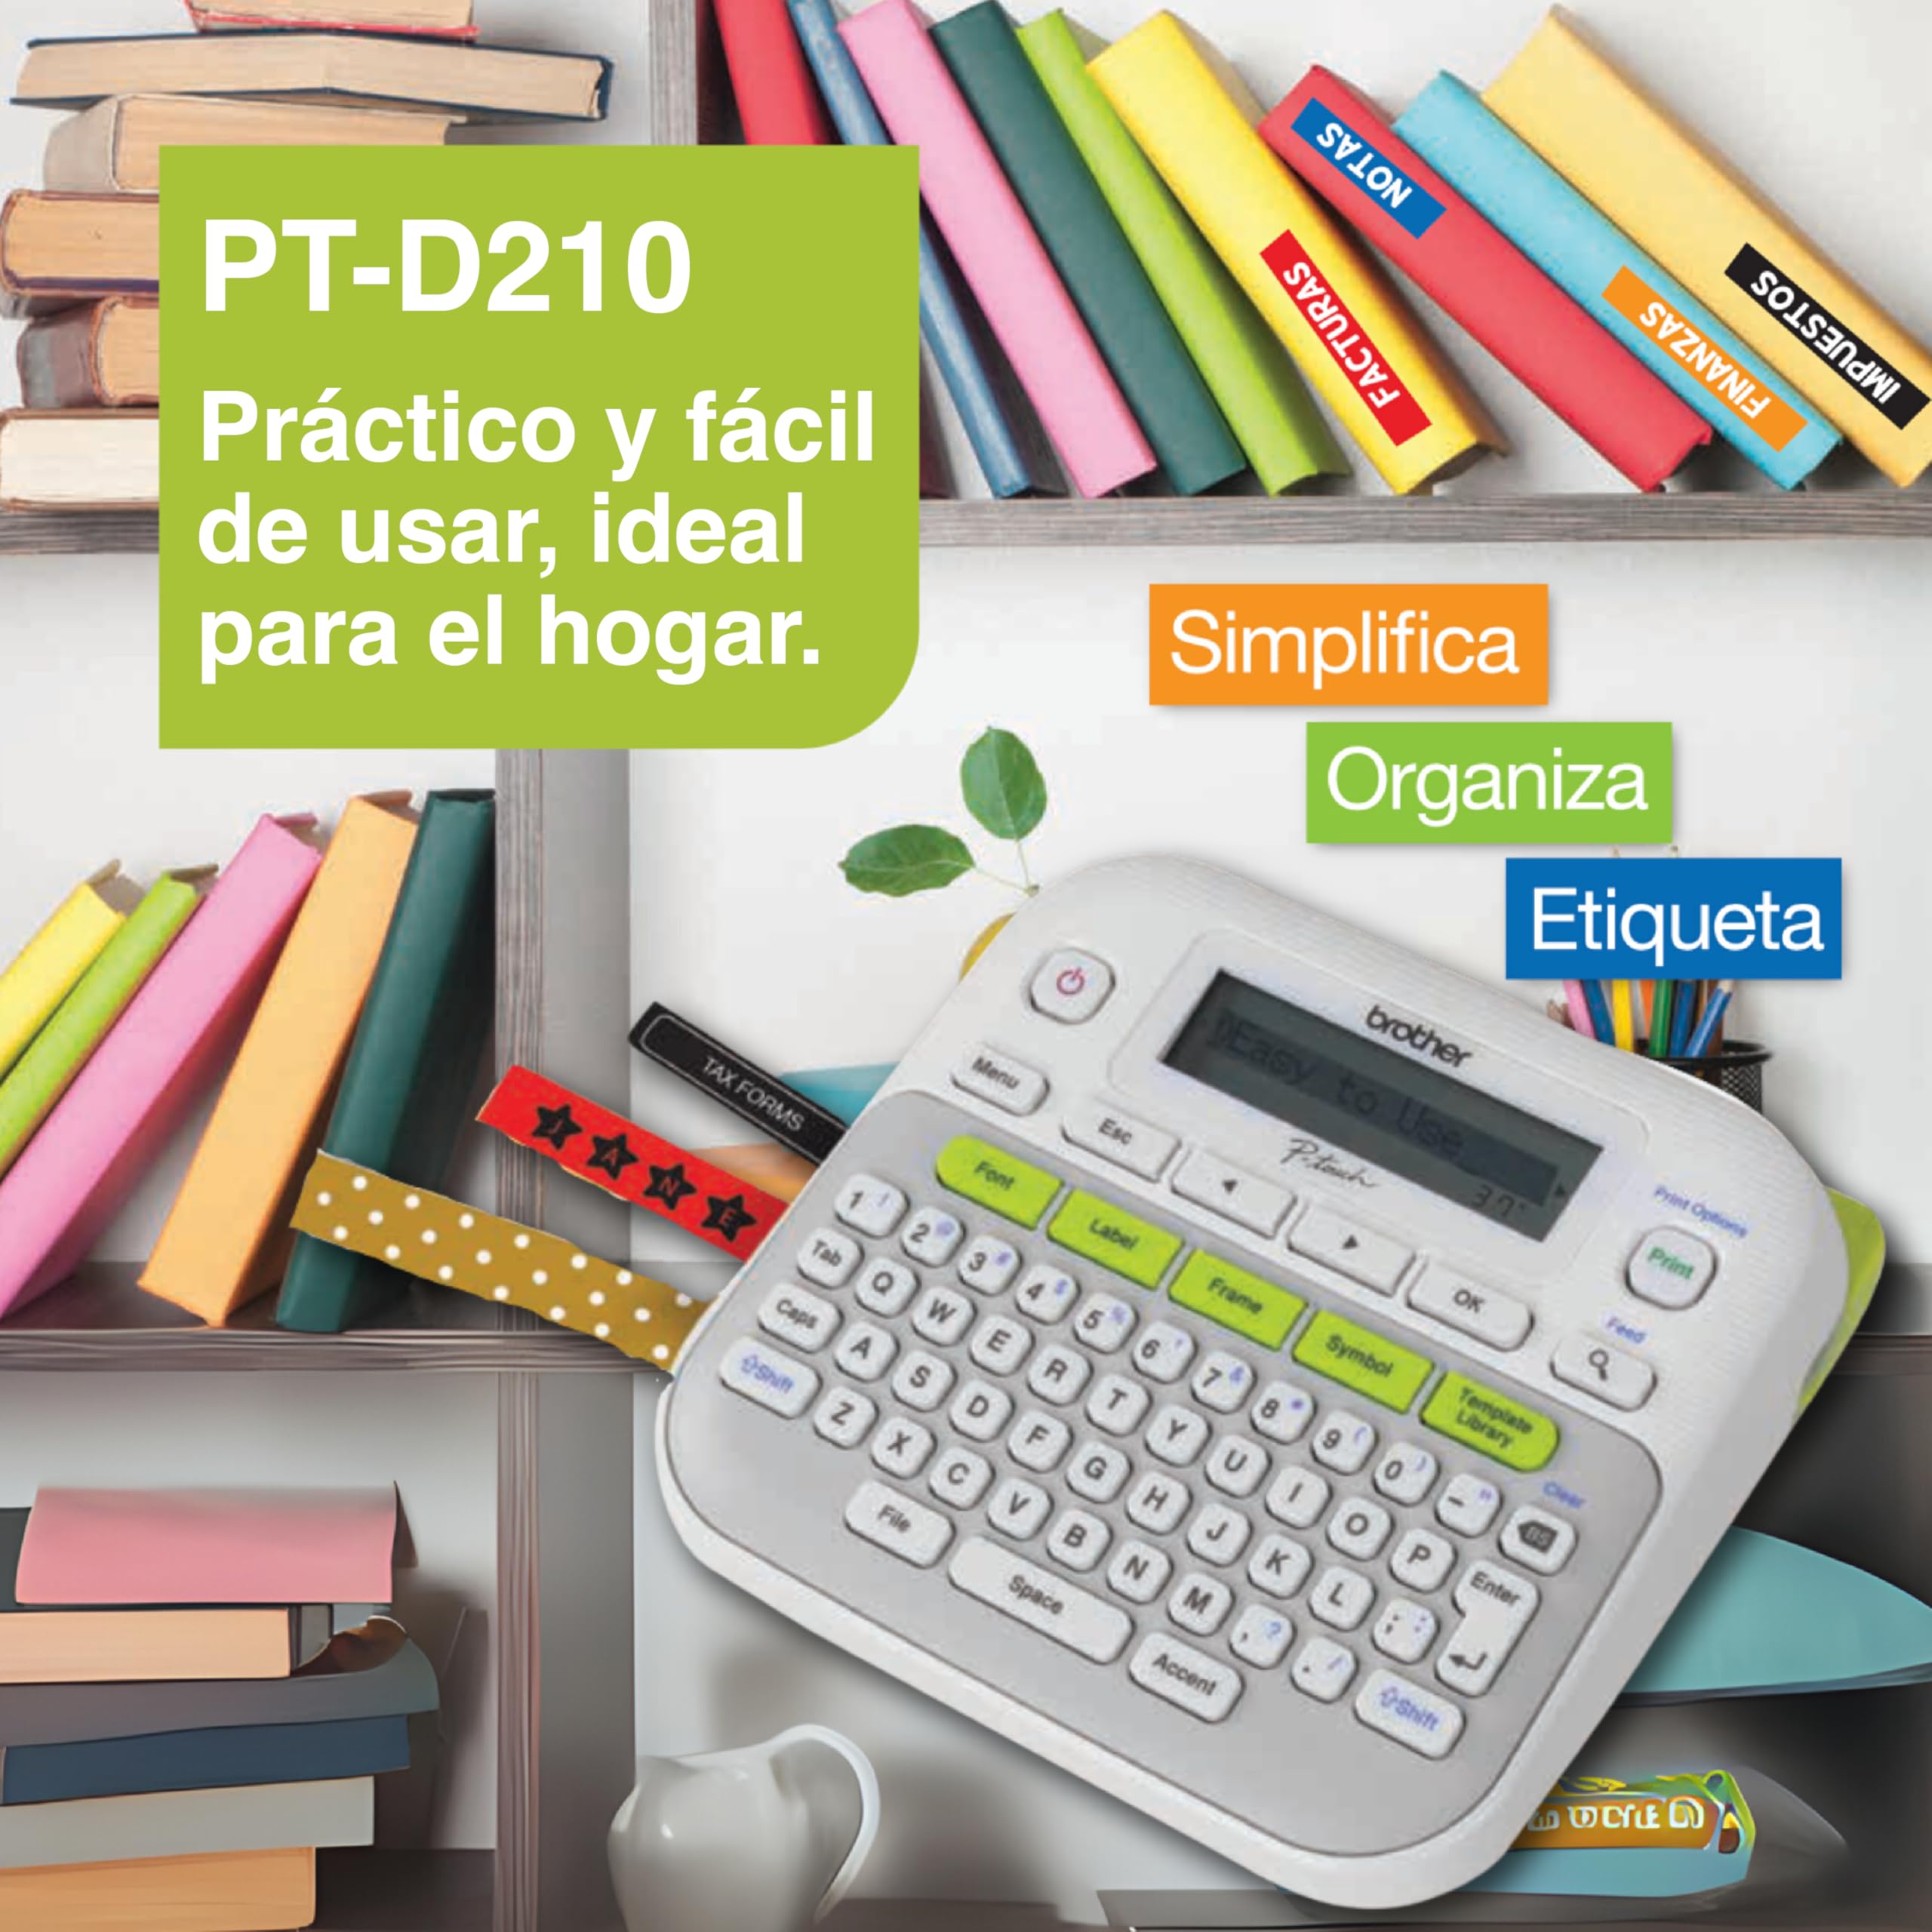
- •Labels or masking tape and marker (or label maker)
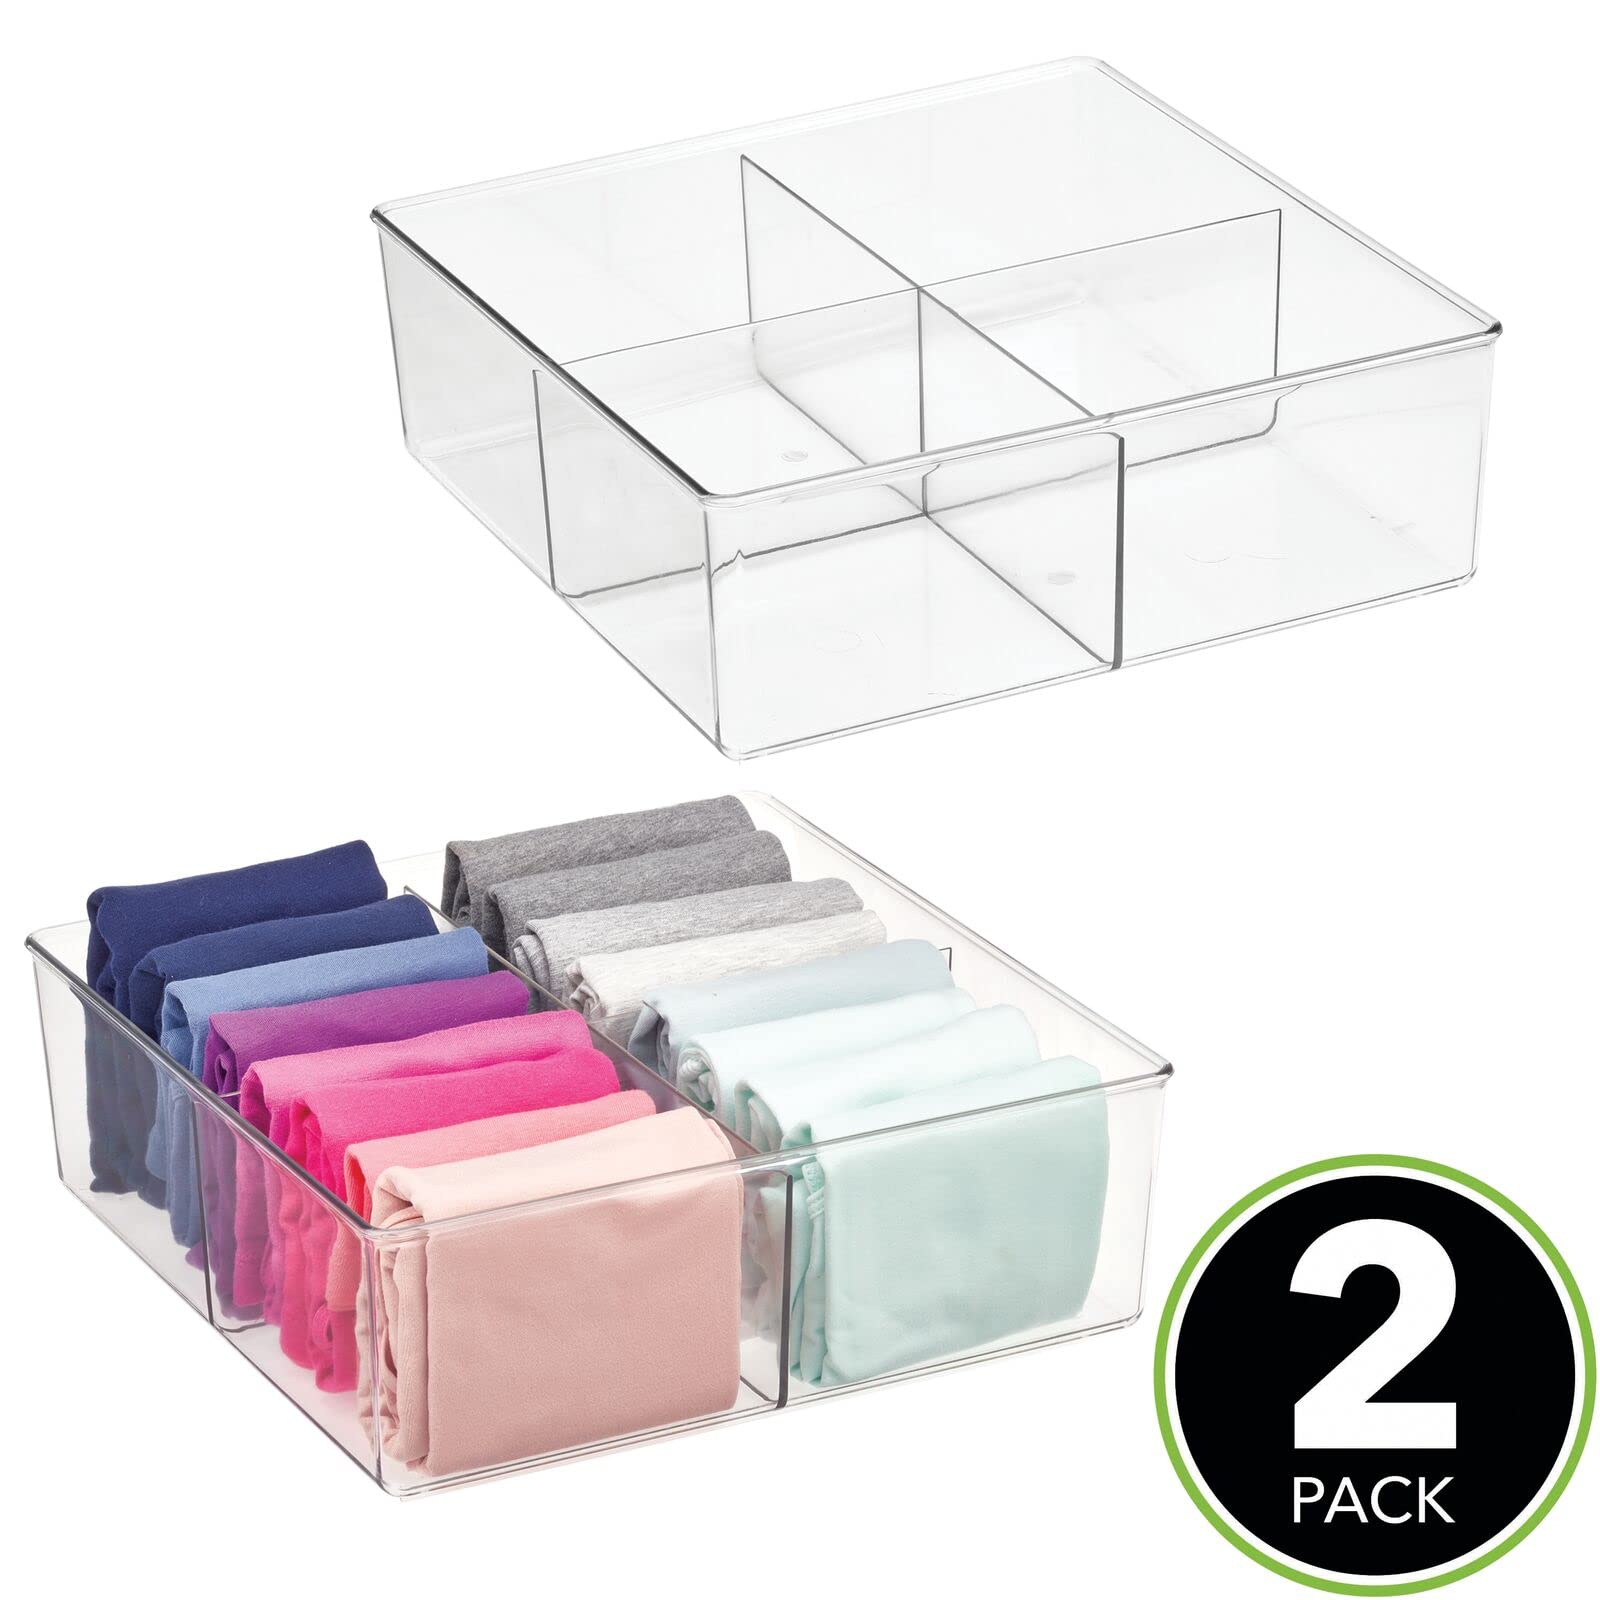
- •Drawer dividers or small bins (optional but recommended)
- •Cleaning cloth or compressed air (for dusting)
Estimated Time: 30-45 minutes
Difficulty: beginner
▸Step-by-Step Instructions
Step 1: Gather All AC Adapters
Start by collecting every single AC adapter from your home—check desks, nightstands, kitchen drawers, bags, and behind TVs. Empty them into a large box or on a table to see the full scope of clutter.
This step matters because you can't organize what you don't know exists. Expect 10-50 adapters depending on your gadgets; many people discover duplicates or orphans here.
Lay them out flat to avoid tangles from the start.
💡 Tips:
- •Work in a well-lit area for better visibility.
- •Involve family members to speed up hunting.
⚠️ Warnings:
- •Don't plug any in yet—safety first to avoid shocks.
Step 2: Sort and Identify Adapters
Group adapters by type, voltage, or device. Match them to gadgets (e.g., phone chargers, laptop bricks). Use a phone camera to snap pics of labels (volts/amps) for reference.
Why? Identifying prevents mismatches that could damage devices. Success: Neat piles like 'USB-C 20W', 'Laptop 65W', 'Unknowns'.
Discard broken ones or test with devices if unsure.
💡 Tips:
- •Group by connector shape (barrel, USB) for quick visual ID.
- •Make a spreadsheet on your phone for inventory.
Step 3: Clean the Adapters
Wipe each adapter with a dry microfiber cloth or use compressed air to remove dust. For stubborn grime, dampen cloth with isopropyl alcohol (avoid soaking).
Cleanliness ensures no dirt transfers to drawers and prolongs adapter life. Expect them to look shiny and new—dust bunnies gone.
Let dry fully before proceeding.
⚠️ Warnings:
- •Never submerge in water; electronics hate moisture.
Step 4: Coil and Secure Cords
Loop each cord neatly (over-under method: alternate over and under to prevent twists). Secure with cable ties or Velcro straps, leaving a tail for easy untying.
This prevents knots and saves space. Success: Compact bundles that fit in your palm.
Trim excess tie length cleanly.
💡 Tips:
- •Over-under coiling works for all lengths—pro cable techs swear by it.
Step 5: Group into Categories
Bag similar adapters together in Ziplock bags: one for phones, one for laptops, etc. Add a note inside with details (e.g., 'iPhone 20W + Android').
Grouping by use makes retrieval fast. Expect 4-8 bags total.
Double-bag fragile ones for protection.
💡 Tips:
- •Use different bag sizes for bulkier laptop adapters.
Step 6: Prepare the Drawer
Clear the drawer completely. Measure it and install dividers or place small bins to create compartments matching your bag sizes.
A structured drawer prevents future chaos. Success: Custom-fit sections.
Line with non-slip mat if adapters slide.
⚠️ Warnings:
- •Overstuff drawers—aim for 80% full max.
Step 7: Label Everything Clearly
Label bags, bins, and drawer sections with device type or volts (e.g., 'USB 5V/2A'). Use waterproof labels or tape for durability.
Labels are key for maintenance—others can find things too. Expect instant accessibility.
Place labels on top/visible sides.
💡 Tips:
- •Color-code labels: blue for phones, red for laptops.
Step 8: Place and Test the System
Arrange bags in drawers logically (most-used first). Close drawer, reopen, and simulate grabs to test ease.
Final check ensures it works daily. Success: No spills, quick finds.
Adjust as needed and enjoy!
▸Pro Tips
- •Revisit quarterly to purge unused adapters.
- •Use glow-in-dark labels for night access.
- •Photograph your setup for reference if relocating.
- •Opt for magnetic labels on metal drawers.
- •Bundle with wall mounts for desk adapters too.
- •Teach kids the system to keep it maintained.
- •Scale up with stackable bins for deep drawers.
▸Common Mistakes to Avoid
- •Skipping labels—leads to 'where's that charger?' chaos; always label first.
- •Cramming too much—causes avalanches; use vertical stacking or extra drawers.
- •Not coiling properly—twisted cords tangle fast; master over-under.
- •Ignoring unknowns—test or donate them; hoarding wastes space.
- •Forgetting to clean—dirt spreads; wipe every organize session.
▸Troubleshooting
Problem: Drawer too small or overflowing
Solution: Use adjustable dividers or add a second drawer; prioritize frequently used ones.
Problem: Adapters slipping out of bags
Solution: Switch to zip-top pouches with flaps or add Velcro inside bags.
Problem: Labels peeling off
Solution: Use laminated or Brother label maker tape; apply to clean, dry surfaces.
Problem: Cords unknotting over time
Solution: Replace cheap ties with reusable Velcro; re-coil monthly.
mDesign Plastic Drawer Organizer Tray, 4 Pack
Adjustable dividers create custom compartments perfect for adapter bags, preventing sliding.
Best for: Ideal for standard kitchen/office drawers to section off categories.
Price Range: $15-$20
VELCRO Brand ONE-WRAP Cable Ties, 100 Pack
Reusable, strong straps secure coiled cords without damage, easy to reuse.
Best for: Bundling any cord length during sorting for tangle-free storage.
Price Range: $10-$15
Brother P-Touch PT-D210 Label Maker
Creates durable, professional labels that stick forever and speed up the process.
Best for: Labeling bags and bins clearly for household sharing.
Price Range: $30-$35
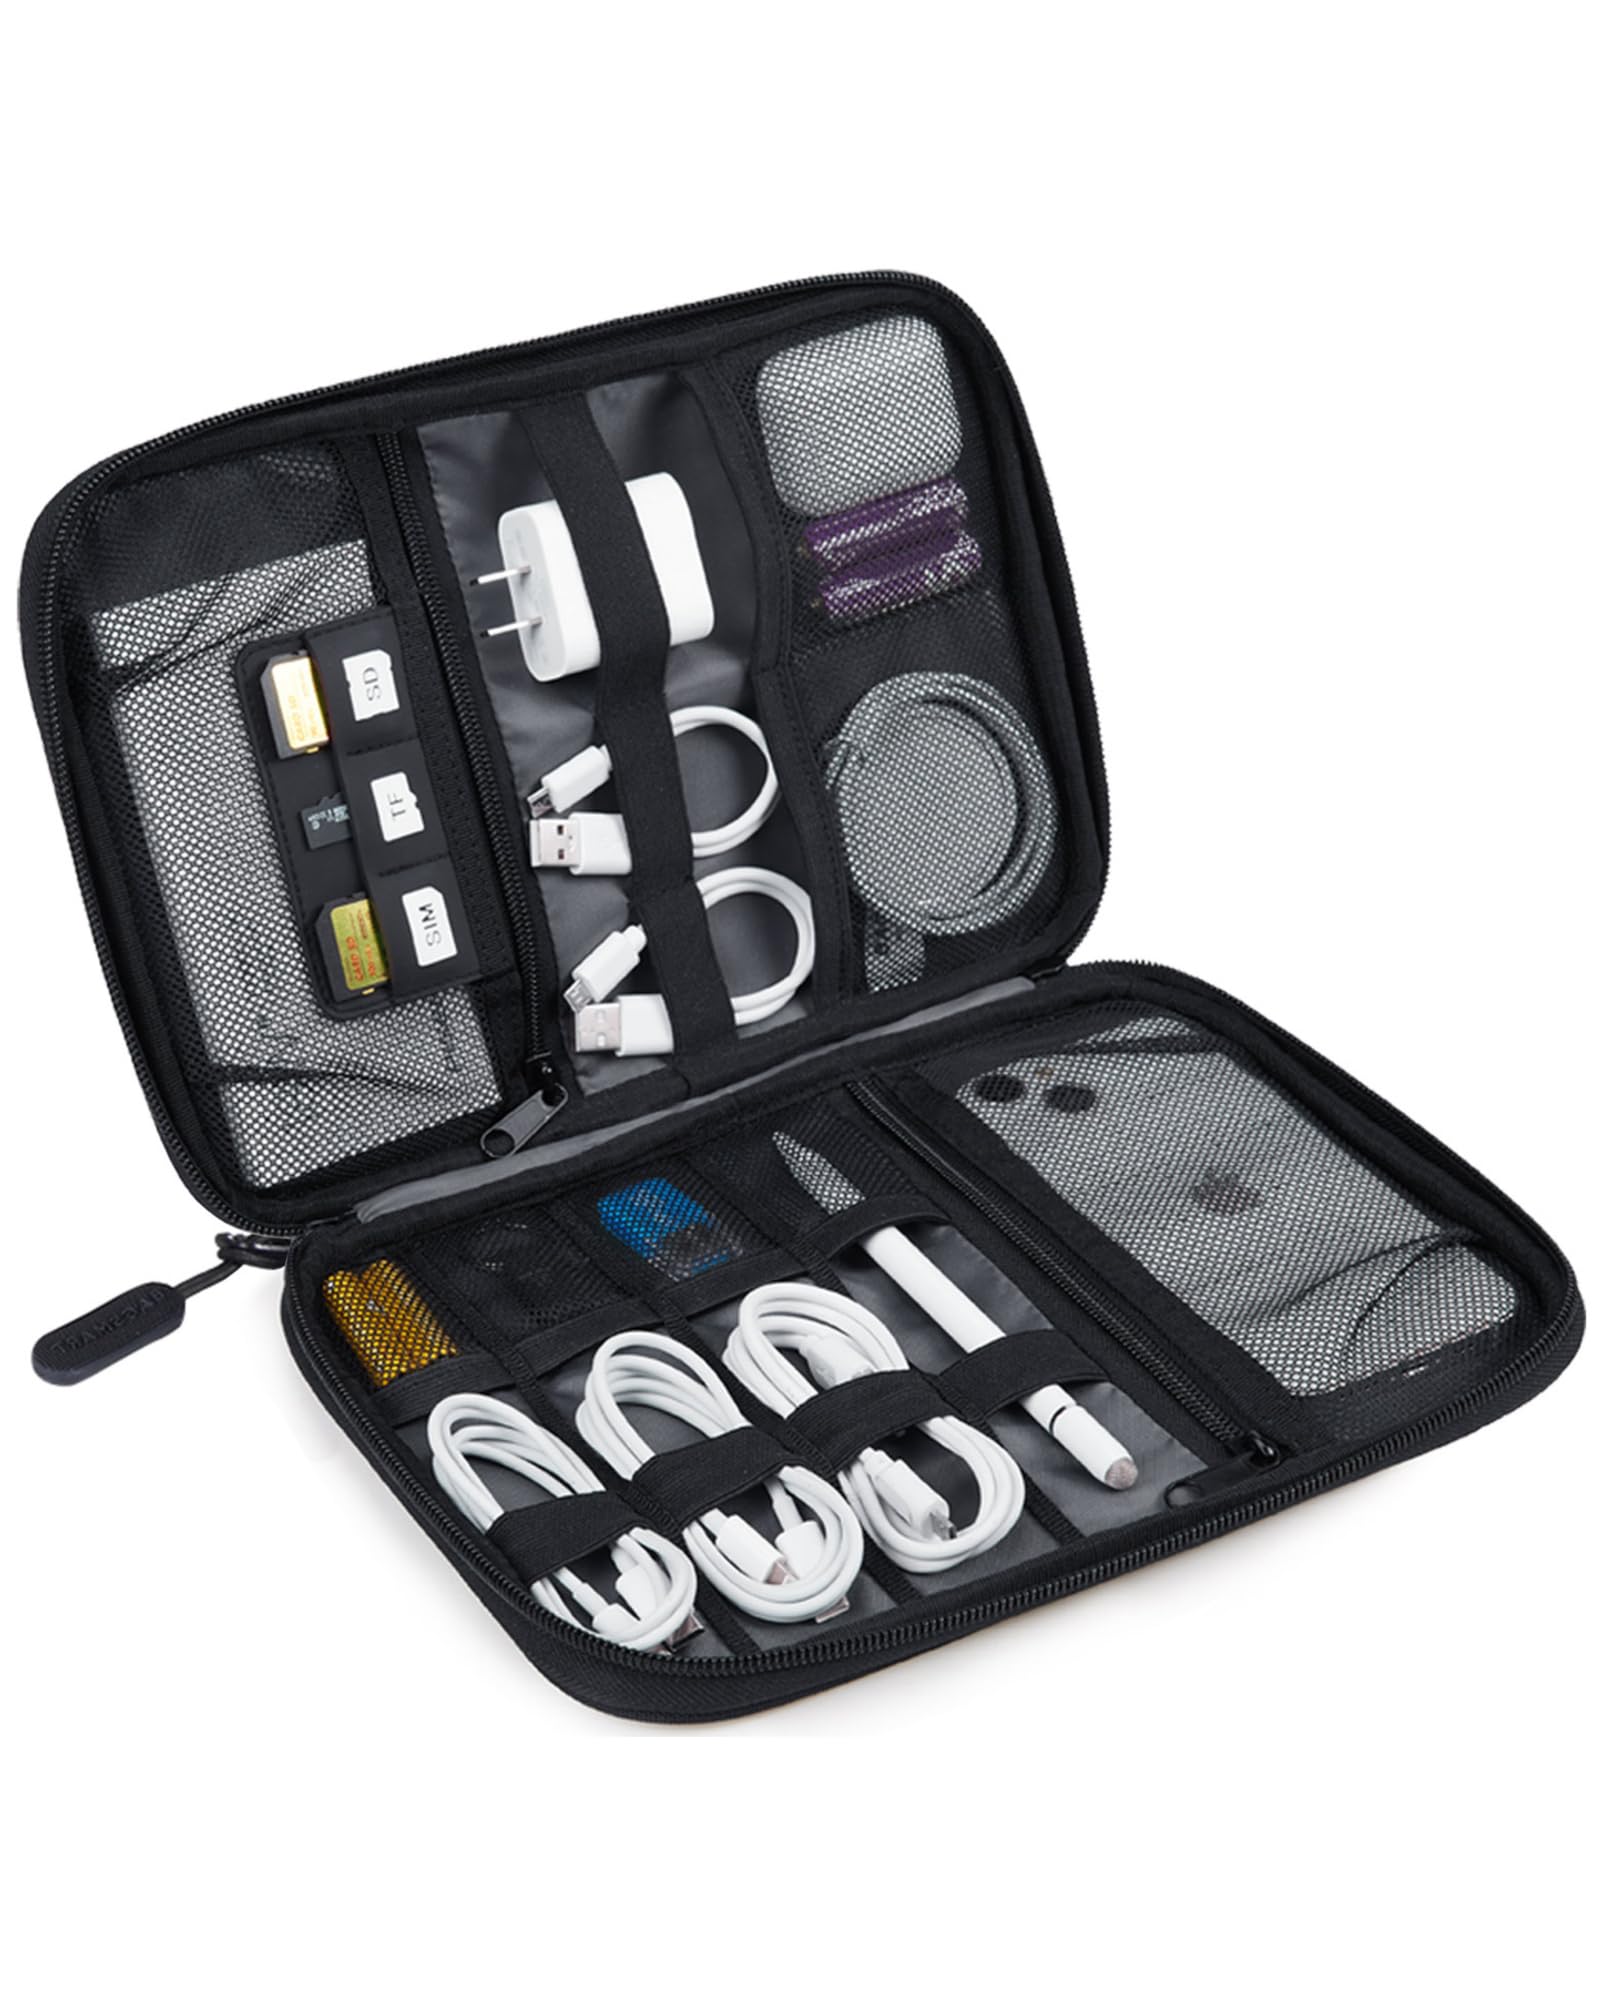
BAGSMART Electronics Organizer Bag
Portable, padded bags protect adapters better than Ziplocks, with compartments.
Best for: For travel or if drawers are temporary; doubles as go-bag.
Price Range: $18-$25
EVEO Universal Cable Management Sleeve, 2 Pack
Neoprene sleeves hide and protect coiled cords for ultra-neat look.
Best for: Advanced bundling for frequently accessed adapters.
Price Range: $12-$18