

Amazon Basics 12-Outlet Surge Protector Power Strip
Main under-desk hub for multiple devices.
$25-$30
Amazon Basics 12-Outlet Surge Protector Power Strip Affordable, reliable hub with 4320 joules protection and 8ft cord for central organization.
Get the App
Better experience on mobile
Transform your cluttered home office power setup into a safe, tidy workspace with our step-by-step guide—done in 20-30 minutes.
Tired of tangled cables, overloaded power strips, and adapters scattered across your home office desk? A messy multi-outlet setup not only looks unprofessional but poses fire hazards, slows productivity, and makes troubleshooting a nightmare. Whether you're working from home full-time or just need a cleaner space, organizing your adapters can save time and reduce stress.
In this guide, you'll learn a simple, effective system to assess, sort, label, bundle, and mount your multi-outlet adapters and power strips. We'll cover everything from safety checks to long-term maintenance, tailored for intermediate users comfortable with basic tools. Expect a clutter-free desk with easy access to power, improved airflow to prevent overheating, and a setup that scales with your needs.
The whole process takes 20-30 minutes and requires minimal tools. By the end, your home office will feel professional and safe—no more daisy-chaining outlets or hunting for the right adapter.
Estimated Time: 20-30 minutes Difficulty: intermediate
Start by surveying your home office power situation. Walk around your desk and identify all multi-outlet adapters, power strips, extension cords, and plugged-in devices. Note overloaded strips (more than 80% capacity), daisy-chained outlets, or areas with poor airflow.
Take photos before unplugging anything—this serves as a reference for reassembly. Count your adapters and estimate total outlets needed based on devices like laptops, monitors, chargers, and lamps. Success here looks like a clear list of issues: e.g., '3 overloaded strips, 5 loose adapters.'
Why it matters: This prevents buying unnecessary gear and ensures safety compliance (e.g., no more than 15 amps per circuit).
💡 Tips:
⚠️ Warnings:
Power down your computer and unplug all devices from the adapters. Gently remove each adapter, power strip, and cord, placing them on a clear surface like a table or floor mat.
Group loose items together. Expect a pile of 5-15 items depending on your setup—chargers, USB hubs, surge protectors. This step clears your workspace for cleaning.
Success indicator: All power-related items in one spot, devices safely powered off.
💡 Tips:
⚠️ Warnings:
Separate items by type: power strips, USB multi-outlets, international adapters, surge protectors. Discard damaged ones (cracks, burn marks). Prioritize high-wattage items for dedicated strips.
Create categories like 'Daily Use' (laptop, monitor), 'Occasional' (printer), and 'Spare.' This organizes for efficiency.
What to expect: 2-4 organized piles, ready for labeling.
💡 Tips:
Wipe down your desk, under-desk area, and floors with a damp cloth and isopropyl alcohol. Remove dust from adapters using compressed air or a soft brush.
Dry everything thoroughly. A clean space improves airflow and prevents dust buildup, reducing overheating risks.
Success: Spotless surfaces, dust-free gear.
💡 Tips:
⚠️ Warnings:
Use a label maker or stick-on labels to mark each cable end and adapter with device names (e.g., 'Laptop Charger,' 'Monitor'). Color-code by category: blue for computers, green for peripherals.
Wrap labels securely. This makes swapping easy and prevents mix-ups.
Why it matters: Saves time during future use.
💡 Tips:
Group related cables and secure with Velcro ties or zip ties every 6-12 inches. Slide on fabric sleeves for longer runs to prevent tangles.
Keep bundles loose for airflow. Expect neat coils or straight runs.
Success: Tangle-free bundles ready to mount.
💡 Tips:
⚠️ Warnings:
Choose 1-2 main power strips as hubs. Mount under desk using adhesive hooks or a dedicated holder. Plug high-use devices into the hub, route bundles behind desk legs.
Secure with clips. Plug hub into wall outlet.
What to expect: Hidden, accessible power center.
💡 Tips:
Plug in devices per labels, test all outlets. Check for heat after 10 minutes. Adjust as needed.
Document setup photo and outlet map.
Success: Everything works, no clutter visible.
💡 Tips:
Problem: Not enough outlets after organizing
Solution: Add a high-capacity surge protector or USB hub; redistribute low-power devices.
Problem: Setup gets hot
Solution: Unplug, check wattage total <1440W per strip, improve airflow, or upgrade to cooler-running model.
Problem: Cables slipping loose
Solution: Use stronger Velcro or add clips; reroute for less tension.
Problem: Dust buildup returns quickly
Solution: Use enclosed cable boxes; vacuum monthly.
Affordable, reliable hub with 4320 joules protection and 8ft cord for central organization.
Best for: Main under-desk hub for multiple devices.
Price Range: $25-$30
Hides power strips completely, improves safety and aesthetics with ventilated design.
Best for: Concealing messy strips on floor or shelf.
Price Range: $25-$30
Strong adhesive holds heavy strips securely off desk, perfect for hidden mounting.
Best for: Wall or desk underside installation.
Price Range: $15-$20
Reusable, adjustable ties for bundling without damage, ideal for frequent adjustments.
Best for: Securing cable bundles long-term.
Price Range: $10-$15
Portable, durable labels stick to cables permanently for pro-level organization.
Best for: Labeling all adapters and ends.
Price Range: $30-$40
Main under-desk hub for multiple devices.
Amazon Basics 12-Outlet Surge Protector Power Strip Affordable, reliable hub with 4320 joules protection and 8ft cord for central organization.
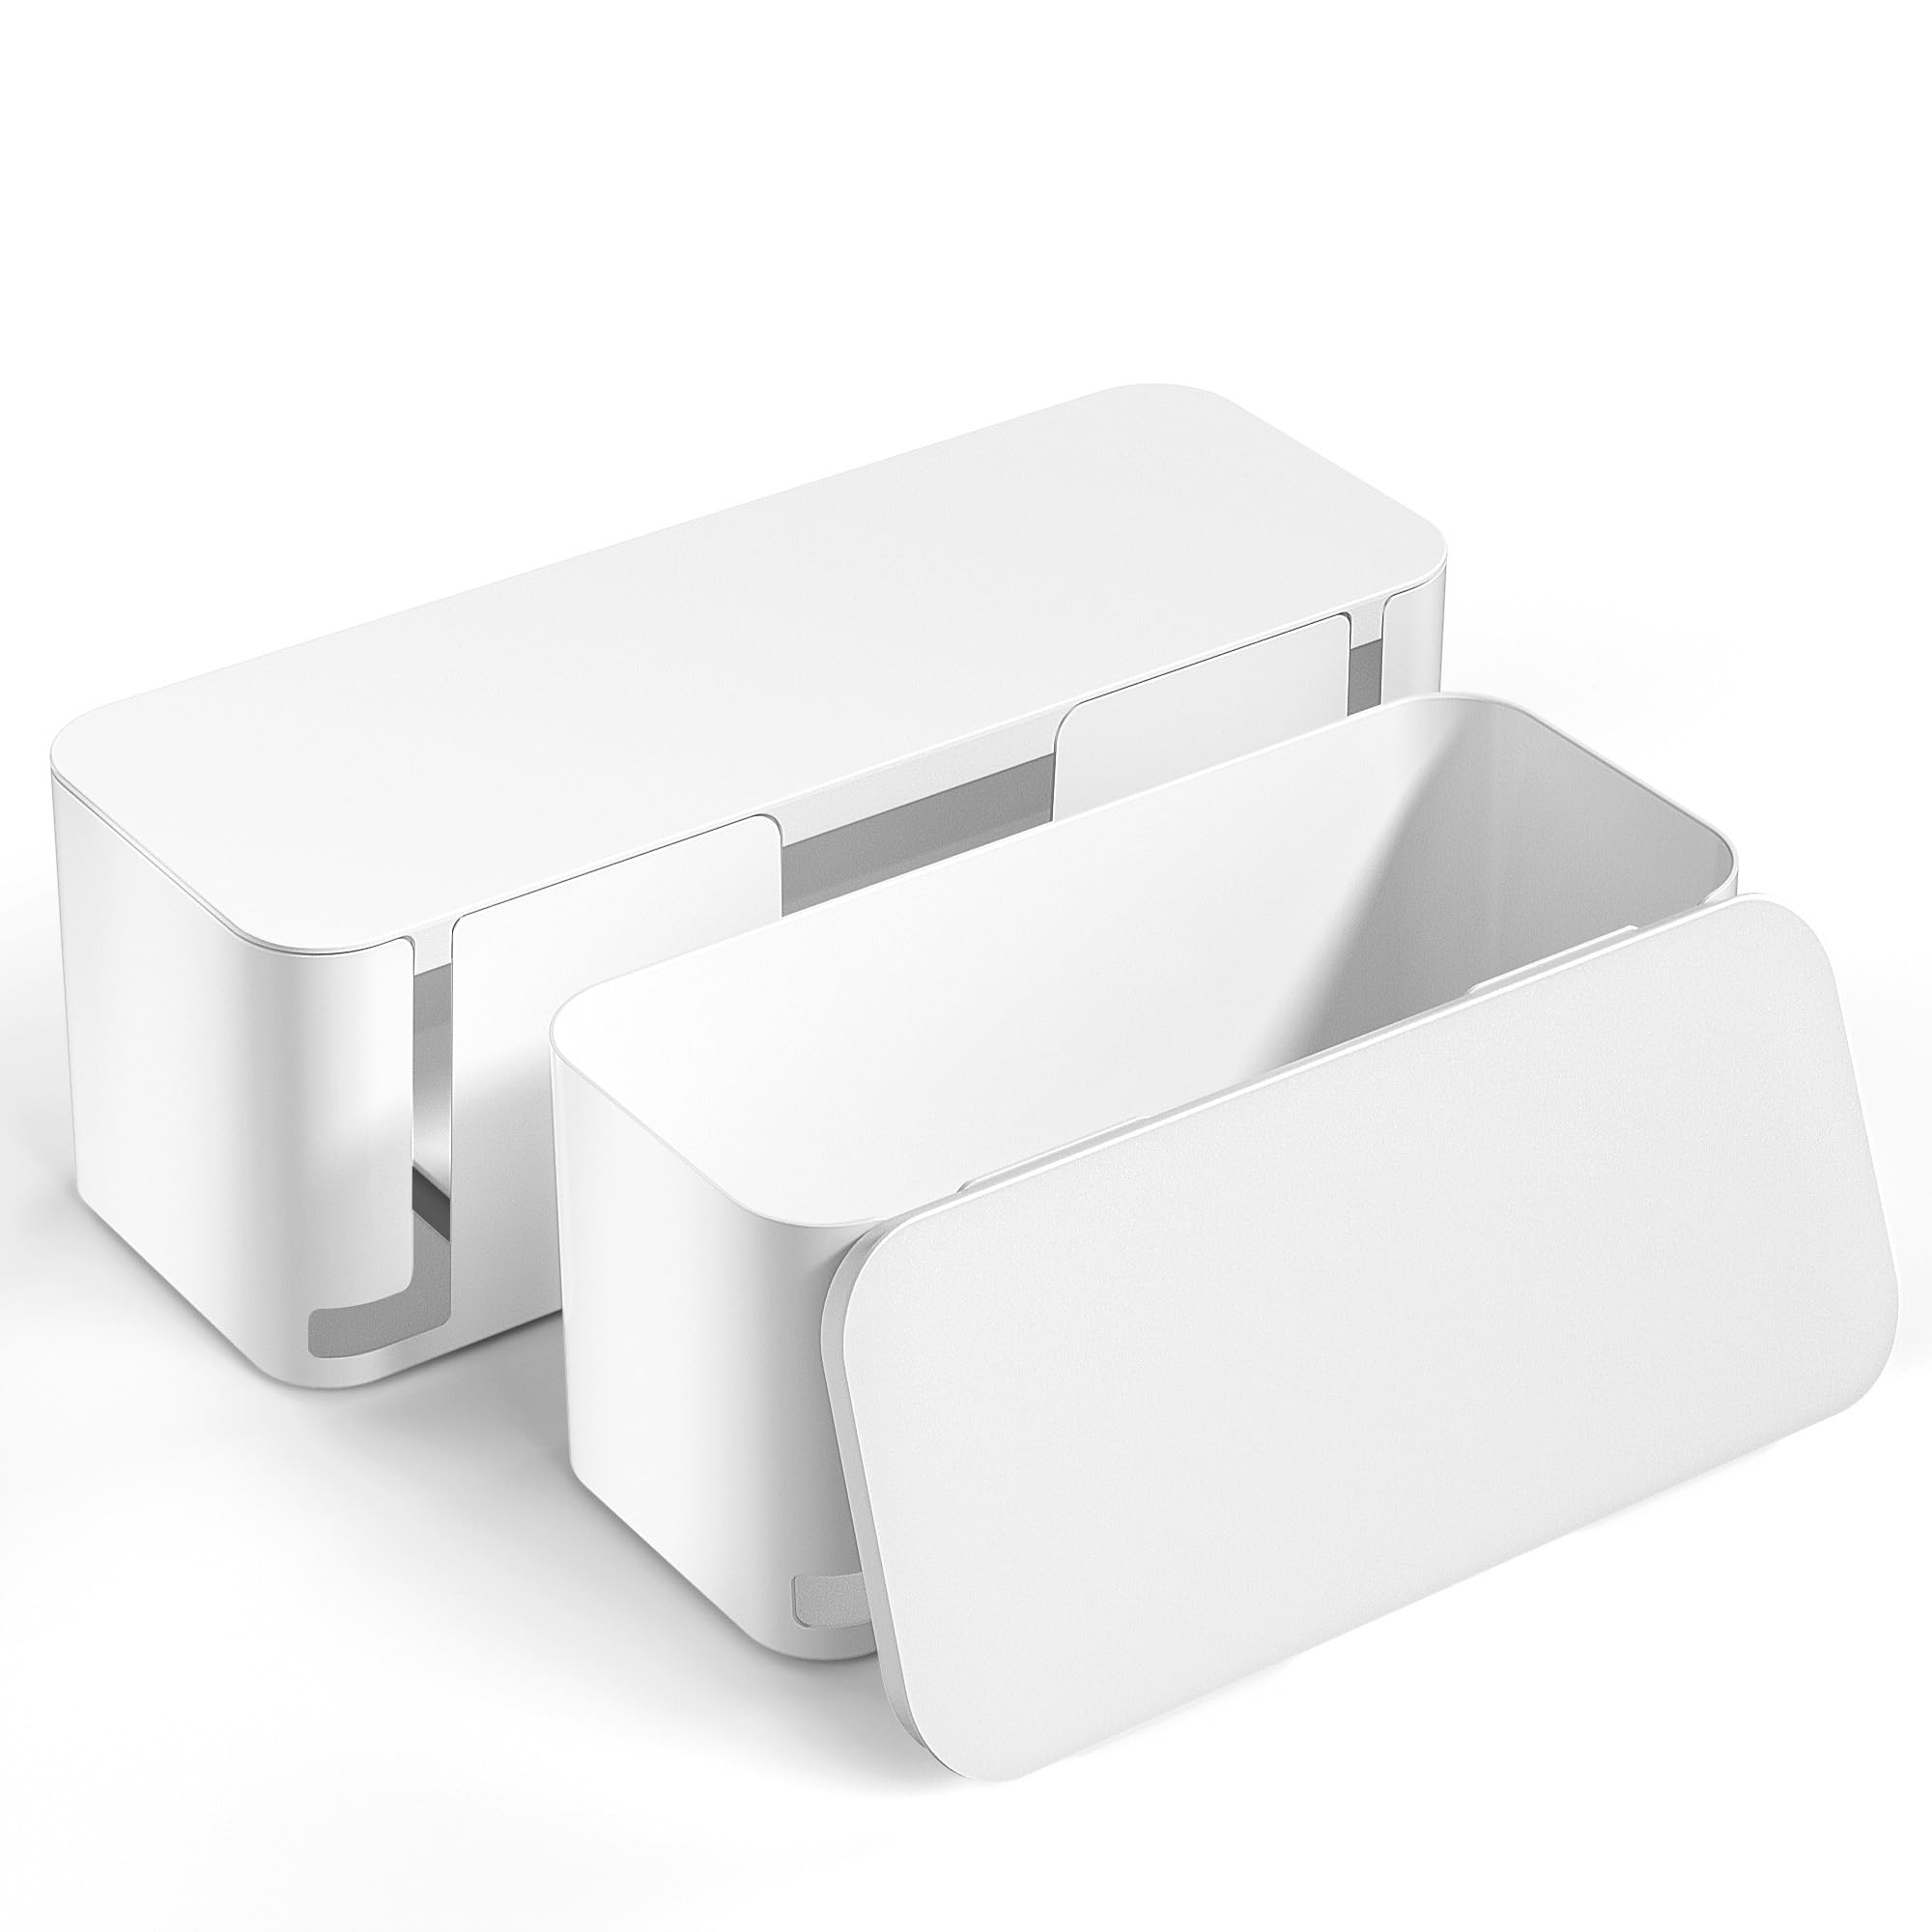
Concealing messy strips on floor or shelf.
Yecaye Cable Management Box (2-Pack) Hides power strips completely, improves safety and aesthetics with ventilated design.
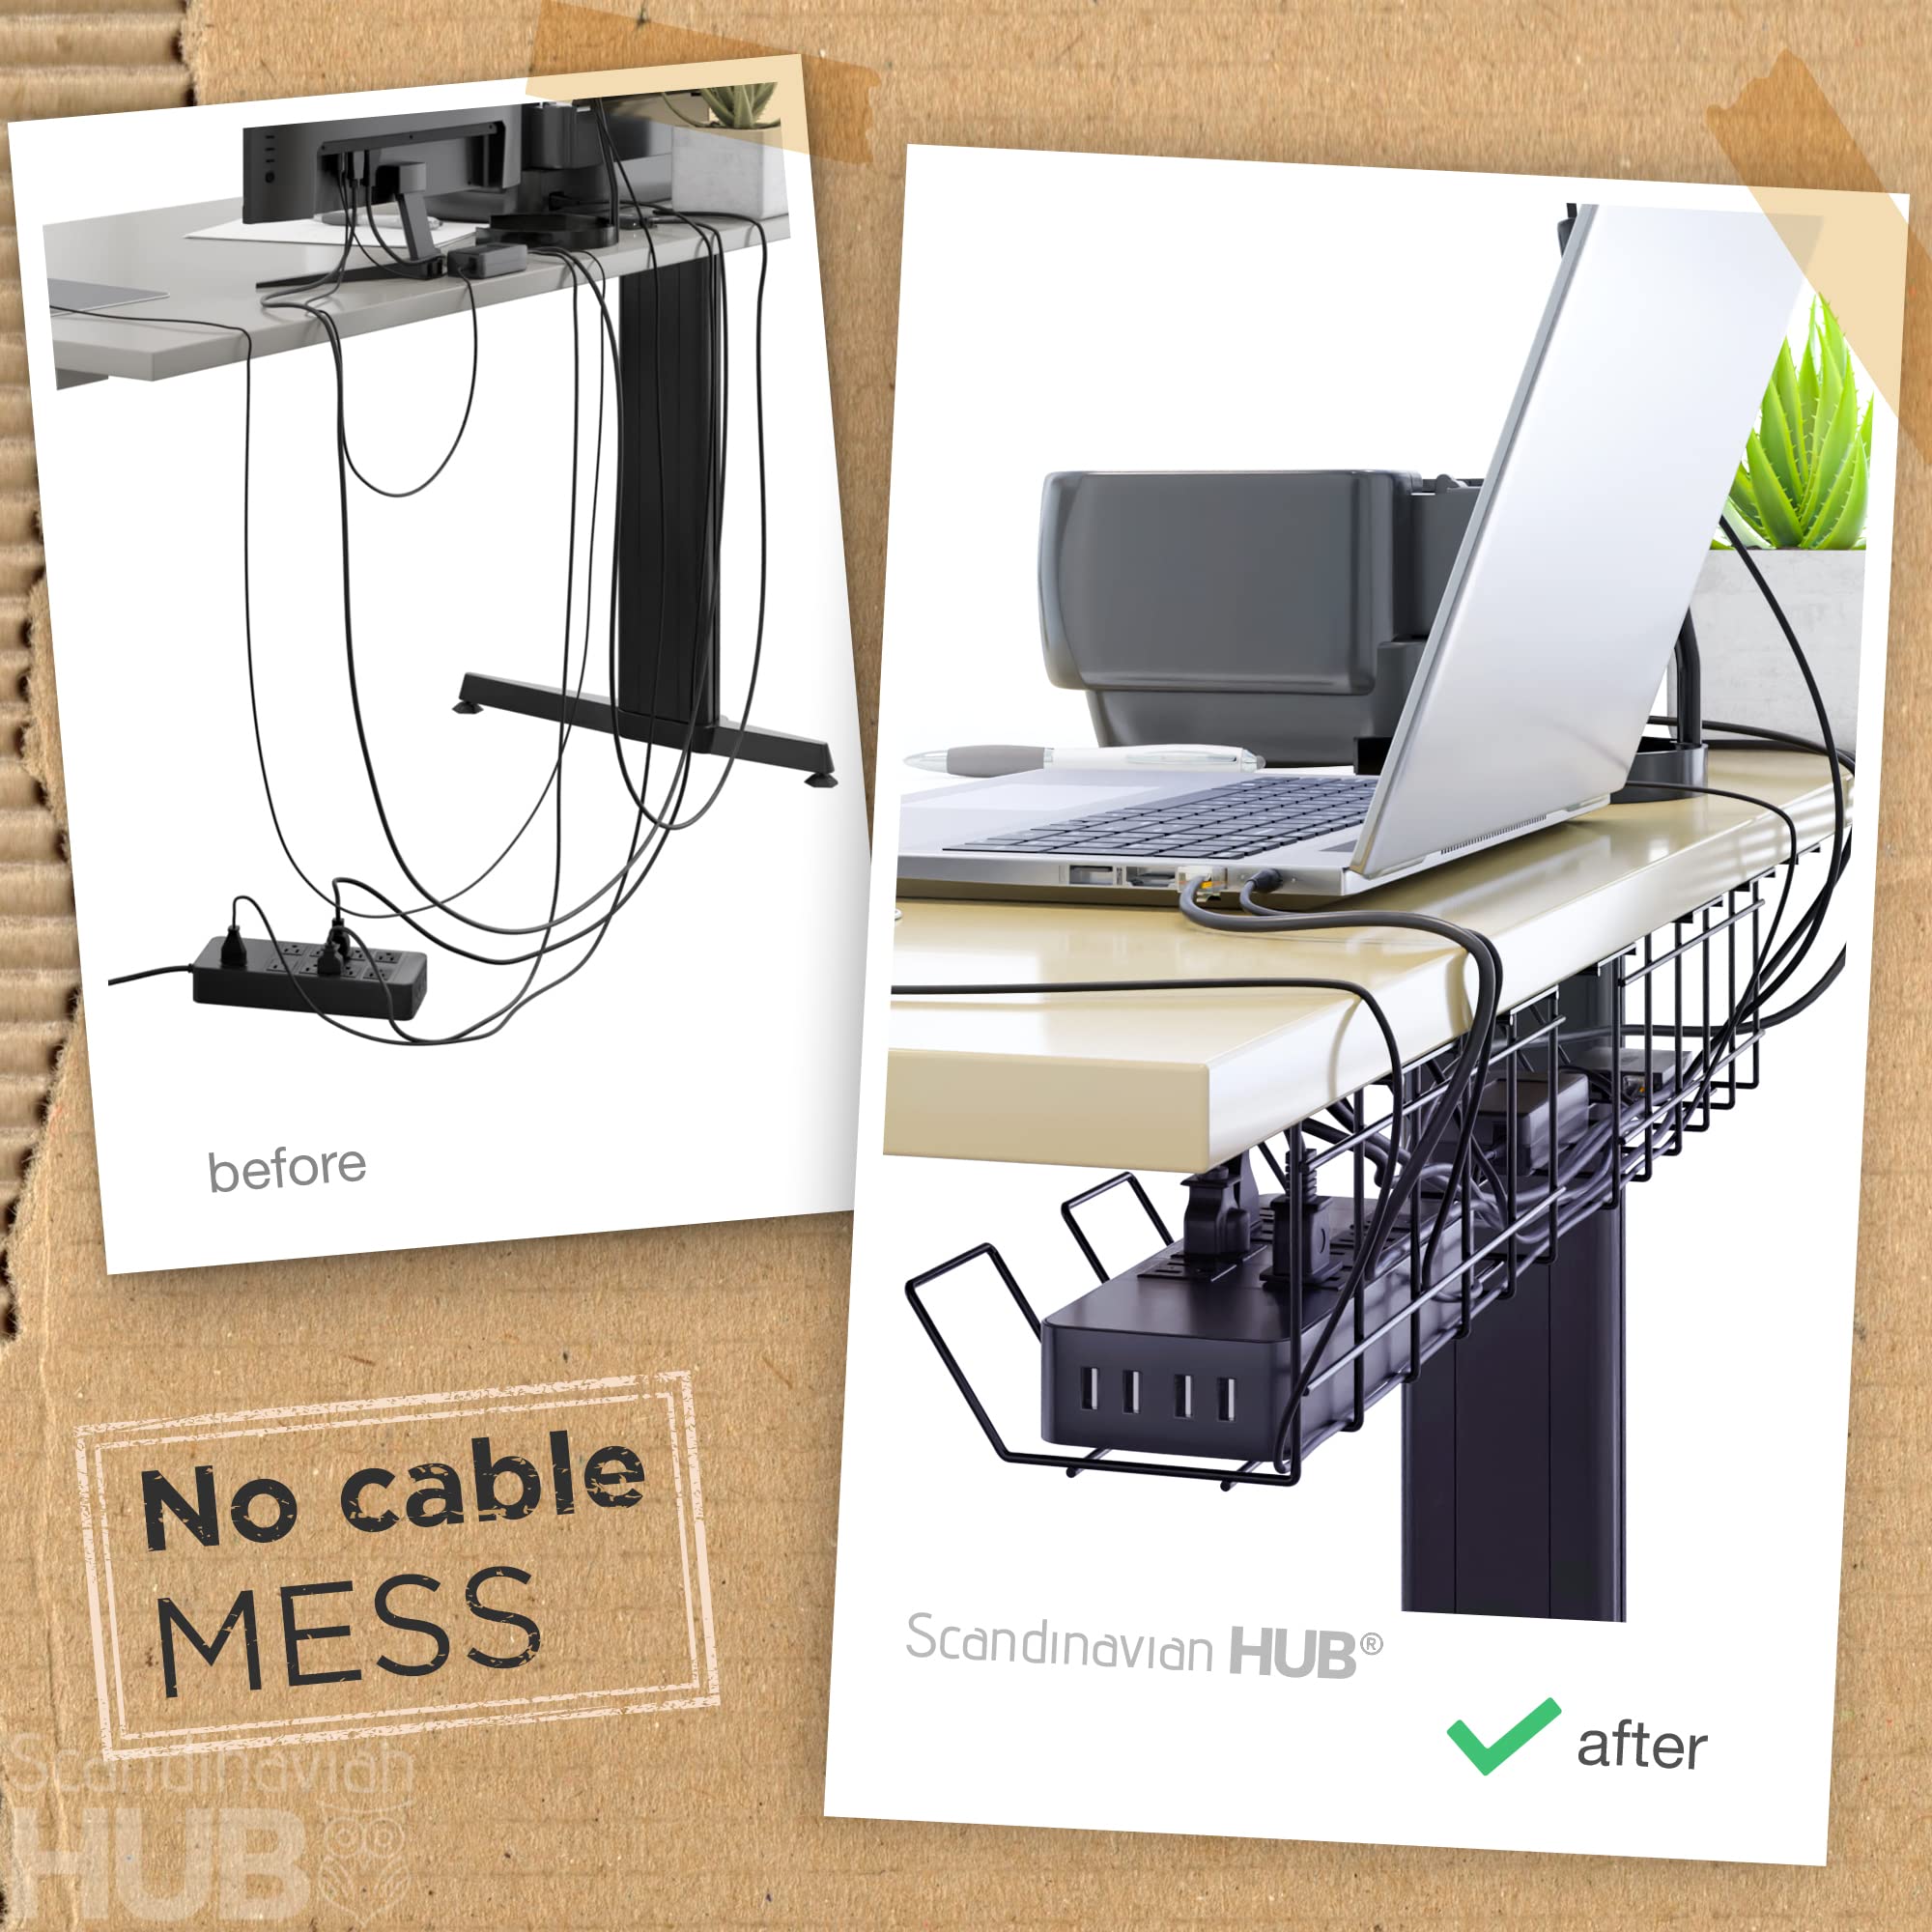
Wall or desk underside installation.
Scandinavian Hub Under Desk Power Strip Mount Strong adhesive holds heavy strips securely off desk, perfect for hidden mounting.
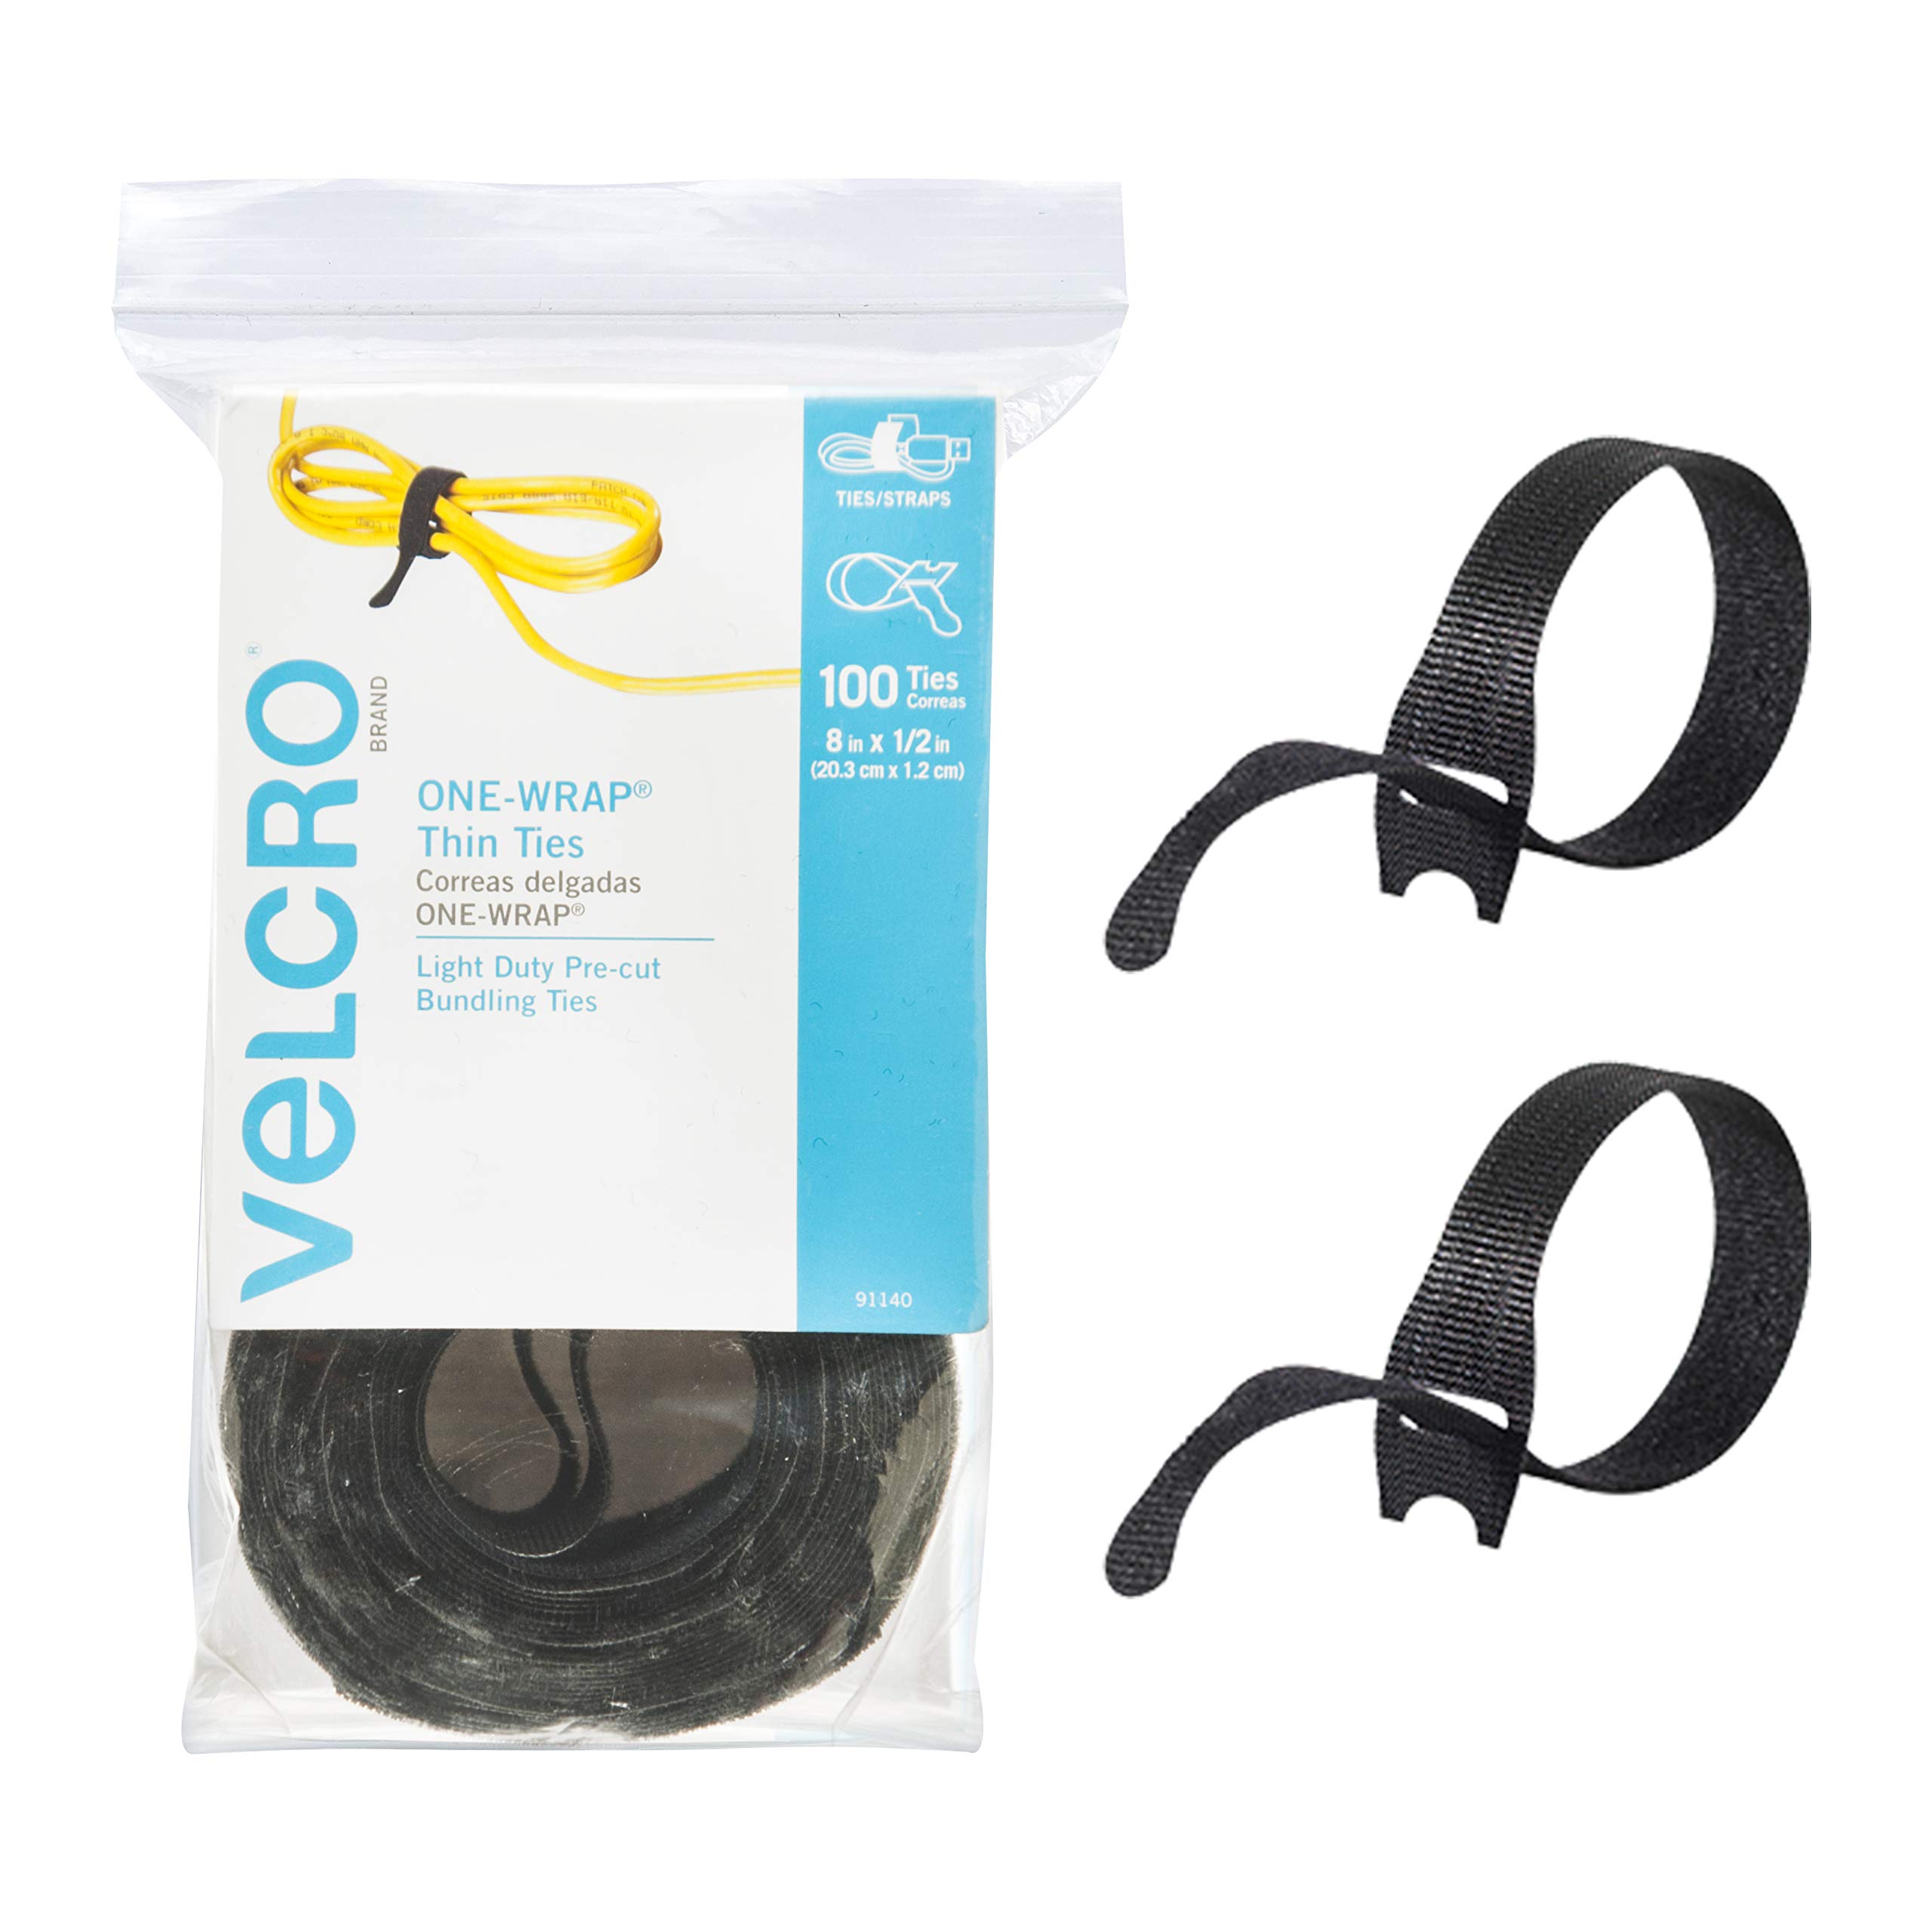
Securing cable bundles long-term.
VELCRO Brand ONE-WRAP Cable Ties Reusable, adjustable ties for bundling without damage, ideal for frequent adjustments.
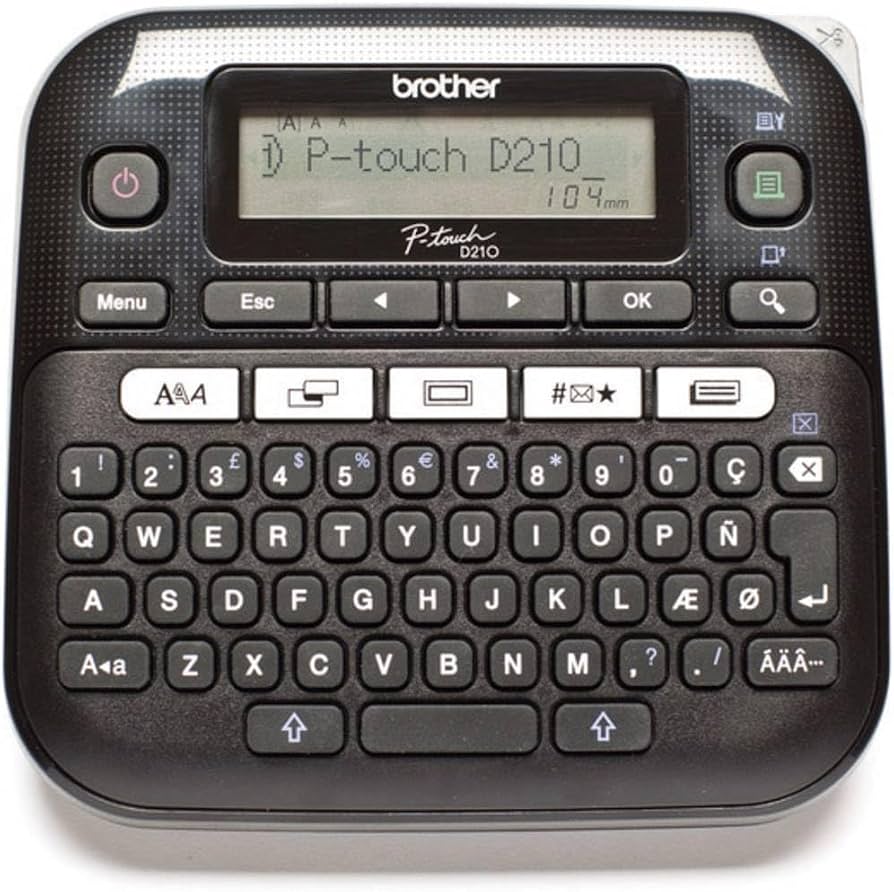
Labeling all adapters and ends.
Brother P-touch PT-D210 Label Maker Portable, durable labels stick to cables permanently for pro-level organization.