Owning antiques and collectibles is exciting, but a disorganized pile can lead to undervalued appraisals or missed opportunities. Appraisers often overlook potential in chaotic collections, costing you thousands. This guide solves that by teaching you how to prepare like a pro.
You'll learn to inventory, clean, categorize, document, and package your items for expert evaluation. Expect clear success markers at each step, from sorted categories to a polished inventory sheet. Perfect for intermediate collectors with some experience handling valuables.
The process takes 2-4 hours for 50-100 items (scale up for larger collections). It's intermediate difficulty, requiring basic research skills and careful handling—no special tools needed beyond household basics.
▸What You'll Need
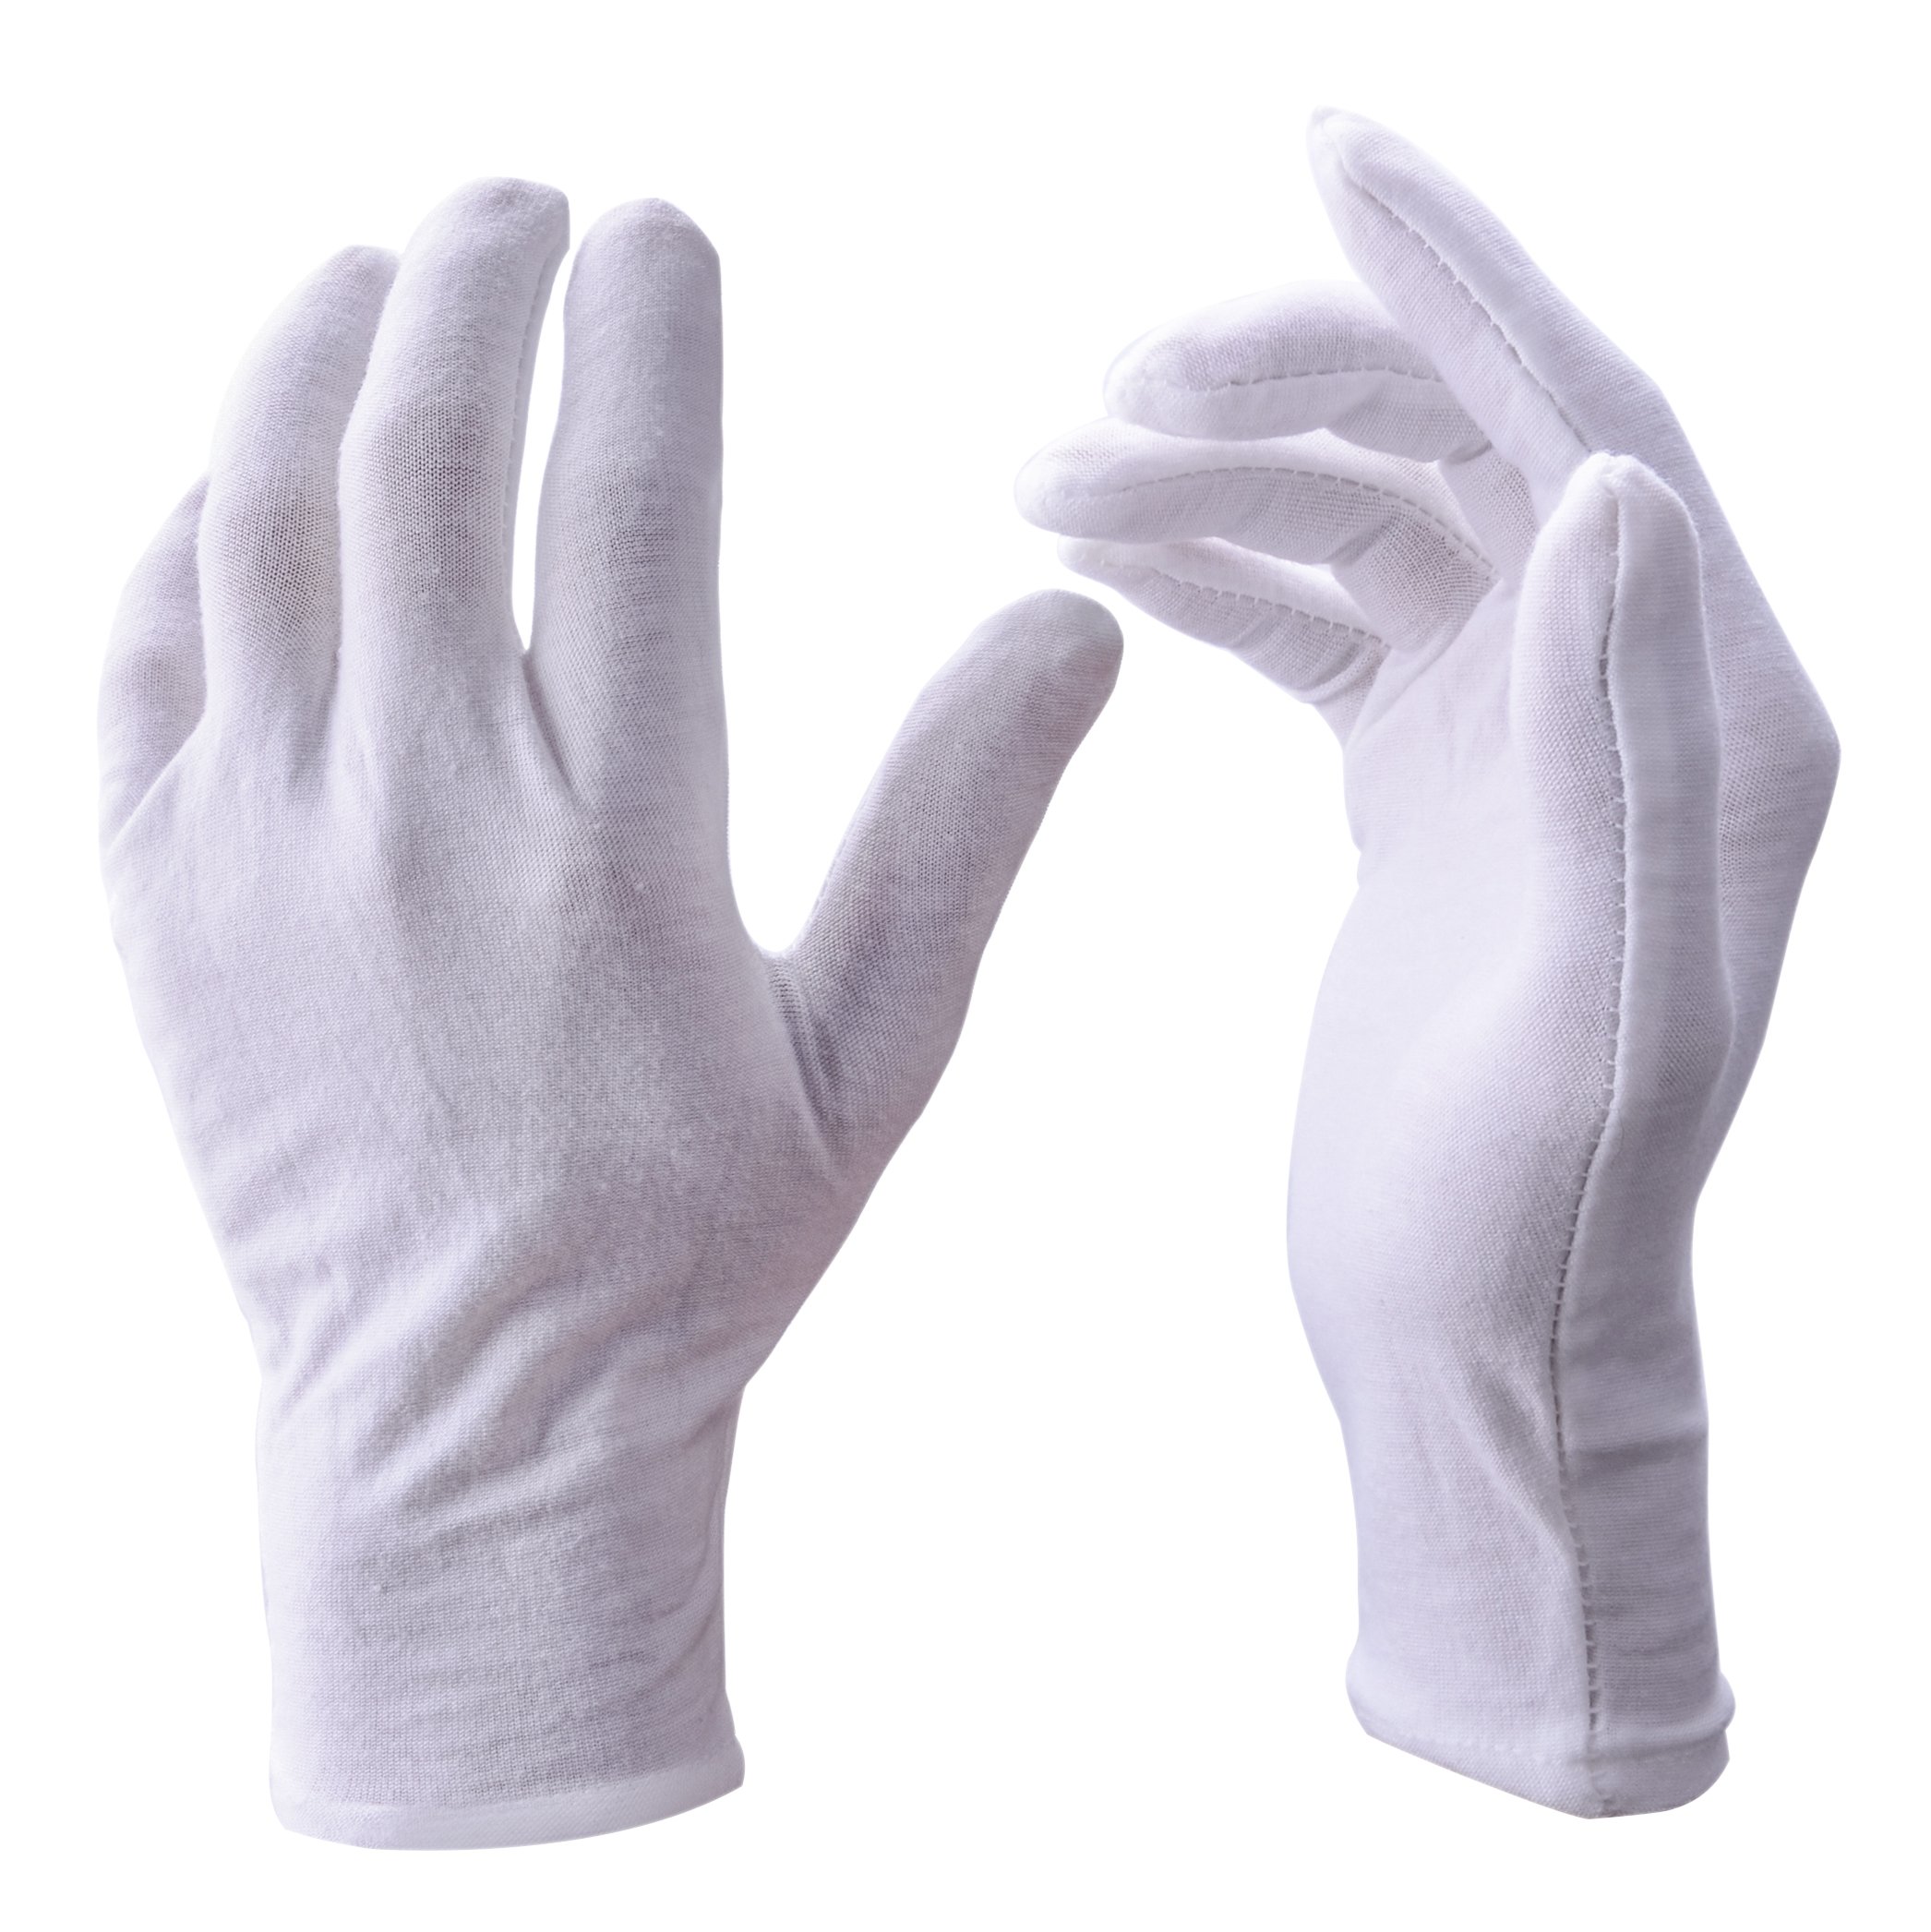
- •White cotton gloves (required for safe handling)
- •Soft microfiber cloths (required for gentle cleaning)
- •Smartphone or digital camera with good lighting (required for photos)
- •Computer or tablet with spreadsheet software like Google Sheets or Microsoft Excel (required)
- •Archival boxes or dividers (recommended)
- •Acid-free sleeves or tissue paper (optional but ideal for fragile items)
- •Label maker or adhesive labels (optional)
- •Notebook for notes (optional)
Estimated Time: 2-4 hours for a small-to-medium collection (50-100 items)
Difficulty: intermediate
▸Step-by-Step Instructions
Step 1: Gather All Items in One Space
Start by collecting every antique and collectible from around your home—attics, closets, shelves—into a single, well-lit workspace like a dining table or garage floor covered with a clean sheet.
Why it matters: This prevents missing items and gives a full overview, helping appraisers see the scope. Success looks like everything visible and accounted for—no hidden gems left behind.
Lay items out without stacking to avoid damage. Count roughly to gauge size.
💡 Tips:
- •Work in sections if your collection is huge to avoid overwhelm.
- •Use a timer to keep momentum.
⚠️ Warnings:
- •Avoid direct sunlight or heat sources to prevent fading or warping.
Step 2: Wear Gloves and Gently Clean Items
Put on white cotton gloves to handle items. Use a soft microfiber cloth to dust off surface dirt—never use water, chemicals, or abrasives unless specified for the material.
Why it matters: Clean presentation highlights details appraisers need; dirt obscures condition and authenticity. Success: Items look polished but unchanged.
For metals, use a dry cloth; porcelain gets a soft brush. Stop if fragile.
💡 Tips:
- •Test cleaning method on least valuable item first.
- •Photograph before/after for records.
⚠️ Warnings:
- •Never submerge porous items like wood or unglazed pottery.
Step 3: Sort into Categories
Group items by type: e.g., furniture, ceramics, coins, stamps, jewelry, books. Sub-sort by era, maker, or material (Victorian glass, mid-century coins).
Why it matters: Organized groups make valuation faster and reveal patterns like complete sets worth more. Success: Neat piles or trays, labeled with sticky notes.
Use boxes or trays as dividers.
💡 Tips:
- •Prioritize high-value suspects like signed pieces.
- •Note quantities per category.
Step 4: Photograph Each Item Thoroughly
Set up consistent lighting (natural or LED lamps). Shoot multiple angles: front, back, sides, close-ups of marks/signatures, with a ruler for scale.
Why it matters: Photos document condition pre-appraisal and aid remote estimates. Success: 5-10 clear, high-res photos per item saved in folders by category.
Use a tripod for steady shots; include any boxes or papers.
💡 Tips:
- •Enable macro mode for tiny details like hallmarks.
- •Name files descriptively: 'Vase_Ming_Style_Front.jpg'.
⚠️ Warnings:
- •Avoid flash on glossy items to prevent glare.
Step 5: Document Details in a Spreadsheet
Open Google Sheets/Excel. Columns: Item Name, Category, Description (size, material, marks), Condition (Excellent/Good/Fair/Poor), Provenance Notes, Photos Linked, Estimated Age.
Why it matters: A digital inventory proves ownership and speeds appraisals. Success: Every item row filled, searchable by filter.
Be objective on condition.
💡 Tips:
- •Use dropdowns for condition ratings.
- •Hyperlink photo files.
Step 6: Research Provenance and Basic Value
For each category, note history: receipts, certificates, family stories. Quick online search (eBay sold listings, WorthPoint) for comps—don't fixate on prices.
Why it matters: Provenance boosts value 2-10x; research flags fakes. Success: Notes column updated with sources.
Cross-reference maker marks via books/apps.
💡 Tips:
- •Join collector forums for tips.
- •Record search dates for transparency.
⚠️ Warnings:
- •Ignore 'expert' AI valuations; they're unreliable.
Step 7: Organize into Archival Storage
Place items in acid-free boxes/sleeves, padded with tissue. Label boxes clearly (e.g., 'Ceramics 1800s'). Stack safely off floor.
Why it matters: Protects condition until appraisal. Success: Secure, accessible storage ready for transport.
Separate fragile from sturdy.
💡 Tips:
- •Use silica packs for humidity control.
- •Inventory box contents on lids.
Step 8: Create Appraisal Summary Packet
Print/export spreadsheet summary (top values, totals). Compile photos, docs into a binder or PDF. Include cover letter with questions.
Why it matters: Gives appraisers context for accurate quotes. Success: Professional packet ready to hand over.
Email digital version ahead.
💡 Tips:
- •Highlight stars: rarest/most valuable.
- •Backup everything digitally.
▸Pro Tips
- •Batch similar tasks (e.g., all photos then all docs) to build flow.
- •Use apps like Collectorz or Sortly for mobile inventory if tech-savvy.
- •Involve family for provenance stories—oral history counts.
- •Schedule appraisal within a week to maintain momentum.
- •Weigh boxes for shipping estimates if remote appraisal.
- •Color-code categories with tape for visual speed.
- •Update inventory yearly as a habit.
▸Common Mistakes to Avoid
- •Skipping photos: Leads to disputes over pre-appraisal condition—always document visually.
- •Over-cleaning: Strips patina, reducing value—stick to dusting.
- •Forgetting provenance: Items without history appraise 50% lower—dig for papers/stories.
- •Poor labeling: Appraisers waste time searching—label everything clearly.
- •Rushing research: Inflated expectations from asking prices—use sold comps only.
▸Troubleshooting
Problem: Fragile item damaged during handling
Solution: Stop immediately, note details/photos, consult conservator. Use extra padding next time.
Problem: Too many items overwhelm spreadsheet
Solution: Split into multiple sheets by category or use database software like Airtable.
Problem: Photos blurry or poorly lit
Solution: Add cheap LED panels; shoot in RAW for edits. Retake systematically.
Problem: Unsure of item identification
Solution: Post anonymized photos on Reddit r/Antiques or collector Facebook groups for crowdsource ID.
Problem: No space for full inventory
Solution: Process 20-30 items per session over days. Seek pro help for massive collections.
Shades of London White Cotton Gloves (12 Pairs, Large)
Prevents skin oils and dirt transfer, essential for preserving antique condition during handling.
Best for: Wear throughout sorting, cleaning, and photographing steps.
Price Range: $12.99
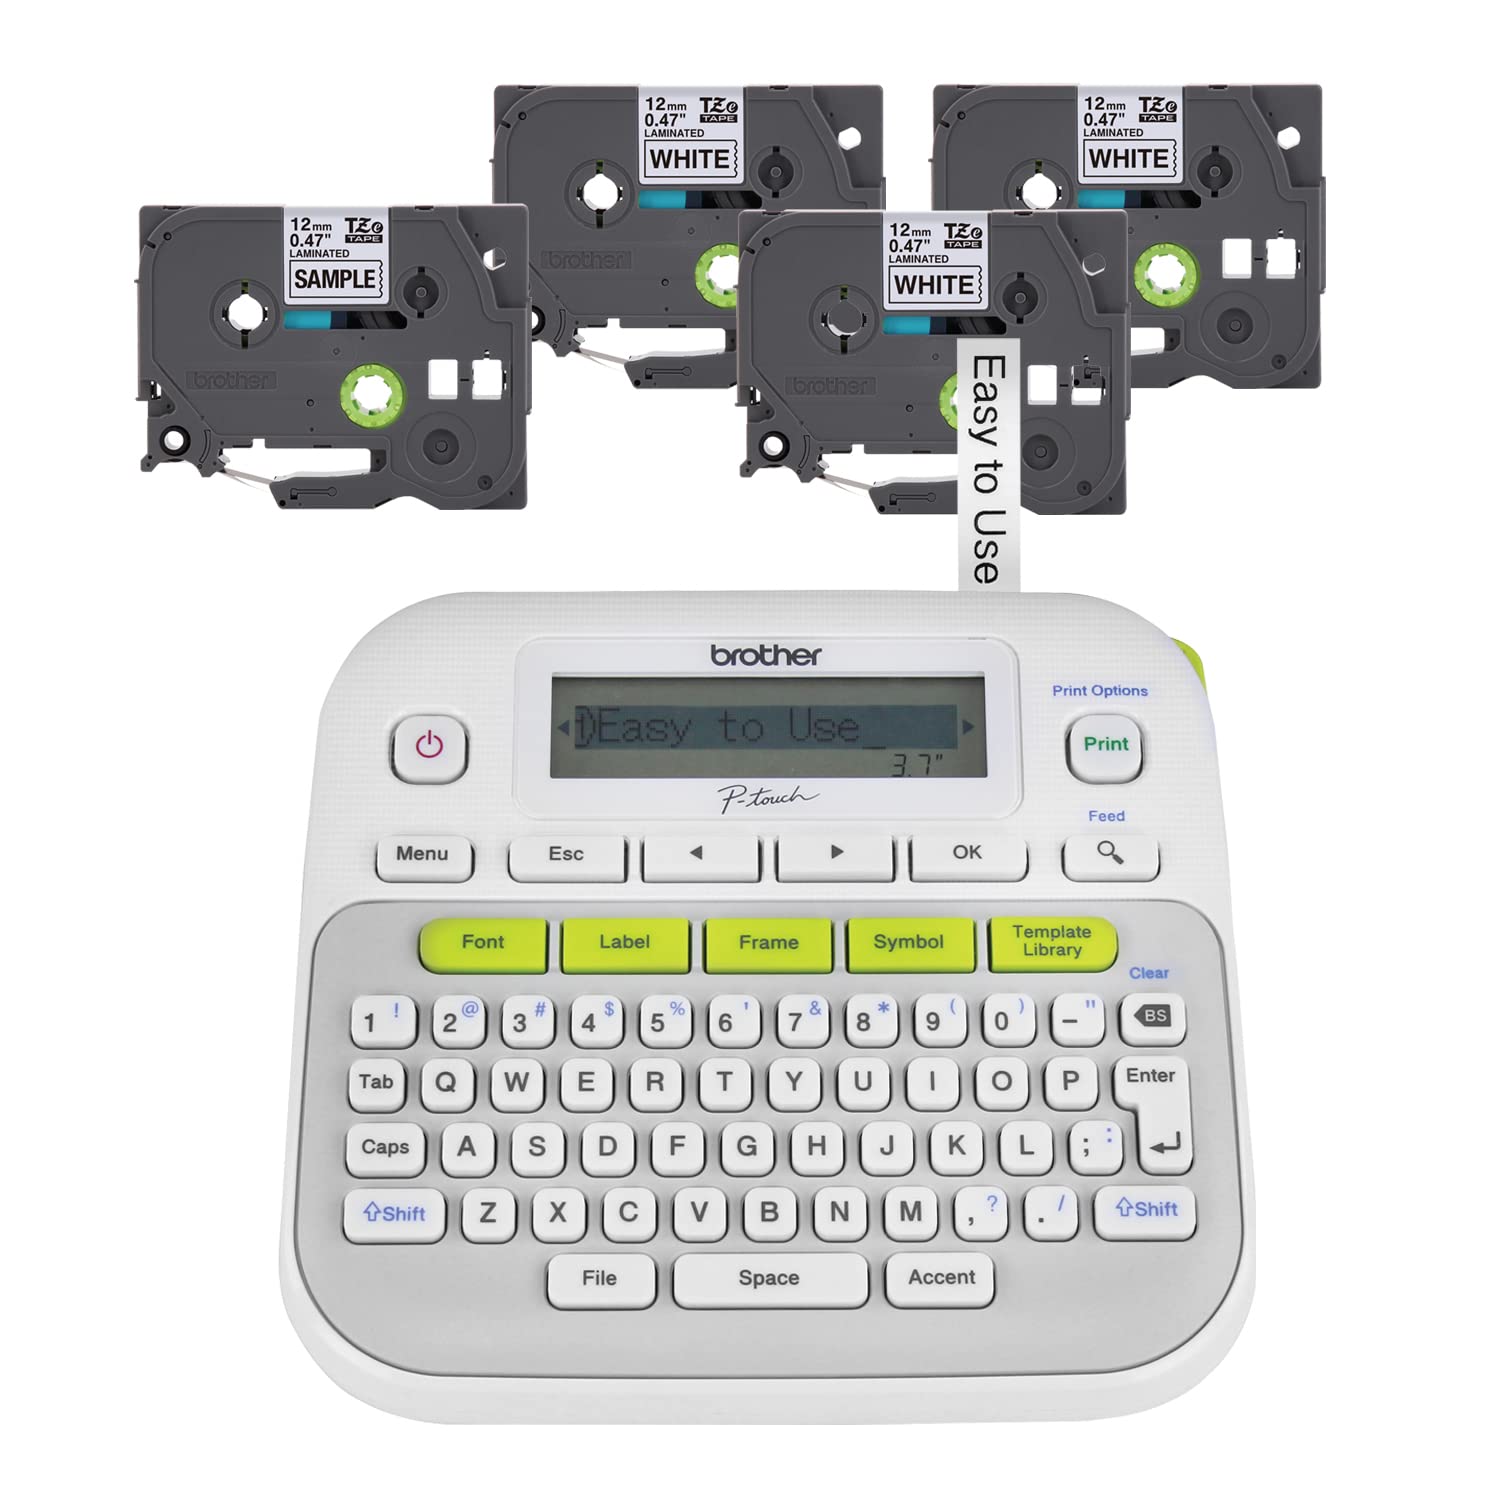
Brother P-Touch PT-D210 Label Maker
Creates durable, professional labels for boxes, items, and inventory—faster than handwriting.
Best for: Labeling categories and storage during organization.
Price Range: $29.99
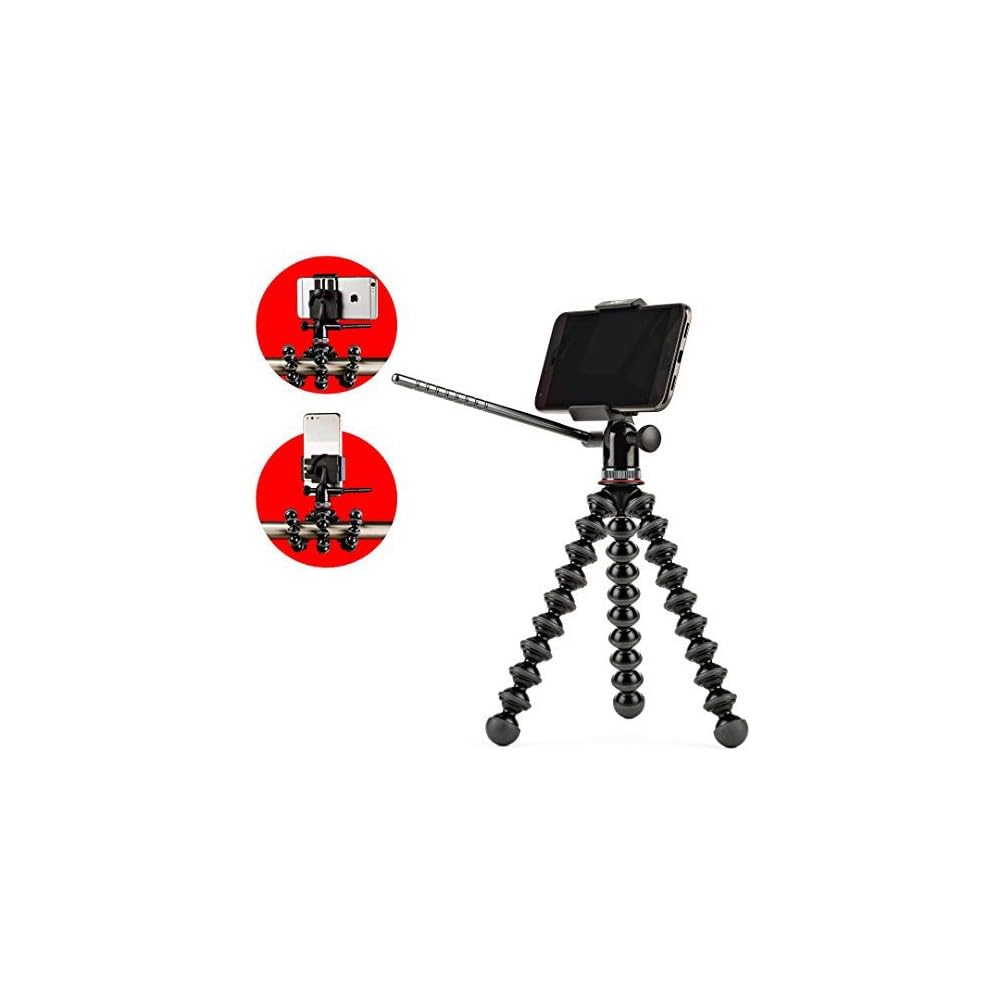
Joby GorillaPod 1K Kit Smartphone Tripod
Flexible legs ensure steady, multi-angle photos without blur, critical for detailed documentation.
Best for: Photographing small or awkward-shaped collectibles.
Price Range: $29.99
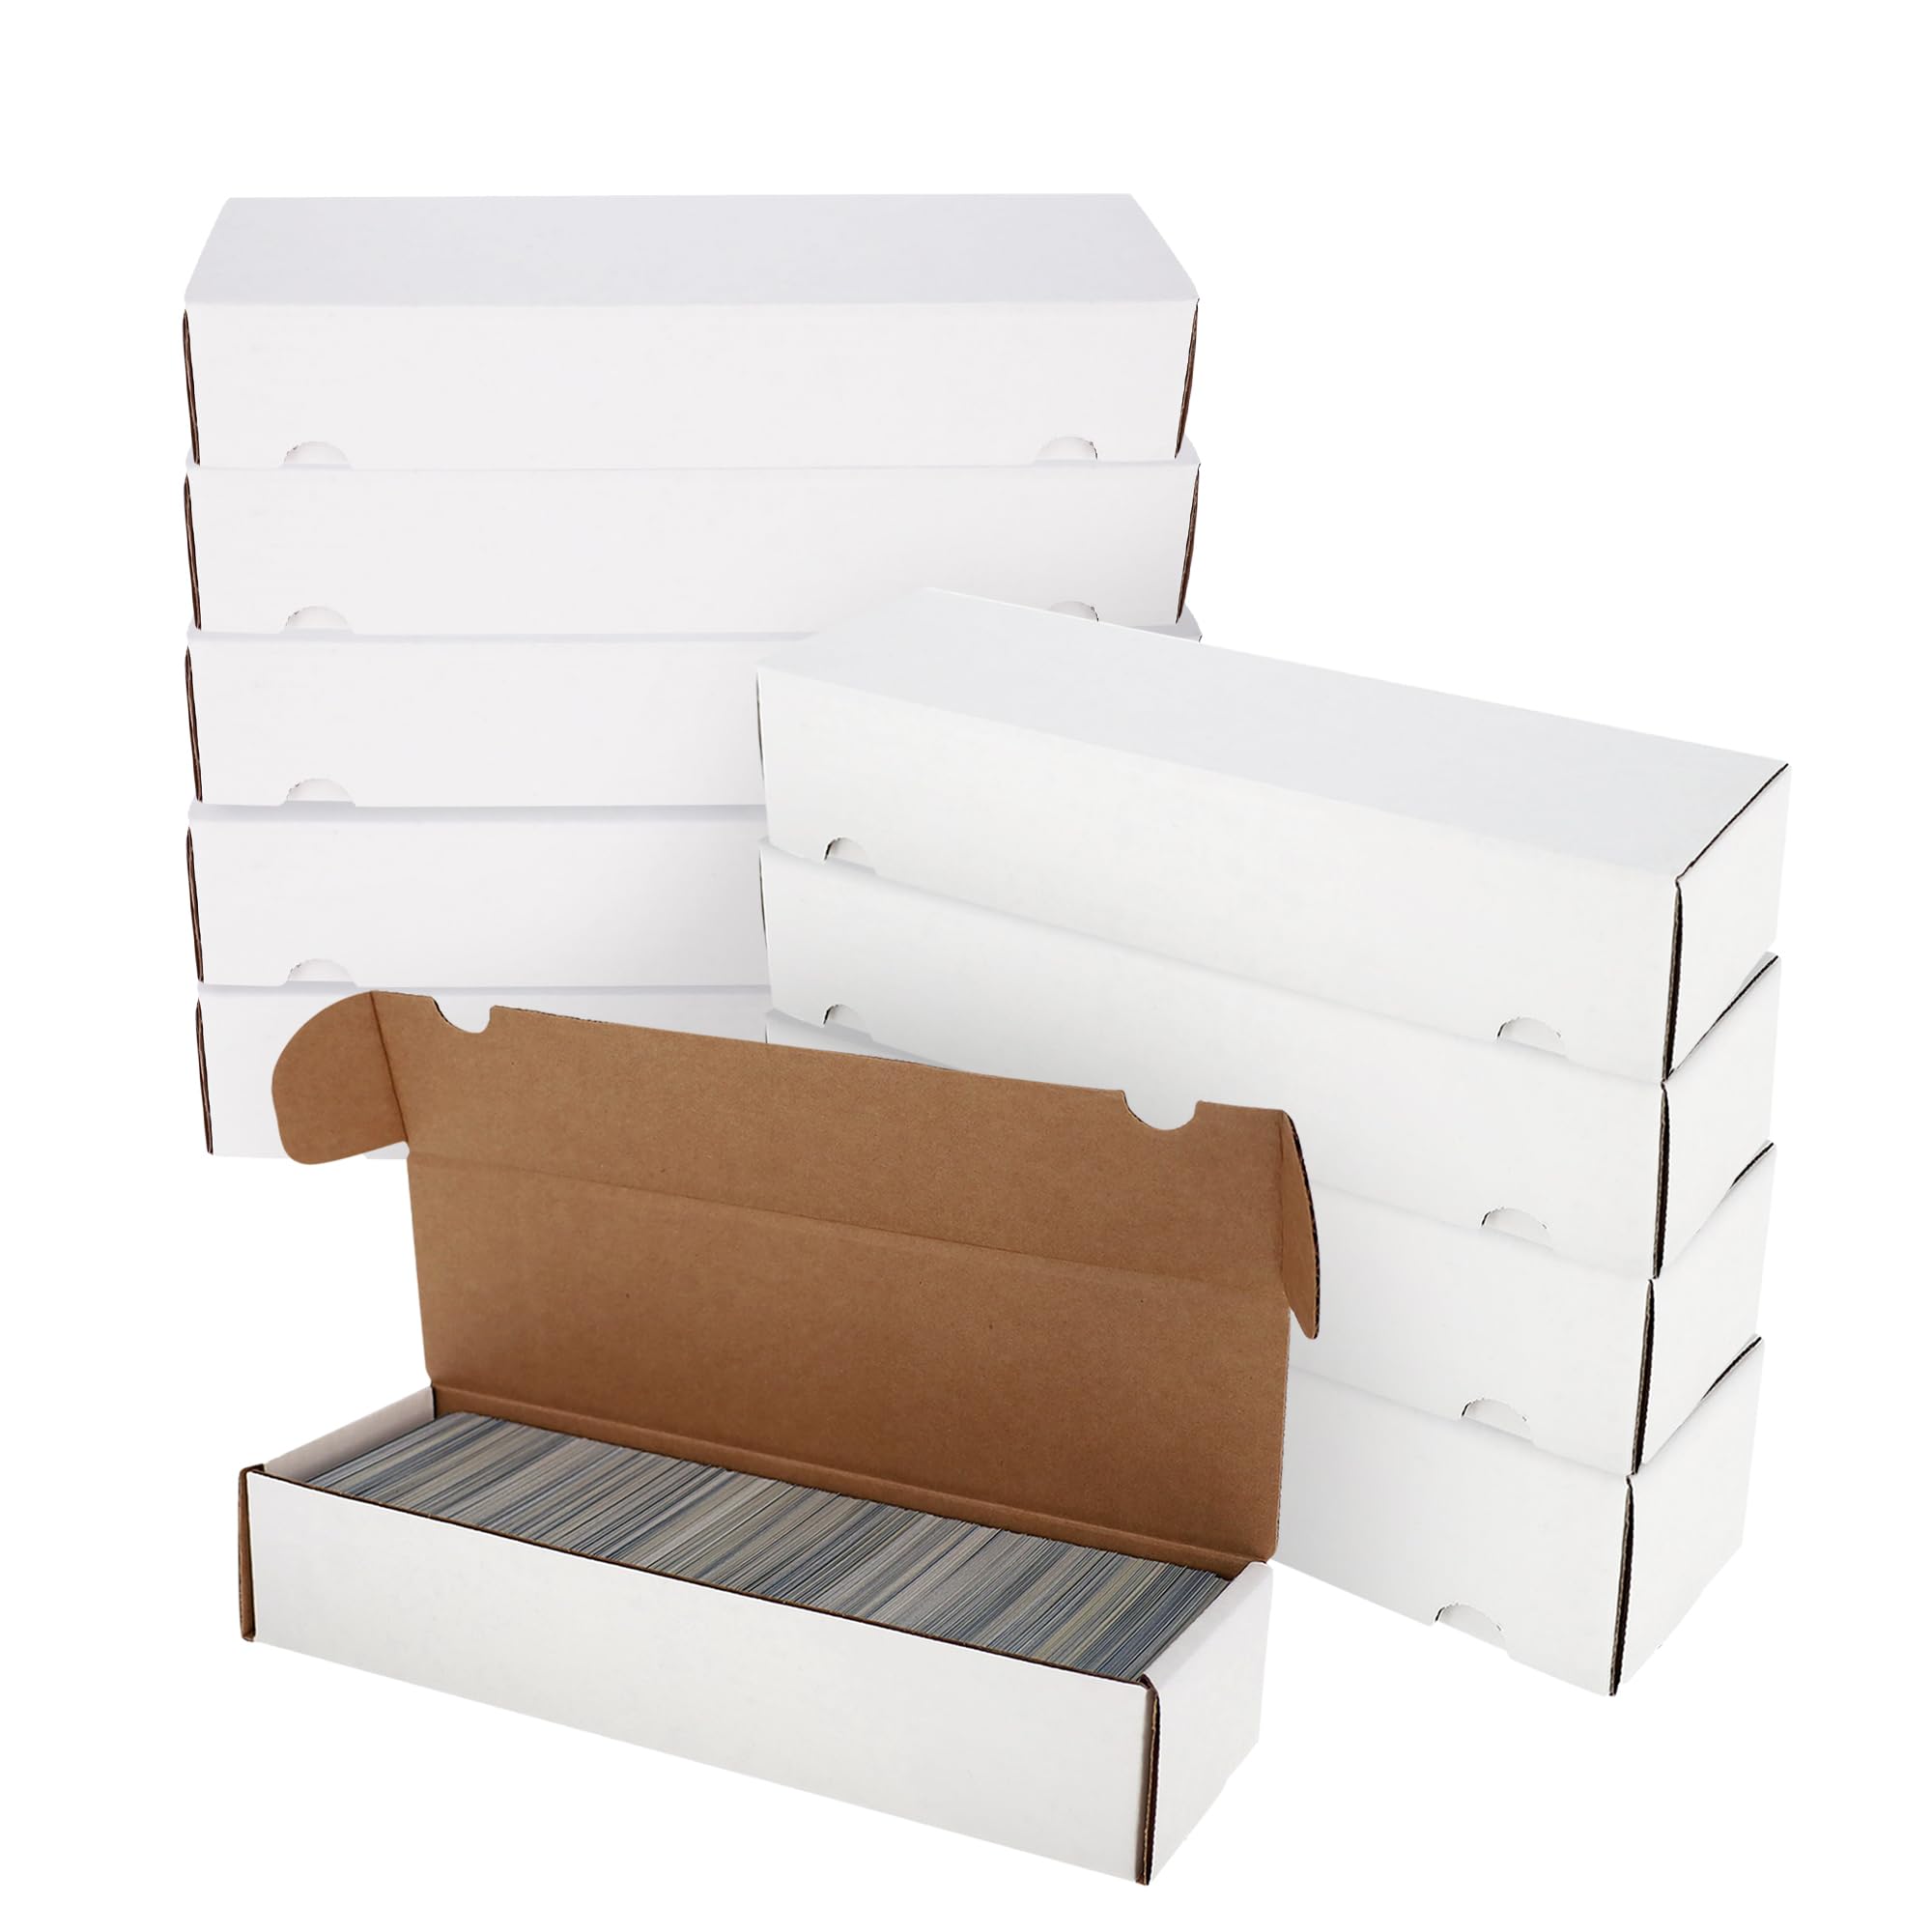
BCW Supplies 800-Count Cardboard Storage Box
Sturdy, affordable boxes for grouping small collectibles like coins/stamps safely.
Best for: Physical organization and transport to appraiser.
Price Range: $4.99-$9.99
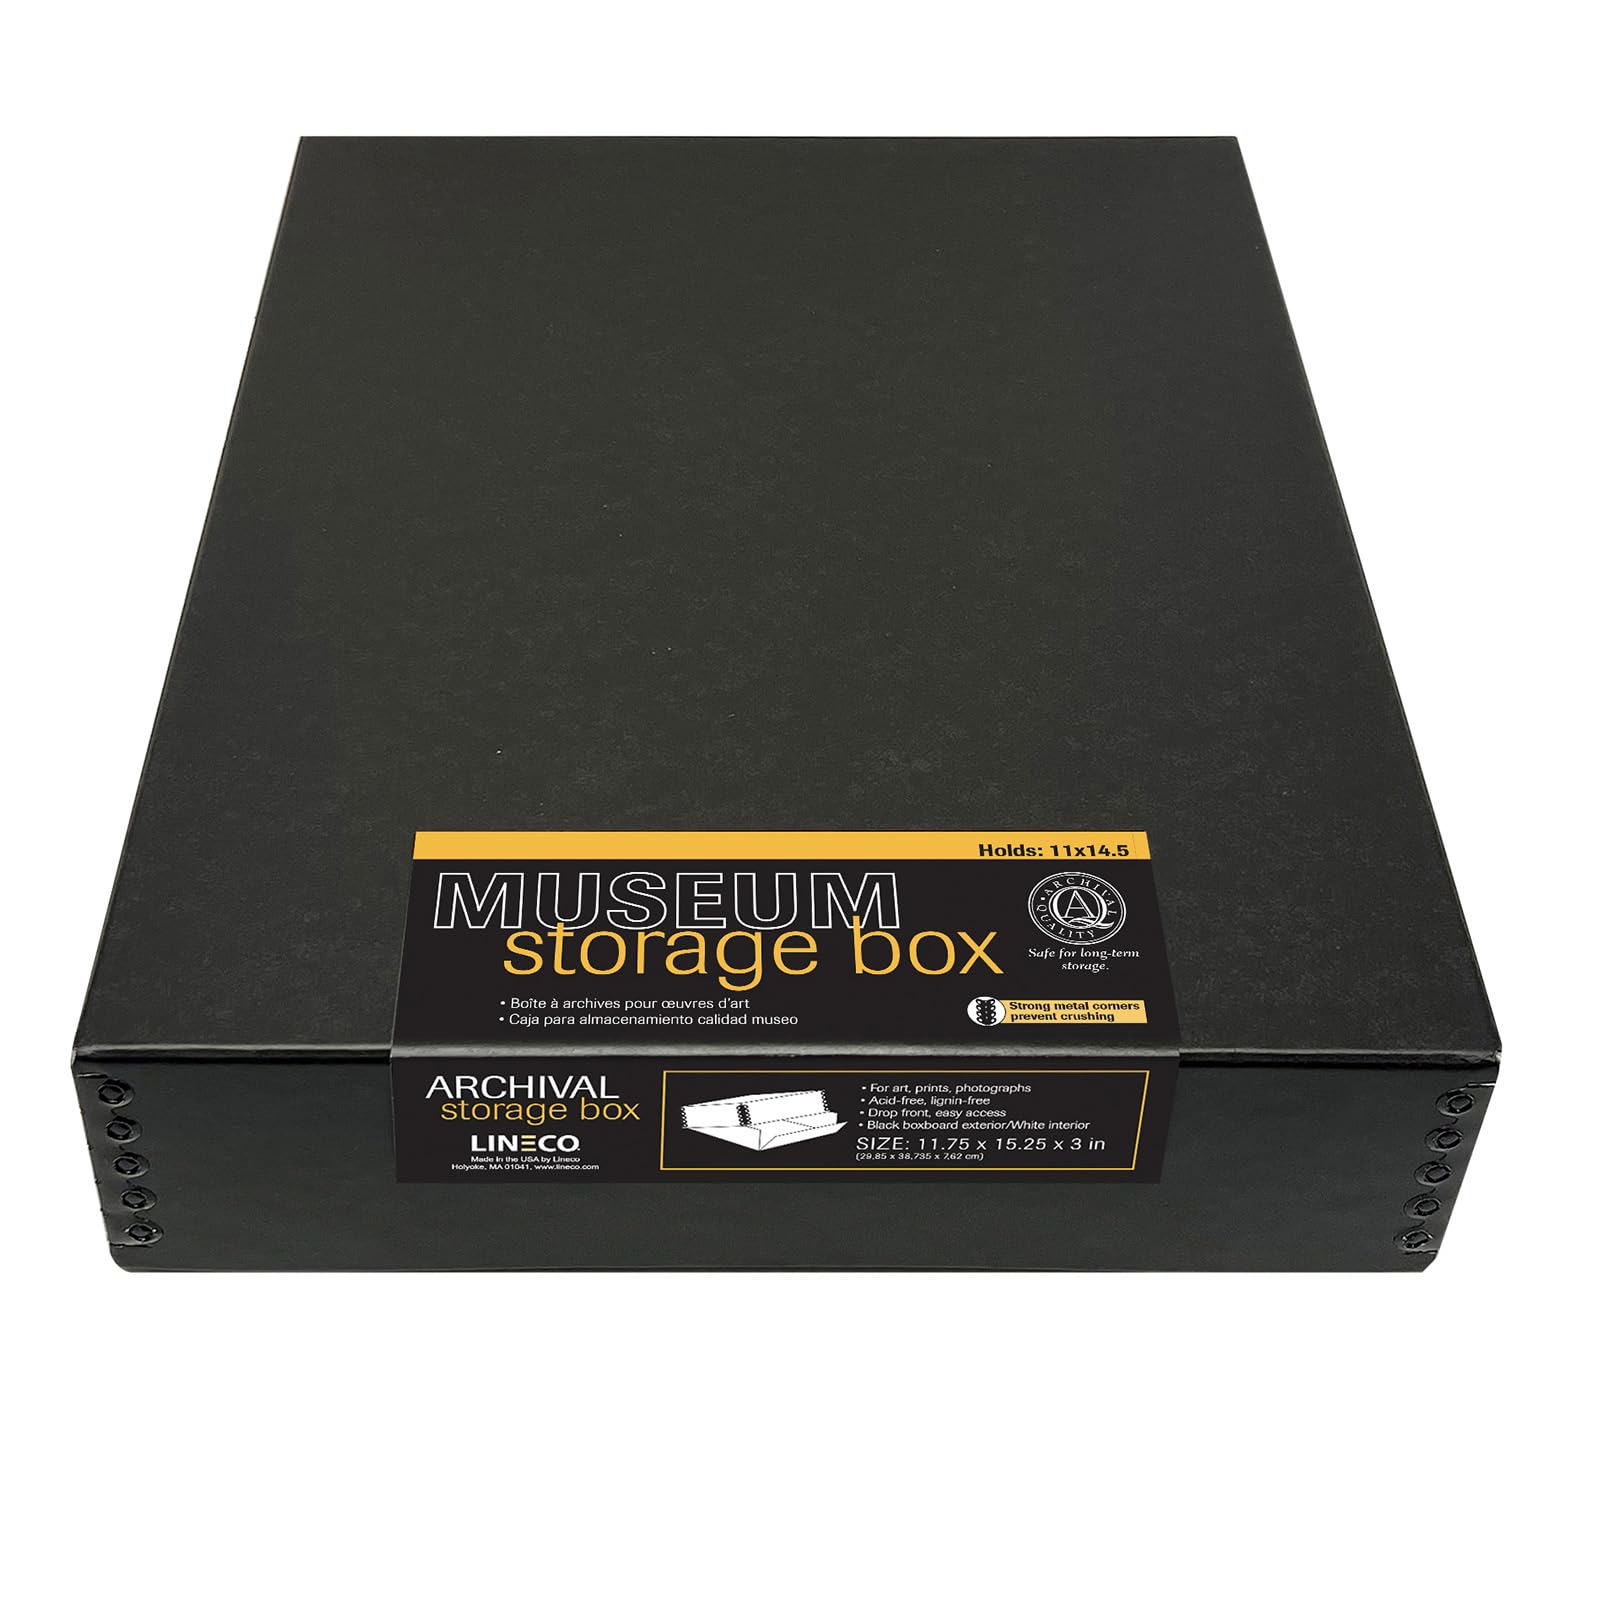
Lineco Acid-Free Archival Storage Box (11x14x3)
Museum-grade protection against acid degradation for documents, photos, and flat items.
Best for: Storing paperwork and photos in the appraisal packet.
Price Range: $15.99-$25.00