Struggling with stacks of dusty account books, lost receipts, and hours spent flipping through pages during tax season? Manual accounting is prone to errors, damage, and inefficiency. Digitizing your account books solves these pain points by making records searchable, accessible from anywhere, and easier to analyze.
In this guide, you'll learn a step-by-step process to scan, import, categorize, and maintain your financial records digitally. Whether you're a small business owner or freelancer, this intermediate-level tutorial will get you organized in 2-4 hours initially, with minimal ongoing effort. Expect a clean, automated system that saves time and reduces stress.
We'll cover tool selection, scanning techniques, software setup, and best practices for long-term success—no advanced tech skills required.
▸What You'll Need
- •Computer, laptop, or tablet (Windows, Mac, or iPad)
- •Document scanner or high-quality smartphone camera
- •Digital accounting software (e.g., QuickBooks, Xero, or Google Sheets – free tier optional)
- •Cloud storage account (Google Drive, Dropbox – free basic plans work)
- •External USB drive or SSD for backups (optional but highly recommended)
- •Internet connection for software sync and OCR processing
Estimated Time: 2-4 hours for initial setup (plus 30-60 min per 100 pages scanned)
Difficulty: intermediate
▸Step-by-Step Instructions
Step 1: Gather and Sort Your Physical Account Books
Start by collecting all your account books, ledgers, receipts, invoices, and bank statements from the past 1-3 years (or as needed for compliance). Sort them into categories like income, expenses, taxes, and assets using labeled folders or boxes.
Why it matters: This prevents missing documents and makes scanning efficient. Expect to spend 30-60 minutes here; you'll end up with organized piles ready for digitization.
Lay everything flat to avoid creases. Discard duplicates or irrelevant items after noting key data.
💡 Tips:
- •Work in chronological order to spot gaps early.
- •Use sticky notes for quick annotations.
⚠️ Warnings:
- •Don't discard originals until digital copies are verified and backed up.
Step 2: Choose and Install Digital Organization Software
Select software based on your needs: QuickBooks or Xero for full accounting, Google Sheets/Excel for basics, or Evernote for simple scanning. Download and install from official sites.
Why it matters: The right tool enables OCR (optical character recognition) for searchable text, categorization, and reports. Success looks like a logged-in dashboard ready for imports.
Sign up for a free trial if unsure. For intermediate users, prioritize cloud-sync features.
💡 Tips:
- •Test free alternatives like Wave Accounting first.
Step 3: Set Up Categories and Chart of Accounts
In your software, create custom categories matching your physical sorts (e.g., 'Office Supplies', 'Client Payments'). Import a standard chart of accounts template if available.
Why it matters: Consistent categorization ensures accurate reporting and easy searches. You'll see a structured sidebar with your categories upon completion.
Map old ledger columns (date, amount, description) to software fields.
⚠️ Warnings:
- •Avoid over-customizing initially—start simple and refine later.
Step 4: Scan Documents with High Quality
Use a flatbed or document scanner for books to avoid page curl. Scan at 300 DPI in PDF or searchable PDF format with OCR enabled. For phones, use apps like Adobe Scan or CamScanner.
Why it matters: High-quality scans make text extractable and legible forever. Each batch (50 pages) takes 10-20 minutes; files appear in a 'Scans' folder.
Batch scan by category, naming files like '2024_Expenses_001.pdf'.
💡 Tips:
- •Flatten pages under heavy books overnight for better results.
- •Enable auto-crop and deskew in scanner software.
⚠️ Warnings:
- •Dirty glass leads to blurry scans—clean with microfiber cloth.
Step 5: Import Scans into Your Software
Drag-and-drop or use import wizards to upload PDFs to your accounting app. Run OCR if not auto-enabled to extract dates, amounts, and descriptions.
Why it matters: This bridges physical to digital. Success: Entries auto-populate or queue for review in the software.
Handle bulk imports via ZIP folders for speed.
💡 Tips:
- •Use software's AI matching for bank reconciliation.
Step 6: Categorize, Tag, and Review Entries
Manually verify OCR data, assign categories/tags, and link related files (e.g., receipt to expense). Generate a test report to check totals.
Why it matters: Accuracy prevents financial errors. Expect 1-2 minutes per document; dashboard shows balanced books.
Search test: Query '2024 rent' to confirm results.
⚠️ Warnings:
- •Double-check totals against physical sums.
Step 7: Set Up Backups and Automations
Enable auto-backup to cloud (e.g., Google Drive folder sync). Schedule monthly exports to external drive. Set rules for future incoming receipts.
Why it matters: Protects against data loss. Success: Confirmation emails for backups.
Test restore from backup.
💡 Tips:
- •Use 3-2-1 rule: 3 copies, 2 media types, 1 offsite.
Step 8: Maintain and Audit Your Digital System
Schedule quarterly reviews: Run reports, archive old years, delete redundancies. Train yourself on mobile app access.
Why it matters: Keeps it current. Ongoing: 15 min/month.
Your system is now live—celebrate with a full financial overview report!
▸Pro Tips
- •Use OCR-enabled apps like Microsoft Lens for phone scans—saves buying hardware.
- •Batch process weekends for large volumes to maintain momentum.
- •Integrate with bank APIs (e.g., Plaid in QuickBooks) for auto-imports.
- •Color-code digital folders like physical ones for visual familiarity.
- •Encrypt sensitive files with software passwords.
- •Export to CSV monthly for Excel analysis flexibility.
- •Share read-only access with accountants via links.
▸Common Mistakes to Avoid
- •Skipping backups—leads to total loss from crashes; always backup first.
- •Poor scan quality (low DPI)—makes OCR fail; always 300+ DPI.
- •Overlooking data verification—causes inaccurate reports; review 100%.
- •No categorization system—inconsistent tagging buries data; plan upfront.
- •Forgetting compliance retention (7 years)—archive, don't delete.
▸Troubleshooting
Problem: Blurry or skewed scans
Solution: Clean scanner glass, use matte paper guides, or apps with auto-correct. Rescan affected batches.
Problem: OCR fails to extract text
Solution: Choose 'searchable PDF' mode or use Adobe Acrobat for post-processing. Ensure good lighting.
Problem: Software sync errors
Solution: Check internet, clear cache, or reinstall app. Contact support for API issues.
Problem: Large files slow system
Solution: Compress PDFs (tools like SmallPDF), upgrade storage, or use cloud-only.
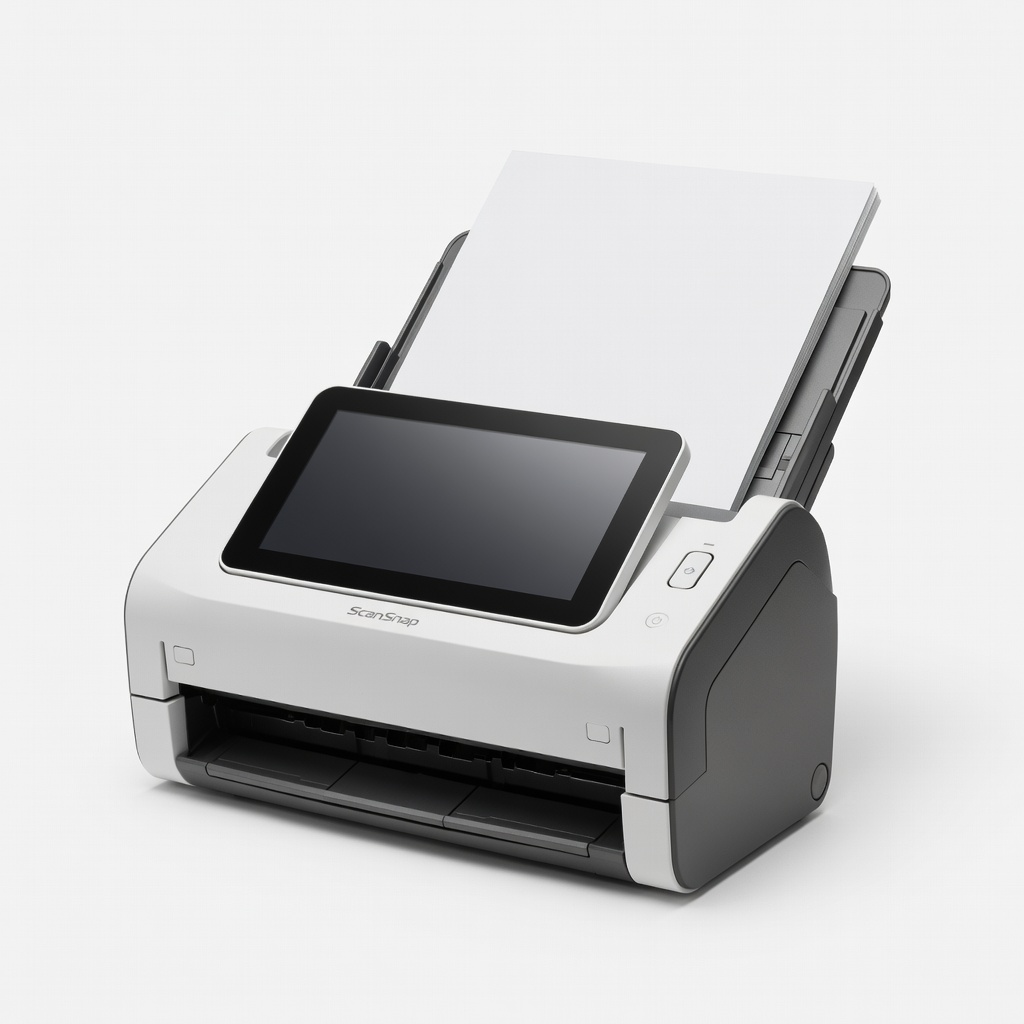
Fujitsu ScanSnap iX1600 Document Scanner
Wireless duplex scanning with excellent OCR integration speeds up digitizing thick account books without quality loss.
Best for: Ideal for high-volume ledgers; scans 40 pages/min to searchable PDFs.
Price Range: $400-$450
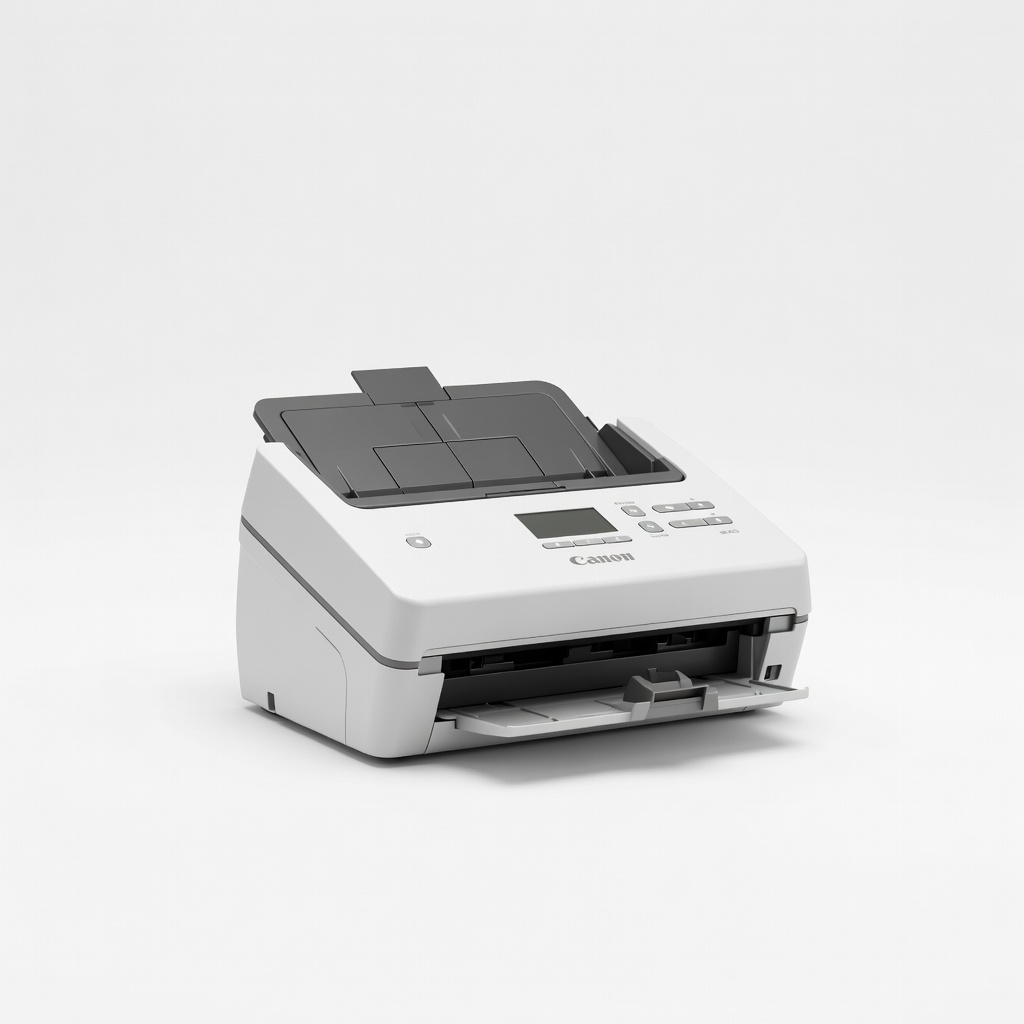
Canon imageFORMULA R40 Scanner
Affordable, compact option with receipt-tray for loose papers and easy software for accounting imports.
Best for: Small business starters scanning mixed documents daily.
Price Range: $220-$250
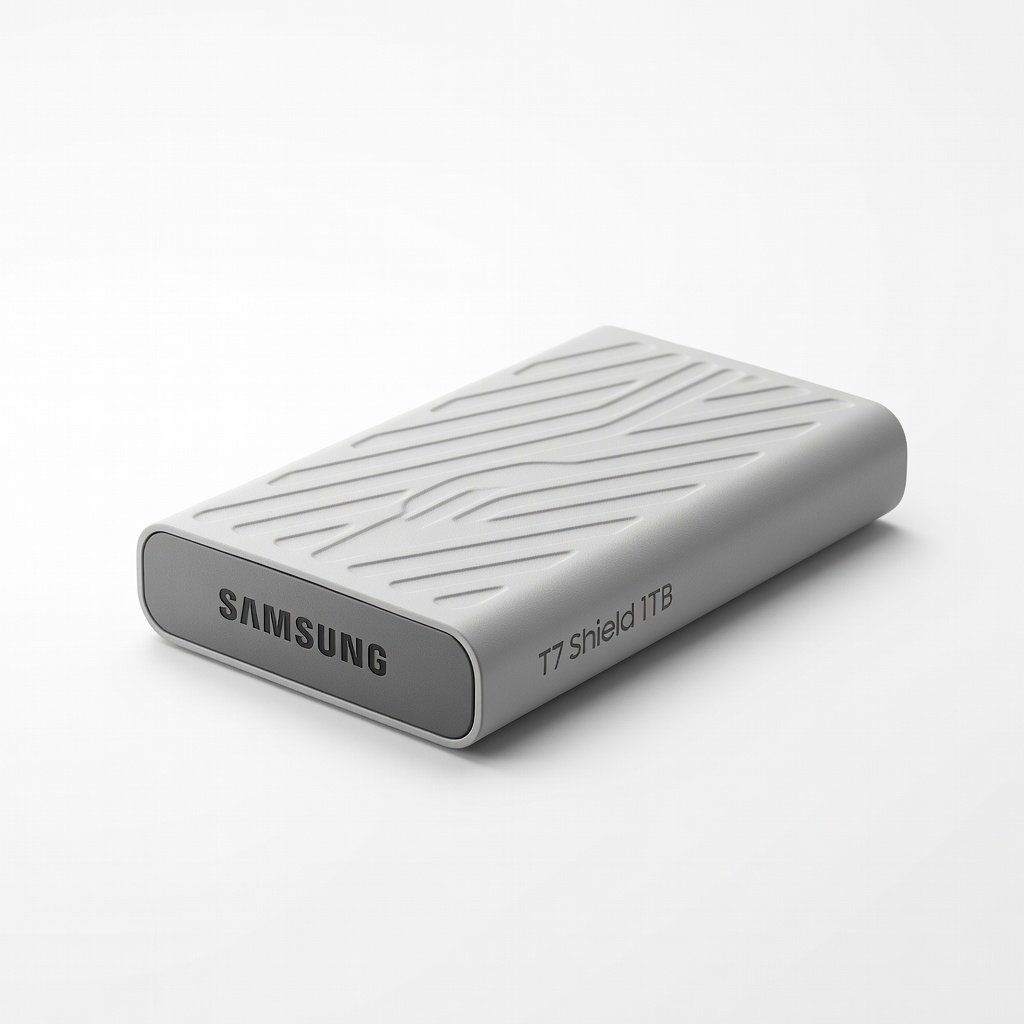
Samsung T7 Shield 1TB Portable SSD
Rugged, fast storage for offline backups with encryption, preventing data loss in digital accounting.
Best for: Secure local copies of your entire digitized library.
Price Range: $100-$120
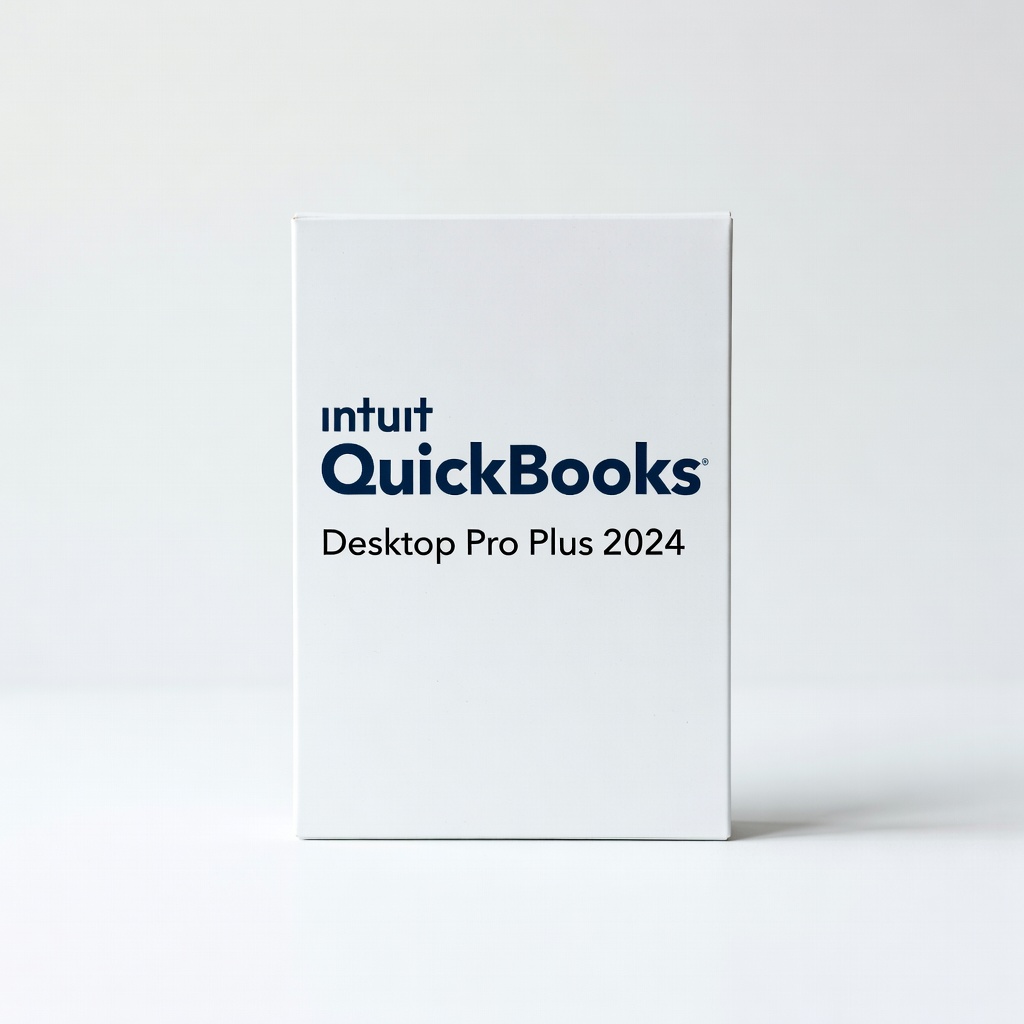
Intuit QuickBooks Desktop Pro Plus 2024
Full-featured desktop software for importing scans, categorizing, and generating reports—perfect for intermediate users.
Best for: Ongoing organization and compliance for businesses.
Price Range: $300-$350
SanDisk 2TB Extreme Portable SSD
High-capacity, drop-proof drive for archiving years of account data with USB-C speed.
Best for: Budget backup for large historical records.
Price Range: $140-$160