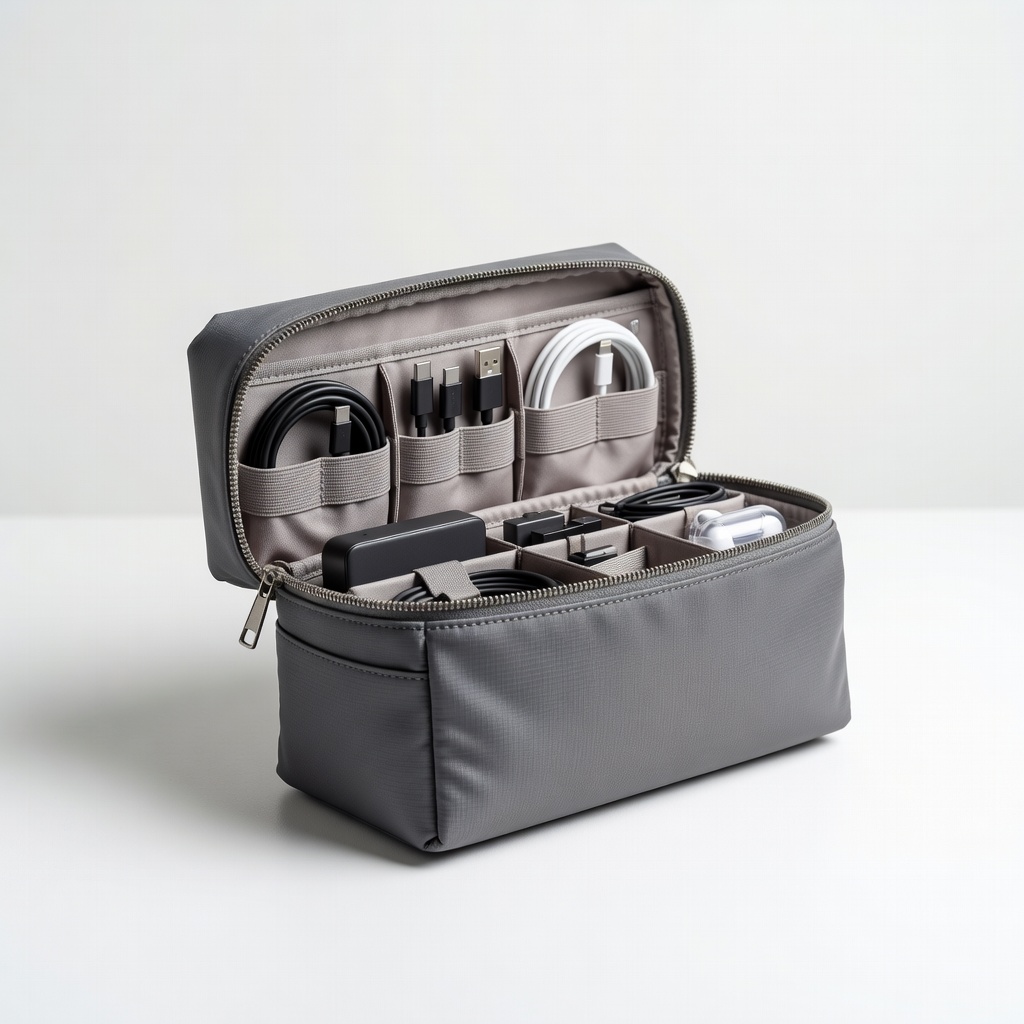
BAGSMART Travel Cable Organizer Bag
Electronics category—holds chargers, earbuds, power banks.
$12.99
BAGSMART Travel Cable Organizer Bag Multiple compartments prevent tangles; water-resistant nylon for durability.
Get the App
Better experience on mobile
Learn to sort, label, and pack your accessory organizers into travel bags for stress-free trips in just 20 minutes.
Ever unpacked your suitcase only to find tangled cables, scattered toiletries, and missing chargers? Disorganized accessory organizers turn travel into a scavenger hunt. This guide fixes that by teaching you how to systematically organize your pouches, cubes, and bags inside your travel luggage.
You'll learn a simple 8-step process to categorize items, label organizers, and arrange them efficiently. Perfect for beginners, this method saves time at airports and keeps everything accessible. Expect to spend 20-30 minutes upfront for weeks of smooth travel.
No special skills needed—just your accessories and a bit of planning. By the end, your travel bag will be a model of efficiency.
Estimated Time: 20-30 minutes Difficulty: beginner
Start by listing what you'll need for your trip: chargers, cables, toiletries, jewelry, meds, etc. Consider trip length and activities (e.g., more cables for business trips). This prevents overpacking and ensures you organize only essentials.
Lay everything out on a table. What success looks like: A categorized list on paper or phone, like 'Electronics (5 items)', 'Toiletries (8 items)'. This step takes 5 minutes and sets a logical foundation.
💡 Tips:
Collect all your pouches, cubes, and bags. If you don't have enough, grab versatile ones (recommendations below). Sort them by size: small for cables, medium for toiletries, large for clothes.
Inspect for damage—toss worn ones. Success: 4-6 organizers lined up, ready to fill. Why it matters: Right sizes prevent bulging bags.
⚠️ Warnings:
Group items: Electronics (cables, chargers), Toiletries (shampoo, razor), Personal (jewelry, meds), Misc (socks, masks). Use piles on the table.
Discard duplicates or expired items. Expect 3-5 piles. This step declutters and makes filling organizers intuitive.
💡 Tips:
Match organizers to piles: slim pouch for cables, waterproof bag for toiletries. Assign one per category for easy access.
Test fit loosely—leave 20% space to avoid zip struggles. Success: Each pile has a dedicated organizer.
Place items neatly: Roll cables to prevent tangles, stand toiletries upright. Use dividers if available.
Prioritize frequently used items on top. Zip up and shake—nothing should shift much. Why: Prevents damage and quick unpacking.
💡 Tips:
⚠️ Warnings:
Write category names on labels (e.g., 'CABLES', 'TOILETRIES') and attach with tape or built-in loops. Use icons for visuals.
Success: Organizers identifiable at a glance, even in dim airport light. This saves seconds that add up.
Place in suitcase: Heavy ones at bottom, frequently used (electronics) near top or side pockets. Stack cubes Tetris-style.
Fill gaps with soft items. Test by closing the bag—should zip easily. Expect a compact, balanced load.
💡 Tips:
Pretend you're at your destination: Open bag, grab an organizer, access an item. Time it—aim under 30 seconds per category.
Adjust as needed. Final success: Seamless access, no frustration.
⚠️ Warnings:
Problem: Organizers don't fit in bag
Solution: Use smaller ones or remove non-essentials; consider compression packing cubes.
Problem: Items tangle despite organizing
Solution: Use cable ties or dedicated cord clips; roll individually.
Problem: Labels peel off
Solution: Use waterproof tape or a label maker with adhesive backing.
Multiple compartments prevent tangles; water-resistant nylon for durability.
Best for: Electronics category—holds chargers, earbuds, power banks.
Price Range: $12.99
Hanging design with clear pockets for easy access; TSA-compliant sizes.
Best for: Toiletries—dries fast, visible contents in showers.
Price Range: $19.99
Color-coded set for categories; mesh tops for visibility and breathability.
Best for: Misc and clothing accessories—compresses 50% space.
Price Range: $21.99
Pillow inserts protect delicates; compact for small bags.
Best for: Jewelry/personal items—prevents scratches.
Price Range: $9.99
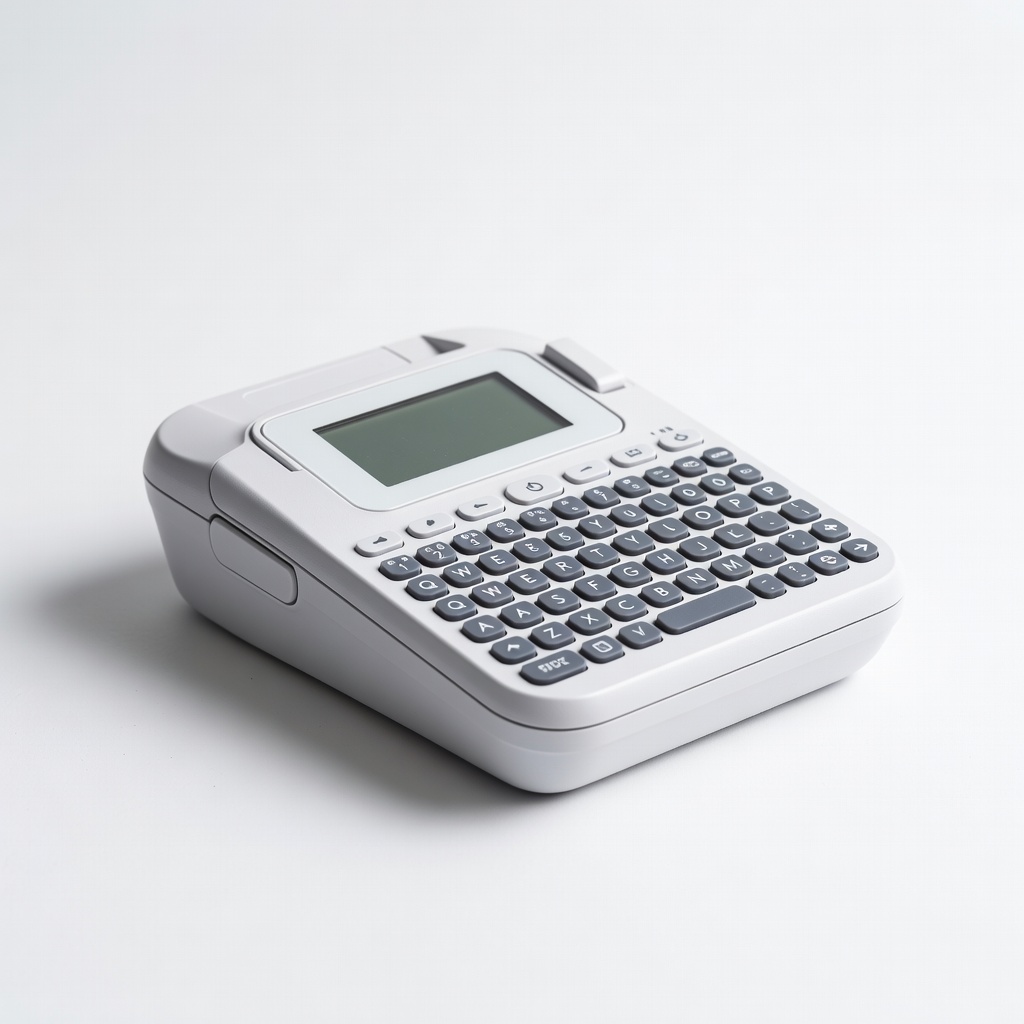
Portable with durable labels; customizable for categories.
Best for: Labeling all organizers quickly.
Price Range: $29.99
Electronics category—holds chargers, earbuds, power banks.
BAGSMART Travel Cable Organizer Bag Multiple compartments prevent tangles; water-resistant nylon for durability.
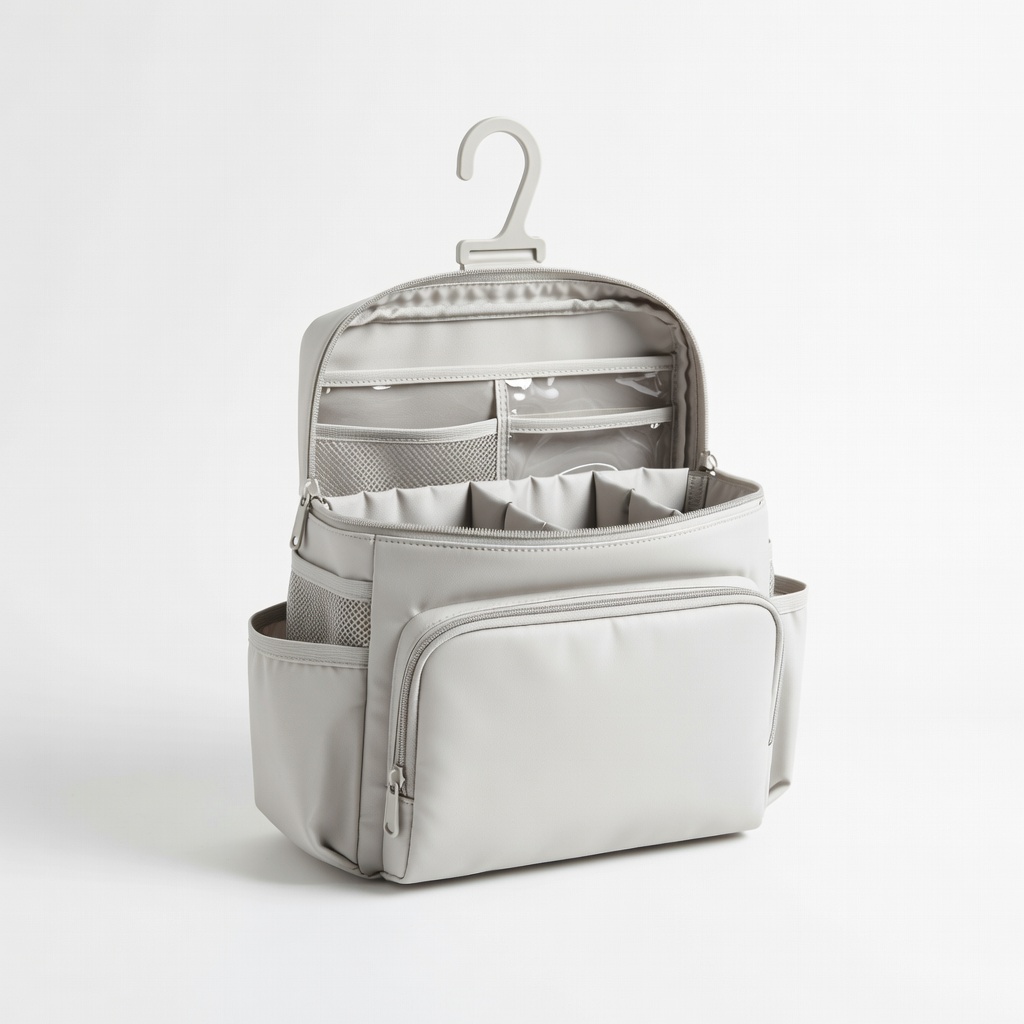
Toiletries—dries fast, visible contents in showers.
BAGSMART Hanging Toiletry Bag Hanging design with clear pockets for easy access; TSA-compliant sizes.
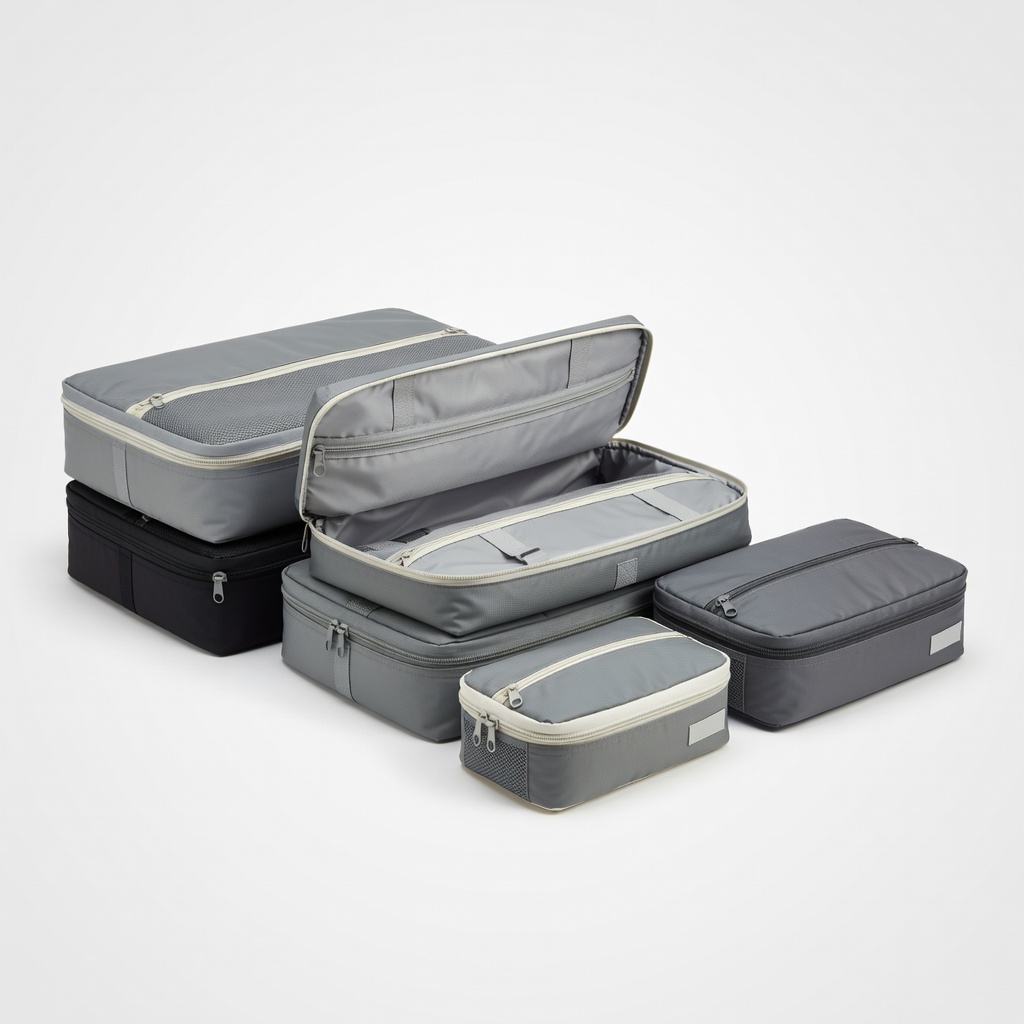
Misc and clothing accessories—compresses 50% space.
Bagail 6 Set Packing Cubes Color-coded set for categories; mesh tops for visibility and breathability.
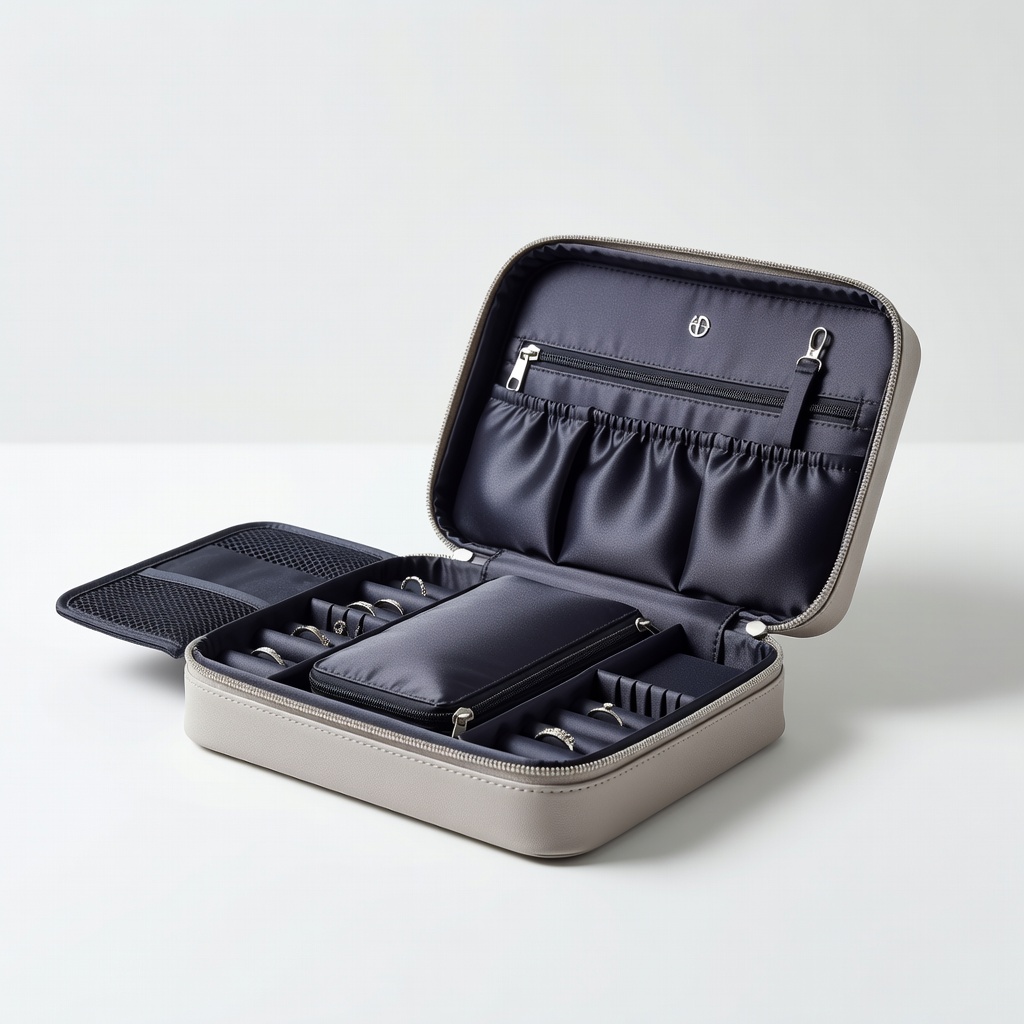
Jewelry/personal items—prevents scratches.
SATINIOR Travel Jewelry Organizer Pillow inserts protect delicates; compact for small bags.
Labeling all organizers quickly.
Brother P-Touch PT-D210 Label Maker Portable with durable labels; customizable for categories.