
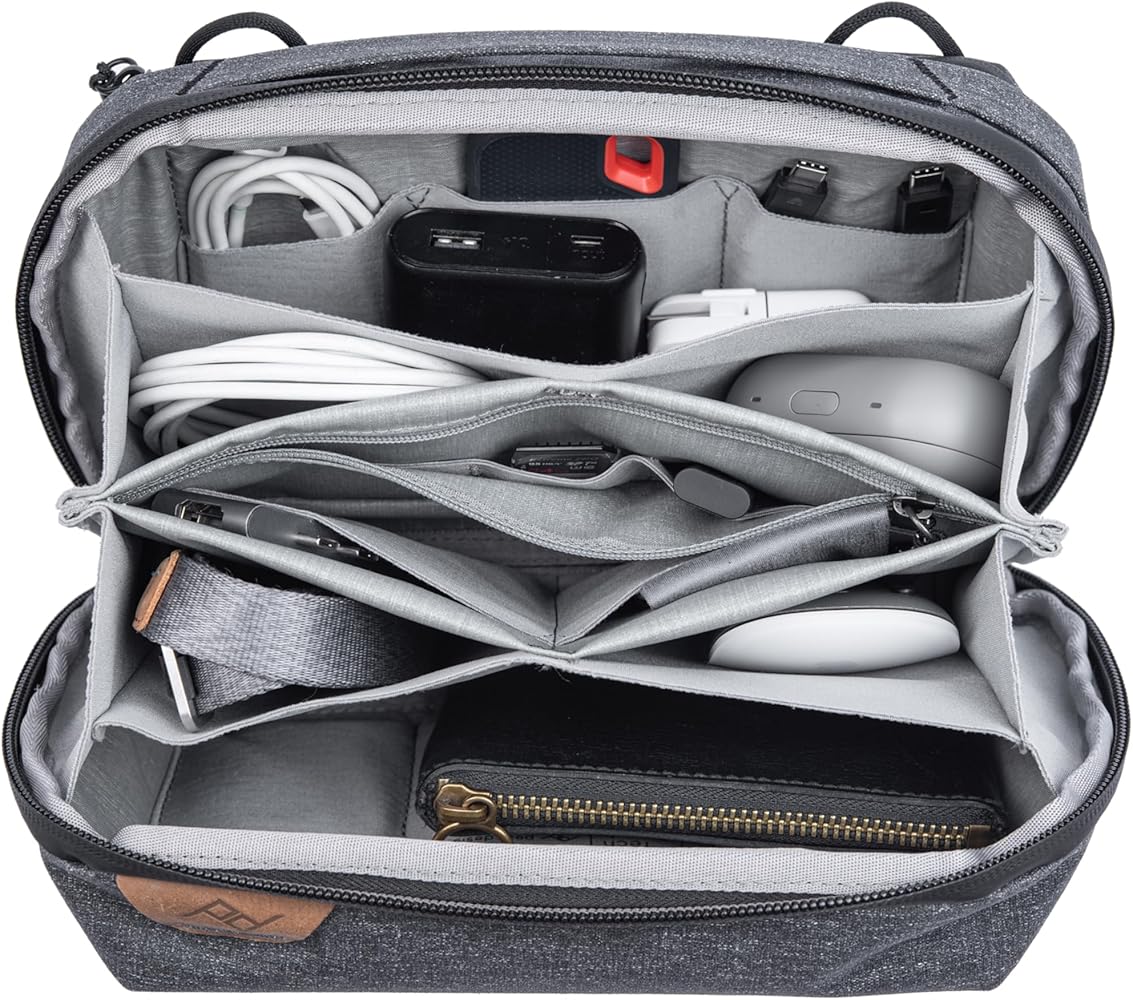
Peak Design Tech Pouch (Medium)
Core organizer for power and misc kits in any backpack.
$59.95
Peak Design Tech Pouch (Medium) Versatile, padded compartments perfect for cables, batteries, and small accessories with easy access.
Get the App
Better experience on mobile
Learn to create efficient, grab-and-go accessory kits that keep your photography backpack organized, protecting gear and saving time on shoots.
Nothing kills the creative flow like digging through a jumbled backpack for that one filter or battery during golden hour. Intermediate photographers often accumulate a ton of accessories—lenses, batteries, cables, CF cards—but without organization, your pack becomes a black hole of frustration and lost opportunities.
In this guide, you'll learn a step-by-step system to inventory, categorize, and kit-ify your accessories into modular pouches. This method ensures quick access, gear protection, and balanced weight distribution. Expect to spend 1-2 hours initially, with ongoing maintenance taking just minutes.
By the end, your backpack will feel like an extension of your camera bag, ready for any shoot.
Estimated Time: 1-2 hours for initial setup; 10-15 minutes for maintenance Difficulty: intermediate
Empty your backpack completely onto a clean table. List every item: spare batteries, memory cards, filters, lens caps, cleaning kits, cables, straps, and tools like screwdrivers or sensor swabs.
Group them loosely by type (e.g., power, storage, optics). Use a notebook or phone app to note quantities and conditions. This step prevents forgetting small items and reveals duplicates.
Success looks like: A comprehensive list covering 100% of your gear—no surprises later.
💡 Tips:
⚠️ Warnings:
Divide items into logical kits based on shoot types: 'Essentials' (batteries, cards), 'Optics' (filters, hoods), 'Power' (chargers, extras), 'Maintenance' (cleaning tools), and 'Misc' (straps, tools).
Consider workflow: What do you grab first? Aim for 4-6 kits to avoid overload.
Success looks like: Neat piles, each labeled temporarily with sticky notes.
💡 Tips:
Choose pouches or inserts that fit your backpack's compartments. Soft pouches for cables, hard cases for cards. Clean them with a microfiber cloth.
Measure backpack sections to ensure fit—most backpacks have modular dividers.
Success looks like: Organizers laid out, matching kit piles.
💡 Tips:
⚠️ Warnings:
Place items into pouches: wrap cables to prevent tangles, use dividers for lenses. Pad fragile items with microfiber. Secure zippers or flaps.
Test accessibility—can you grab a battery one-handed?
Success looks like: Full, balanced pouches that close easily.
💡 Tips:
Apply durable labels to pouches: 'Power Kit - 4x Batteries' with icons if possible. Use weatherproof labels for outdoor use.
Include contents list inside each pouch.
Success looks like: Pouches identifiable at a glance, even in low light.
💡 Tips:
⚠️ Warnings:
Place kits strategically: heavy items low/center (lenses), frequent access high/front (batteries). Use backpack dividers.
Balance left-right for comfort.
Success looks like: Backpack zips shut, feels balanced when worn.
💡 Tips:
Wear the pack, simulate a shoot: access 3 kits quickly. Weigh sides if uneven.
Adjust as needed.
Success looks like: Quick access (<10 sec per kit), no strain.
⚠️ Warnings:
Weekly: Check batteries, clean pouches. Post-shoot: Reorganize.
Update inventory seasonally.
Success looks like: Pack always shoot-ready.
💡 Tips:
Problem: Pouches don't fit backpack compartments
Solution: Trim dividers or use smaller inserts like Peak Design pouches; measure first next time.
Problem: Items shift during travel
Solution: Add foam padding or use elastic bands; secure tightly.
Problem: Forgot an accessory on shoot
Solution: Create a pre-shoot checklist; use inventory app with photos.
Problem: Labels peel off
Solution: Switch to laminated or engraved tags; avoid cheap stickers.
Versatile, padded compartments perfect for cables, batteries, and small accessories with easy access.
Best for: Core organizer for power and misc kits in any backpack.
Price Range: $59.95
Compact, rugged design for memory cards and batteries; multiple pockets prevent mixing.
Best for: Storage kit in tight backpack spaces.
Price Range: $32.75
Portable, durable labels that withstand travel and weather for clear kit identification.
Best for: Labeling all pouches quickly onsite.
Price Range: $19.99
Waterproof, crushproof protection for tiny fragile items like CF cards.
Best for: Extreme protection in adventure kits.
Price Range: $21.95
Flexible wraps secure lenses and filters without bulk.
Best for: Optics kit wrapping for irregular shapes.
Price Range: $39.00
Core organizer for power and misc kits in any backpack.
Peak Design Tech Pouch (Medium) Versatile, padded compartments perfect for cables, batteries, and small accessories with easy access.
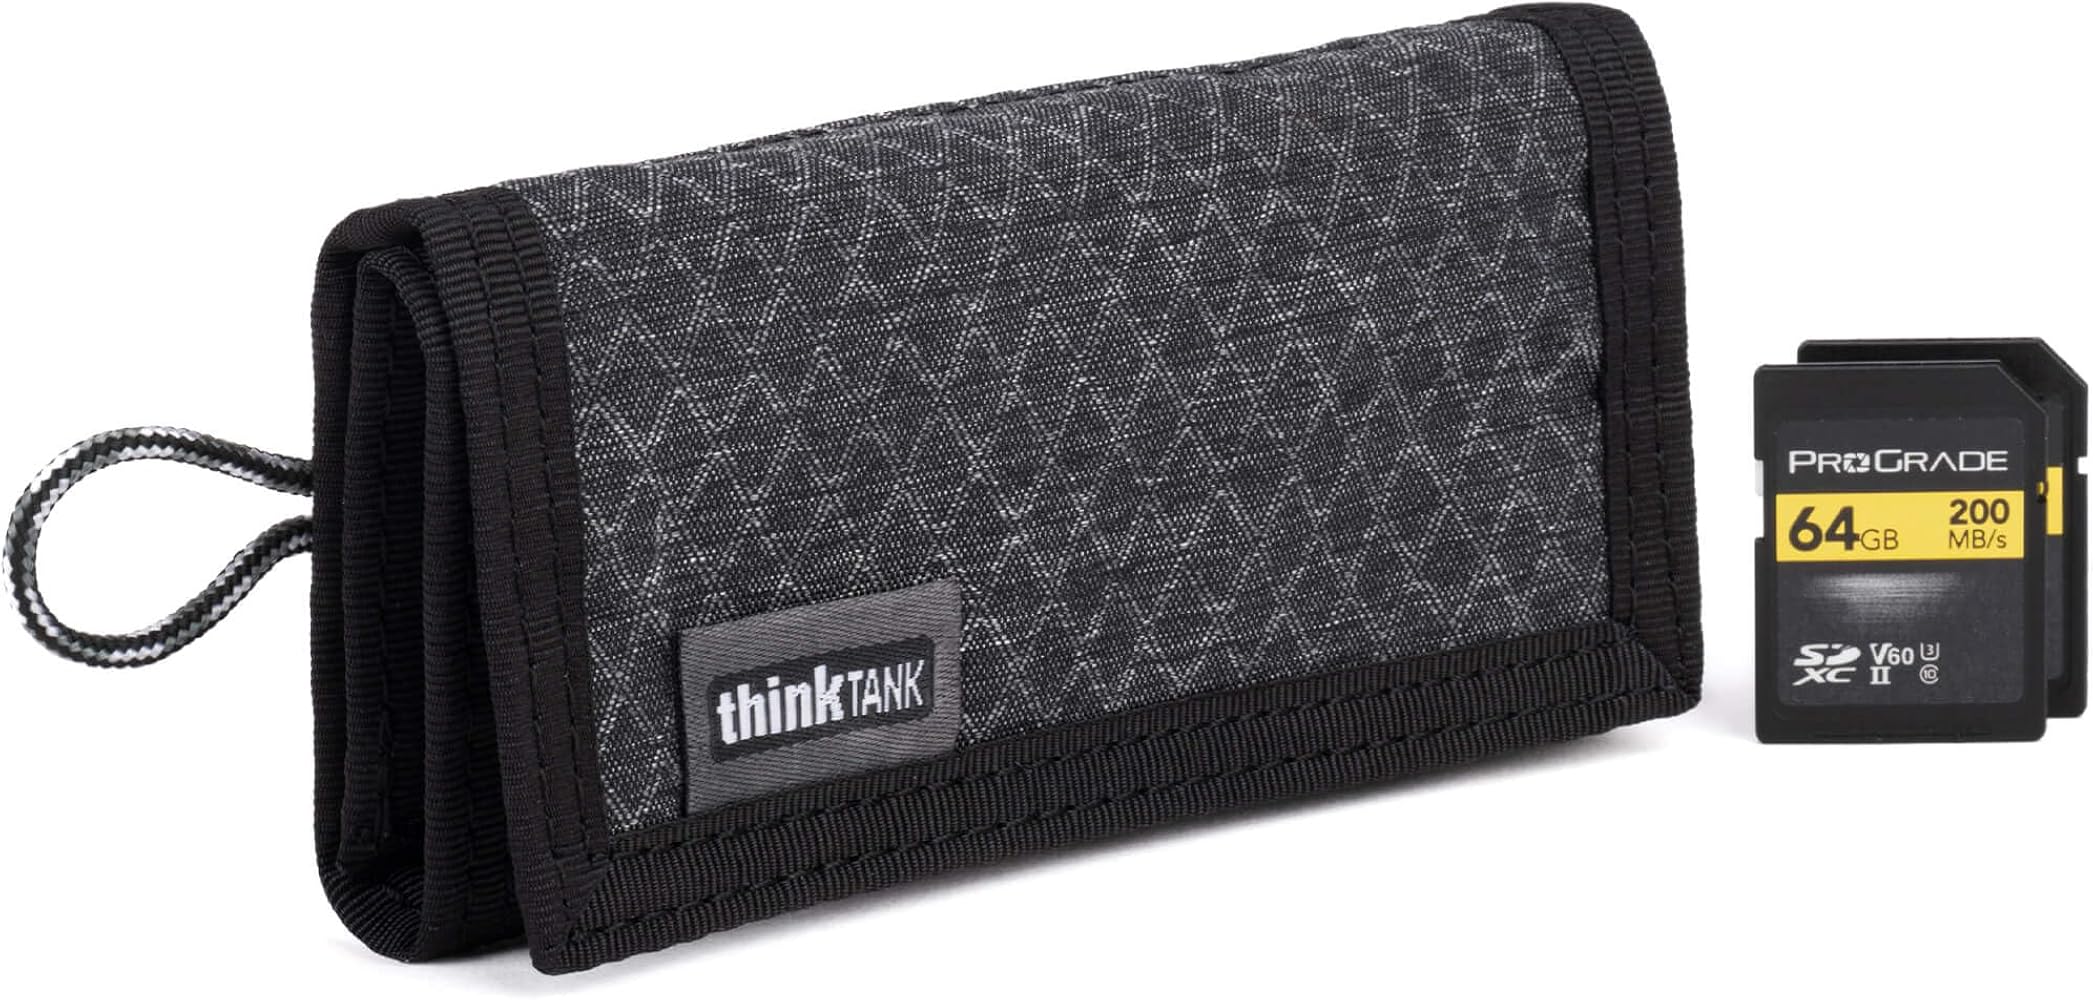
Storage kit in tight backpack spaces.
Think Tank Photo Pixel Pocket Rocket (Small) Compact, rugged design for memory cards and batteries; multiple pockets prevent mixing.

Labeling all pouches quickly onsite.
Brother P-touch PT-D210 Label Maker Portable, durable labels that withstand travel and weather for clear kit identification.
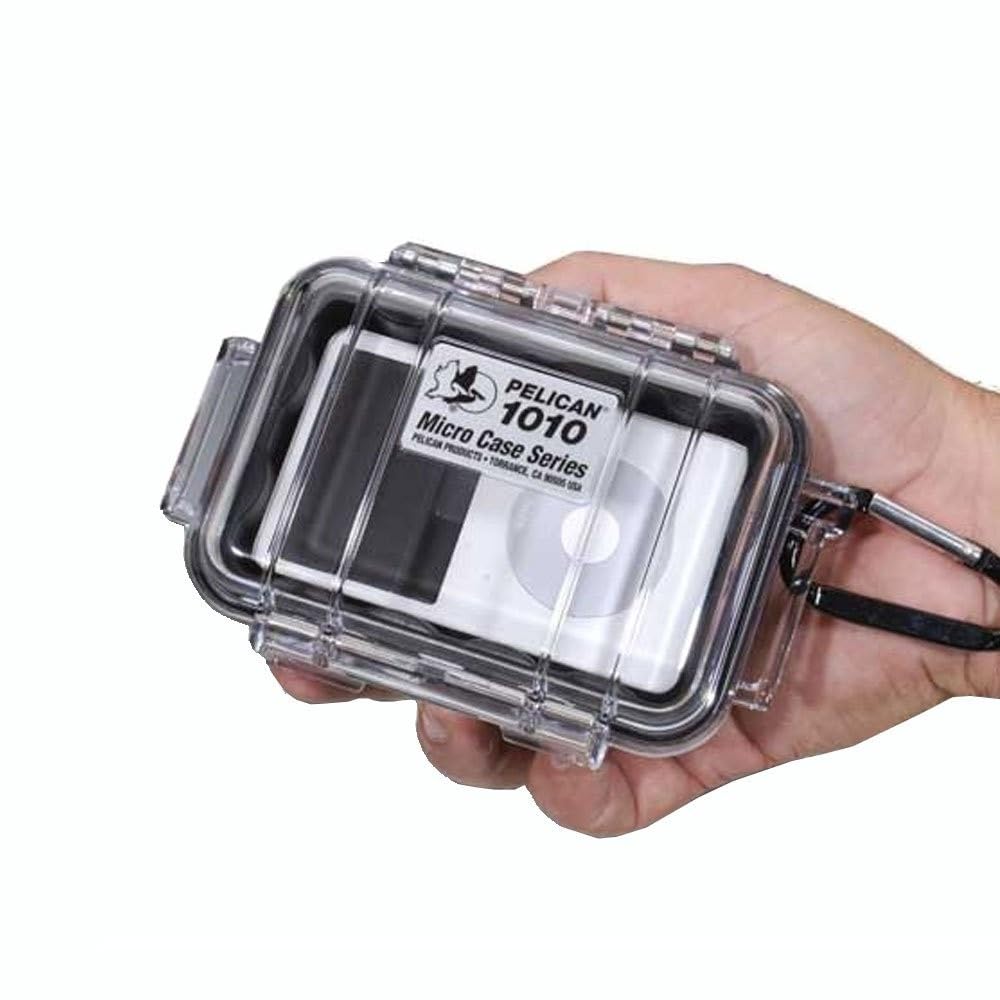
Extreme protection in adventure kits.
Pelican 1010 Micro Case Waterproof, crushproof protection for tiny fragile items like CF cards.
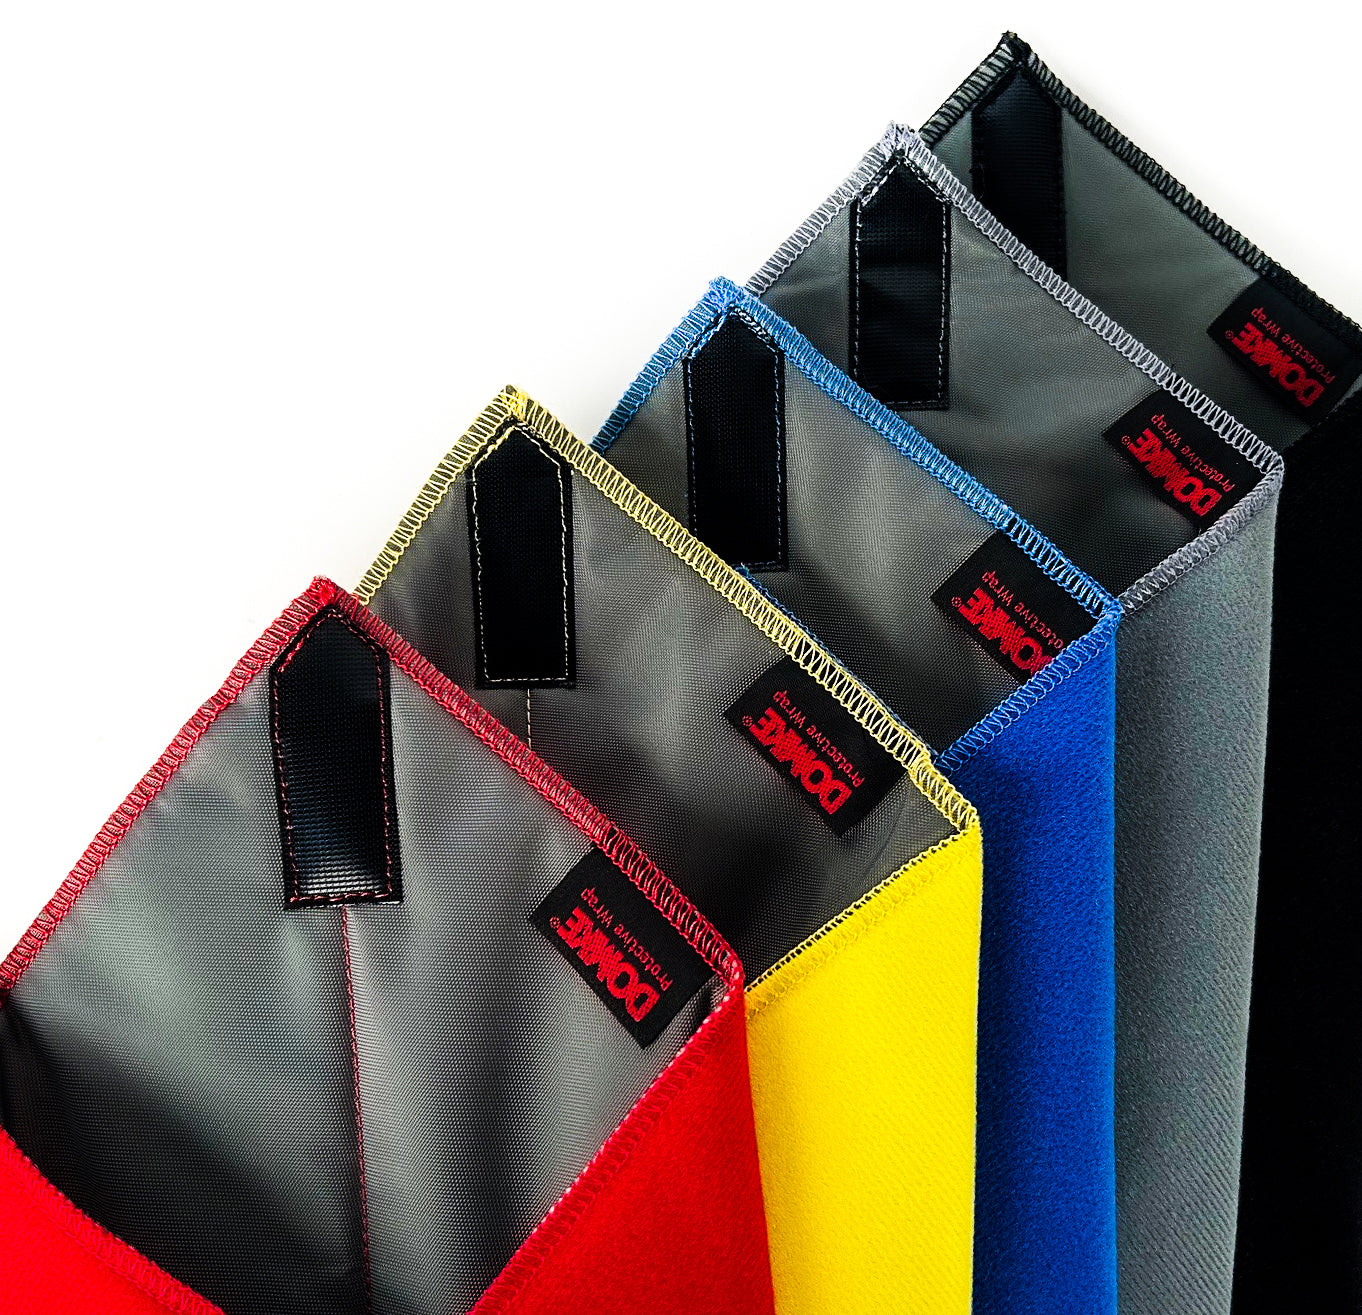
Optics kit wrapping for irregular shapes.
Domke F-5R5 Wrap Kit Flexible wraps secure lenses and filters without bulk.