
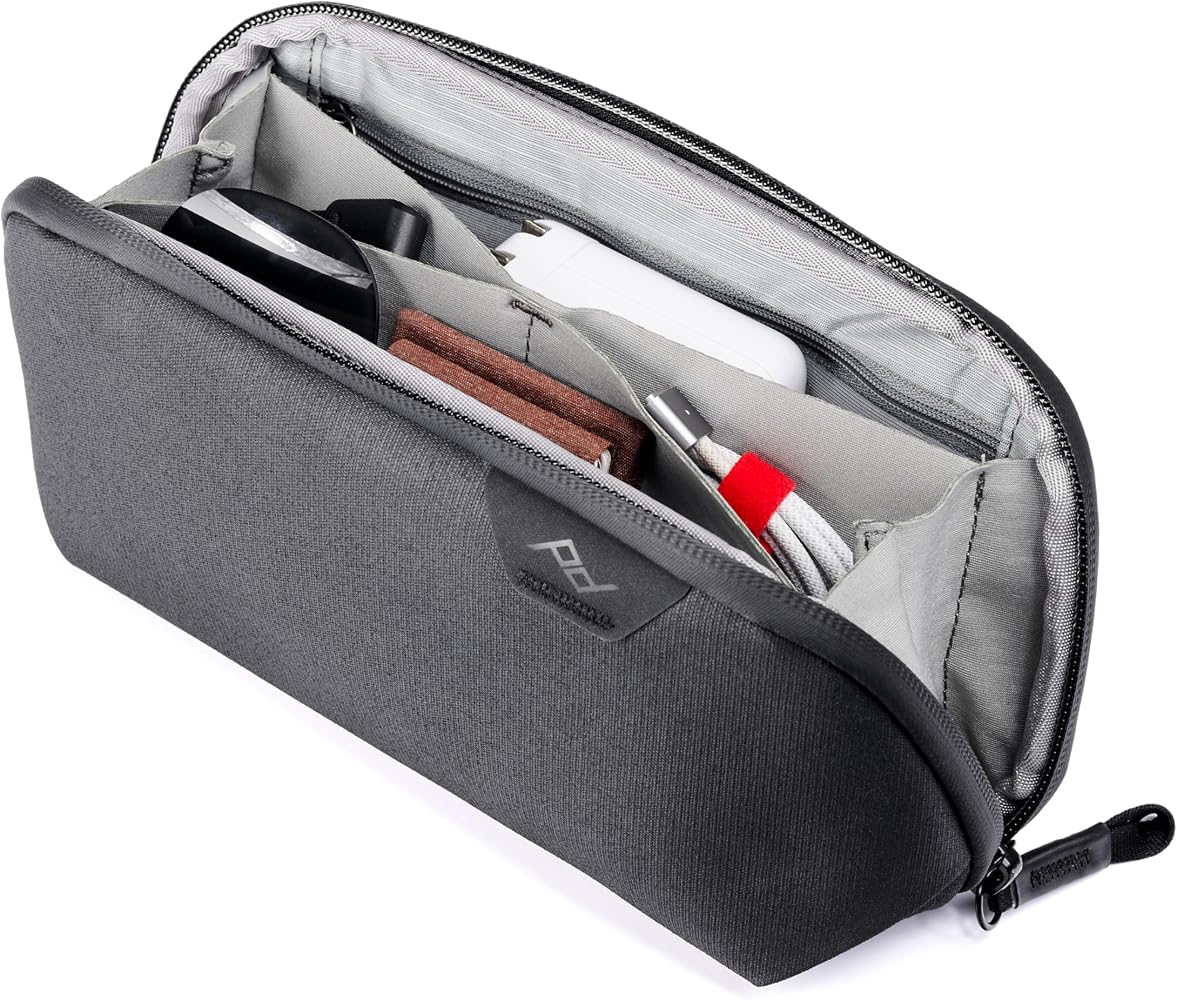
Peak Design Tech Pouch V2 (Small)
Ideal for tech/cable kits in compact camera bags.
$39.95-$49.95
Peak Design Tech Pouch V2 (Small) Modular elastic loops and pockets perfectly organize cables, batteries, and small tools without bulk.
Get the App
Better experience on mobile
Create portable, efficient kits for your lenses, batteries, and filters to streamline shoots and never miss a shot again.
Disorganized photography gear can turn a smooth shoot into a frantic search for batteries, filters, or cleaning cloths. Intermediate photographers often juggle multiple accessories, leading to bulky bags and wasted time on location. This guide solves that by teaching you to build customized accessory kits that are compact, accessible, and tailored to your workflow.
You'll learn a step-by-step process to inventory, categorize, and pack your gear into modular kits. Expect to spend 45-60 minutes initially, with ongoing tweaks taking just 10 minutes. By the end, you'll have grab-and-go kits that protect your equipment and boost efficiency.
This method draws from pro photographers' real-world setups, focusing on modularity for different shoots like portraits, landscapes, or events.
Estimated Time: 45-60 minutes for initial setup; 10 minutes for maintenance Difficulty: intermediate
Lay out every photography accessory you own on a large table or floor. Include lenses, extra batteries, memory cards, filters, ND/UV, cleaning swabs, blower, cables (USB-C, HDMI), lens caps, rain covers, and small tools like hex keys.
Take photos or list them in a spreadsheet with columns for item name, quantity, size (e.g., 77mm filter), and frequency of use (daily/weekly/rare). This creates a master inventory.
Success looks like: A complete visual and written record—no forgotten items. Why it matters: Prevents overbuying duplicates and identifies underused gear to declutter.
💡 Tips:
⚠️ Warnings:
Group accessories into categories: Core Kit (batteries, memory cards, blower—used every shoot), Lens Kit (caps, hoods, cleaners), Filter Kit (ND, CPL, UV), Cable/Tech Kit (chargers, SD readers), and Specialty (macro tubes, off-camera flash triggers).
Further subgroup by shoot type: e.g., Landscape Kit (ND filters, rain cover), Portrait Kit (softbox triggers). Rate frequency: High (always pack), Medium (80% shoots), Low (event-specific).
Success looks like: 4-6 labeled piles that match your typical gigs. This modularity saves time—grab one kit per shoot.
💡 Tips:
⚠️ Warnings:
Choose organizers that fit your categories. Use small pouches for subsets (e.g., battery sleeve) inside larger inserts or bags. Measure items to ensure snug fits—leave 10-20% space for padding.
Opt for padded, water-resistant pouches with mesh pockets for visibility. Modular systems like camera bag inserts allow swapping kits.
Success looks like: Gear fits without rattling; pouches close easily. Pro tip: Stackable pouches maximize bag space.
💡 Tips:
Place heaviest items (lenses) at the bottom, fragile (filters) in padded slots. Bundle cables with Velcro; stack batteries vertically. Use dividers or foam cutouts for custom fits.
Pack one kit per pouch: e.g., all filters in a flat case. Add desiccant packs for humidity protection.
Success looks like: Kits are balanced, lightweight (<5lbs each), and pouch-specific.
⚠️ Warnings:
Apply waterproof labels to pouches: 'Lens Kit - 77mm', 'Core - 4x Batteries'. Inside, label slots (e.g., '2x Sony NP-FZ100'). Use QR codes linking to your digital inventory.
Label your main camera bag sections too.
Success looks like: Anyone (assistant) can find items blindfolded. Speeds up packing/unpacking by 50%.
💡 Tips:
Turn your inventory into a checklist app (e.g., Google Sheets or Notion) or printable card. Include columns: Item, Qty Needed, Packed? (checkbox).
Customize per shoot type with templates.
Success looks like: Pre-shoot scan confirms 100% readiness.
💡 Tips:
Pack your main bag with kits, weigh it, and do a mock shoot: Set up tripod, swap lenses, check battery access. Time access for key items (<10 seconds).
Adjust based on pain points.
Success looks like: Fluid workflow, no fumbling.
⚠️ Warnings:
After each shoot, unpack, clean, recharge, and check off inventory. Quarterly review: Purge unused items, update for new gear.
Success looks like: Kits evolve with your skills.
💡 Tips:
Problem: Pouch too tight or loose
Solution: Add foam spacers or swap to adjustable inserts like Lowepro GearUp.
Problem: Items shifting during transport
Solution: Use Velcro dots or bungee cords inside pouches.
Problem: Forgotten items on location
Solution: Use phone checklist with photo verification before leaving home.
Problem: Kits don't fit main bag
Solution: Measure bag compartments first; opt for universal inserts.
Modular elastic loops and pockets perfectly organize cables, batteries, and small tools without bulk.
Best for: Ideal for tech/cable kits in compact camera bags.
Price Range: $39.95-$49.95
Slim, padded design for memory cards and batteries; fits in any bag pocket.
Best for: Core kit for quick-access essentials on run-and-gun shoots.
Price Range: $18.75
Customizable dividers for lenses/filters; weather-resistant and stackable.
Best for: Larger kits for studio or landscape photography.
Price Range: $49.99
Flexible wrap-around protection for loose lenses or filters; converts to sling.
Best for: Budget modular option for irregular-shaped accessories.
Price Range: $22.95
Portable label maker for durable, customizable tags that withstand field use.
Best for: Labeling all pouches and items quickly.
Price Range: $29.99
Ideal for tech/cable kits in compact camera bags.
Peak Design Tech Pouch V2 (Small) Modular elastic loops and pockets perfectly organize cables, batteries, and small tools without bulk.
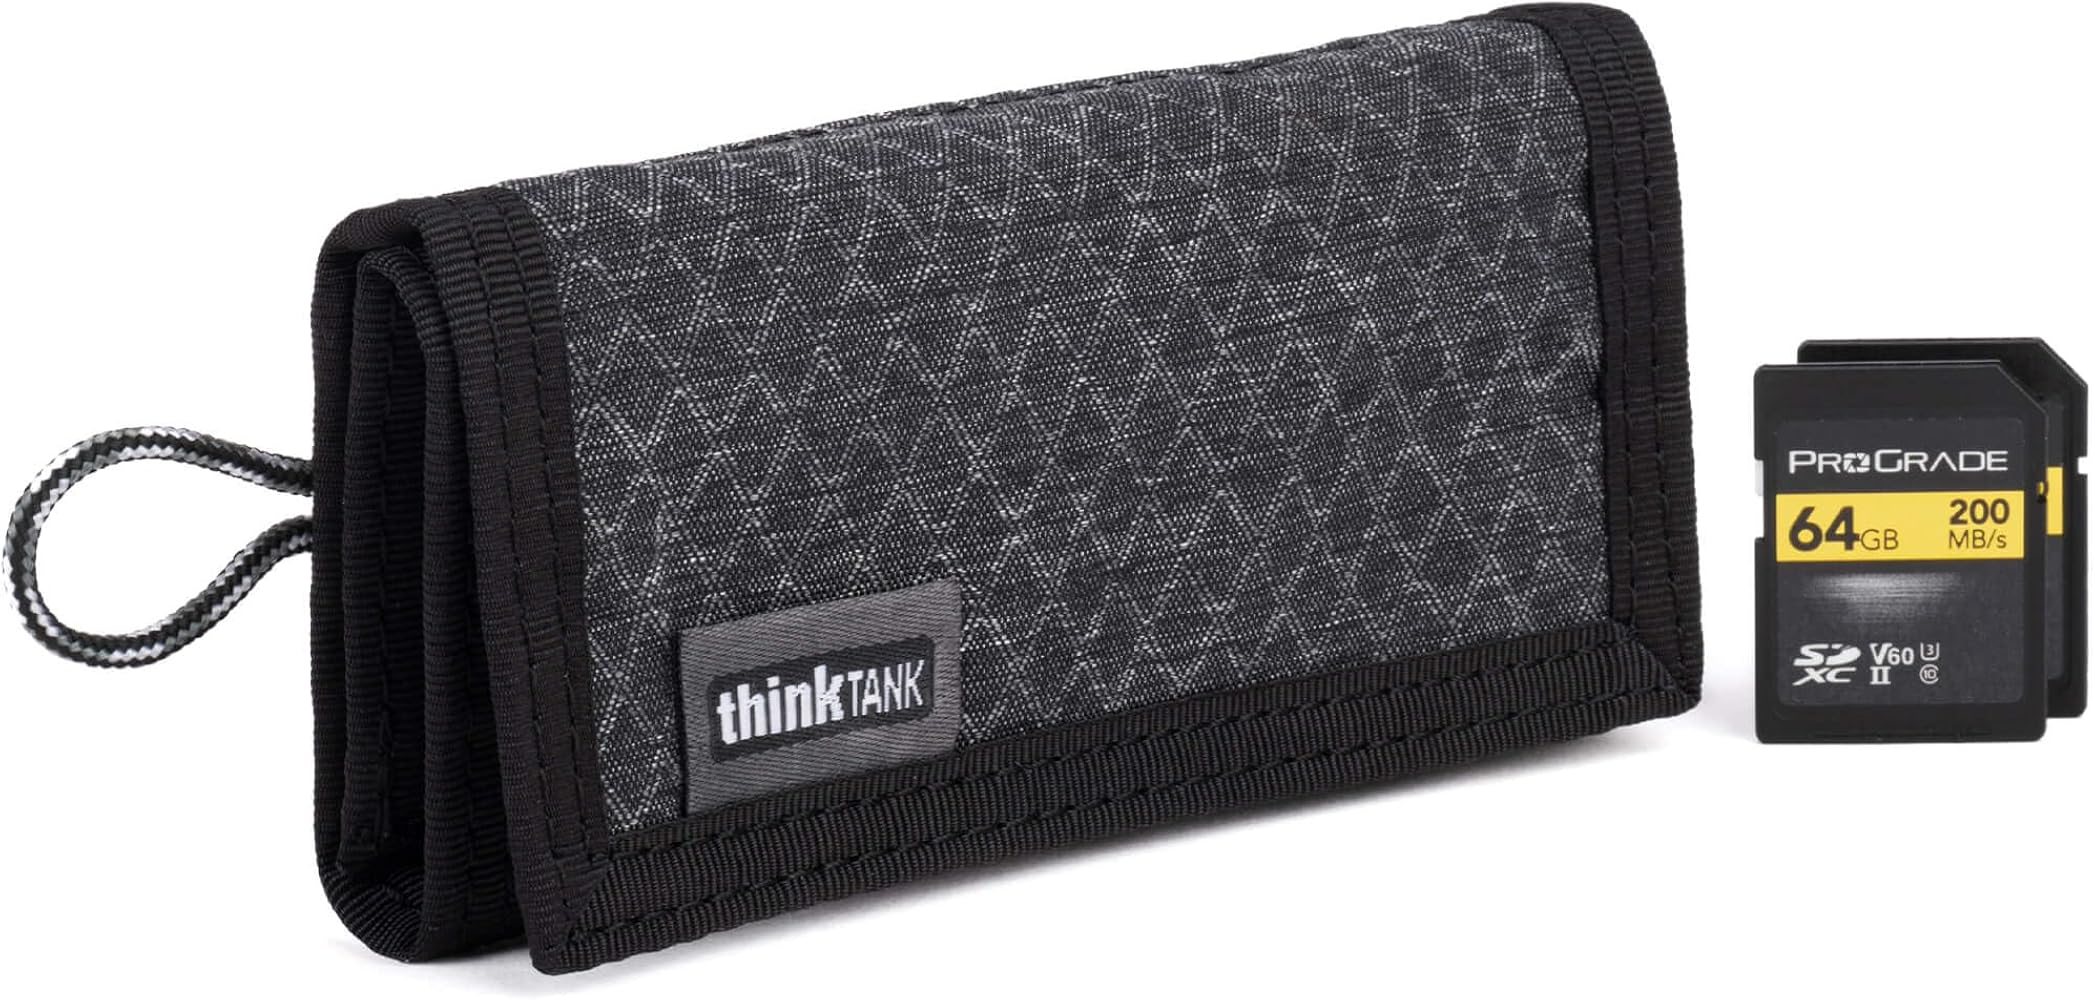
Core kit for quick-access essentials on run-and-gun shoots.
Think Tank Photo Pixel Pocket Rocket (Small) Slim, padded design for memory cards and batteries; fits in any bag pocket.
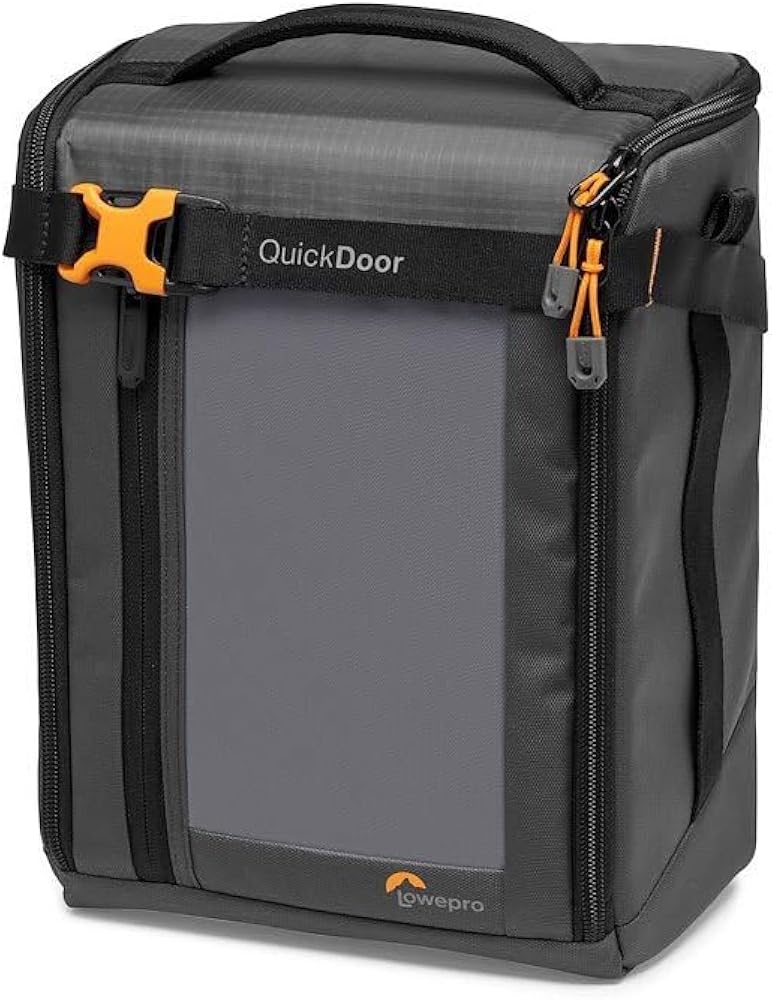
Larger kits for studio or landscape photography.
Lowepro GearUp Creator Box L Customizable dividers for lenses/filters; weather-resistant and stackable.
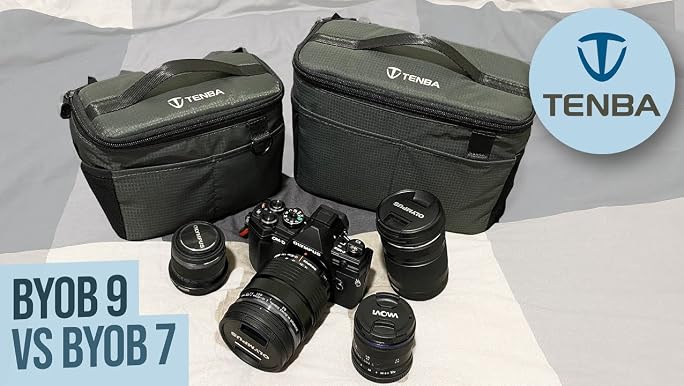
Budget modular option for irregular-shaped accessories.
Tenba Tools BYOB 13 Camera/Lens Wrap Flexible wrap-around protection for loose lenses or filters; converts to sling.
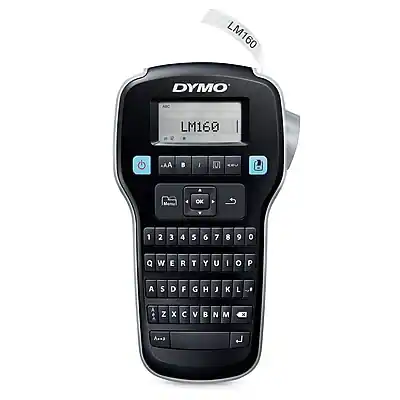
Labeling all pouches and items quickly.
DYMO LabelManager 160 Portable label maker for durable, customizable tags that withstand field use.