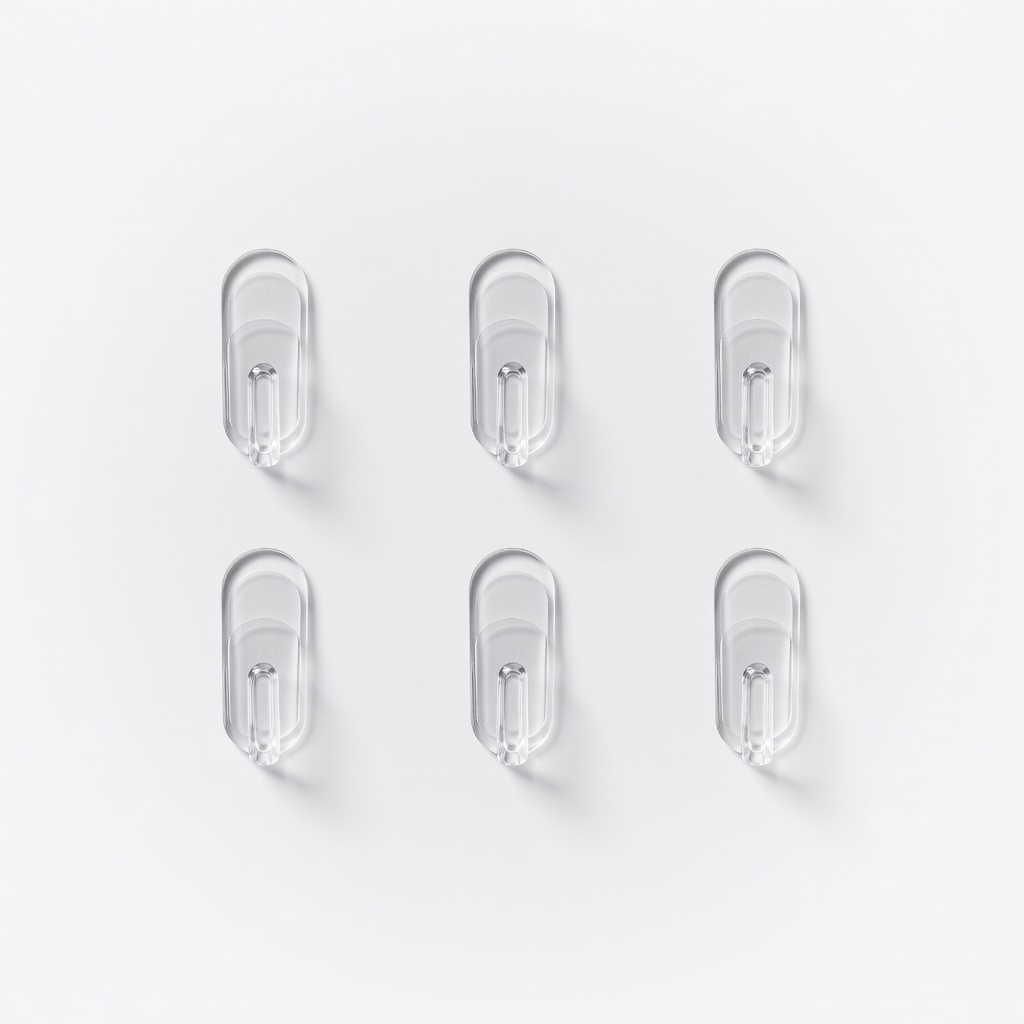
Command Clear Mini Hooks (6-Pack)
Jewelry in bathrooms or bedrooms—holds up to 0.5 lbs each.
$5.99
Command Clear Mini Hooks (6-Pack) Perfect for lightweight earrings and rings; clear design disappears on walls.
Get the App
Better experience on mobile
Declutter your jewelry, keys, and small items in under 45 minutes using peel-and-stick organizers—no tools or damage required.
Tired of rummaging through tangled jewelry drawers or hunting for lost earrings, keys, and sunglasses? A cluttered accessory collection wastes time and creates daily frustration. Adhesive organizers offer a simple, renter-friendly solution to keep everything visible, accessible, and stylishly arranged.
In this beginner-friendly guide, you'll learn step-by-step how to sort, install, and maintain adhesive organizers for perfect organization. Whether in your bathroom, bedroom, or entryway, this method transforms chaos into order without drilling holes or permanent changes.
Expect to finish in 30-45 minutes with minimal effort. No prior DIY experience needed—just follow along for a customized setup that lasts.
Estimated Time: 30-45 minutes Difficulty: beginner
Start by collecting all your accessories from drawers, bags, and counters. Lay them out on a flat surface like a table or bed. Sort into categories: necklaces, earrings, rings, bracelets, keys, sunglasses, and watches. This prevents overbuying organizers and ensures you have the right types.
What success looks like: Piles of similar items, with no duplicates or forgotten pieces. Why it matters: Sorting reveals how much space you need and highlights frequently used items for prime spots.
Discard broken or unused items to lighten your load.
💡 Tips:
⚠️ Warnings:
Based on your sorted items, select organizers: mini hooks for earrings, larger hooks for necklaces/keys, clips for chains, or strips for rings/watches. Opt for damage-free adhesive brands like Command for easy removal.
What success looks like: Organizers matched to item sizes (e.g., 1/4-inch hooks for studs). Why it matters: Proper fit prevents sagging or damage to delicate accessories.
Count how many you'll need per area.
💡 Tips:
Pick smooth, non-porous surfaces like bathroom tiles, bedroom walls, or cabinet interiors. Avoid textured walls, wallpaper, or direct sunlight (which weakens adhesive). Ensure spots are convenient—eye-level for daily use.
What success looks like: 2-3 chosen areas with good lighting and accessibility. Why it matters: Strategic placement maximizes usability and keeps accessories dust-free.
💡 Tips:
⚠️ Warnings:
Wipe chosen spots with rubbing alcohol on a microfiber cloth. Remove dust, grease, or residue—adhesive fails on dirty surfaces. Let dry completely (1-2 minutes).
What success looks like: Spotless, dry surface with no streaks. Why it matters: Clean surfaces ensure 100% adhesion for years of use.
💡 Tips:
⚠️ Warnings:
Use a measuring tape to space organizers evenly (e.g., 2-3 inches apart). Mark with pencil. Check alignment with a level.
What success looks like: Straight pencil lines forming a grid. Why it matters: Even spacing creates a professional look and balanced weight distribution.
💡 Tips:
Follow package instructions: Peel backing, align with marks, press firmly for 30 seconds. For hooks, press base first.
What success looks like: Securely attached organizers that don't wiggle. Why it matters: Firm pressure activates adhesive for strong hold.
💡 Tips:
⚠️ Warnings:
Leave untouched for 1 hour (or per package—up to 24 for heavy-duty). This cures the bond.
What success looks like: No movement when gently tugged. Why it matters: Rushing causes falls and damage.
💡 Tips:
Place items: Loop necklaces on hooks, clip earrings, hang keys. Start with lightest.
What success looks like: Neat, accessible display—no tangles. Why it matters: Custom arrangement makes grabbing items effortless.
Step back to admire!
💡 Tips:
Problem: Organizer falls off
Solution: Surface wasn't clean; re-clean with alcohol, dry fully, and reapply. Use heavier-duty version.
Problem: Adhesive residue on removal
Solution: Pull tab slowly at 180 degrees. Use Goo Gone for cleanup.
Problem: Hooks not level
Solution: Remove and reinstall using fresh marks and level. Most adhesives forgive one redo.
Problem: Not enough space
Solution: Declutter more or add vertical organizers. No pro help needed.
Perfect for lightweight earrings and rings; clear design disappears on walls.
Best for: Jewelry in bathrooms or bedrooms—holds up to 0.5 lbs each.
Price Range: $5.99
Strong hold for necklaces, keys, sunglasses without visible damage.
Best for: Entryways or closets for heavier accessories up to 2 lbs.
Price Range: $7.99
Affordable variety for bulk organization; water-resistant.
Best for: Showers or humid areas for daily wet accessories.
Price Range: $9.99
Heavy-duty for mixed accessories; reusable backing.
Best for: Kitchens or garages for keys/tools alongside jewelry.
Price Range: $12.99
Jewelry in bathrooms or bedrooms—holds up to 0.5 lbs each.
Command Clear Mini Hooks (6-Pack) Perfect for lightweight earrings and rings; clear design disappears on walls.
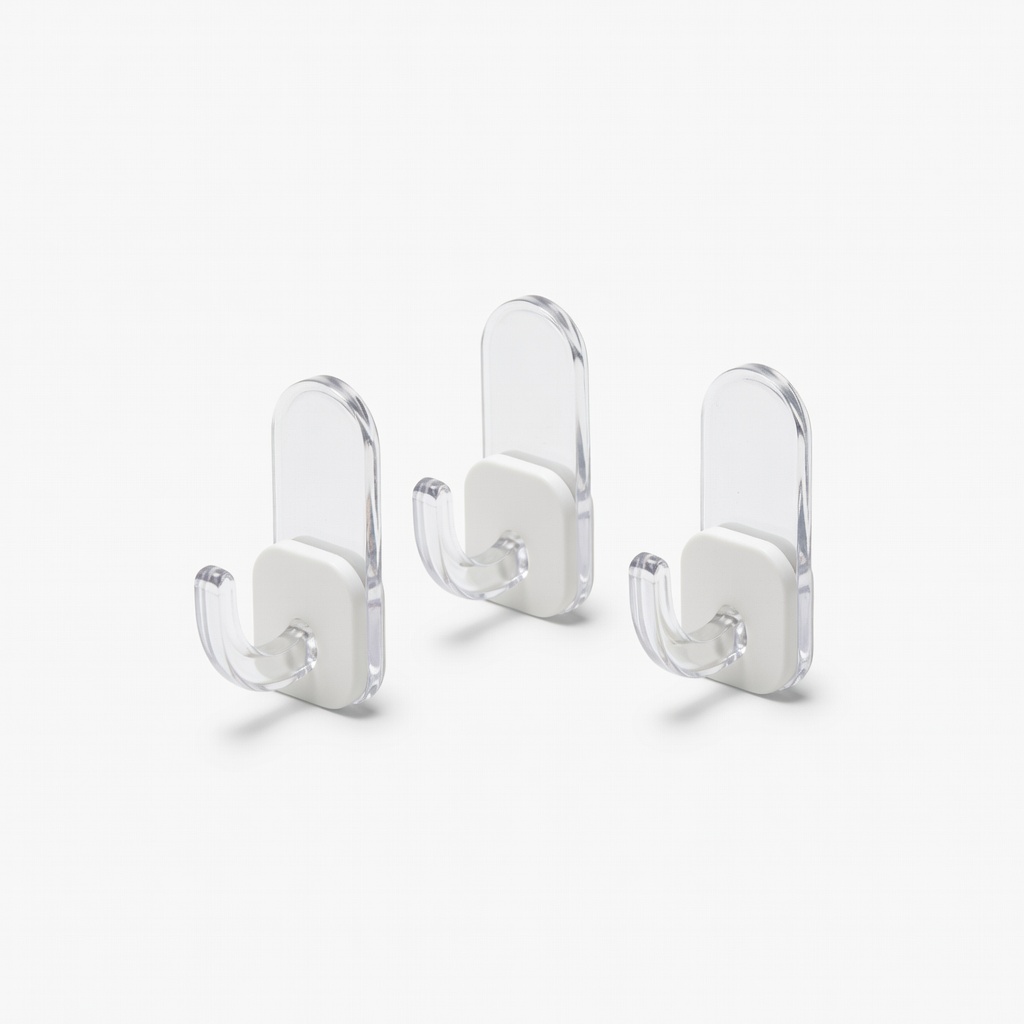
Entryways or closets for heavier accessories up to 2 lbs.
Command Medium Clear Hooks (3-Pack) Strong hold for necklaces, keys, sunglasses without visible damage.
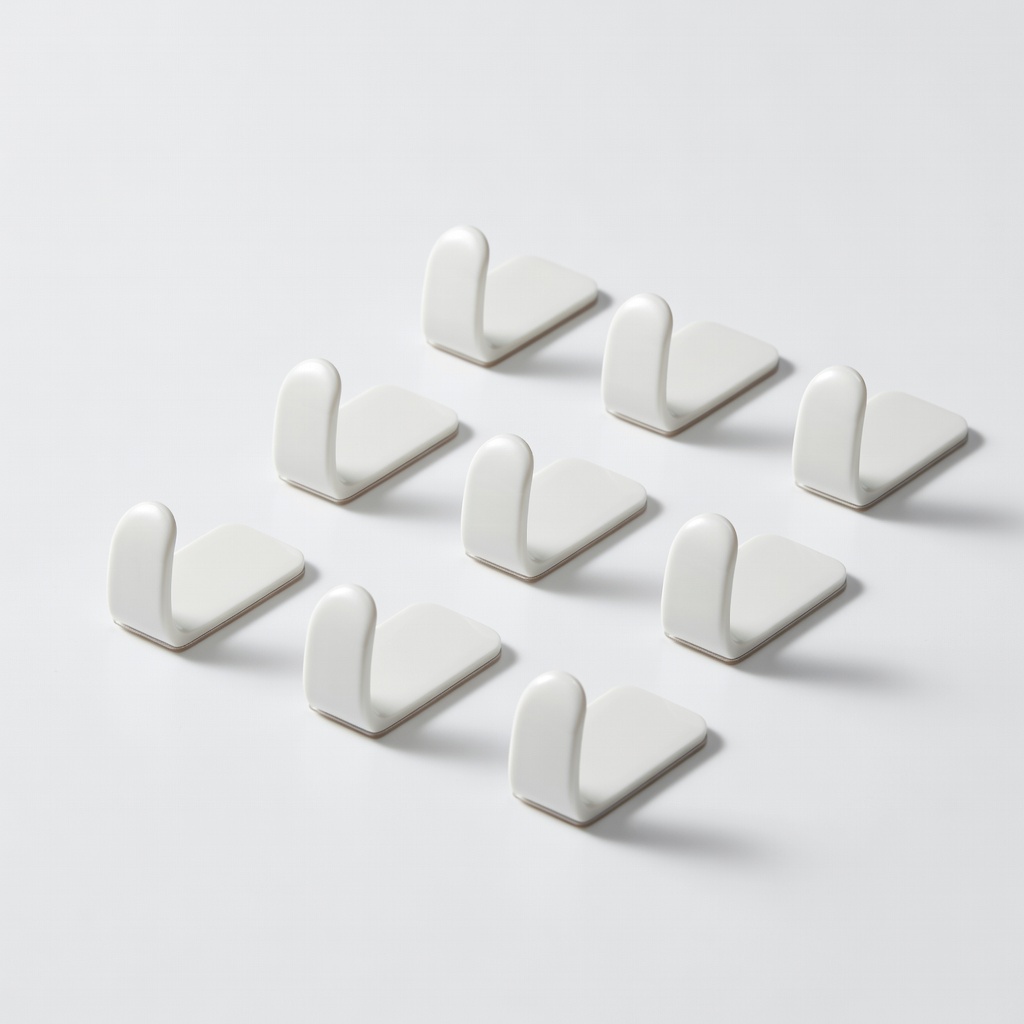
Showers or humid areas for daily wet accessories.
mDesign Plastic Adhesive Hooks (10-Pack) Affordable variety for bulk organization; water-resistant.
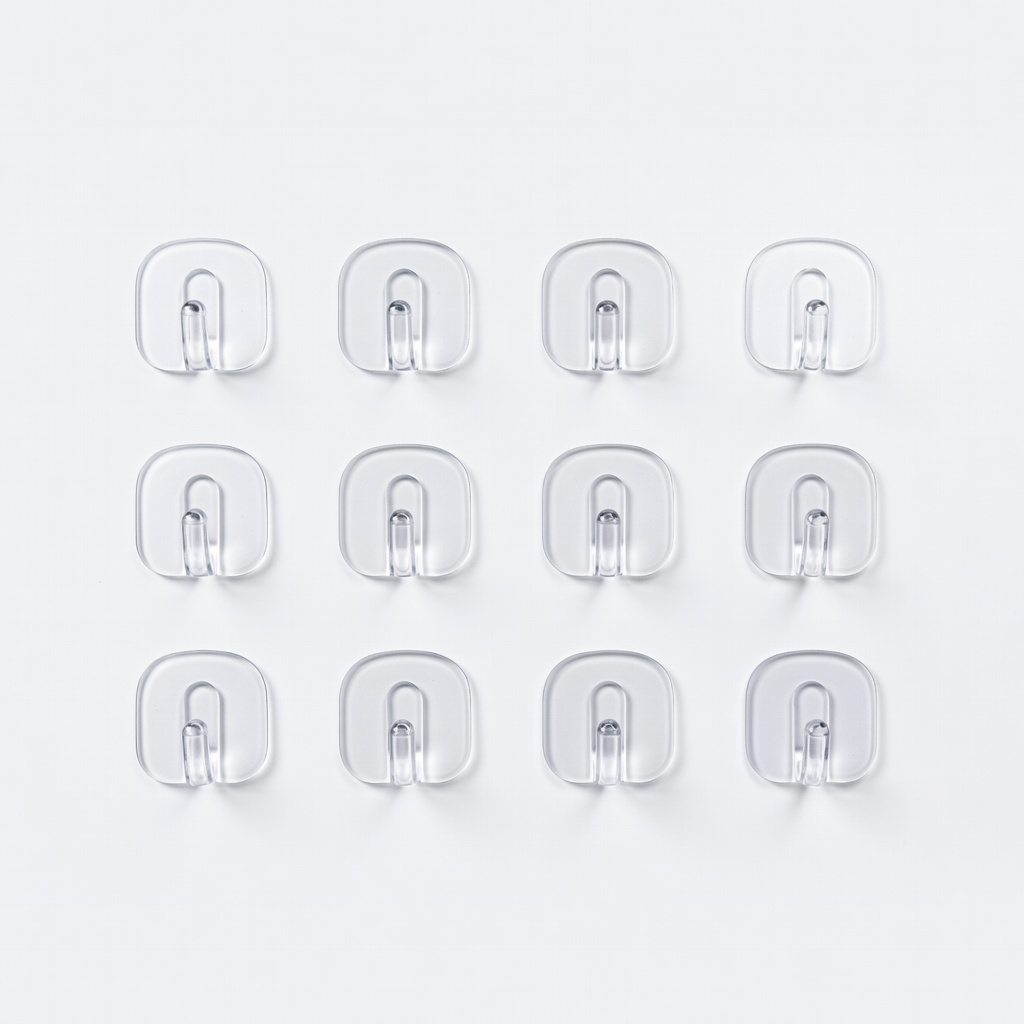
Kitchens or garages for keys/tools alongside jewelry.
HOOMEE Clear Adhesive Hooks (12-Pack) Heavy-duty for mixed accessories; reusable backing.