As an intermediate photographer, you've likely accumulated a pile of accessories—lenses, tripods, batteries, filters, cables, and more—that turn your camera bag into a chaotic black hole. Wasting time hunting for the right filter or charger mid-shoot kills your creativity and momentum. This guide solves that by teaching you how to create a professional-grade organization system.
You'll learn to inventory, declutter, categorize, and store your supplies for quick access, whether at home, in the studio, or on location. The process is straightforward, customizable to your gear, and designed for efficiency.
Expect to spend 1-2 hours initially, with minimal ongoing maintenance. No advanced skills needed—just patience and a bit of planning. By the end, your setup will feel intuitive, saving you time and frustration on every shoot.
▸What You'll Need
- •Current photography accessories and supplies (required)
- •Cleaning supplies: microfiber cloths, blower, lens pen (required for declutter)
- •Storage solutions: camera bag inserts, pouches, bins or drawers (required; see recommendations)
- •Label maker or permanent marker and labels (highly recommended)
- •Inventory notebook or spreadsheet app (optional but helpful)
- •Measuring tape (optional for custom fits)
Estimated Time: 1-2 hours
Difficulty: intermediate
▸Step-by-Step Instructions
Step 1: Take a Full Inventory
Empty everything from your camera bags, desk drawers, and shelves onto a large, clean workspace like a table covered with a sheet. Lay out all accessories: lenses, filters, batteries, chargers, memory cards, tripods, flashes, cables, remotes, and miscellaneous like lens caps or cleaning tools.
Sort visually into rough piles as you go. Use your phone to snap photos of the piles for reference. This step reveals duplicates, forgotten gems, and junk you didn't know you had.
Success looks like: A comprehensive view of your entire kit—no hidden pockets overlooked. Expect 15-20 minutes; it's eye-opening.
💡 Tips:
- •Photograph serial numbers on high-value items for insurance.
- •Play music to make it fun—treat it like a treasure hunt.
⚠️ Warnings:
- •Don't skip hidden spots like old bags; you'll regret it later.
Step 2: Declutter Ruthlessly
Examine each item: Does it work? Have you used it in the last 6 months? Is it duplicated? Test batteries/chargers, check lens condition, and clean dirty items with a blower or microfiber cloth.
Purge: Trash broken items, donate/sell unused ones (e.g., via eBay), and box rarely used gear (e.g., specialty filters) separately. Aim to reduce by 20-30%.
Success looks like: A leaner pile with only essentials—your kit feels lighter and purposeful.
💡 Tips:
- •Use the 'one-year rule': if not used last year, likely never again.
- •Wipe down gear during cleaning to prevent dust buildup.
⚠️ Warnings:
- •Test expensive items like flashes before discarding—many have simple fixes.
Step 3: Categorize Your Gear
Group items by usage frequency and type:
- •Daily essentials: Batteries, memory cards, charger, blower.
- •Lenses & filters: By size/focal length.
- •Cables & tech: USB, HDMI, SD readers.
- •Tripods & supports: Legs, heads, monopods.
- •Lighting & modifiers: Flashes, softboxes, gels.
Use colored sticky notes for sub-categories. Consider workflow: what pairs with your main camera body?
Success looks like: Logical groups you can grab intuitively, like a 'portrait kit' or 'travel basics'.
💡 Tips:
- •Prioritize by shoot type: portrait, landscape, event.
- •Group by size for easier packing.
Step 4: Choose and Prep Storage Solutions
Select containers based on your space and needs: padded inserts for bags, clear bins for shelves, pouches for drawers. Measure compartments to ensure fit.
Prep by adding dividers (foam or cardboard cutouts) or Velcro strips for modularity. For travel, prioritize padded, weather-resistant options.
Success looks like: Empty organizers ready to fill, customized to your categories.
💡 Tips:
- •Mix soft pouches for protection and hard cases for rugged use.
- •Opt for modular systems that expand with your kit.
⚠️ Warnings:
- •Avoid cheap flimsy bags—gear damage isn't worth the savings.
Step 5: Pack by Category
Fill storage starting with most-used items in easiest-access spots (top/front). Use pouches for small items like SD cards (with dedicated slots). Coil cables with Velcro ties. Place heavy items (tripods) at bottom.
Create 'kits': e.g., everyday bag with essentials, studio box with lights.
Success looks like: Compartments full but not stuffed—everything visible and grab-and-go.
💡 Tips:
- •Use color-coded pouches per category for visual speed.
- •Leave 20% empty space for future buys.
Step 6: Label Everything Clearly
Apply durable labels to pouches, bins, and drawers: e.g., '77mm Filters', 'Sony NP-FW50 Batteries'. Include contents lists on larger cases. Use icons for quick scans.
For bags, add external tags for shoot types.
Success looks like: Zero guesswork—open any container and know instantly what's inside.
💡 Tips:
- •Laminating labels prevents peeling.
- •Print checklists for bag interiors.
⚠️ Warnings:
- •Skip vague labels like 'Misc'—defeats the purpose.
Step 7: Set Up Zones and Test
Assign permanent homes: 'home base shelf', 'car trunk kit', 'travel backpack'. Test by simulating a shoot—pack/unpack twice, timing yourself.
Adjust based on friction points (e.g., swap pouch positions).
Success looks like: Pack-ready in under 2 minutes, no frantic searching.
💡 Tips:
- •Use a wall-mounted rack for frequent items.
- •Digital checklist app syncs with zones.
Step 8: Establish Maintenance Routine
Weekly: Wipe gear, check inventory. Monthly: Review usage, declutter. After shoots: Unpack immediately and restock.
Create a one-page checklist poster.
Success looks like: System stays clutter-free effortlessly, adapting to new gear.
💡 Tips:
- •Sunday evenings for 10-min maintenance.
- •Track in a shared family calendar if collaborative.
▸Pro Tips
- •Invest in magnetic pouches for metal surfaces like fridge doors for quick grabs.
- •Use desiccant packs in storage to prevent mold in humid areas.
- •Customize foam inserts with a hot knife for perfect lens fits.
- •Photograph your packed setup for easy replication after travel.
- •Rotate gear quarterly to prevent 'forgotten item syndrome'.
- •Pair organization with a gear audit app like Gearfolio for digital backup.
- •For travel, vacuum-seal soft items to save space.
▸Common Mistakes to Avoid
- •Overpacking one bag—leads to chaos; use multiple kits instead.
- •Forgetting to label—wastes the system's speed advantage.
- •Ignoring sizes—lenses won't fit, causing damage or frustration.
- •Skipping maintenance—clutter returns in weeks.
- •Buying generic storage without padding—risks scratches on glass elements.
▸Troubleshooting
Problem: Not enough space in bag for all gear
Solution: Prioritize kits by shoot type or use modular inserts like Lowepro GearUp to expand capacity.
Problem: Items shift during travel
Solution: Add extra padding or Velcro straps; switch to hard-shell cases for rough trips.
Problem: Can't find small items like SD cards
Solution: Dedicated clear-pocket organizers with individual slots; always return immediately post-shoot.
Problem: Labels peeling off
Solution: Use waterproof label tape or engraved metal tags for longevity.
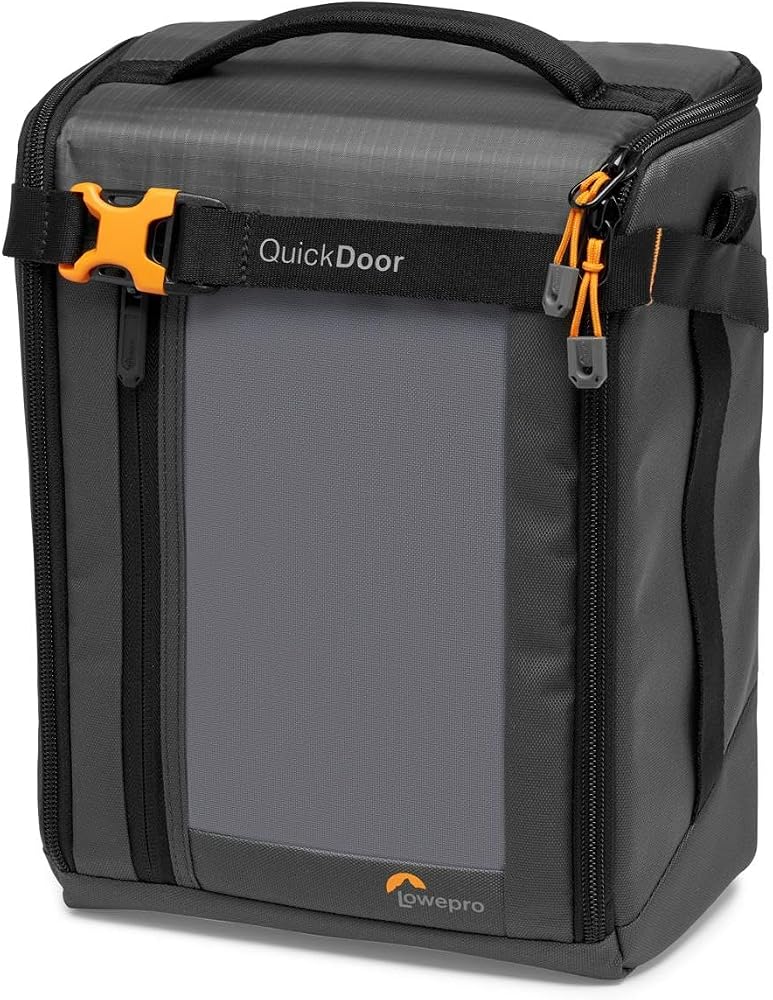
Lowepro GearUp Organizer XL
Modular padded dividers and multiple compartments perfect for categorizing lenses, batteries, and cables without bulk.
Best for: Ideal for customizing camera bags or desk drawers for daily/home use.
Price Range: $40-$50
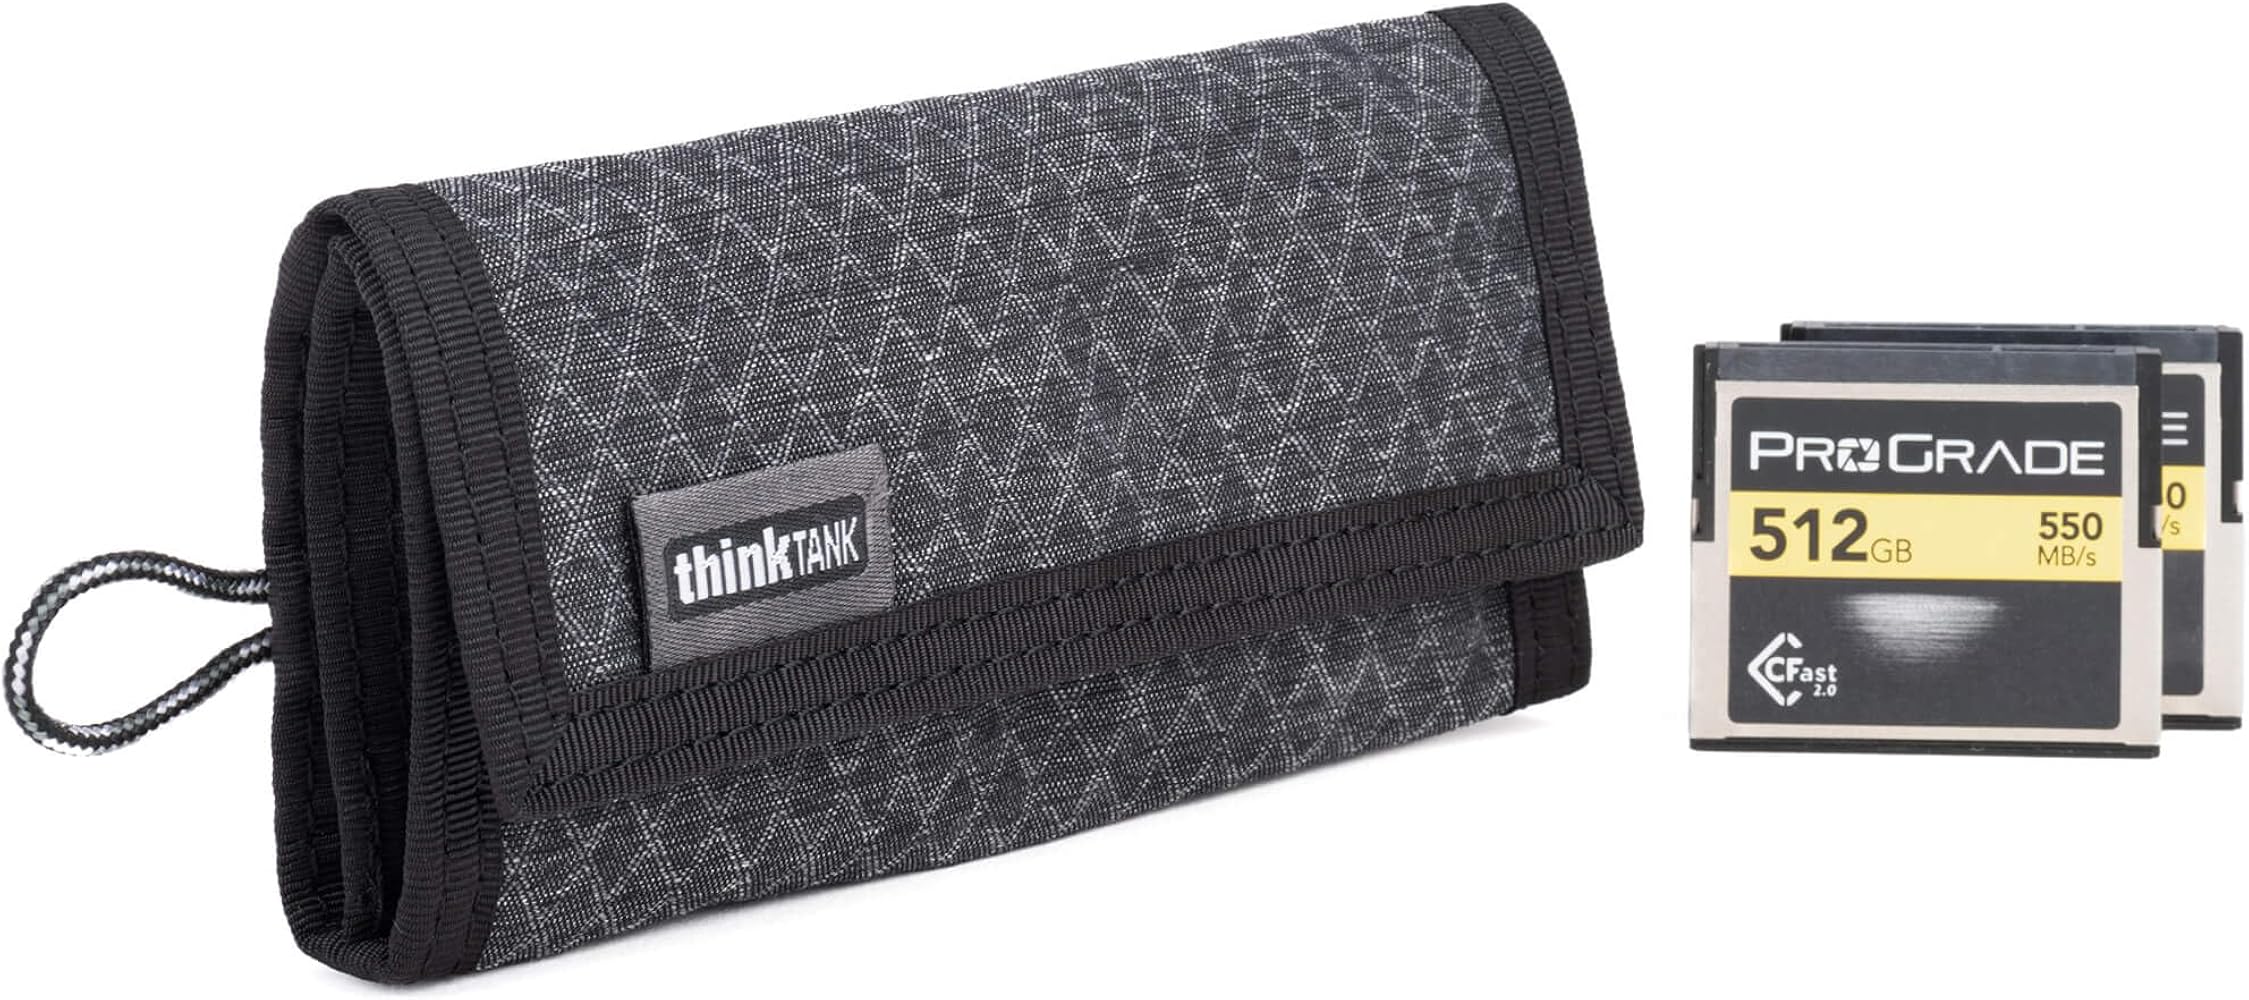
Think Tank Photo Pixel Pocket Organizer
Slim, durable pouches with touchscreen-friendly pockets and secure closures for tech-heavy kits.
Best for: Great for slinging into any bag for on-the-go access to memory cards and chargers.
Price Range: $30-$40
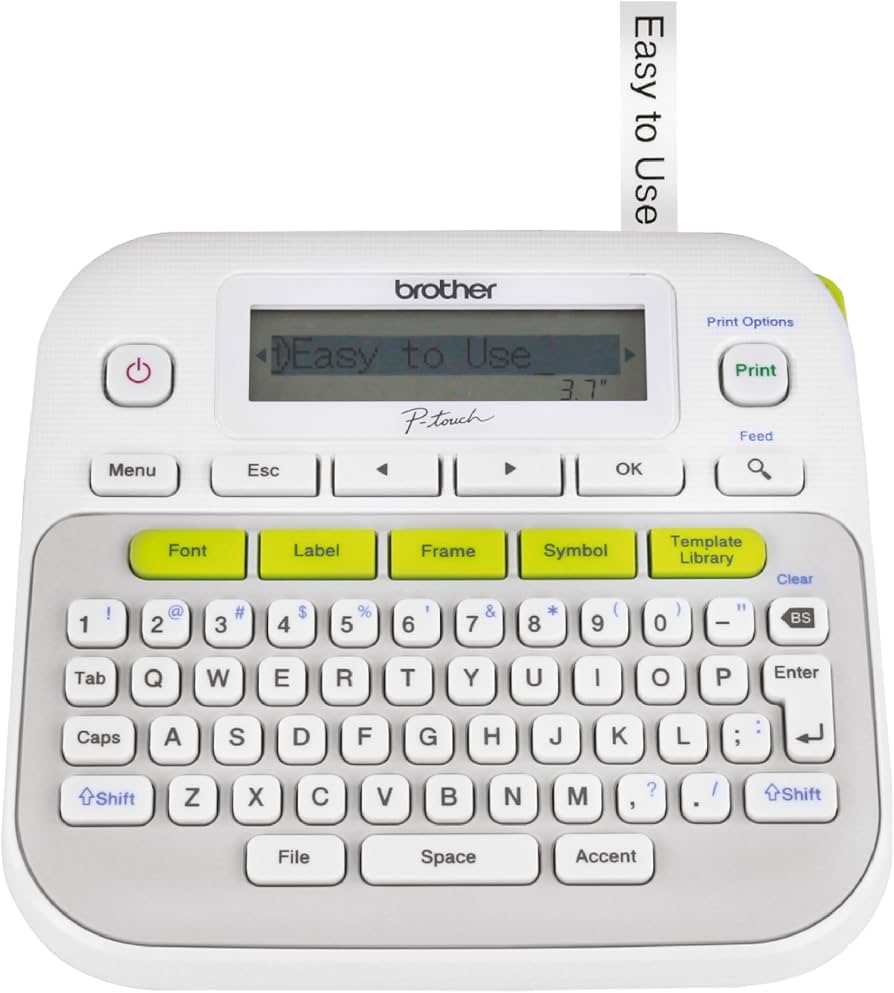
Brother P-Touch PT-D210 Label Maker
Portable, easy-to-use for creating professional, customizable labels that withstand handling.
Best for: Essential for labeling every compartment during setup and maintenance.
Price Range: $25-$35
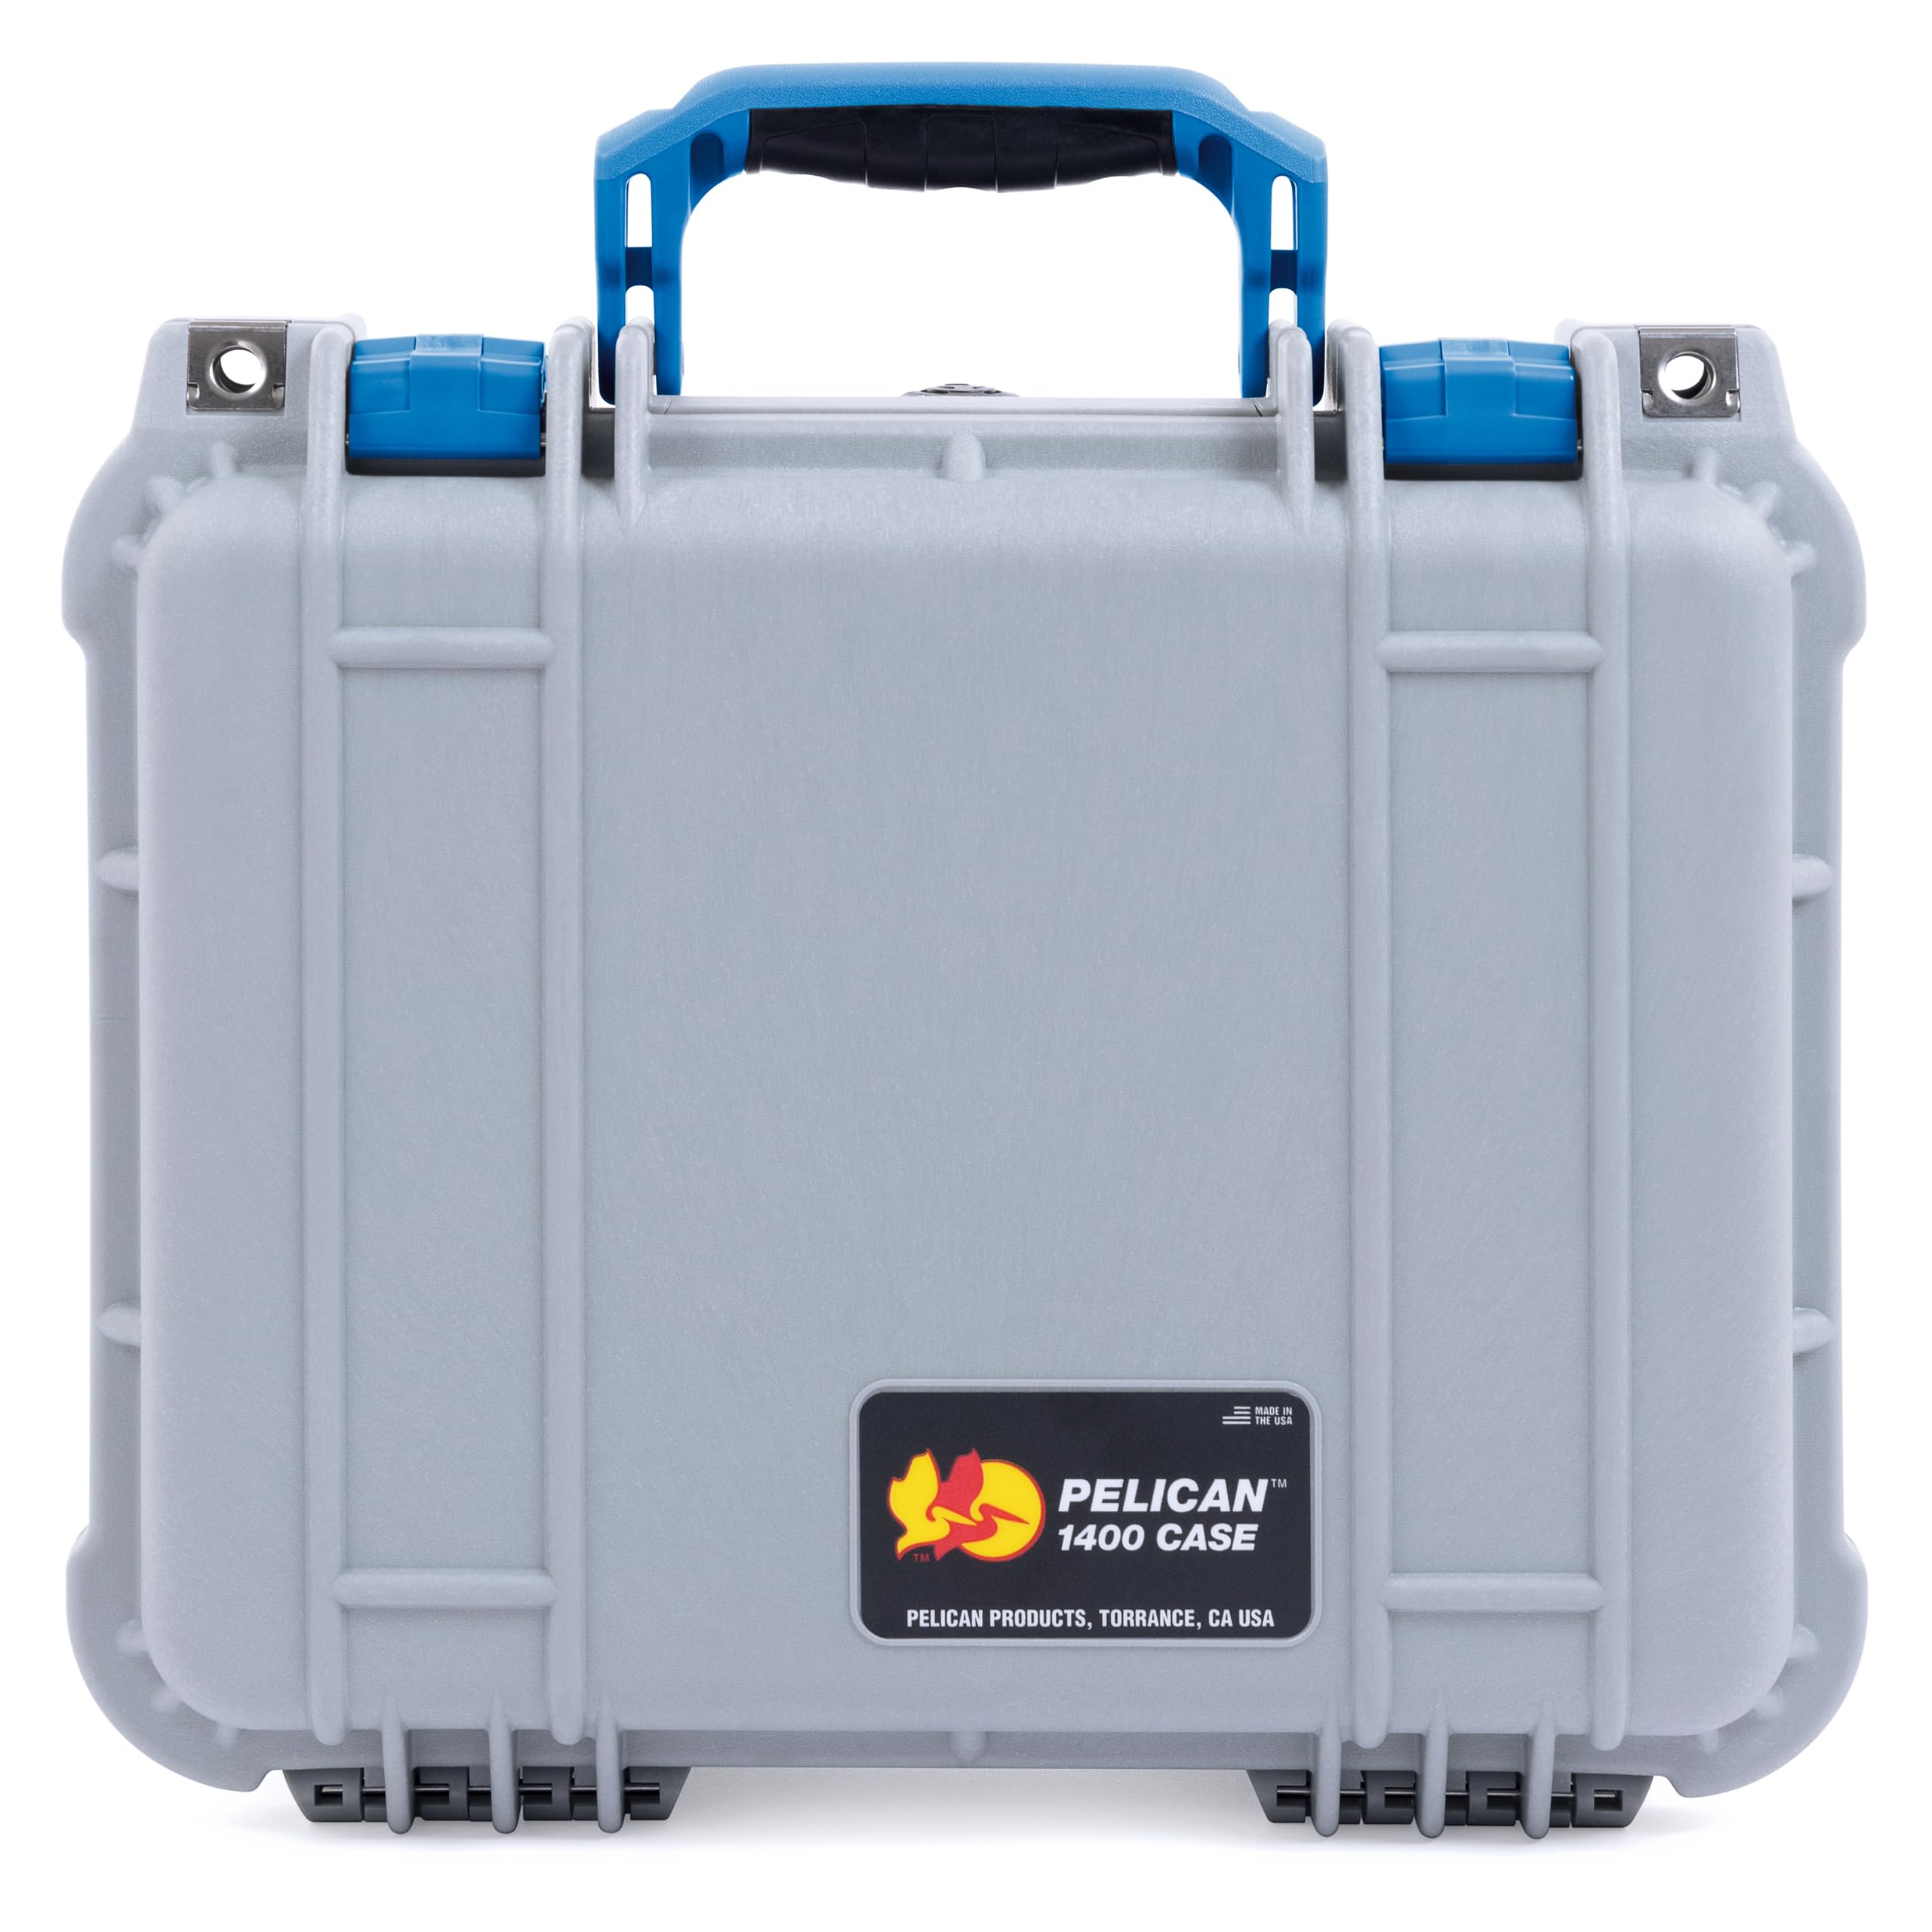
Pelican 1400 Protector Case
Waterproof, crushproof hard case with customizable foam for protecting valuables during travel.
Best for: Best for studio-to-location transport of tripods, flashes, or full kits.
Price Range: $100-$120
Neewer 6 Pack Camera Lens Pouch Bag
Affordable, padded neoprene pouches in various sizes for shock absorption and easy stacking.
Best for: Budget option for organizing loose lenses or filters in larger bags.
Price Range: $20-$25