Tired of digging through a jumbled mess in your photography backpack during a critical shoot? Cluttered accessories like cables, batteries, lenses caps, and memory cards can waste precious time and risk damage to your gear. Proper organization transforms chaos into a streamlined system, letting you grab what you need instantly.
In this intermediate guide, you'll learn a step-by-step process to categorize, compartmentalize, and label your accessories. By the end, your backpack will be customized for your workflow, protecting delicate items and boosting efficiency. Expect 30-45 minutes of hands-on work—no advanced skills required, just some planning and basic tools.
We'll cover everything from inventory to testing, with pro tips to maintain your setup long-term.
▸What You'll Need
- •Your existing photography backpack
- •Small pouches, divider inserts, or organizer bags (required for compartments)
- •Cable ties, Velcro strips, or elastic bands (for bundling)
- •Labels, label maker, or permanent marker (for identification)
- •Notebook or phone app for inventory list
- •Cleaning cloth or compressed air (optional, for pre-cleaning)
Estimated Time: 30-45 minutes
Difficulty: intermediate
▸Step-by-Step Instructions
Step 1: Empty Your Backpack Completely
Start by unloading everything from your backpack onto a clean, spacious work surface like a table. Remove cameras, lenses, accessories, and any loose items. Shake out debris and wipe down the interior with a cleaning cloth or compressed air.
Why it matters: This gives you a blank canvas to assess your gear and prevents forgotten items. Expect to see the true extent of clutter—common for intermediate photographers with growing kits.
Lay items in groups intuitively (e.g., cables together) for the next step.
💡 Tips:
- •Work in a well-lit area to spot dirt.
- •Photograph the 'before' state for motivation.
⚠️ Warnings:
- •Avoid rushing—missing items lead to frustration later.
Step 2: Create a Detailed Inventory
List all accessories in a notebook or app. Categorize them: power (batteries, chargers), cables (USB, HDMI), memory/storage (SD cards, holders), protection (caps, straps), tools (cleaning kits, multi-tools), and misc (filters, remotes).
Why it matters: Inventory reveals duplicates or underused items, helping streamline your kit. For intermediate users, this might uncover 20-50 items—trim redundancies to save space.
Count quantities and note sizes for organizer selection.
💡 Tips:
- •Use a spreadsheet app like Google Sheets for easy updates.
- •Color-code categories for visual clarity.
Step 3: Categorize and Prioritize Items
Group physical items by your inventory categories. Prioritize by frequency of use: high (grab-and-go like extra batteries), medium (session-specific like filters), low (backup cables).
Why it matters: Frequent items go in easy-access spots; protects fragile ones. Expect high-use items to be 30-40% of your kit.
Discard or store rarely used items elsewhere to optimize space.
💡 Tips:
- •Prioritize based on your shooting style—e.g., batteries first for event photographers.
⚠️ Warnings:
- •Don't overpack—aim for 70-80% capacity to allow airflow.
Step 4: Select and Prepare Organizers
Choose pouches, dividers, or inserts fitting your backpack (measure compartments first). Cut Velcro or foam for custom fits if needed.
Why it matters: Organizers prevent scratching and tangling. For backpacks like Lowepro or Peak Design, modular inserts work best.
Test-fit empty organizers inside the backpack.
💡 Tips:
- •Opt for water-resistant materials for outdoor shoots.
Step 5: Install Dividers and Pouches
Bottom layer: Heavy/protected items (batteries in padded pouches). Middle: Cables bundled with ties. Top/quick access: Memory cards, lens wipes.
Why it matters: Balances weight and accessibility—prevents top-heaviness. Secure with Velcro for stability.
Fill gradually, ensuring no bulges.
💡 Tips:
- •Use vertical dividers for tall items like tripods.
⚠️ Warnings:
- •Avoid overloading one side to prevent backpack tipping.
Step 6: Bundle and Pack Cables/Tools
Bundle cables with ties or organizers, coil neatly. Place tools in mesh pockets for visibility.
Why it matters: Prevents knots and quick ID. Expect cables to take 20% space if bundled properly.
Pack high-use items nearest top flap.
💡 Tips:
- •Label cable ends (e.g., 'USB-C to Camera') for speed.
Step 7: Label Everything Clearly
Apply labels to pouches: 'Batteries', 'SD Cards', etc. Use icons for quick visual recognition.
Why it matters: Saves seconds in low-light/field conditions—crucial for intermediates on tight schedules.
Test readability from 2 feet away.
💡 Tips:
- •Laminating labels adds durability.
Step 8: Test and Refine Accessibility
Simulate a shoot: Pack your main camera/lenses around accessories. Time retrieving 5 key items—aim under 10 seconds total.
Why it matters: Ensures real-world efficiency. Adjust as needed.
Walk with the pack; tweak for comfort.
💡 Tips:
- •Re-test after every big shoot.
⚠️ Warnings:
- •If access is slow, swap pouch positions.
▸Pro Tips
- •Customize per backpack model—Peak Design packs love clip systems.
- •Use color-coded pouches for instant category ID.
- •Add a 'dirty' pouch for used wipes/SDs to segregate.
- •Incorporate RFID blockers for cards in travel setups.
- •Weigh your pack post-org: target under 20lbs loaded.
- •Rotate inventory seasonally (e.g., more rain covers in winter).
- •Integrate with camera bag rain covers for full protection.
▸Common Mistakes to Avoid
- •Overpacking without testing: Leads to inaccessible items—measure twice.
- •Ignoring weight distribution: Causes back strain—balance sides.
- •Skipping labels: Wastes time hunting—always label.
- •Forgetting maintenance: Dust builds up—monthly checks needed.
- •Generic organizers: Don't fit curves—choose backpack-specific.
▸Troubleshooting
Problem: Items shift during transport
Solution: Add extra Velcro straps or use fitted inserts; tighten backpack compartments.
Problem: Not enough space after packing
Solution: Declutter low-use items or switch to slimmer organizers; aim for modular ones.
Problem: Hard to access in low light
Solution: Use glow-in-dark or reflective labels; position high-use items top-front.
Problem: Cables tangle despite bundling
Solution: Invest in dedicated cable reels; re-bundle with softer ties.
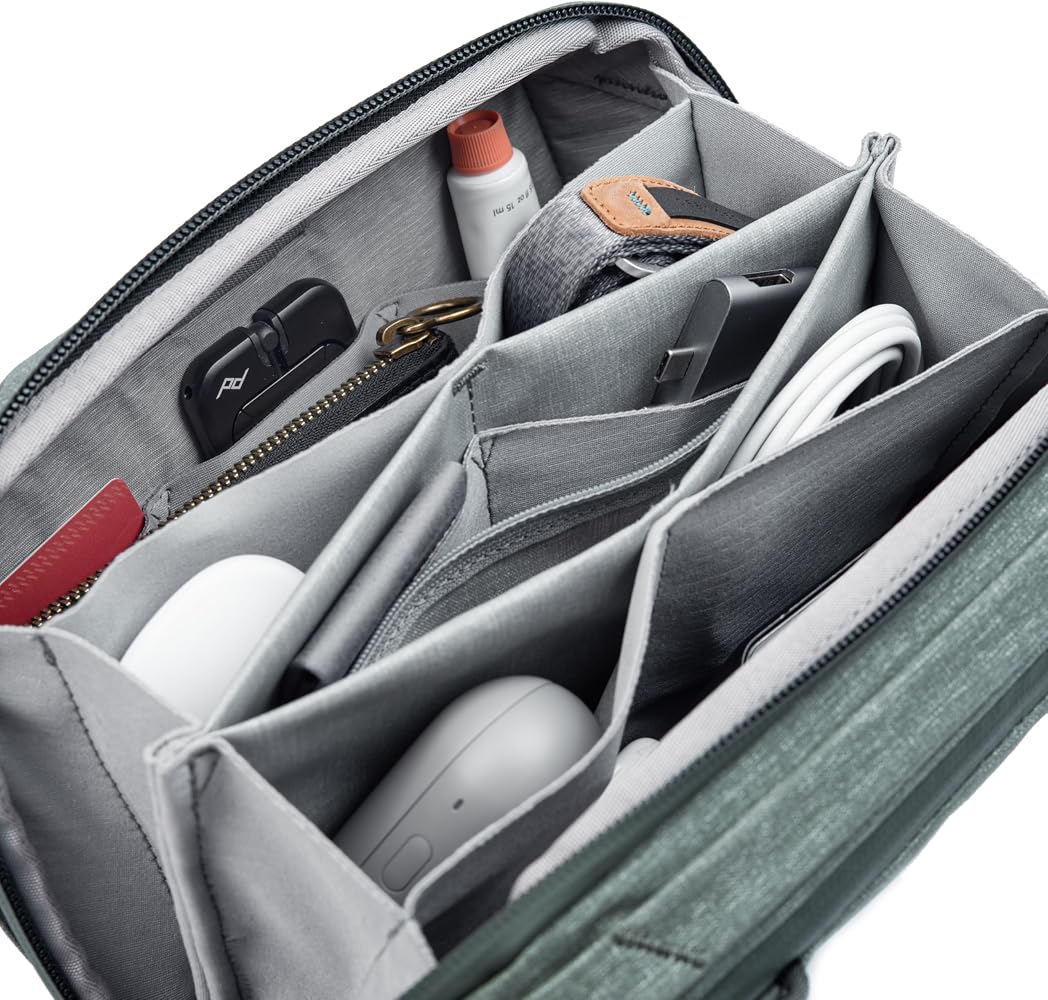
Peak Design Tech Pouch V2
Versatile, padded compartments perfect for cables, batteries, and SD cards with quick-access design.
Best for: Ideal for intermediate photographers needing a standalone or insert organizer for daily shoots.
Price Range: $59.95
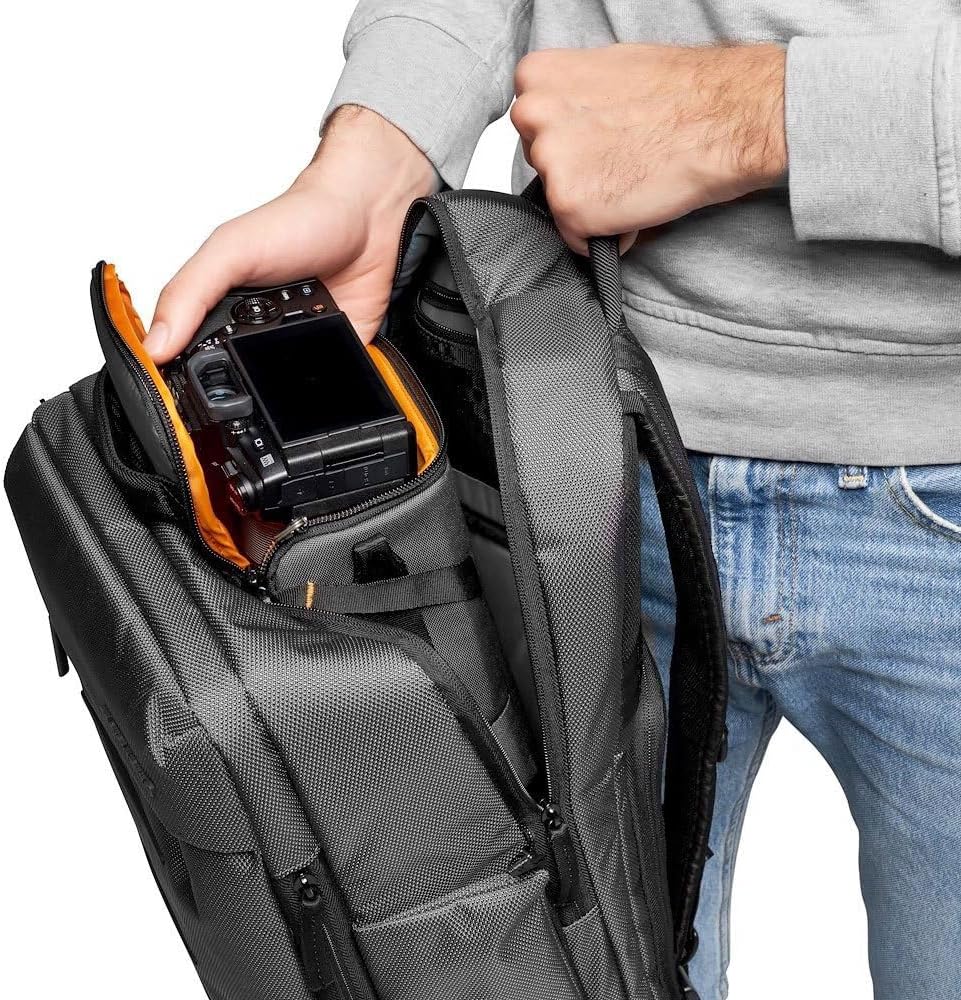
Lowepro GearUp Creator Box L
Modular box with customizable dividers fits most backpacks, protecting small accessories.
Best for: Great for tools and memory cards in larger backpacks during travel or studio work.
Price Range: $39.99
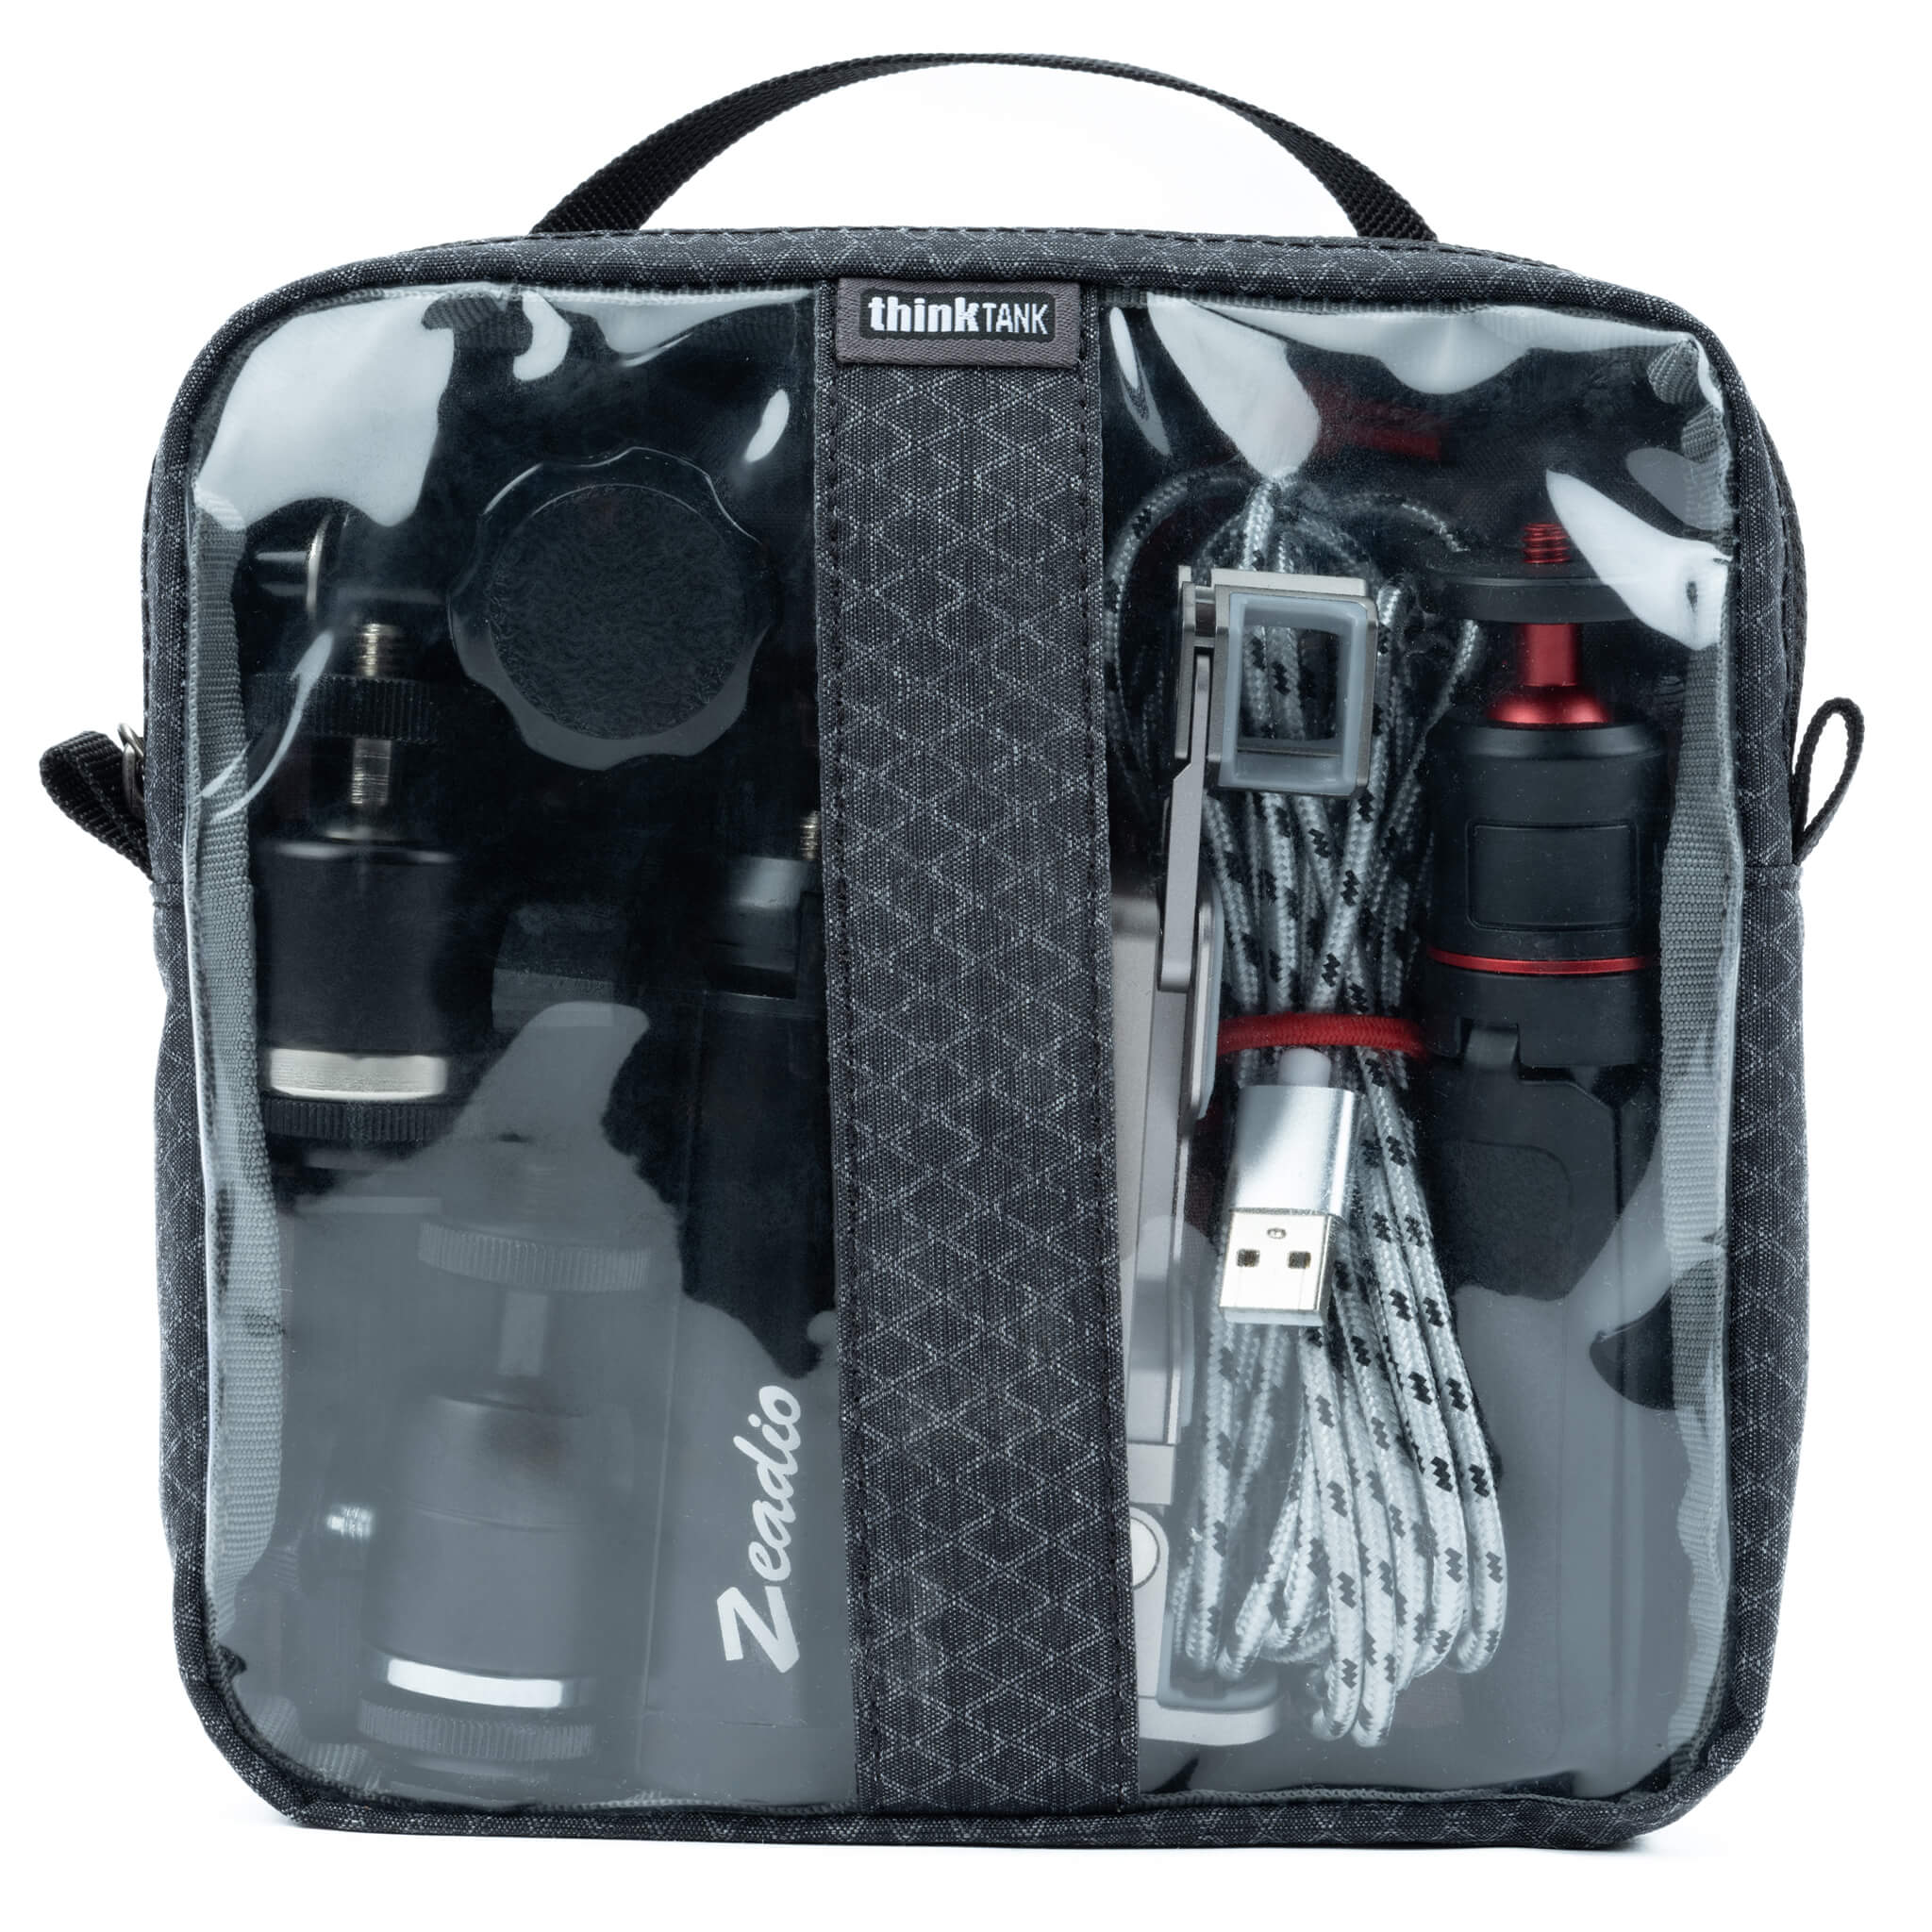
Think Tank Photo Cable Management 20 V3.0
Dedicated elastic loops and mesh pockets tame cables without bulk.
Best for: Essential for cable-heavy kits in event or video photography.
Price Range: $38.00
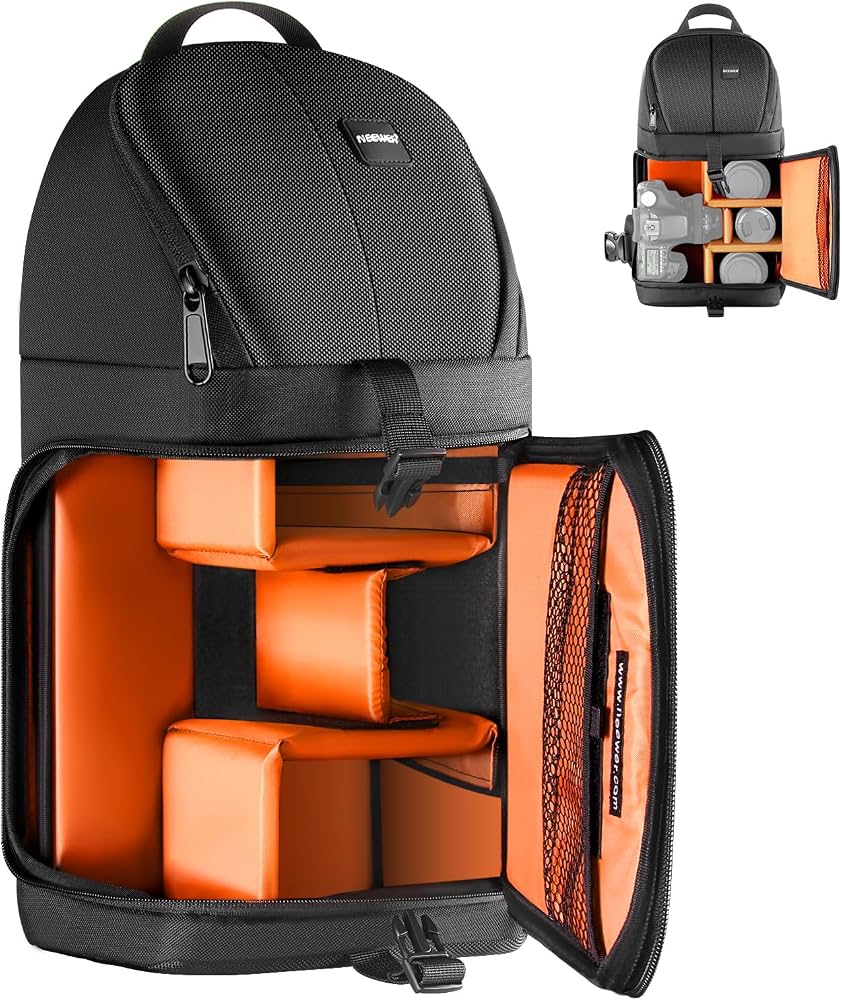
Neewer Camera Backpack Dividers (4-Pack)
Affordable, adjustable foam dividers customize any backpack interior.
Best for: Budget option for beginners upgrading to organized pro setups.
Price Range: $19.99
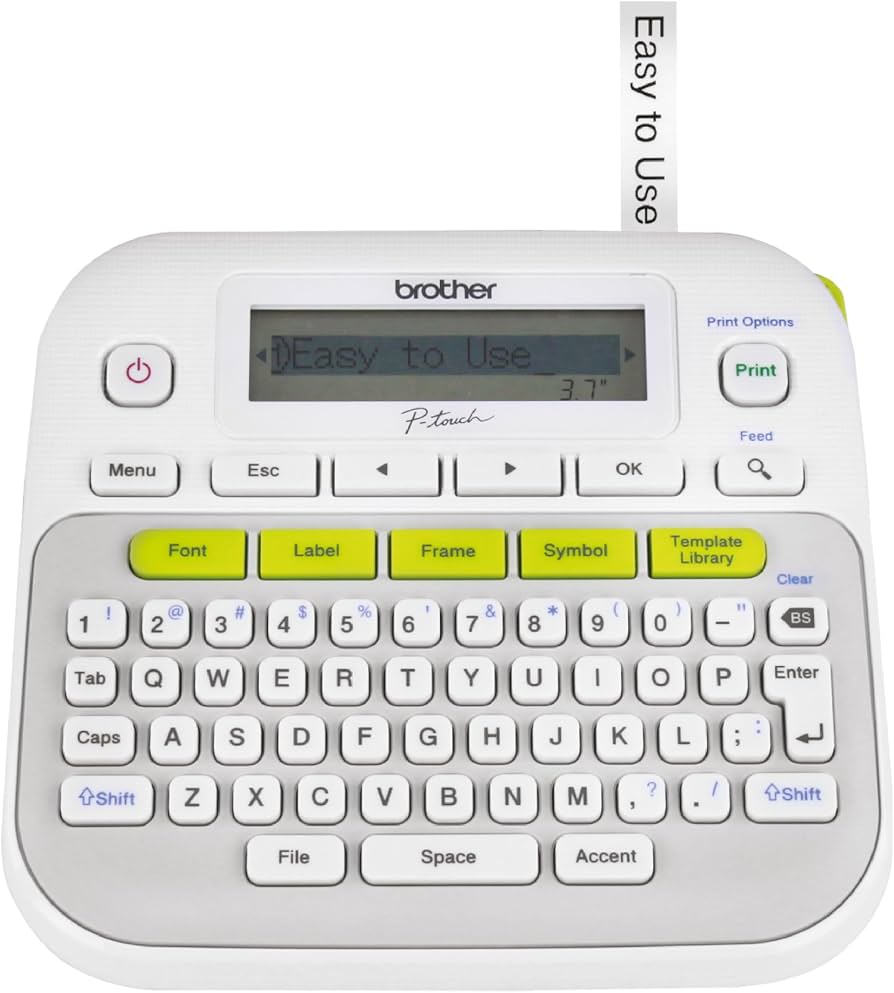
Brother P-Touch PT-D210 Label Maker
Portable for durable, printable labels that withstand field use.
Best for: Quick labeling during organization or updates.
Price Range: $29.99