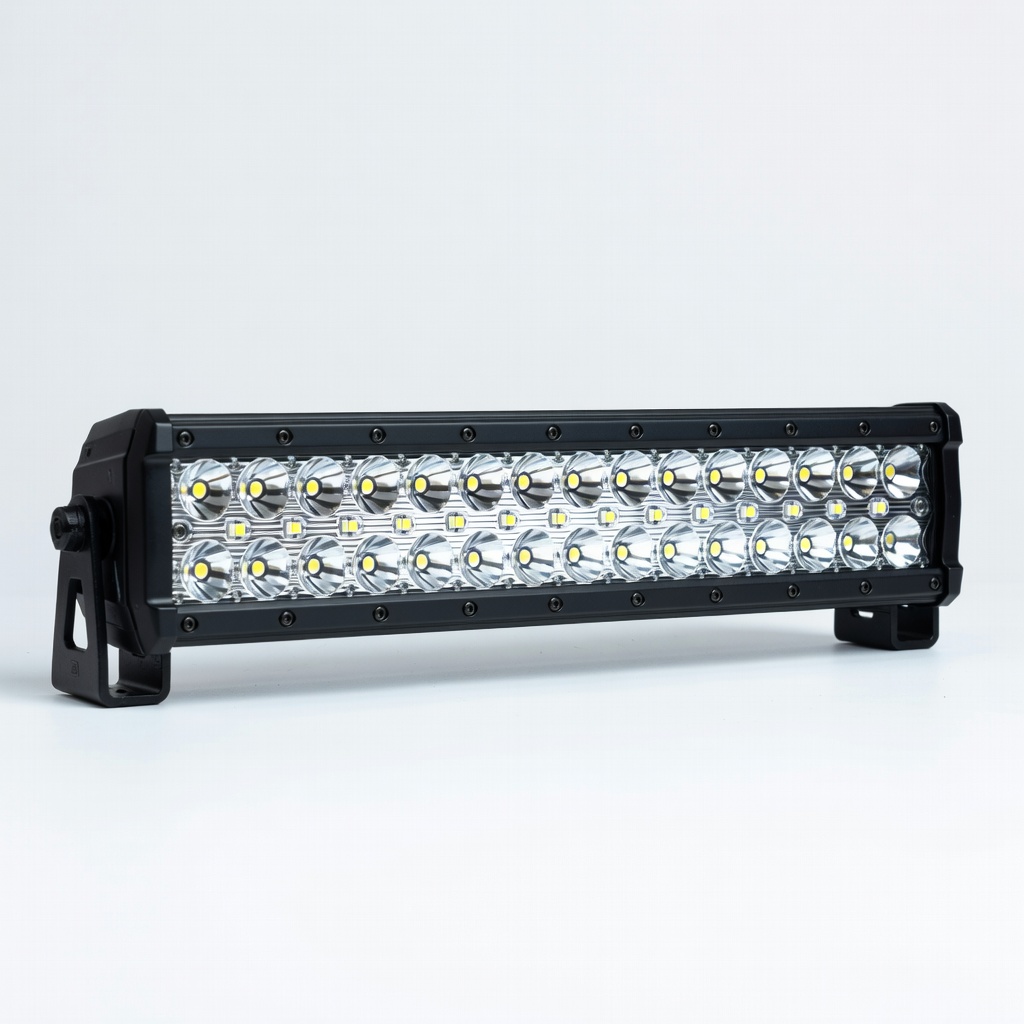
Nilight 22Inch 120W LED Light Bar
Main forward-facing light on bumpers.
$39.99
Nilight 22Inch 120W LED Light Bar Durable aluminum housing, IP67 waterproof—ideal for off-road bars with bright 5760LM output.
Get the App
Better experience on mobile
Master a clean, professional install for your vehicle's accent and off-road lights in under 6 hours with step-by-step organization tips.
Off-road enthusiasts and truck owners love the style and visibility boost from accent and off-road lighting, but chaotic installs lead to flickering lights, exposed wires, and safety hazards. Poor organization wastes time, damages your rig, and voids warranties. This guide fixes that.
You'll learn how to plan, execute, and organize a full accent (like rock lights or strips) and off-road (bars, pods) lighting install systematically. Expect a safe, durable setup that looks factory-fresh. Perfect for intermediate DIYers with basic wiring knowledge.
The process takes 4-6 hours total, spread over a weekend if needed. Difficulty: intermediate—no advanced electrical skills required, but comfort with tools is key.
Estimated Time: 4-6 hours Difficulty: intermediate
Sketch your vehicle's lighting setup on paper or an app. Decide placements: accent lights under rockers or wheel wells for ground glow; off-road bars on bumper/roof, pods on A-pillars. Measure distances for wire runs.
Why it matters: Prevents rework and ensures balanced aesthetics/illumination. Expect a blueprint showing power source (battery), switch locations, and ground points.
Label everything: Use a spreadsheet for wire colors, lengths, and connections.
💡 Tips:
⚠️ Warnings:
Lay out all tools and parts on a clean workbench. Sort into bins: lights, wiring, mounts, tools. Cut wires to measured lengths from Step 1, label ends with tape (e.g., 'front bar +').
Organization tip: Use ziplock bags for small parts. Why? Reduces frustration mid-install. Success: Neat stations ready for assembly.
💡 Tips:
⚠️ Warnings:
Park on level ground, disconnect battery negative terminal. Clean mounting surfaces with isopropyl alcohol. Remove any trim panels for access.
Safety first: Prevents shorts. Expect exposed frame rails and clean holes pre-drilled if needed.
💡 Tips:
Install rock lights or strips first (easier access). Drill pilot holes if needed, secure with provided brackets or 3M tape. Route wires inward along frame using zip ties every 12 inches.
Why sequential: Accents are lower voltage, less wiring. Test fit: Lights should glow evenly without sagging.
⚠️ Warnings:
Bolt light bars/pods to brackets on bumper, roof rack, or pillars. Torque to spec (usually 10-15 ft-lbs). Protect lenses with mesh guards if trail-bound.
Success: Sturdy, vibration-proof mounts. Wires bundled in loom tubing.
💡 Tips:
Thread main harness from lights to battery, using firewall grommets. Sleeve wires in split loom, secure away from heat/exhaust. Branch to switches.
Key: Color-code and label for future access. Expect no pinched wires.
⚠️ Warnings:
Crimp ring terminals to battery ends (fuse inline on positive). Ground to chassis clean metal. Connect to relay if high-amp (>20A).
Test continuity with multimeter. Why organized: Modular plugs simplify.
💡 Tips:
Mount dash switch panel. Reconnect battery. Toggle switches to verify function.
Full test: All lights on/off, no dimming.
Night test: Aim off-road lights (high beams parallel at 25ft). Adjust accent glow. Zip-tie loose ends, reinstall panels.
Final check: Waterproof with dielectric grease.
💡 Tips:
Sweep workspace, store extras labeled. Note setup in phone photos/manual for maintenance.
Pro install complete: Clean, reliable lighting.
Problem: Lights flicker or dim
Solution: Check loose grounds/connections; upgrade wire gauge if long runs.
Problem: No power to lights
Solution: Verify fuse/relay; test with multimeter at switch.
Problem: One light out
Solution: Inspect wiring branch; swap bulbs if possible.
Problem: Overheating wires
Solution: Too thin gauge—replace with 14AWG; add relay.
Durable aluminum housing, IP67 waterproof—ideal for off-road bars with bright 5760LM output.
Best for: Main forward-facing light on bumpers.
Price Range: $39.99
Pre-wired with relay/fuse/switch—plug-and-play for clean organization.
Best for: Powering multiple lights without custom cutting.
Price Range: $16.99
Backlit, waterproof panel controls multiple circuits neatly.
Best for: Dash mounting for accents and off-road lights.
Price Range: $29.99
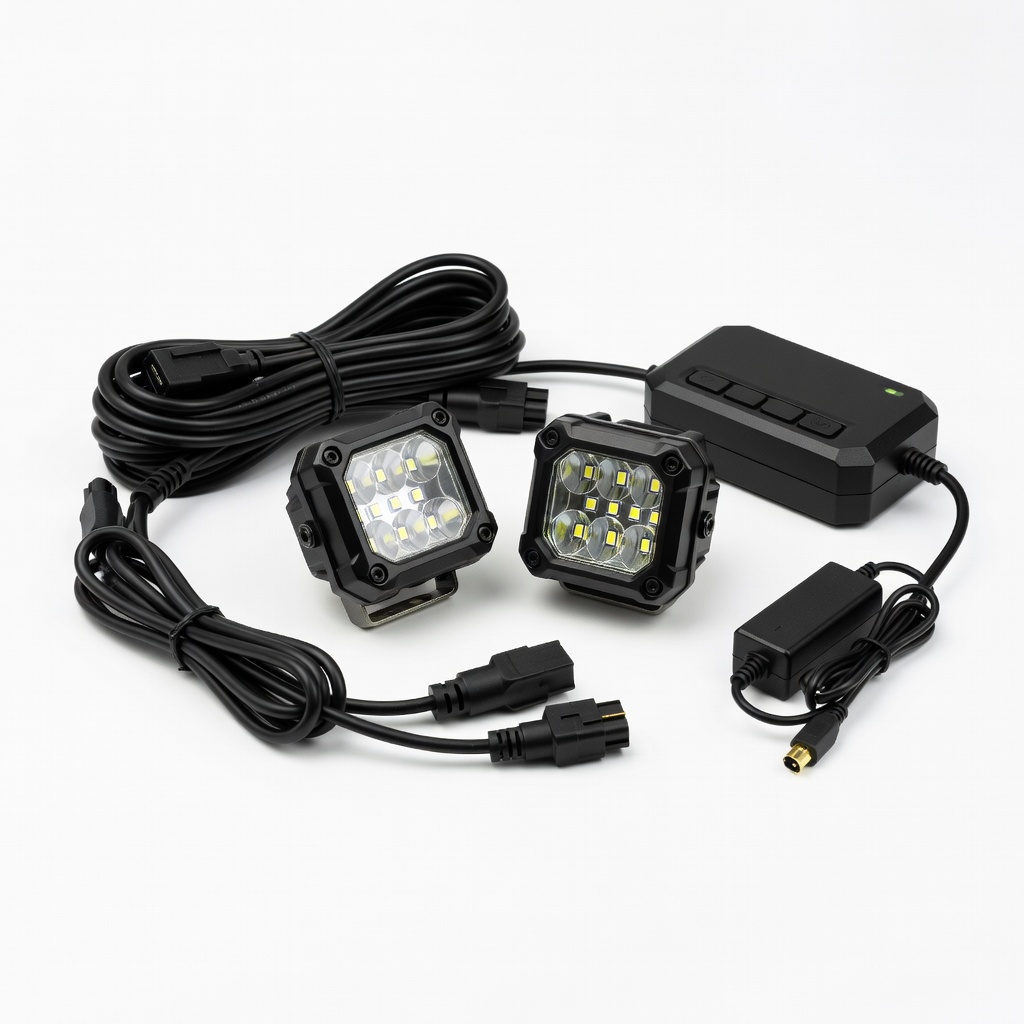
Compact, high-output pods with combo beam for versatility.
Best for: A-pillar or ditch lights.
Price Range: $35.99
App-controlled colors/multiple modes for customizable accents.
Best for: Underbody glow for style.
Price Range: $49.99
Main forward-facing light on bumpers.
Nilight 22Inch 120W LED Light Bar Durable aluminum housing, IP67 waterproof—ideal for off-road bars with bright 5760LM output.
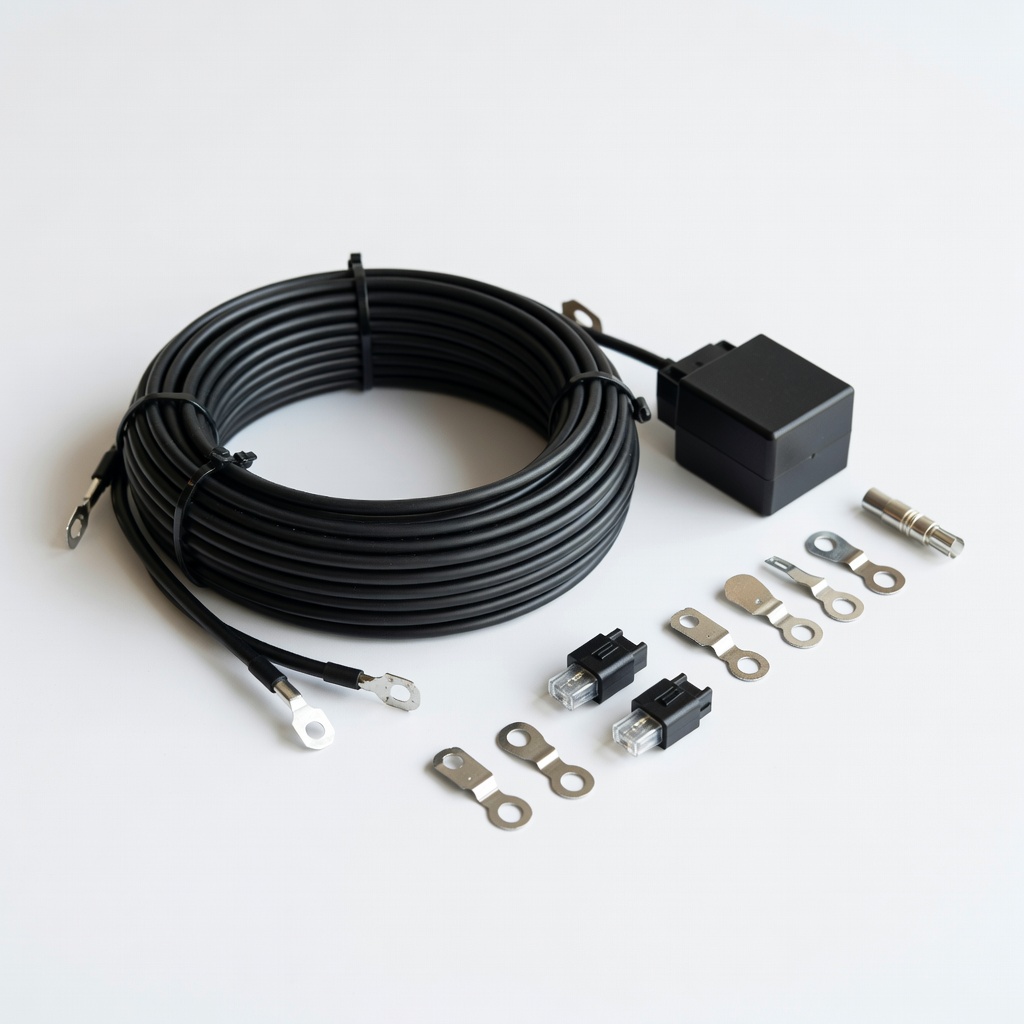
Powering multiple lights without custom cutting.
Nilight 16AWG Wiring Harness Kit Pre-wired with relay/fuse/switch—plug-and-play for clean organization.

Dash mounting for accents and off-road lights.
Nilight 6 Gang Switch Panel Backlit, waterproof panel controls multiple circuits neatly.

A-pillar or ditch lights.
Auxbeam 3 Inch 37W LED Cube Pods (Pair) Compact, high-output pods with combo beam for versatility.
Underbody glow for style.
GTR Lighting RGBW LED Rock Lights Kit App-controlled colors/multiple modes for customizable accents.