Open-plan living spaces offer flexibility and light, but arranging furniture can feel overwhelming—especially when accent pieces like chairs, tables, and ottomans compete for attention. Without a plan, your room might end up crowded, unbalanced, or lacking personality. This guide solves that by teaching you how to zone, measure, and position accents for maximum impact.
You'll master a simple 8-step process to create defined areas, improve traffic flow, and add visual interest. Perfect for beginners, no design degree needed. Expect a cohesive, inviting space that impresses guests. Total time: 1-2 hours, depending on room size and furniture count.
By the end, your open-plan living will feel organized, stylish, and purposeful—ready for relaxation or entertaining.
▸What You'll Need
- •Measuring tape or laser measure (required for accuracy)
- •Furniture sliders or dolly (required for easy moving; optional if hiring help)
- •Paper, pencil, and graph paper (for sketching floor plan)
- •Cleaning supplies (duster, microfiber cloths for pre-arrangement clean)
- •Accent furniture pieces (side tables, chairs, ottomans—start with 3-5)
- •Optional: Area rug or painter's tape for zoning outlines
Estimated Time: 1-2 hours
Difficulty: beginner
▸Step-by-Step Instructions
Step 1: Assess Your Space and Clear the Area
Start by emptying or decluttering your open-plan living area. Remove all furniture, rugs, and loose items to get a blank canvas. Walk through the space multiple times, noting natural light sources, windows, doors, and traffic paths (e.g., from kitchen to patio).
Why it matters: This reveals the room's true shape, size, and flow challenges, like narrow walkways or awkward corners. Expect a freshly cleared 200-500 sq ft area (typical open-plan). Take photos from multiple angles for reference.
Image description: Empty open-plan living room with natural light streaming in, tape measure on floor marking dimensions.
💡 Tips:
- •Measure room dimensions now: length, width, height to ceiling.
- •Note fixed elements like TVs or fireplaces.
⚠️ Warnings:
- •Don't skip clearing—clutter hides poor layouts.
Step 2: Define Functional Zones
Divide your open-plan space into zones: conversation/lounge, dining, reading nook, or entryway. Use painter's tape on the floor to outline each zone roughly (e.g., 8x10 ft for lounge).
Why it matters: Open plans lack walls, so zones create purpose and prevent a 'furniture soup' look. Success: Clear mental map where each area serves a function without blocking flow.
Test by walking between zones—aim for 3-4 ft walkways.
💡 Tips:
- •Prioritize high-traffic paths; keep them 36-48 inches wide.
- •Consider family needs: play zone for kids?
⚠️ Warnings:
- •Avoid overlapping zones—leads to cramped feel.
Step 3: Measure and Inventory Your Pieces
Measure every accent item: height, width, depth. Also measure zone spaces and doorways for fit. List pieces (e.g., 24" side table, 30" chair) with photos.
Why it matters: Prevents buying oversized items or awkward fits. Expect to note scale mismatches early. Use a laser measure for speed.
Create a simple spreadsheet or note: 'Ottoman: 18x18x16 inches'.
💡 Tips:
- •Add 6-12 inches clearance around pieces for access.
- •Scale rule: Accents should be 1/2-2/3 size of main furniture.
⚠️ Warnings:
- •Overlook doorways? Furniture won't enter!
Step 4: Sketch a Floor Plan
On graph paper (1 square = 1 ft), draw your room and zones. Cut paper shapes for furniture; arrange them like puzzle pieces. Experiment with groupings.
Why it matters: Visualizes layout before heavy lifting, saving time and backaches. Success: Paper plan showing 60-70% open floor space.
Focus on 'focal points' like sofas facing TVs.
💡 Tips:
- •Apps like Room Planner free alternative.
- •Group accents in odd numbers (3s) for balance.
Step 5: Position Main Furniture First
Move sofas, tables, and main pieces per your plan using sliders. Anchor zones (e.g., sofa defines lounge).
Why it matters: Creates skeleton for accents. Expect improved flow instantly—walkways clear, views unobstructed.
Clean pieces as you place.
💡 Tips:
- •Lift with knees, use team for heavy items.
- •Float furniture 12-18 inches from walls for airiness.
⚠️ Warnings:
- •Push against walls? Room shrinks visually.
Step 6: Strategically Place Accent Furniture
Add accents: side tables next to chairs, ottomans in centers, chairs at angles. Aim for conversation triangles (seats 8-10 ft apart).
Why it matters: Accents define style and function without overwhelming. Success: Cozy vignettes in each zone.
Vary heights: low ottoman + tall lamp.
💡 Tips:
- •Layer: Rug under group anchors it.
- •Mix textures: wood table + fabric chair.
Step 7: Balance Visual Weight and Style
Step back: Ensure symmetry or asymmetry balances (e.g., tall piece one side, two shorts other). Match colors/textures to room scheme.
Why it matters: Prevents lopsided look. Expect harmonious, pro-designed feel.
Add plants or art for softness.
💡 Tips:
- •Rule of thirds: Divide room, place accents off-center.
- •Mirror test: Photo in mirror for fresh view.
⚠️ Warnings:
- •Too matchy? Boring; mix eras/styles.
Step 8: Test, Tweak, and Enjoy
Live-test: Sit, walk, entertain mock guests. Adjust 10-20% as needed. Vacuum and add decor.
Why it matters: Real use reveals flaws. Success: Intuitive, comfortable space.
Reassess seasonally.
💡 Tips:
- •Vacuum lines show paths—widen if needed.
- •Lighting: Floor lamps as accents.
▸Pro Tips
- •Use the 80/20 rule: 80% floor empty for openness.
- •Incorporate rugs to 'float' zone furniture.
- •Hang mirrors opposite windows to amplify light.
- •Rotate pieces seasonally for fresh look.
- •Shop modular accents for flexibility.
- •Vertical accents (shelves) save floor space.
- •Color-block zones subtly with accents.
▸Common Mistakes to Avoid
- •Overcrowding: Too many pieces block flow—limit to 1-2 accents per zone.
- •Ignoring scale: Tiny accents lost; giants dominate—measure first.
- •No focal point: Scattershot look—anchor with main + 1-2 accents.
- •Pushing to walls: Makes room feel smaller—float for intimacy.
- •Mismatched styles: Clashing vibes—unify with color/texture.
▸Troubleshooting
Problem: Room feels cramped after arranging
Solution: Remove 1-2 pieces; ensure 40% open floor. Use vertical storage.
Problem: Uneven floors cause wobbles
Solution: Felt pads or shims under legs. Check with level app.
Problem: Poor lighting highlights bad layout
Solution: Add floor lamps as accents; layer ambient/task light.
Problem: Family hates it
Solution: Involve them in Step 4 sketching; prioritize function.
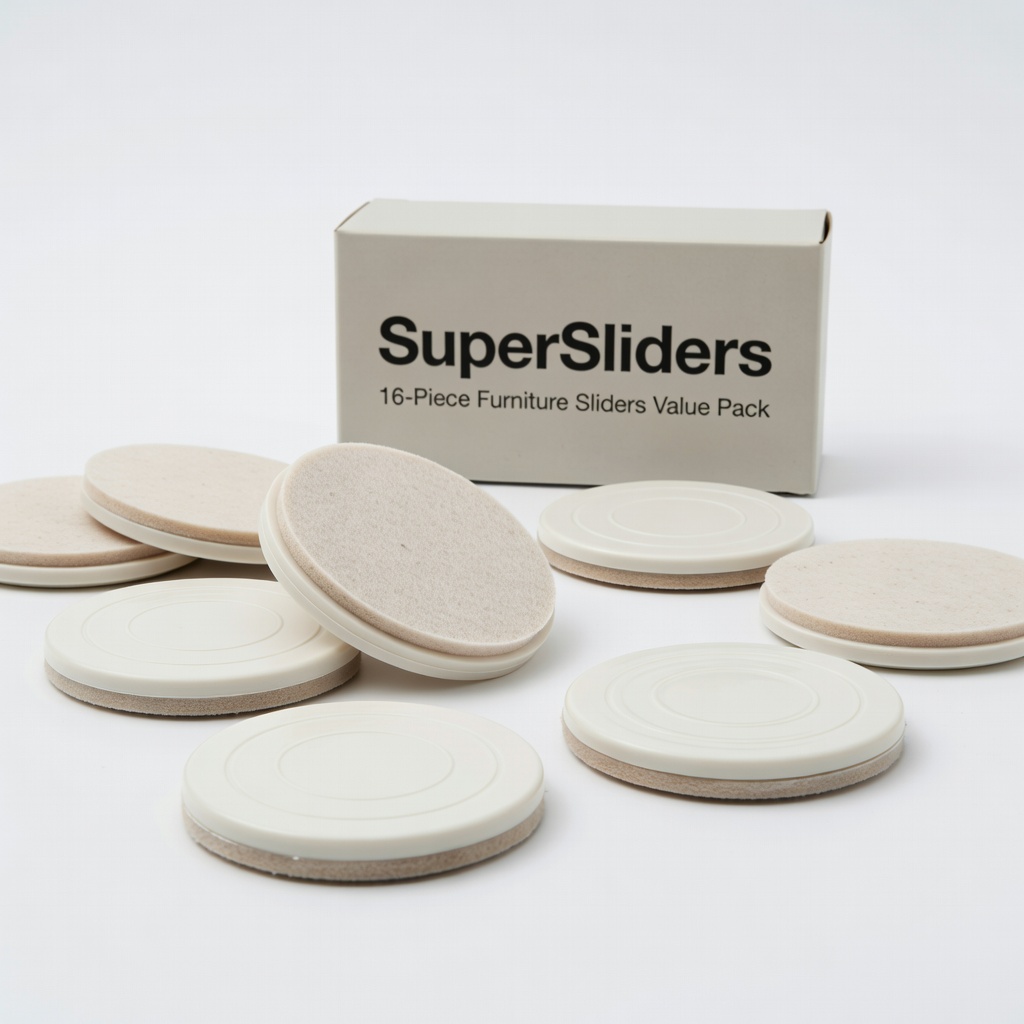
SuperSliders 16-Piece Furniture Sliders Value Pack
Makes moving heavy accents effortless without floor damage, ideal for beginners rearranging solo.
Best for: Sliding sofas, chairs, tables during Steps 5-6.
Price Range: $12.99
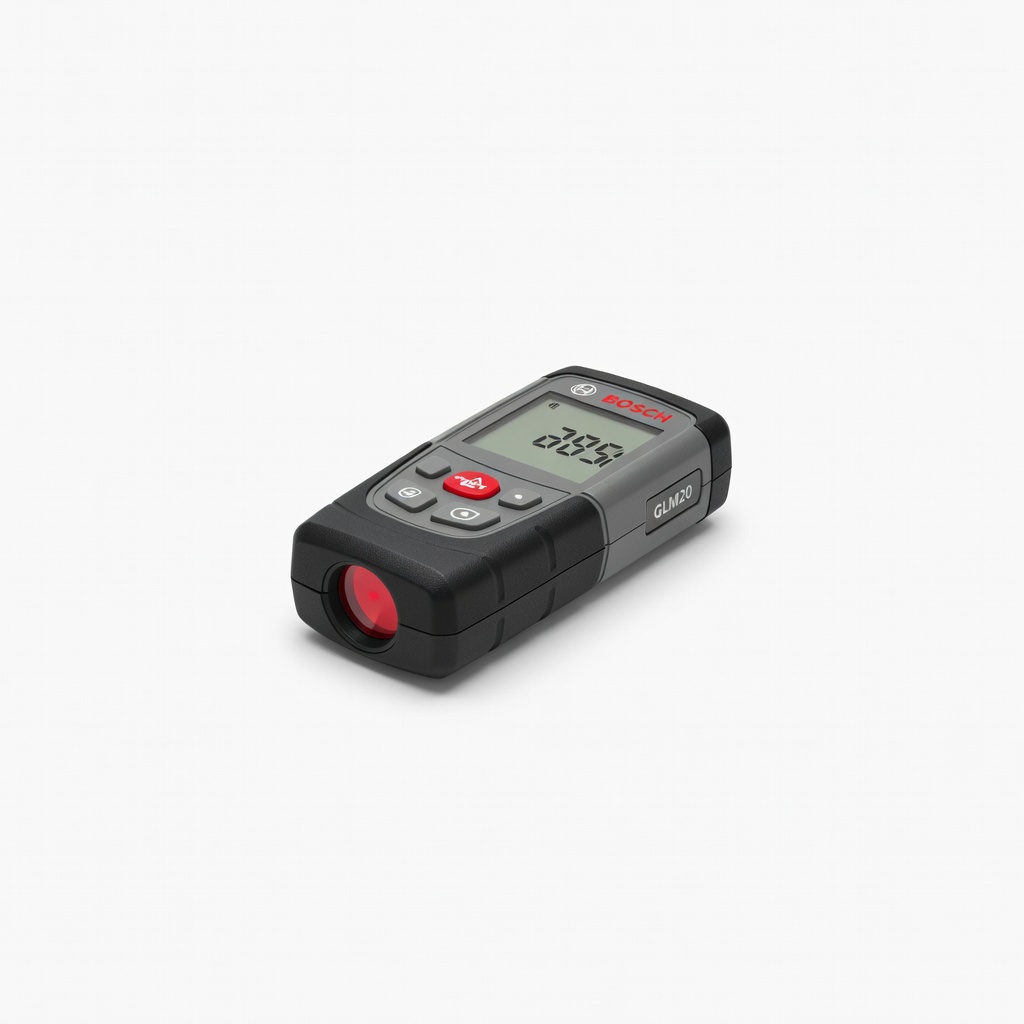
Bosch GLM20 Blaze 65ft Laser Distance Measure
Faster, more accurate than tape for large open plans—prevents misfits.
Best for: Measuring rooms, furniture in Steps 1 and 3.
Price Range: $29.97
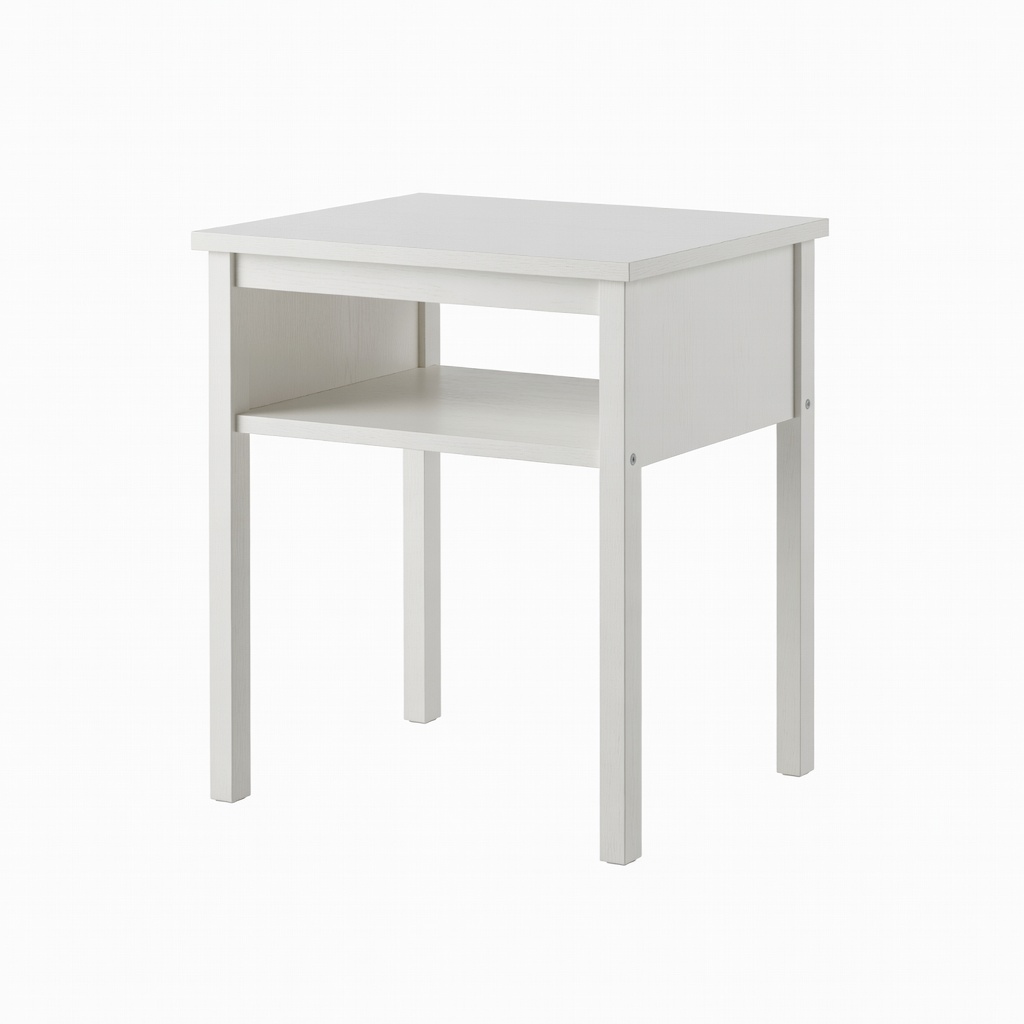
Furinno Jaya Simple Design End Table
Affordable, versatile accent table fits any style; nests well for small spaces.
Best for: Adding to vignettes in Step 6; multi-pack for balance.
Price Range: $24.99
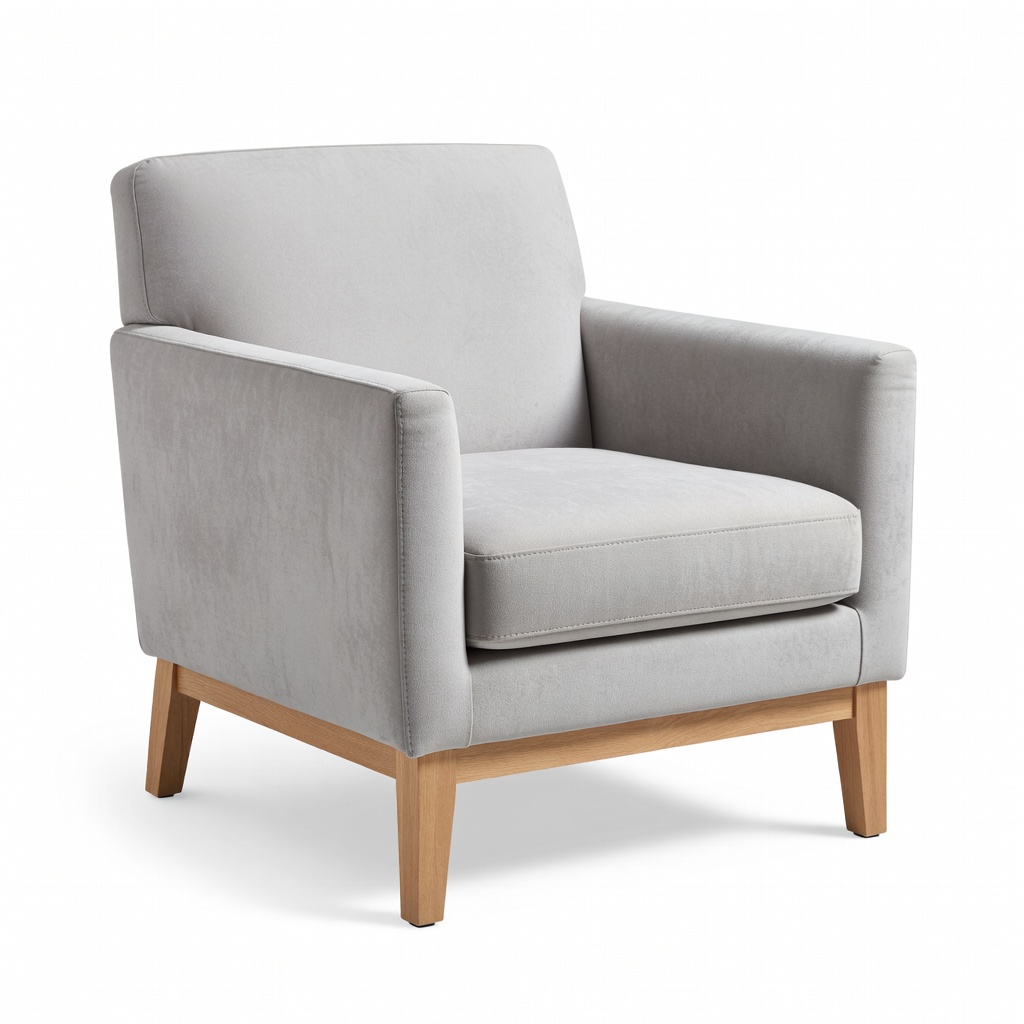
ZINUS Modern Studio Upholstered Arm Accent Chair
Comfortable, stylish chair elevates open-plan seating without bulk.
Best for: Reading nook or conversation spot in Step 6.
Price Range: $79.99
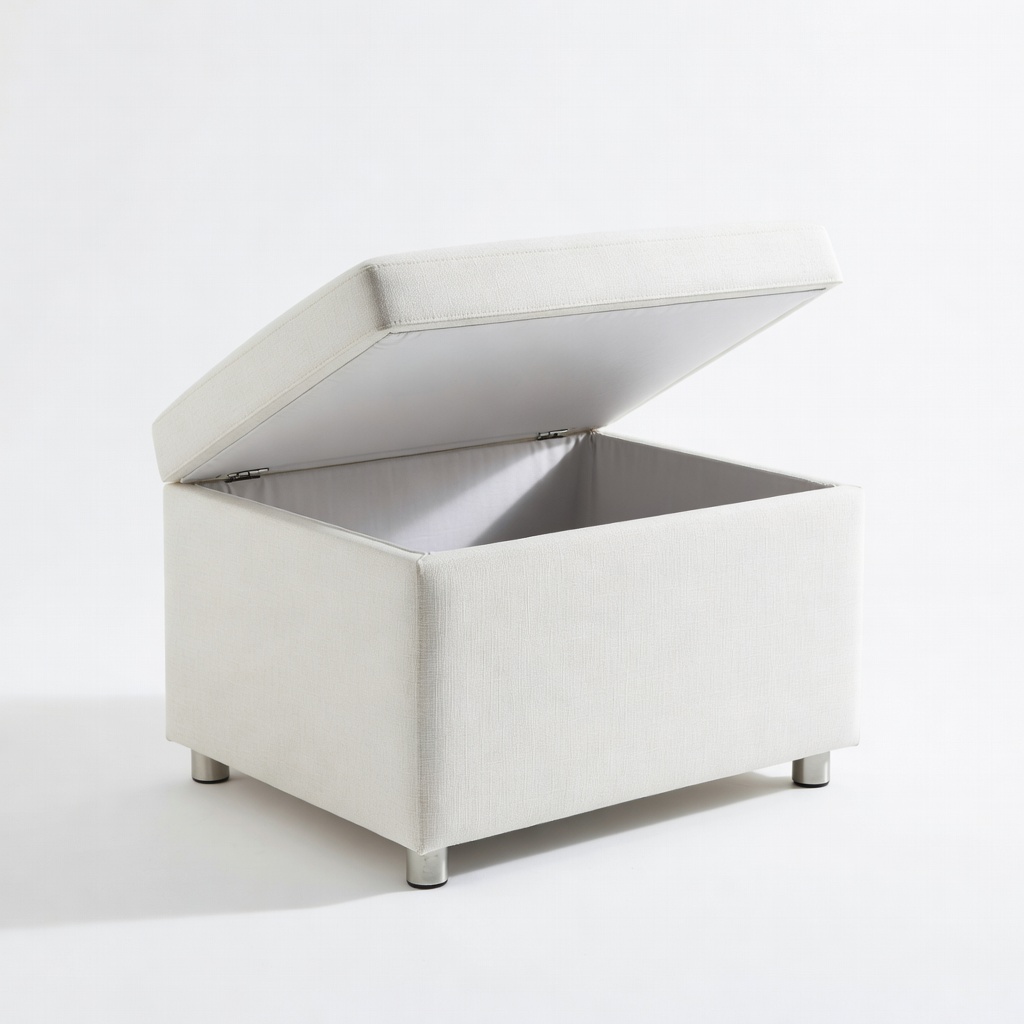
SONGMICS Storage Ottoman
Multi-functional accent hides remotes; footrest adds coziness.
Best for: Center of lounge zone for hidden storage.
Price Range: $39.99