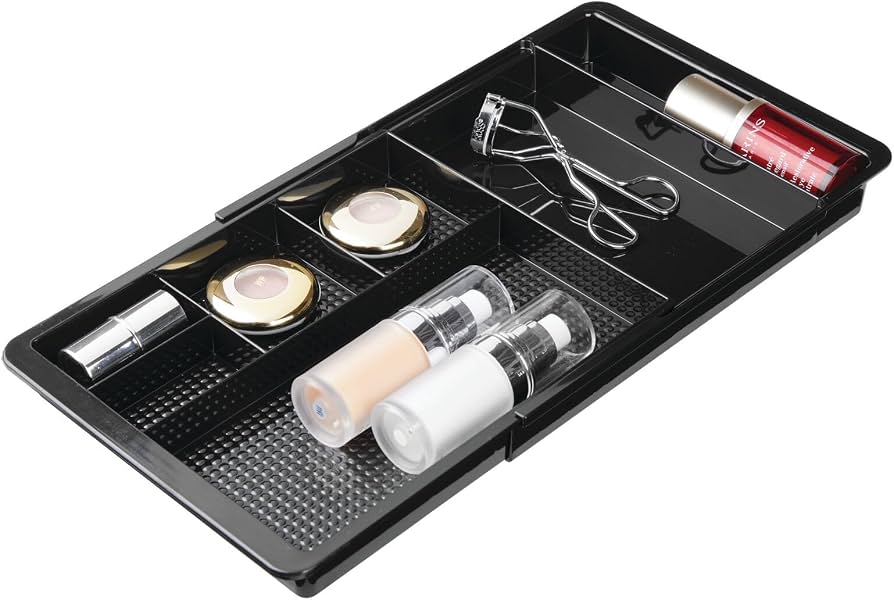
mDesign Plastic Drawer Organizer Trays
Ideal for deep drawers to separate groups without custom cutting.
$12.99 - $19.99
mDesign Plastic Drawer Organizer Trays Adjustable dividers create custom sections perfectly for adapters.
Get the App
Better experience on mobile
Transform your chaotic tech drawer into a neatly organized space where you can instantly find the right AC adapter in seconds.
Is your tech drawer a tangled nightmare of black cords and mystery adapters? We've all been there—searching for that one charger while late for a meeting. Poorly organized AC adapters lead to frustration, lost time, and even damaged gear from knots and spills.
In this beginner-friendly guide, you'll learn a simple step-by-step process to sort, label, and store your AC adapters efficiently. By the end, your drawer will be clutter-free and functional. The whole process takes just 30-45 minutes with household items.
Expect clear instructions, pro tips, and product recommendations to make it even easier. No special skills needed—just follow along for a drawer you'll love opening.
Estimated Time: 30-45 minutes Difficulty: beginner
Start by pulling everything out of your tech drawer onto a clean, spacious surface like a table or countertop. This includes all AC adapters, cords, and any other clutter.
Why it matters: An empty drawer lets you assess the space and start fresh without bias. You'll see how much room you have for organizers.
Success looks like: A bare drawer and a pile of unsorted items ready for the next step.
💡 Tips:
⚠️ Warnings:
Examine each AC adapter. Note the voltage (e.g., 5V USB, 12V barrel), connector type (USB-C, barrel plug), and device it belongs to if labeled.
Group them into categories: phone chargers, laptop adapters, miscellaneous. Discard broken or unused ones safely (recycle at e-waste centers).
What to expect: 5-10 piles forming. This step reveals duplicates and what you actually need.
💡 Tips:
Wipe down adapters with a soft cloth dampened in isopropyl alcohol to remove dust and grime. Focus on plugs and cords.
Why it matters: Clean adapters prevent dirt buildup in your new system and make labeling stick better.
Success: Shiny, dry adapters ready for labeling.
⚠️ Warnings:
Write or print labels with voltage, connector type, and device (e.g., '5V USB-C iPhone'). Attach with tape or a label maker.
Pro method: Wrap labels around the cord near the plug for visibility.
Expect: Each adapter now identifiable at a glance—no more guessing.
💡 Tips:
Coil each adapter's cord loosely and secure with cable ties or Velcro straps. Avoid tight knots to prevent damage.
Why: Bundles save space and prevent tangles.
Success: Neat loops that fit easily in storage.
⚠️ Warnings:
Place grouped adapters into Ziplock bags or small bins: one for USB, one for laptops, etc. Label the bags.
This creates portable 'kits' for travel too.
Expect: Compact packets that stack neatly.
💡 Tips:
Measure your drawer and add dividers or trays to create sections for each group.
Cut foam or use adjustable dividers if needed.
Success: Defined zones like a filing cabinet.
Arrange bags/bundles in sections: most-used first (front). Label drawer sections (e.g., 'Phones', 'Laptops').
Test by grabbing one quickly.
Final success: Drawer opens to instant access—no digging.
💡 Tips:
Problem: Drawer too small for all adapters
Solution: Use stackable bins or relocate less-used to a box under desk. Prioritize daily items.
Problem: Labels peeling off
Solution: Use clear packing tape over labels or switch to a label maker with adhesive backing.
Problem: Adapters still tangling
Solution: Double-check bundles and add clips to hold cords in loops.
Problem: Can't identify voltage
Solution: Use a multimeter ($10 tool) or plug into known device safely.
Adjustable dividers create custom sections perfectly for adapters.
Best for: Ideal for deep drawers to separate groups without custom cutting.
Price Range: $12.99 - $19.99
Reusable and gentle on cords, better than zip ties for frequent bundling.
Best for: Quickly securing coiled adapters without damage.
Price Range: $9.99
Professional, durable labels that won't smudge or peel.
Best for: Labeling adapters and drawer sections for long-term organization.
Price Range: $29.99
Neoprene sleeves keep multiple cords together neatly.
Best for: For drawers with mixed adapters; hides clutter.
Price Range: $9.99
Hides excess adapters if drawer overflows; fire-retardant.
Best for: Desk-side storage for overflow.
Price Range: $25.99
Ideal for deep drawers to separate groups without custom cutting.
mDesign Plastic Drawer Organizer Trays Adjustable dividers create custom sections perfectly for adapters.
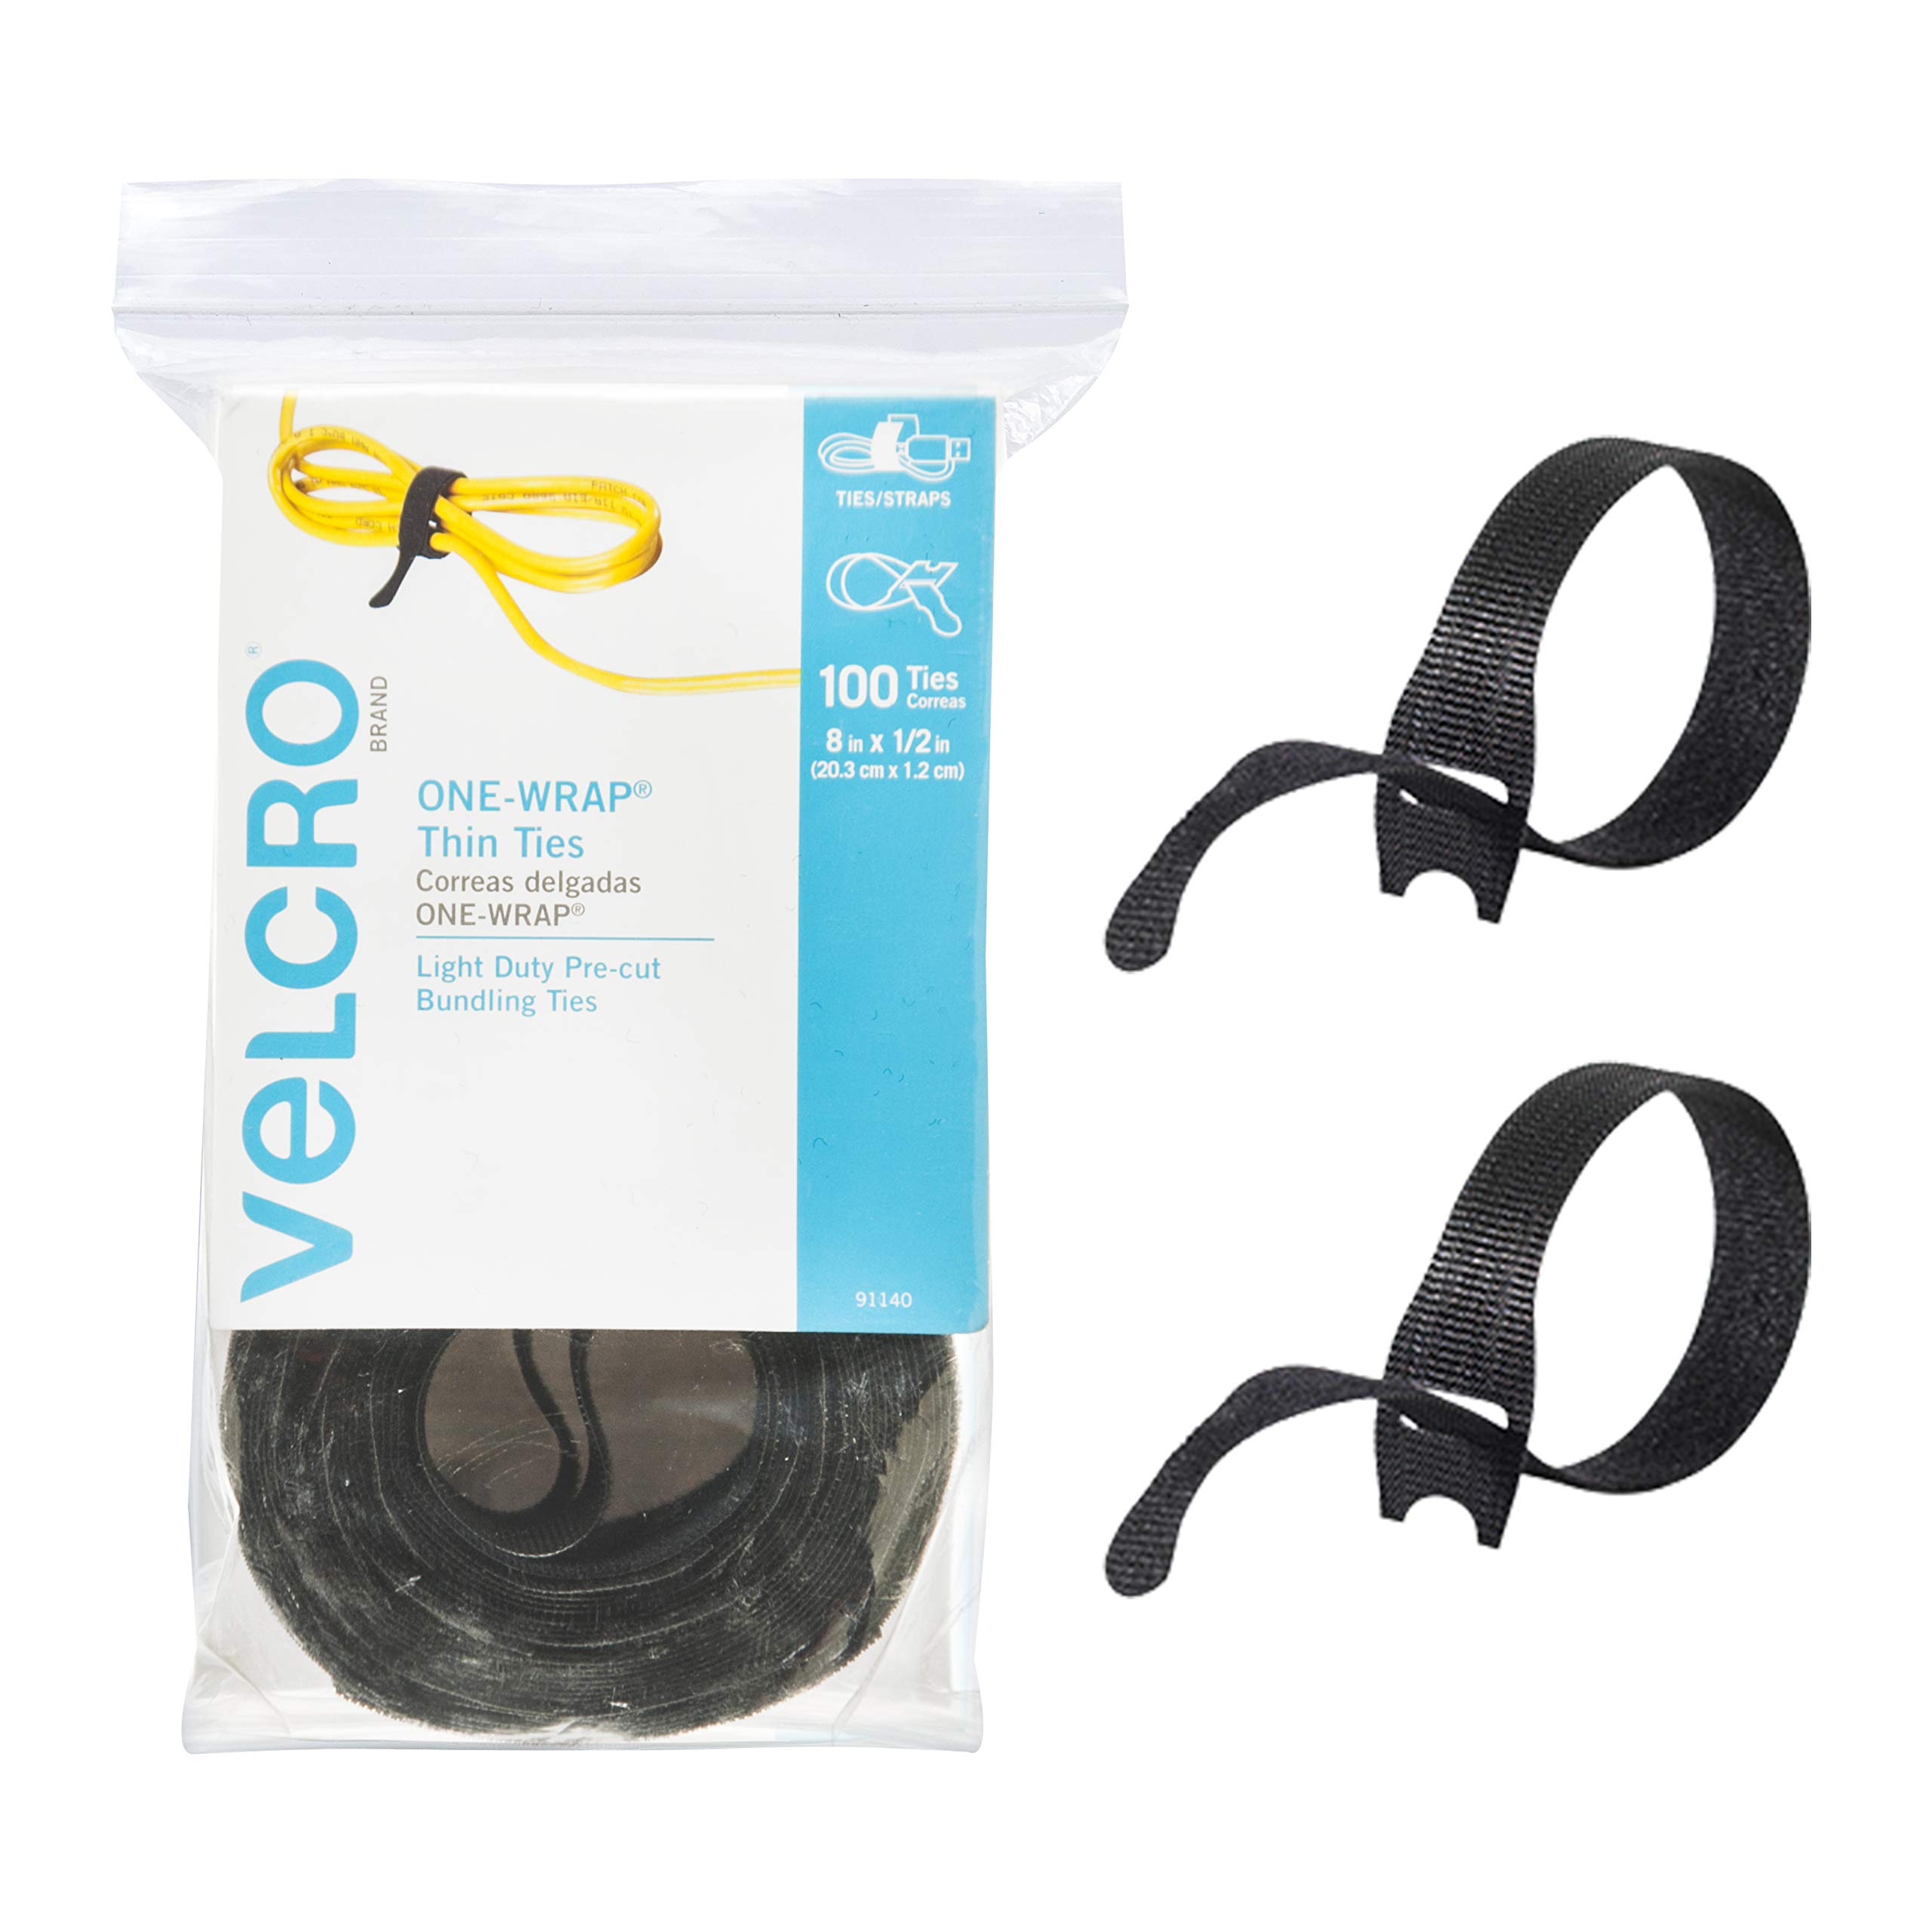
Quickly securing coiled adapters without damage.
VELCRO Brand ONE-WRAP Cable Ties Reusable and gentle on cords, better than zip ties for frequent bundling.
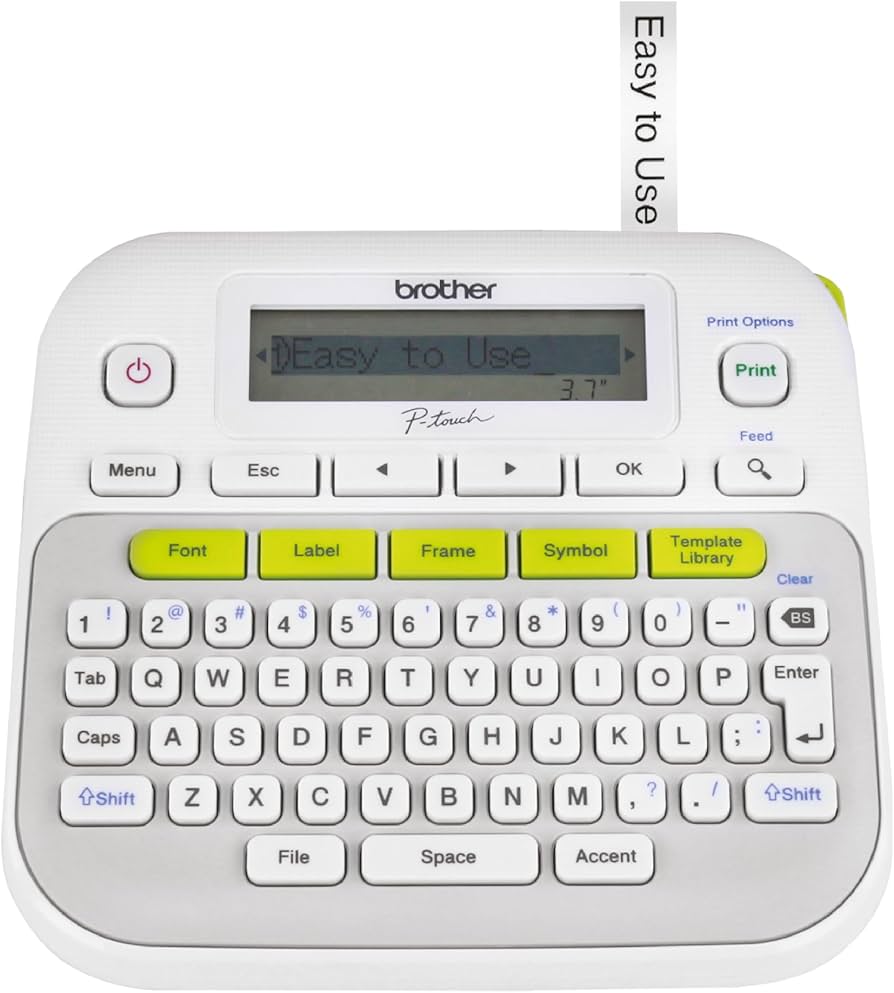
Labeling adapters and drawer sections for long-term organization.
Brother P-touch PT-D210 Label Maker Professional, durable labels that won't smudge or peel.
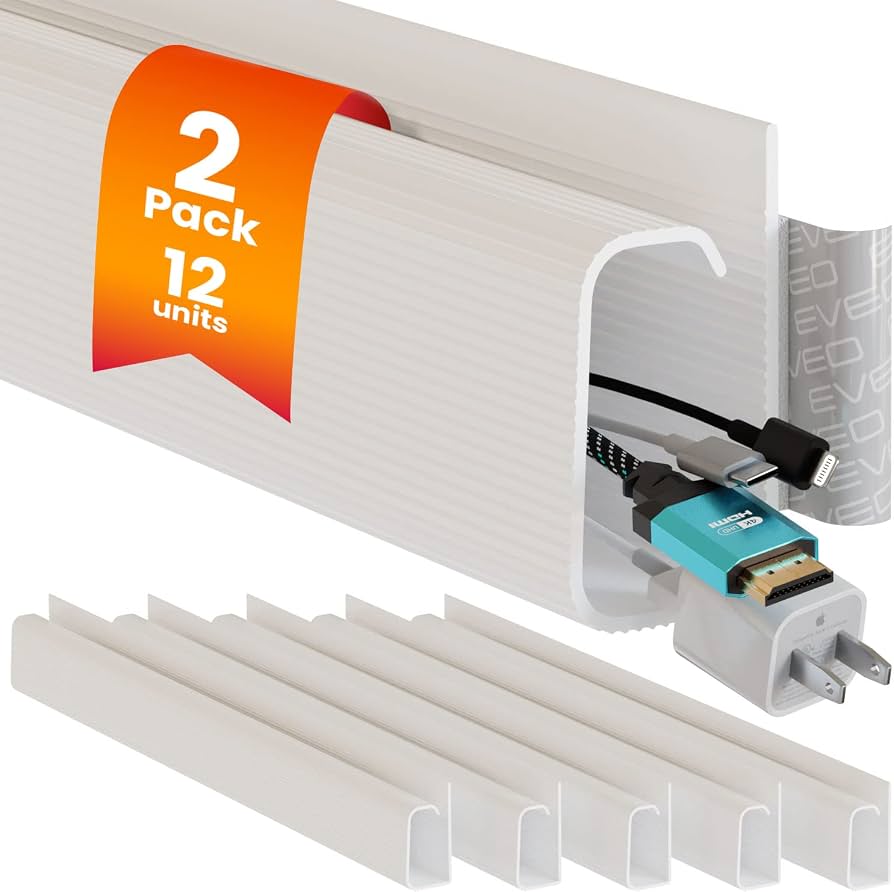
For drawers with mixed adapters; hides clutter.
EVEO Cable Management Sleeve Neoprene sleeves keep multiple cords together neatly.
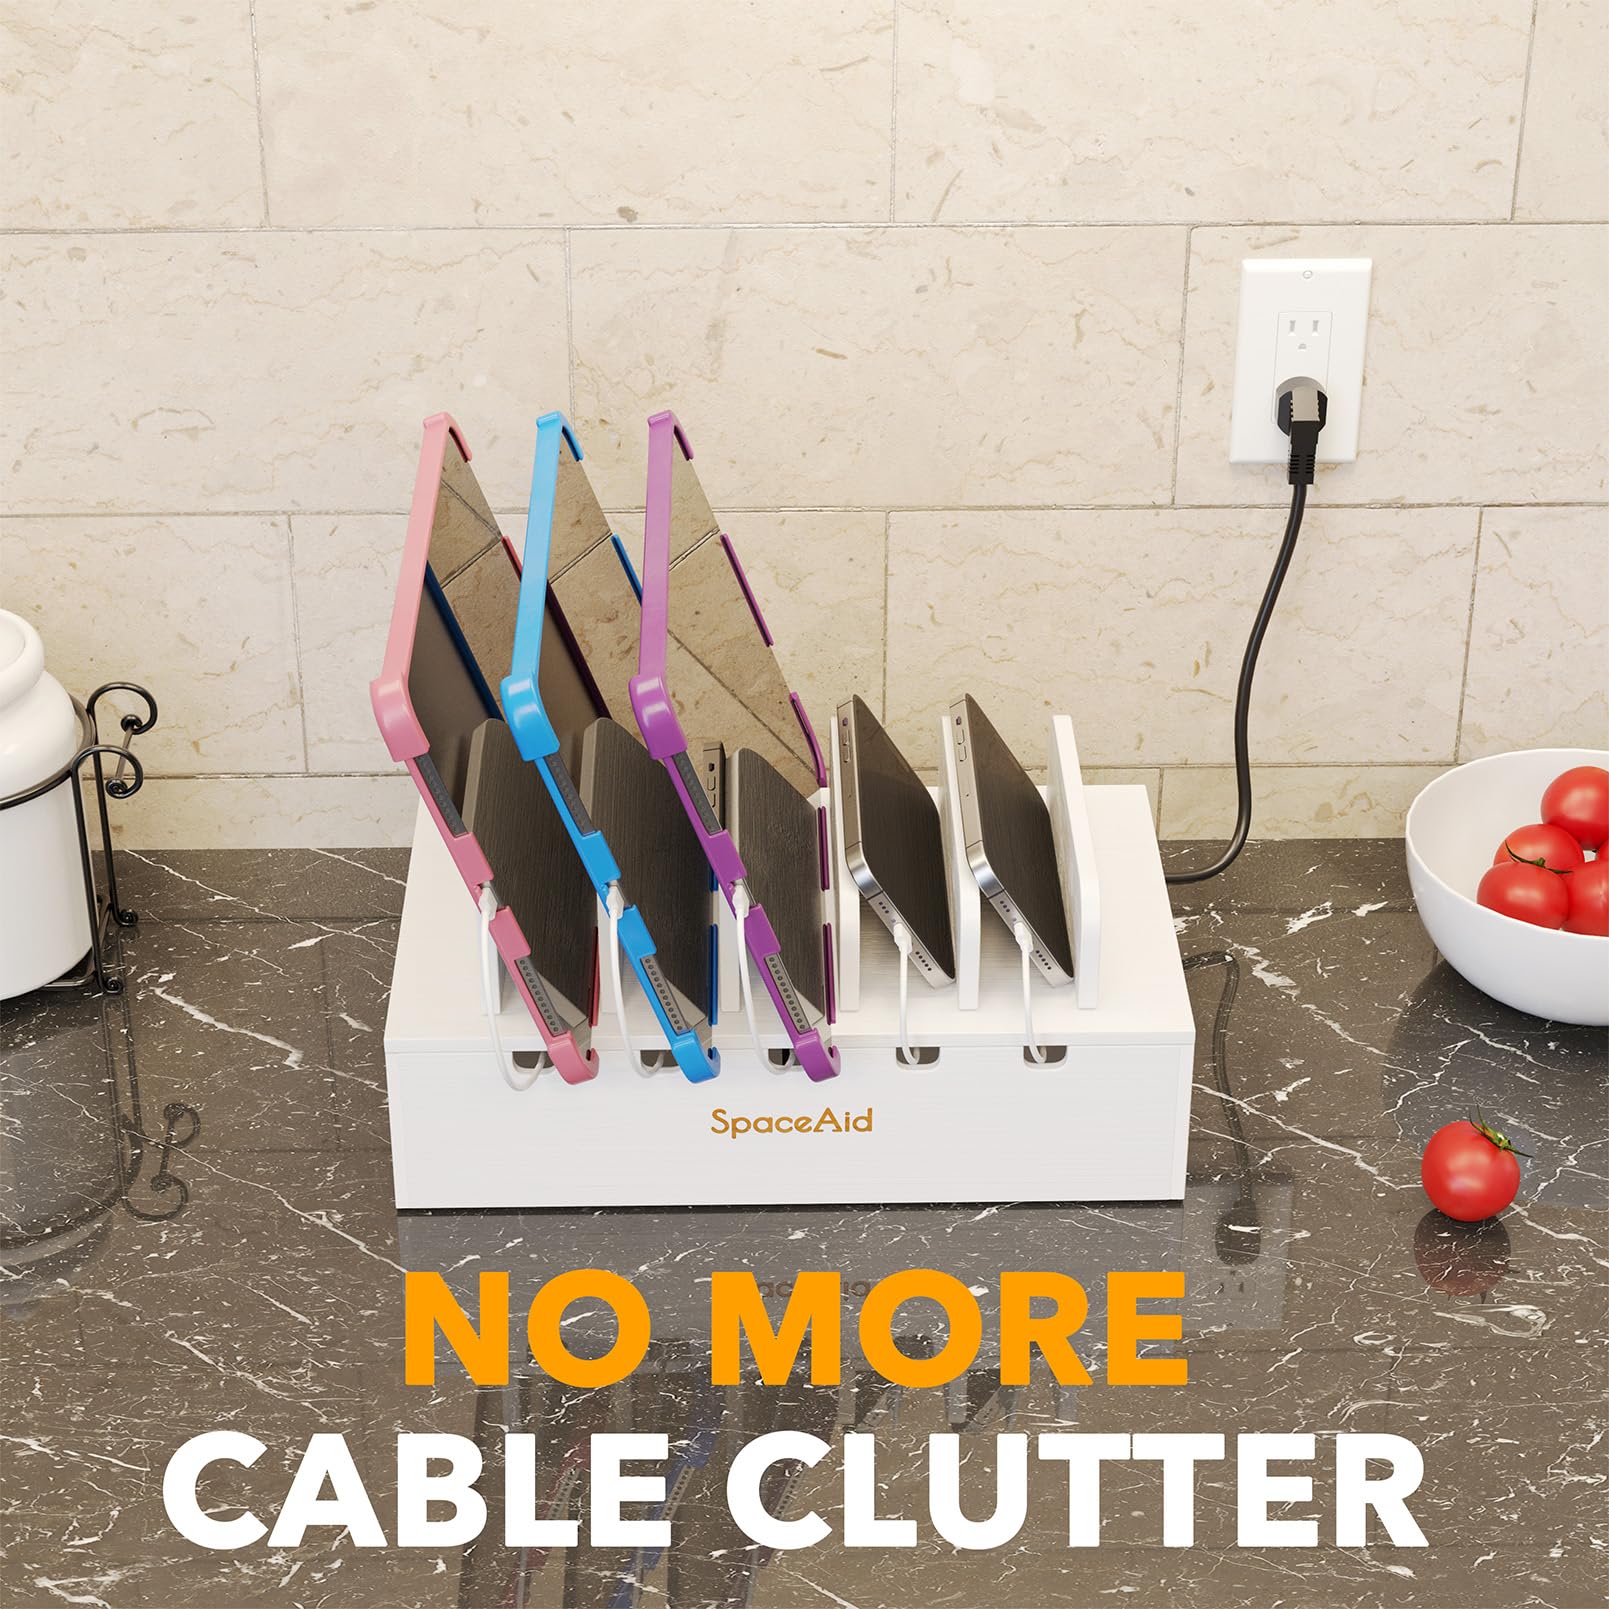
Desk-side storage for overflow.
SpaceAid Cable Management Box Hides excess adapters if drawer overflows; fire-retardant.