
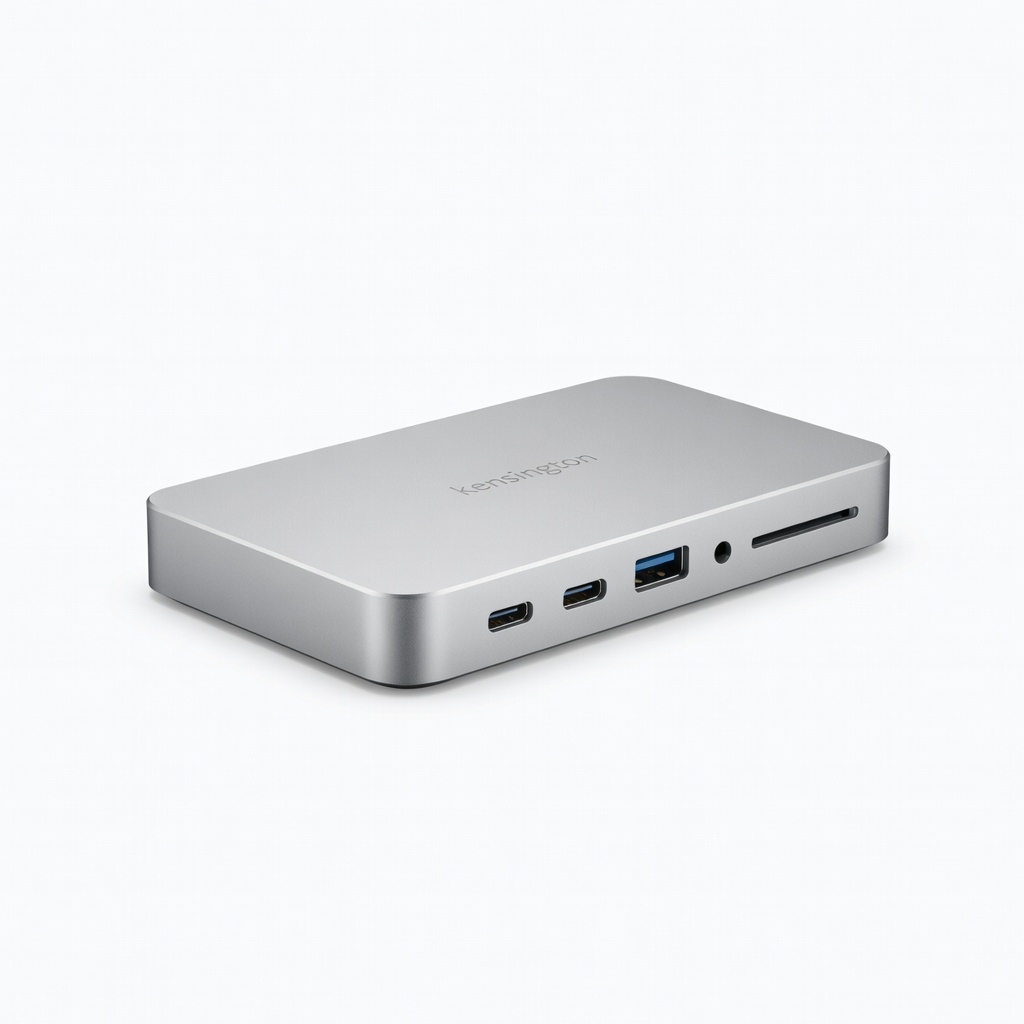
Kensington SD5700T Thunderbolt 4 Docking Station
High-power home offices with dual 4K monitors.
$299.99
Kensington SD5700T Thunderbolt 4 Docking Station Offers 96W charging and 18 ports, perfect for 2-in-1 laptops needing multi-monitor support.
Get the App
Better experience on mobile
Achieve a clutter-free, productive home office by masterfully organizing your 2-in-1 laptop docking station with our step-by-step guide.
Tired of cable chaos turning your home office into a tangled mess? With remote work on the rise, 2-in-1 laptops paired with docking stations are game-changers for seamless laptop-to-desktop transitions. But without proper organization, ports get overloaded, cables snag, and your desk becomes a frustration factory.
In this guide, you'll learn how to transform your setup into an efficient, ergonomic workstation. We'll cover everything from space assessment to cable routing and maintenance, tailored for intermediate users familiar with basic tech setups. Expect a tidy desk that boosts productivity and reduces stress.
The process takes 45-60 minutes and requires minimal tools. By the end, your docking station will be neatly integrated, with easy access to peripherals like monitors, keyboards, and chargers.
Estimated Time: 45-60 minutes Difficulty: intermediate
Start by clearing your desk and evaluating the available space. Measure your desk surface (aim for at least 24x18 inches for the dock area) and identify spots for peripherals like monitors. Note power outlets, ventilation needs, and cable entry points to walls or floors.
This step matters because poor planning leads to cramped setups that hinder airflow and cable management. Expect to sketch a rough layout—docking station central, monitor above, keyboard below.
Visualize success: A marked zone on your desk free of clutter.
💡 Tips:
⚠️ Warnings:
Select a dock compatible with your 2-in-1 (check USB-C Power Delivery 65W+ and Thunderbolt support for models like Surface or Yoga). Unbox and verify contents: dock, power adapter, USB-C cable.
Why it matters: The right dock expands ports without compatibility issues. Place it temporarily in your assessed zone to test fit.
Success looks like: Dock powered on, LED indicators lit, no immediate fit problems.
💡 Tips:
⚠️ Warnings:
List all items: HDMI for monitor, USB-A for mouse/keyboard, Ethernet, external drives. Test each cable for functionality by plugging into your laptop directly.
This prevents surprises later and identifies spares. Sort by length—short for desk, long for routing.
Expect: A categorized pile (e.g., video, data, power) ready for organization.
💡 Tips:
Map paths from dock to peripherals, preferring rear/side desk routing to hide cables. Plan bundles: power to outlet, data to devices, avoiding sharp bends.
Why crucial: Efficient routing minimizes tangles and desk clutter. Use apps like Draw.io for digital sketches if needed.
Success: A diagram showing straight, bundled paths.
💡 Tips:
⚠️ Warnings:
Attach adhesive clips/hooks under desk edges, install trays or sleeves along planned paths. Secure with screws if permanent.
This foundation keeps cables off surfaces. Peel-and-stick for renters.
Visual success: Invisible tracks ready for cables.
💡 Tips:
Mount or place dock securely (use risers if needed). Plug in power adapter, route cable via management hardware.
Central positioning ensures easy laptop docking. Secure against knocks.
Expect: Stable dock, powered up, cables neatly entering.
⚠️ Warnings:
Plug monitor/keyboard/mouse into dock ports. Bundle and route cables through organizers, tying with velcro.
Test connections one-by-one. Why: Systematic build avoids errors.
Success: All devices connected, no visible clutter.
💡 Tips:
Label ports/cables (e.g., 'HDMI-Mon1'). Dock laptop, verify multi-monitor, peripherals work. Adjust for aesthetics/ergonomics.
Labels speed troubleshooting; testing confirms reliability.
Final success: Seamless undock/redock, tidy desk.
💡 Tips:
⚠️ Warnings:
Problem: Laptop not detected by dock
Solution: Check USB-C cable (use included), ensure PD support, restart both devices.
Problem: Monitor no signal
Solution: Verify cable type (HDMI/DP), update GPU drivers, try alternate port.
Problem: Cables slipping loose
Solution: Tighten velcro ties, add strain relief hooks.
Problem: Slow peripherals
Solution: Use shorter cables, avoid USB hubs in chain, check dock specs.
Offers 96W charging and 18 ports, perfect for 2-in-1 laptops needing multi-monitor support.
Best for: High-power home offices with dual 4K monitors.
Price Range: $299.99
Compact design with 100W PD, magnetic stand, ideal for space-saving organization.
Best for: Minimalist desks with one external monitor.
Price Range: $169.99
Strong adhesive, reusable, keeps cables routed neatly under desks.
Best for: Hiding cable runs from dock to peripherals.
Price Range: $9.99
Holds multiple bundles, mounts easily, prevents sagging cables.
Best for: Heavy cable setups in larger home offices.
Price Range: $24.99
Elevates dock/laptop for better cable access and ergonomics.
Best for: Standing or adjustable desk conversions.
Price Range: $39.99
High-power home offices with dual 4K monitors.
Kensington SD5700T Thunderbolt 4 Docking Station Offers 96W charging and 18 ports, perfect for 2-in-1 laptops needing multi-monitor support.
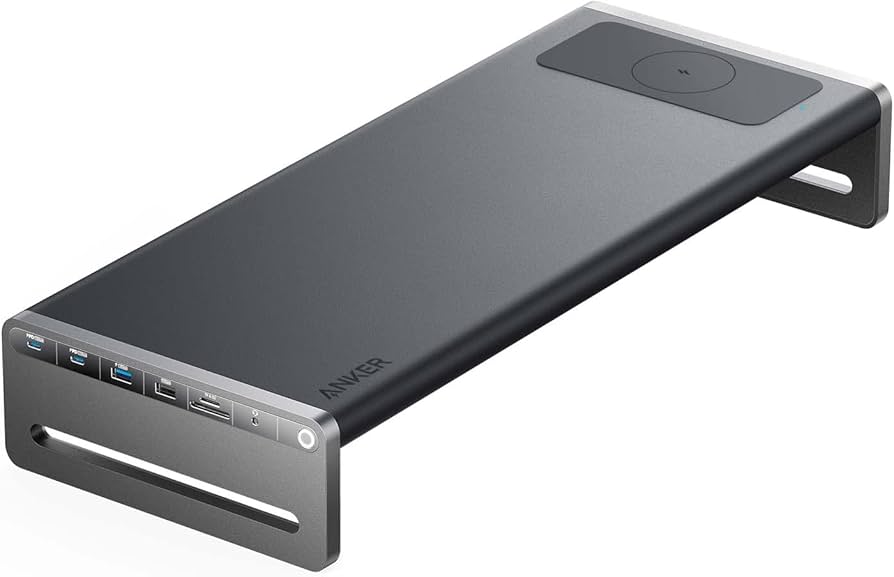
Minimalist desks with one external monitor.
Anker 675 USB-C Docking Station (Nano II 100W) Compact design with 100W PD, magnetic stand, ideal for space-saving organization.
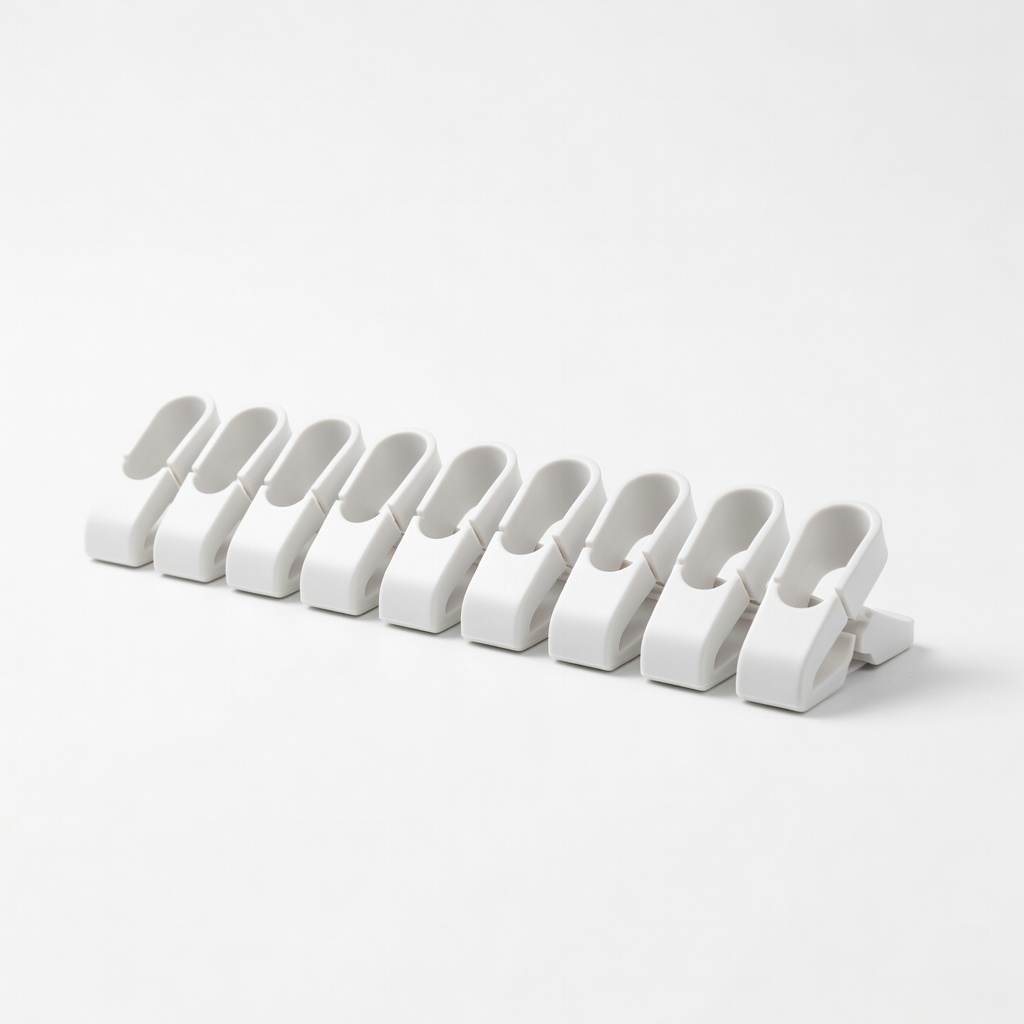
Hiding cable runs from dock to peripherals.
JOTO Cable Clips Holder (10-Pack) Strong adhesive, reusable, keeps cables routed neatly under desks.
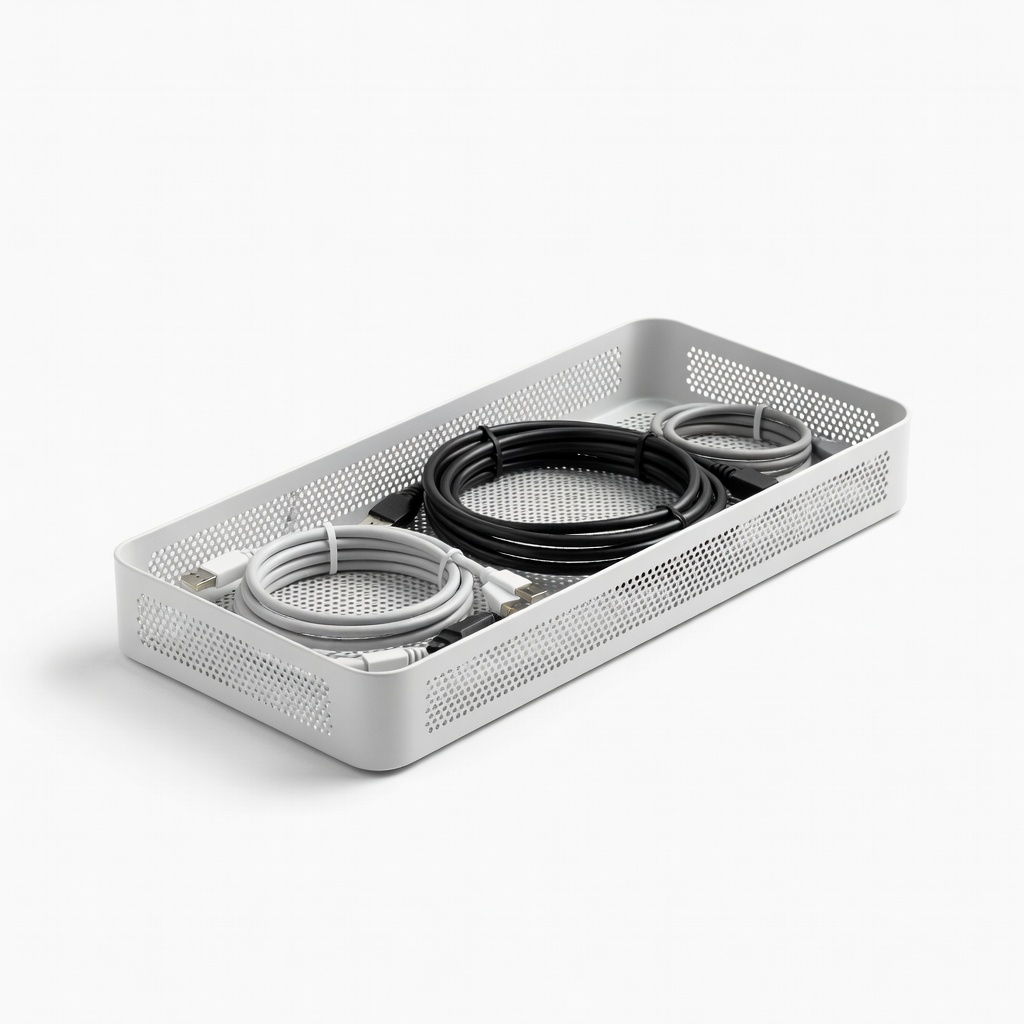
Heavy cable setups in larger home offices.
HTI Under Desk Cable Management Tray Holds multiple bundles, mounts easily, prevents sagging cables.
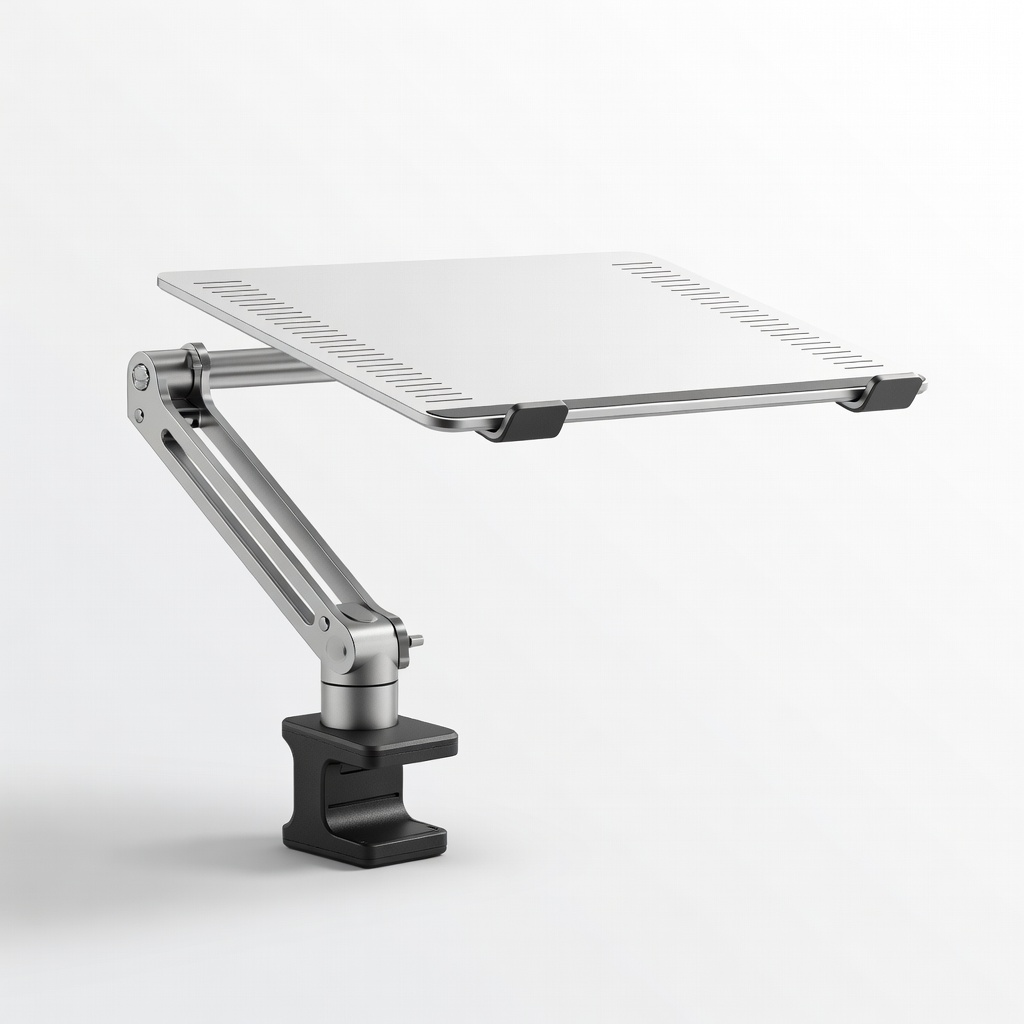
Standing or adjustable desk conversions.
VIVO Laptop Riser Desk Mount Tray Elevates dock/laptop for better cable access and ergonomics.