
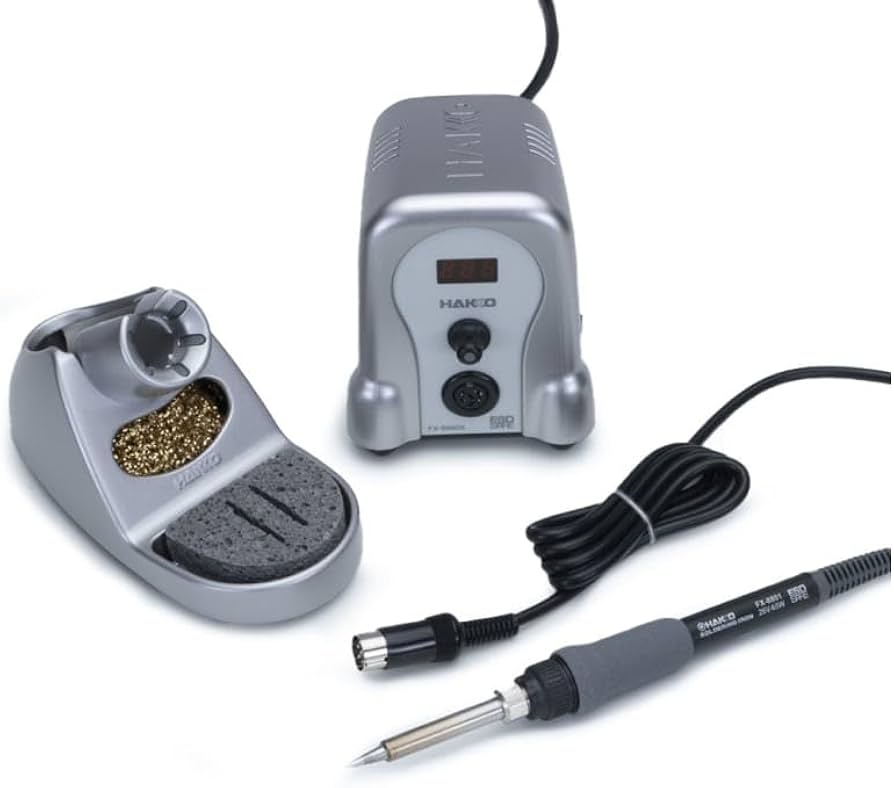
Hakko FX-888D Digital Soldering Station
All soldering steps—set to 350°C for perfect joints.
$99.99
Hakko FX-888D Digital Soldering Station Precision temperature control essential for delicate retro boards without damage.
Get the App
Better experience on mobile
Upgrade your 3DO console to crystal-clear HDMI on modern TVs with this intermediate soldering guide—done in 1-3 hours.
Playing classic 3DO games like Road Rash or Gex on a modern flat-screen TV? The stock composite or RGB output looks blurry and washed out. Modding your 3DO for HDMI delivers sharp, lag-free video with proper scanlines and colors, breathing new life into this 90s powerhouse.
In this guide, you'll learn to install a popular internal HDMI mod board (like the 4DSO kit) on models such as the Panasonic FZ-1 or Goldstar. We'll cover disassembly, soldering, testing, and reassembly. Expect intermediate soldering skills—prior experience with through-hole soldering is ideal.
Total process takes 1-3 hours, depending on your pace and any troubleshooting. It's mostly reversible, but handle electronics carefully to avoid damage.
Estimated Time: 1-3 hours Difficulty: intermediate
Set up a clean, well-lit, static-free workspace. Lay out all tools and the mod kit. Power off and unplug your 3DO completely. Remove any discs or peripherals.
Inspect the mod board instructions—most 4DSO-style kits include a pinout diagram matching the 3DO's RGB DAC output (pins for R, G, B, HSync, VSync, GND, +5V). Verify your console model compatibility (FZ-1 is easiest).
Success looks like: Organized tools, console ready, no power connected.
💡 Tips:
⚠️ Warnings:
Remove the 10-12 Phillips screws on the bottom and sides. Gently pry open the case with a plastic spudger—start at the rear. Lift the top shell, disconnecting the power button ribbon cable carefully.
Remove the daughterboard (if present) by unscrewing 4-6 screws and unplugging ribbon cables. Access the mainboard and AV section at the rear.
Success: Mainboard exposed, no bent pins or torn cables.
💡 Tips:
⚠️ Warnings:
Find the AV multi-out port or RGB header near the rear edge (on FZ-1, it's the 20-pin-ish connector post-DAC). Remove any metal shielding over it (2-4 screws).
Clean the area with isopropyl alcohol to remove dust/oxidation. Use multimeter to confirm +5V, GND, and RGB pins match your mod board diagram.
Success: Clean pins identified, shielding aside.
💡 Tips:
Heat your iron to 350°C (660°F). Apply flux to the AV port pins on the board underside. Use desoldering braid to wick away solder from each pin—heat, press braid, pull away.
Gently rock and lift the connector once desoldered. Clean pads with alcohol.
Success: AV port removed, pads shiny and flat—no solder bridges.
⚠️ Warnings:
Align the mod board pins exactly over the AV pads (RGB, syncs, power). Apply flux to pads and pins. Tin pads lightly with solder, then heat and press board down—solder one corner first to tack it.
Solder remaining pins sequentially: power/GND last. Trim excess pins if protruding. Inspect joints under magnification—they should be shiny cones, no cold joints.
Success: Board secure, all 10-15 pins soldered cleanly.
💡 Tips:
⚠️ Warnings:
Cut/modify case for HDMI port if needed (Dremel or file carefully). Solder any extension wires for power/ground if board doesn't fit flush.
Secure board with hot glue or kapton tape to prevent shorts.
Success: HDMI port accessible through case cutout.
Reconnect power supply (no case). Plug HDMI to TV, boot 3DO with a game disc. Check for video: sharp 240p/480i with colors intact, no artifacts.
Use multimeter for continuity/shorts. Adjust board DIP switches if available for scaling/sync.
Success: Full HDMI output on TV menu/game.
⚠️ Warnings:
Reinstall boards, reconnect cables, snap case shut, replace screws. Power on fully enclosed—play a game for 30min to heat-test.
Success: Console works like new, but with HDMI glory.
💡 Tips:
Problem: No HDMI signal
Solution: Check solder joints, power pins (+5V), HDMI cable. Resolder cold joints.
Problem: Garbled colors/sync
Solution: Verify RGB/HSync/VSync pinout. Adjust board pots if present.
Problem: Board too hot/shutdown
Solution: Check for shorts with multimeter. Add heatsink to HDMI chip.
Problem: AV port pads damaged
Solution: Use jumper wires from nearby test points. Seek forum help if severe.
Precision temperature control essential for delicate retro boards without damage.
Best for: All soldering steps—set to 350°C for perfect joints.
Price Range: $99.99
Superior wetting for clean, reliable solder on oxidized 90s PCBs.
Best for: Apply to every pin/pad before desoldering/soldering.
Price Range: $9.99
Complete set with retro-sized drivers—prevents stripping old screws.
Best for: Disassembly/reassembly of 3DO case.
Price Range: $69.99
Ultra-thin braid removes solder fast without board stress.
Best for: Desoldering AV port cleanly.
Price Range: $4.99
Plug-and-play FPGA board tailored for 3DO RGB—sharp output.
Best for: Core mod component; supports FZ-1/Goldstar.
Price Range: $60-$80
All soldering steps—set to 350°C for perfect joints.
Hakko FX-888D Digital Soldering Station Precision temperature control essential for delicate retro boards without damage.
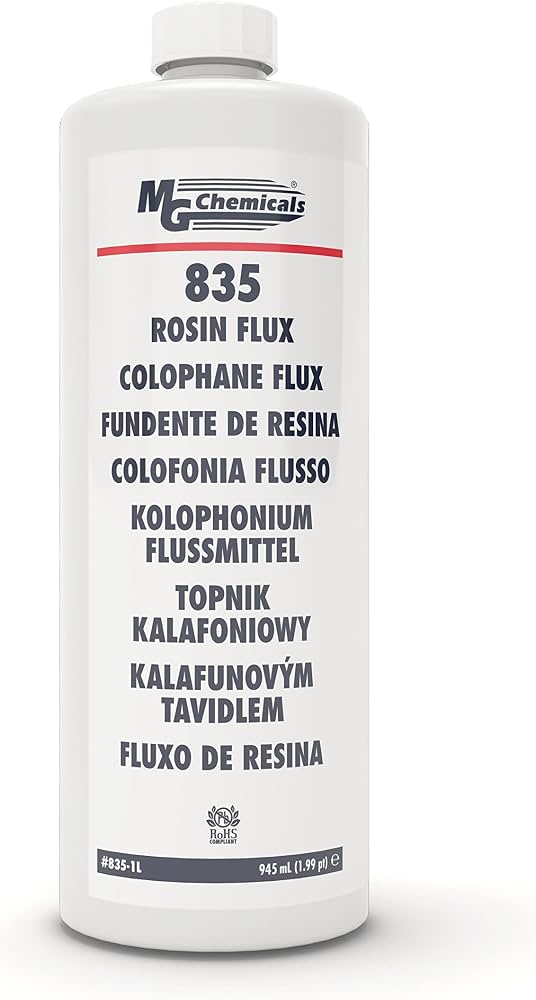
Apply to every pin/pad before desoldering/soldering.
MG Chemicals 835P Rosin Flux Paste Superior wetting for clean, reliable solder on oxidized 90s PCBs.
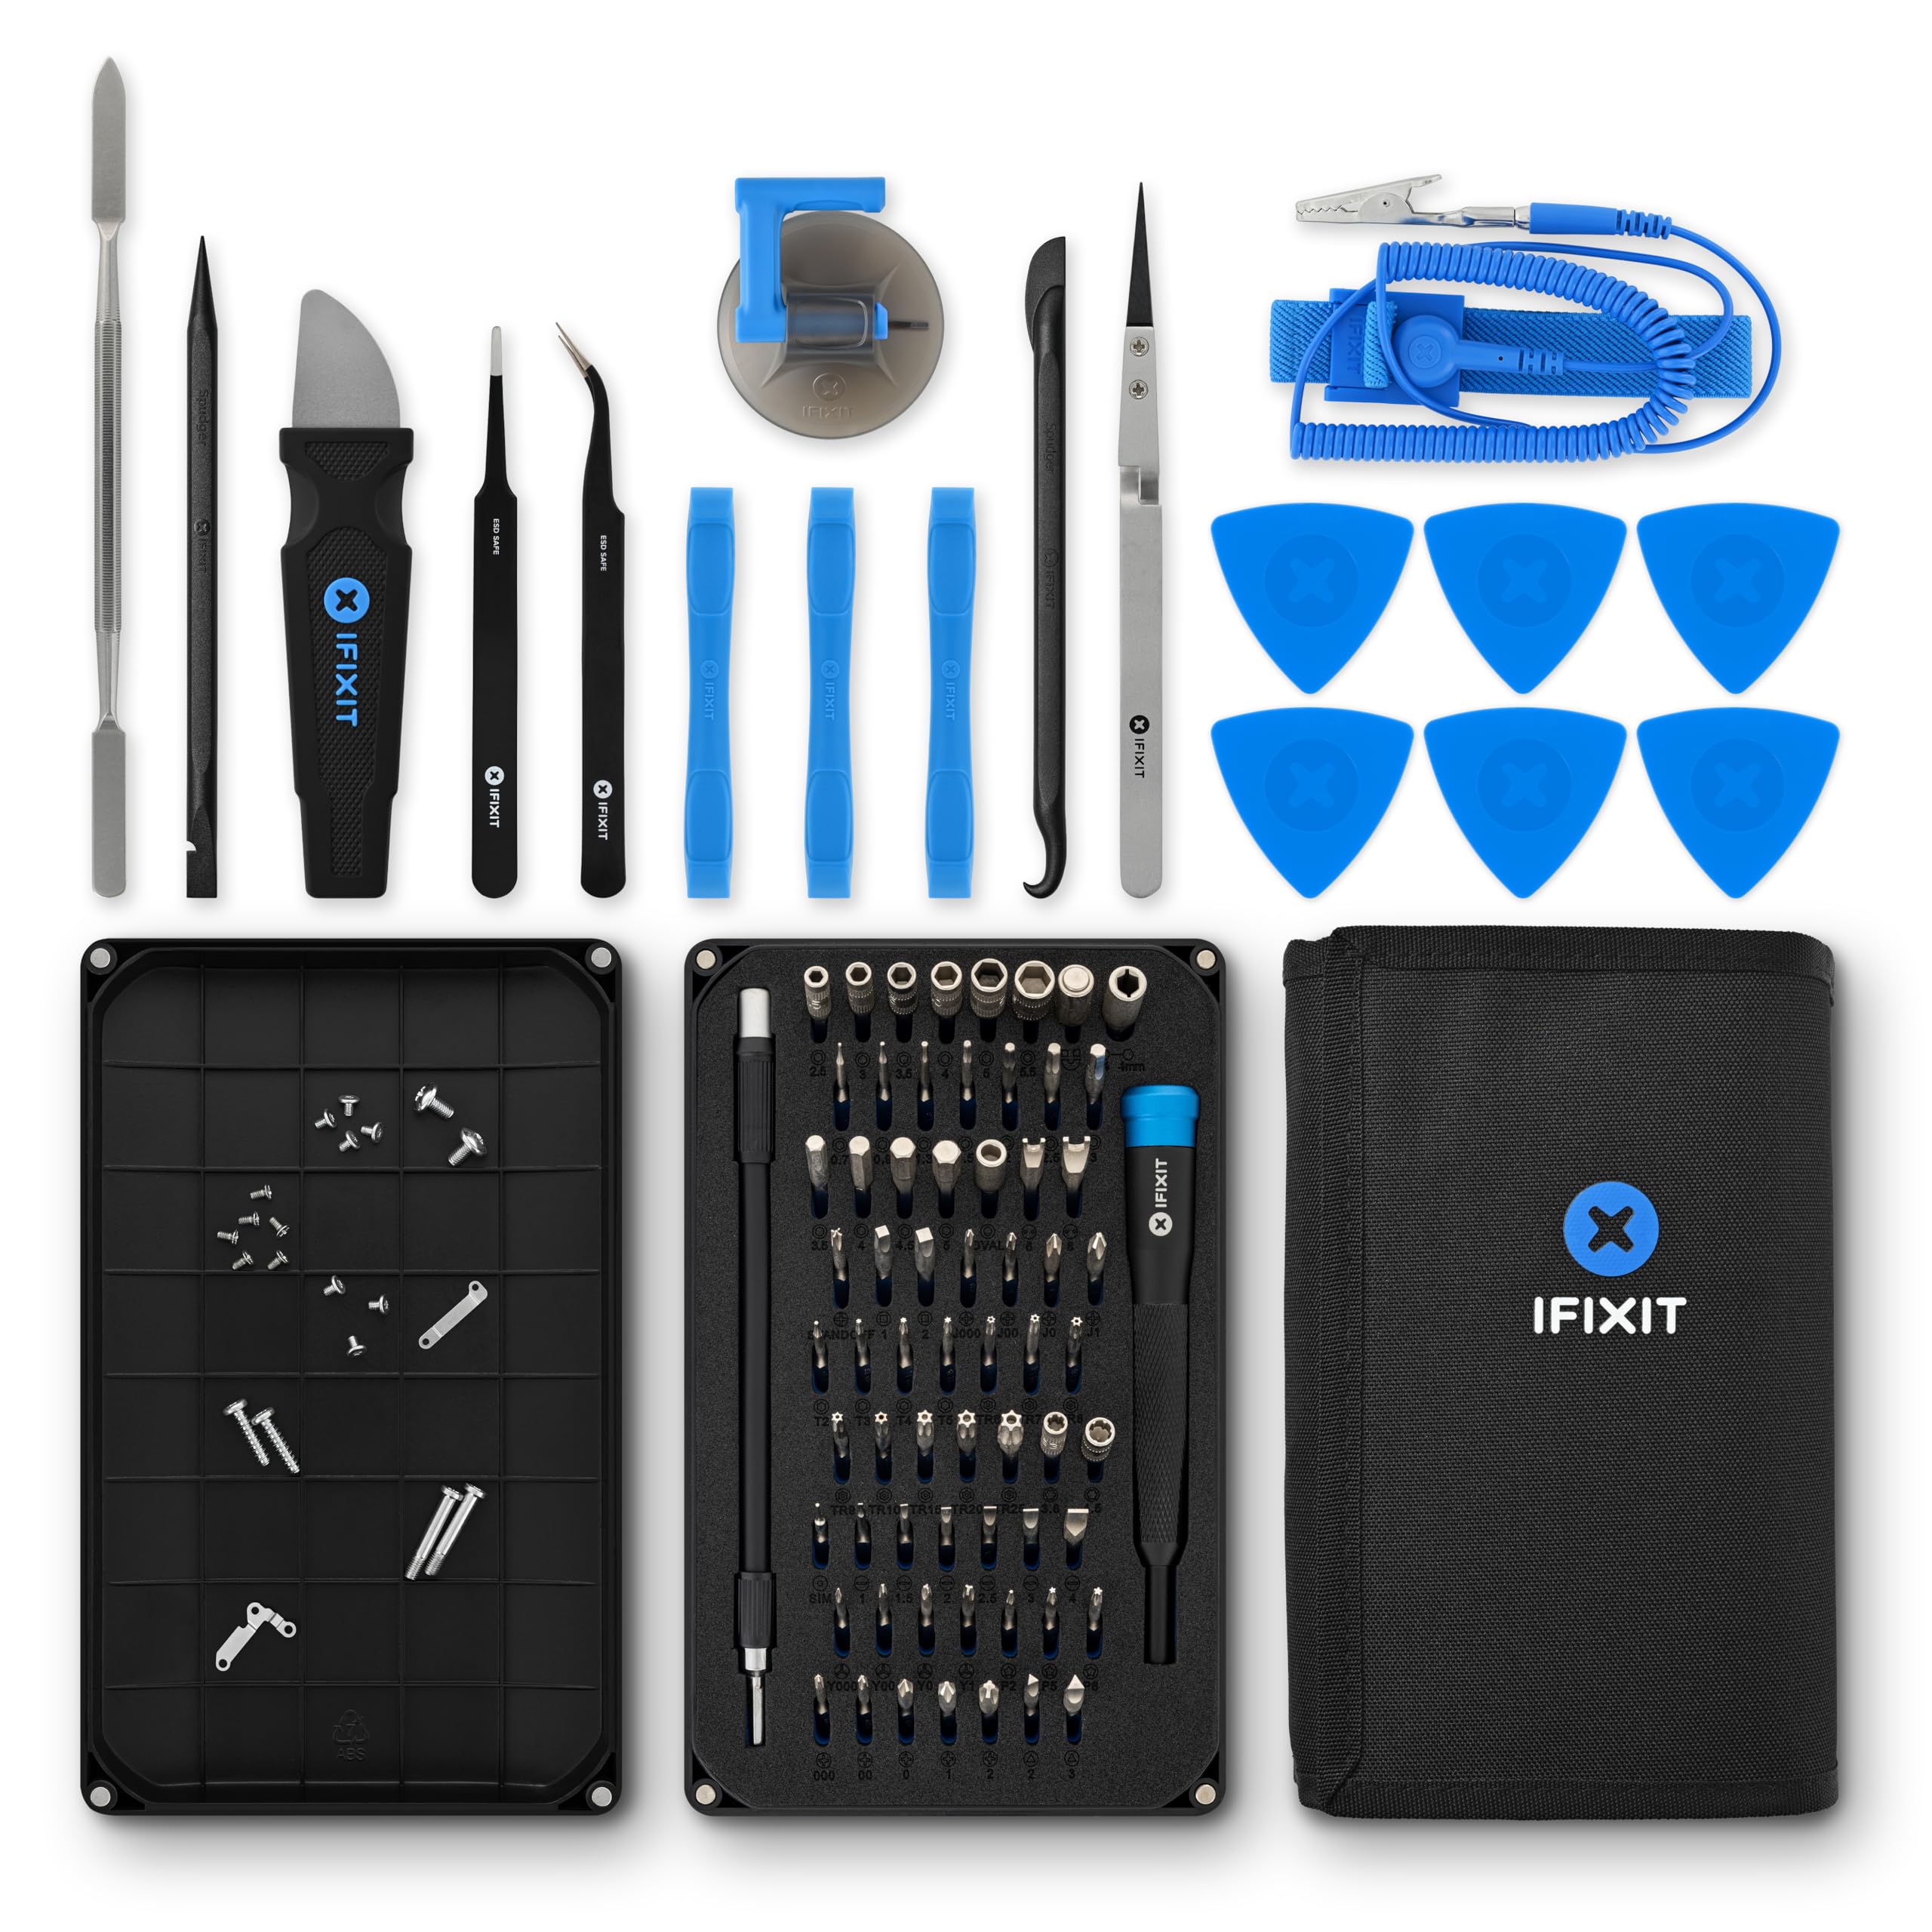
Disassembly/reassembly of 3DO case.
iFixit Pro Tech Toolkit Complete set with retro-sized drivers—prevents stripping old screws.
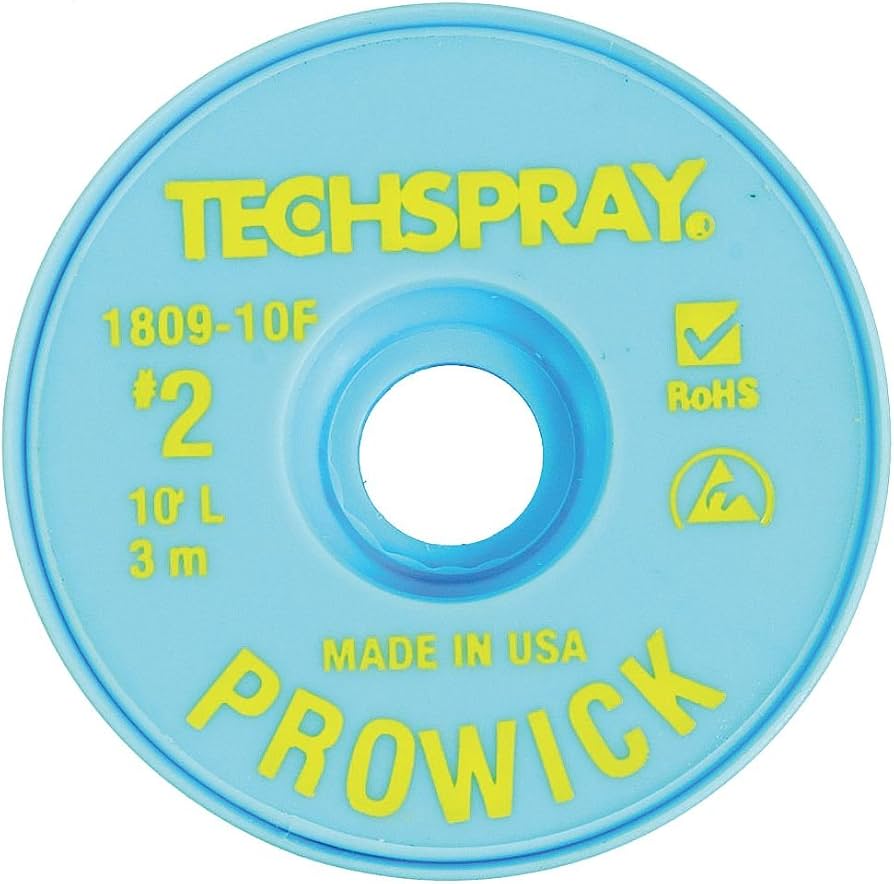
Desoldering AV port cleanly.
Techspray Desoldering Braid Ultra-thin braid removes solder fast without board stress.
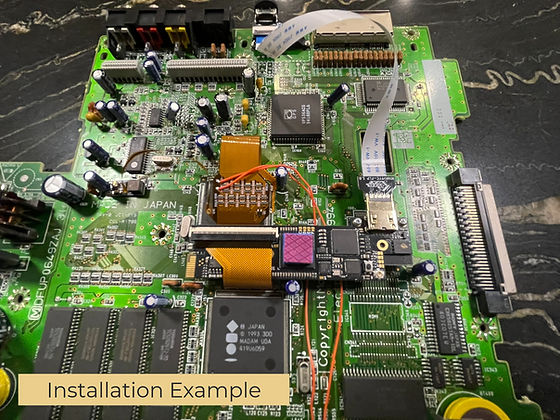
Core mod component; supports FZ-1/Goldstar.
4DSO 3DO HDMI Mod Board Plug-and-play FPGA board tailored for 3DO RGB—sharp output.