
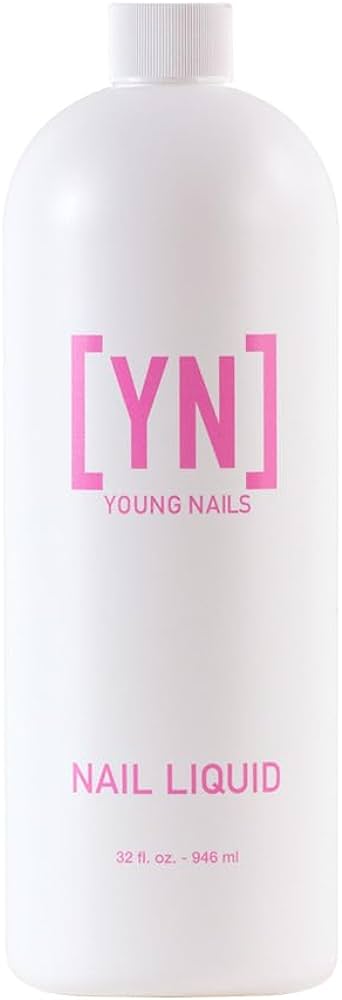
Young Nails Monomer (EMA)
Best for professionals who want a smooth, long-lasting extension.
$25 - $35
Young Nails Monomer (EMA) Low odor and self-leveling properties, reduces file time.
Get the App
Better experience on mobile
Master the perfect bead consistency for strong, long-lasting nail extensions with this step-by-step guide.
Getting the perfect acrylic bead is the cornerstone of flawless nail extensions. Too wet, and the product runs; too dry, and it crumbles or won't adhere. This guide walks intermediate-level nail techs through the precise techniques for mixing acrylic powder and monomer liquid to achieve a workable, self-leveling bead every time. You'll learn the ideal ratio, how to control temperature and humidity factors, and how to adjust for different nail shapes and lengths. By the end, you'll be able to create beads that are easy to place, shape, and file, reducing filing time and improving client satisfaction.
Estimated Time: 20-30 minutes for practice sessions; 45-60 minutes for a full set Difficulty: intermediate
Set up in a well-ventilated area to avoid inhaling monomer fumes. Pour a small amount of monomer into the dappen dish—about half full. Dip only the tip of your brush into the liquid to saturate it, then wipe one side of the brush against the inner rim of the dish to remove excess. The brush should be damp but not dripping. Have your powder container open and ready. This step is critical: excess monomer leads to runny beads, while too little makes a dry, non-sticky bead.
💡 Tips:
⚠️ Warnings:
Hold your brush at a slight angle (about 45 degrees) and touch the wet brush tip to the powder. Do not plunge the brush deep into the powder; only the moistened tip should make contact. The powder will instantly start to absorb the monomer, forming a small ball. The goal is to pick up enough powder to create the size bead you need—small for nail art, larger for extension length. Typically, a bead that is twice the size of the brush ferrule is a starting point. After dipping, gently tap the brush handle to remove loose powder before moving to the next step.
💡 Tips:
⚠️ Warnings:
Immediately after dipping, you'll see the monomer and powder meld into a shiny, wet bead. The key is timing: the bead should be fluid enough to be workable but not runny. A perfect bead looks like a half-sphere with a glossy surface. If it's too wet, it will flatten and spread too much; if too dry, it will look dull and not stick together. If the bead is not forming, your brush may be too dry—redip in monomer lightly. You can adjust by adding a tiny amount of powder or liquid to reach the ideal consistency.
💡 Tips:
⚠️ Warnings:
Place the bead on the nail (or form) at the desired area—usually at the stress point (the apex) for extensions. Gently press the bead onto the nail and let it flow slightly. The bead should move smoothly without dragging. Use gentle pressure with the side of the brush to spread the product toward the free edge and cuticle area. Work within the wet bead's working time: typically 20-30 seconds depending on monomer and room temperature. If the bead starts to drag or becomes sticky, stop and pick up a fresh bead.
💡 Tips:
⚠️ Warnings:
Once the bead is on the nail, use your brush to gently shape the product into the desired form. For extensions, use a combination of pushing and pulling motions to create a C-curve and define the apex. Keep the brush wet enough to glide but not so wet that the product pools in the cuticle area. If you need to add more product, repeat steps 2-4 with a new bead, blending the fresh bead into the existing one while it's still slightly wet. The goal is a smooth, uniform surface without ridges.
💡 Tips:
⚠️ Warnings:
After shaping, allow the acrylic to fully cure. Depending on the monomer and room temperature, this takes 2-5 minutes. The acrylic will become rock-hard and lose its glossy appearance. Once cured, you can file and shape the nail using a coarse file (100/180 grit) to refine the length, shape, and apex. Use a finer file to smooth the surface. Always wipe away dust with a brush or lint-free wipe.
💡 Tips:
⚠️ Warnings:
Acrylic will harden on your brush if not cleaned promptly. After each use, wipe the brush on a lint-free wipe to remove excess product. Then, dip the brush in monomer and gently work the bristles to dissolve any remaining acrylic. Finally, wash with brush cleaner or monomer, reshape the bristles, and store them flat or hanging. Never leave acrylic to dry on the brush; it will ruin the bristles.
💡 Tips:
⚠️ Warnings:
Problem: Acrylic bead is too dry and crumbly.
Solution: Your brush has too much powder or not enough monomer. Wipe brush, dip in monomer lightly, and try again with a smaller powder pick-up.
Problem: Bead runs off the nail.
Solution: Too much monomer. Use a drier brush or let the bead sit on the brush for an extra second before applying.
Problem: Acrylic turns yellow after curing.
Solution: Often from UV exposure or old monomer. Use fresh monomer and store powders in opaque containers.
Problem: Bubbles appear in the cured acrylic.
Solution: Caused by over-brushing or using too wet a bead. Work with a tighter bead and minimize brush strokes.
Low odor and self-leveling properties, reduces file time.
Best for: Best for professionals who want a smooth, long-lasting extension.
Price Range: $25 - $35
Fine-milled for easy mixing, available in many natural and color shades.
Best for: Ideal for nail extensions and overlays, especially for beginners to intermediates.
Price Range: $15 - $30
Kolinsky sable bristles for precise bead pick-up and smooth application.
Best for: Essential for forming perfect beads and intricate sculpting.
Price Range: $8 - $15
Removes oils and promotes adhesion to prevent lifting.
Best for: Must-have step before applying acrylic for long wear.
Price Range: $10 - $15
Glass resists acetone and monomer better than plastic, easy to clean.
Best for: Holding monomer during service; heavy base prevents spills.
Price Range: $6 - $12
Best for professionals who want a smooth, long-lasting extension.
Young Nails Monomer (EMA) Low odor and self-leveling properties, reduces file time.
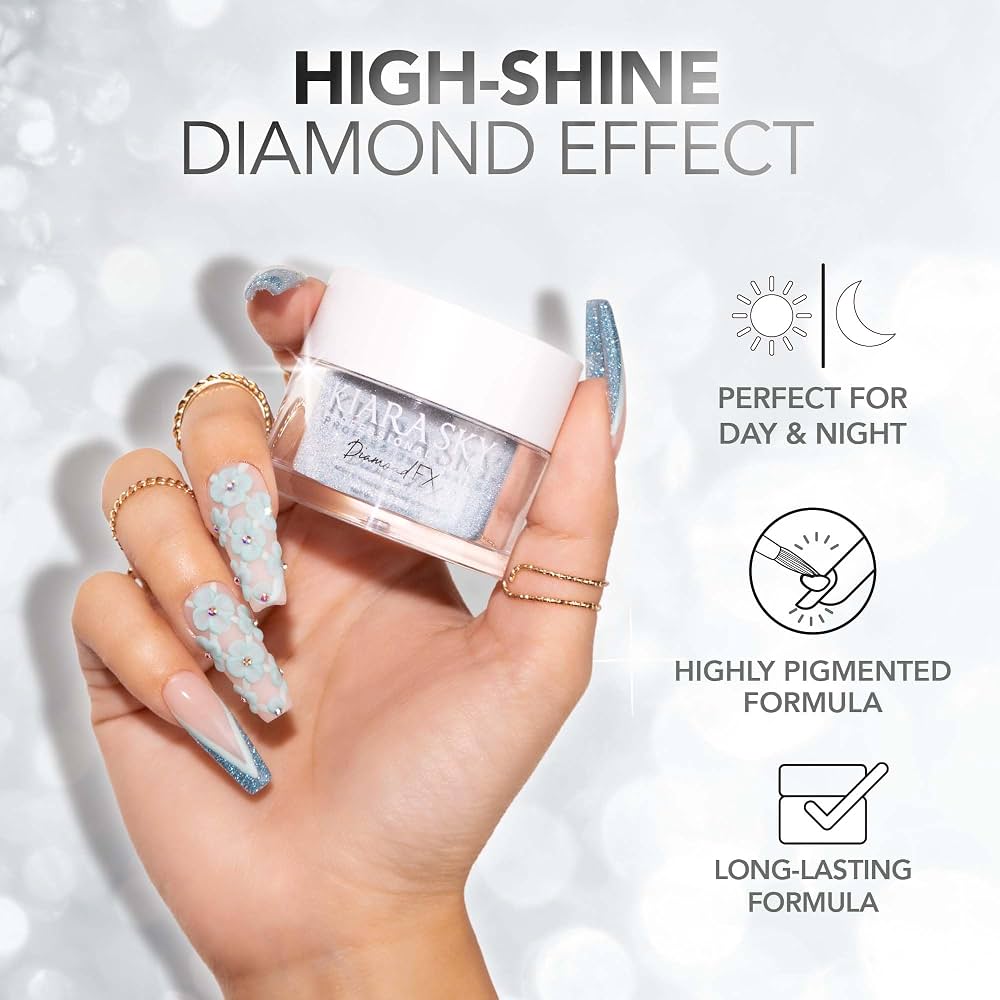
Ideal for nail extensions and overlays, especially for beginners to intermediates.
Kiara Sky Pro Acrylic Powder Fine-milled for easy mixing, available in many natural and color shades.
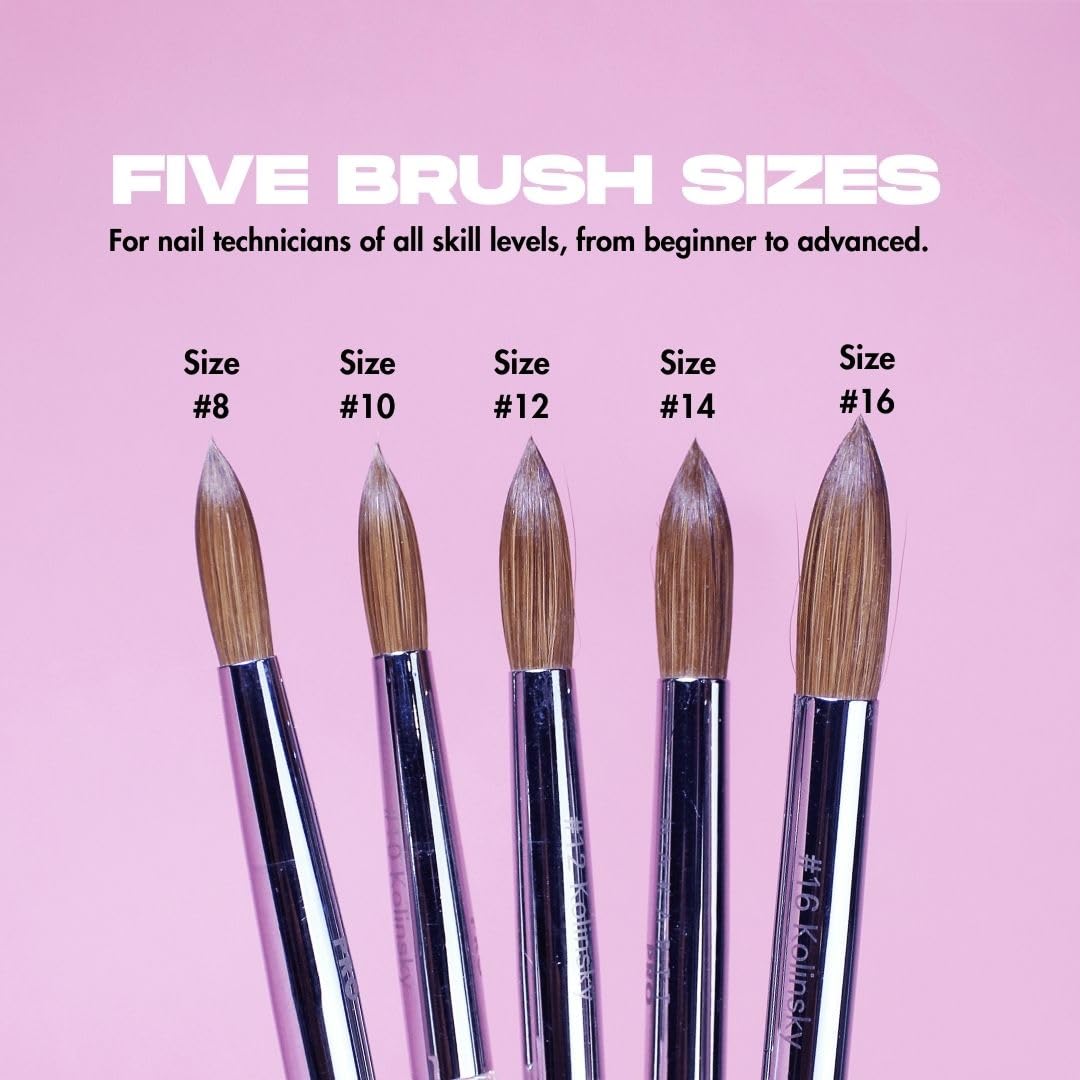
Essential for forming perfect beads and intricate sculpting.
Makartt Nail Art Acrylic Brush (Size 10) Kolinsky sable bristles for precise bead pick-up and smooth application.
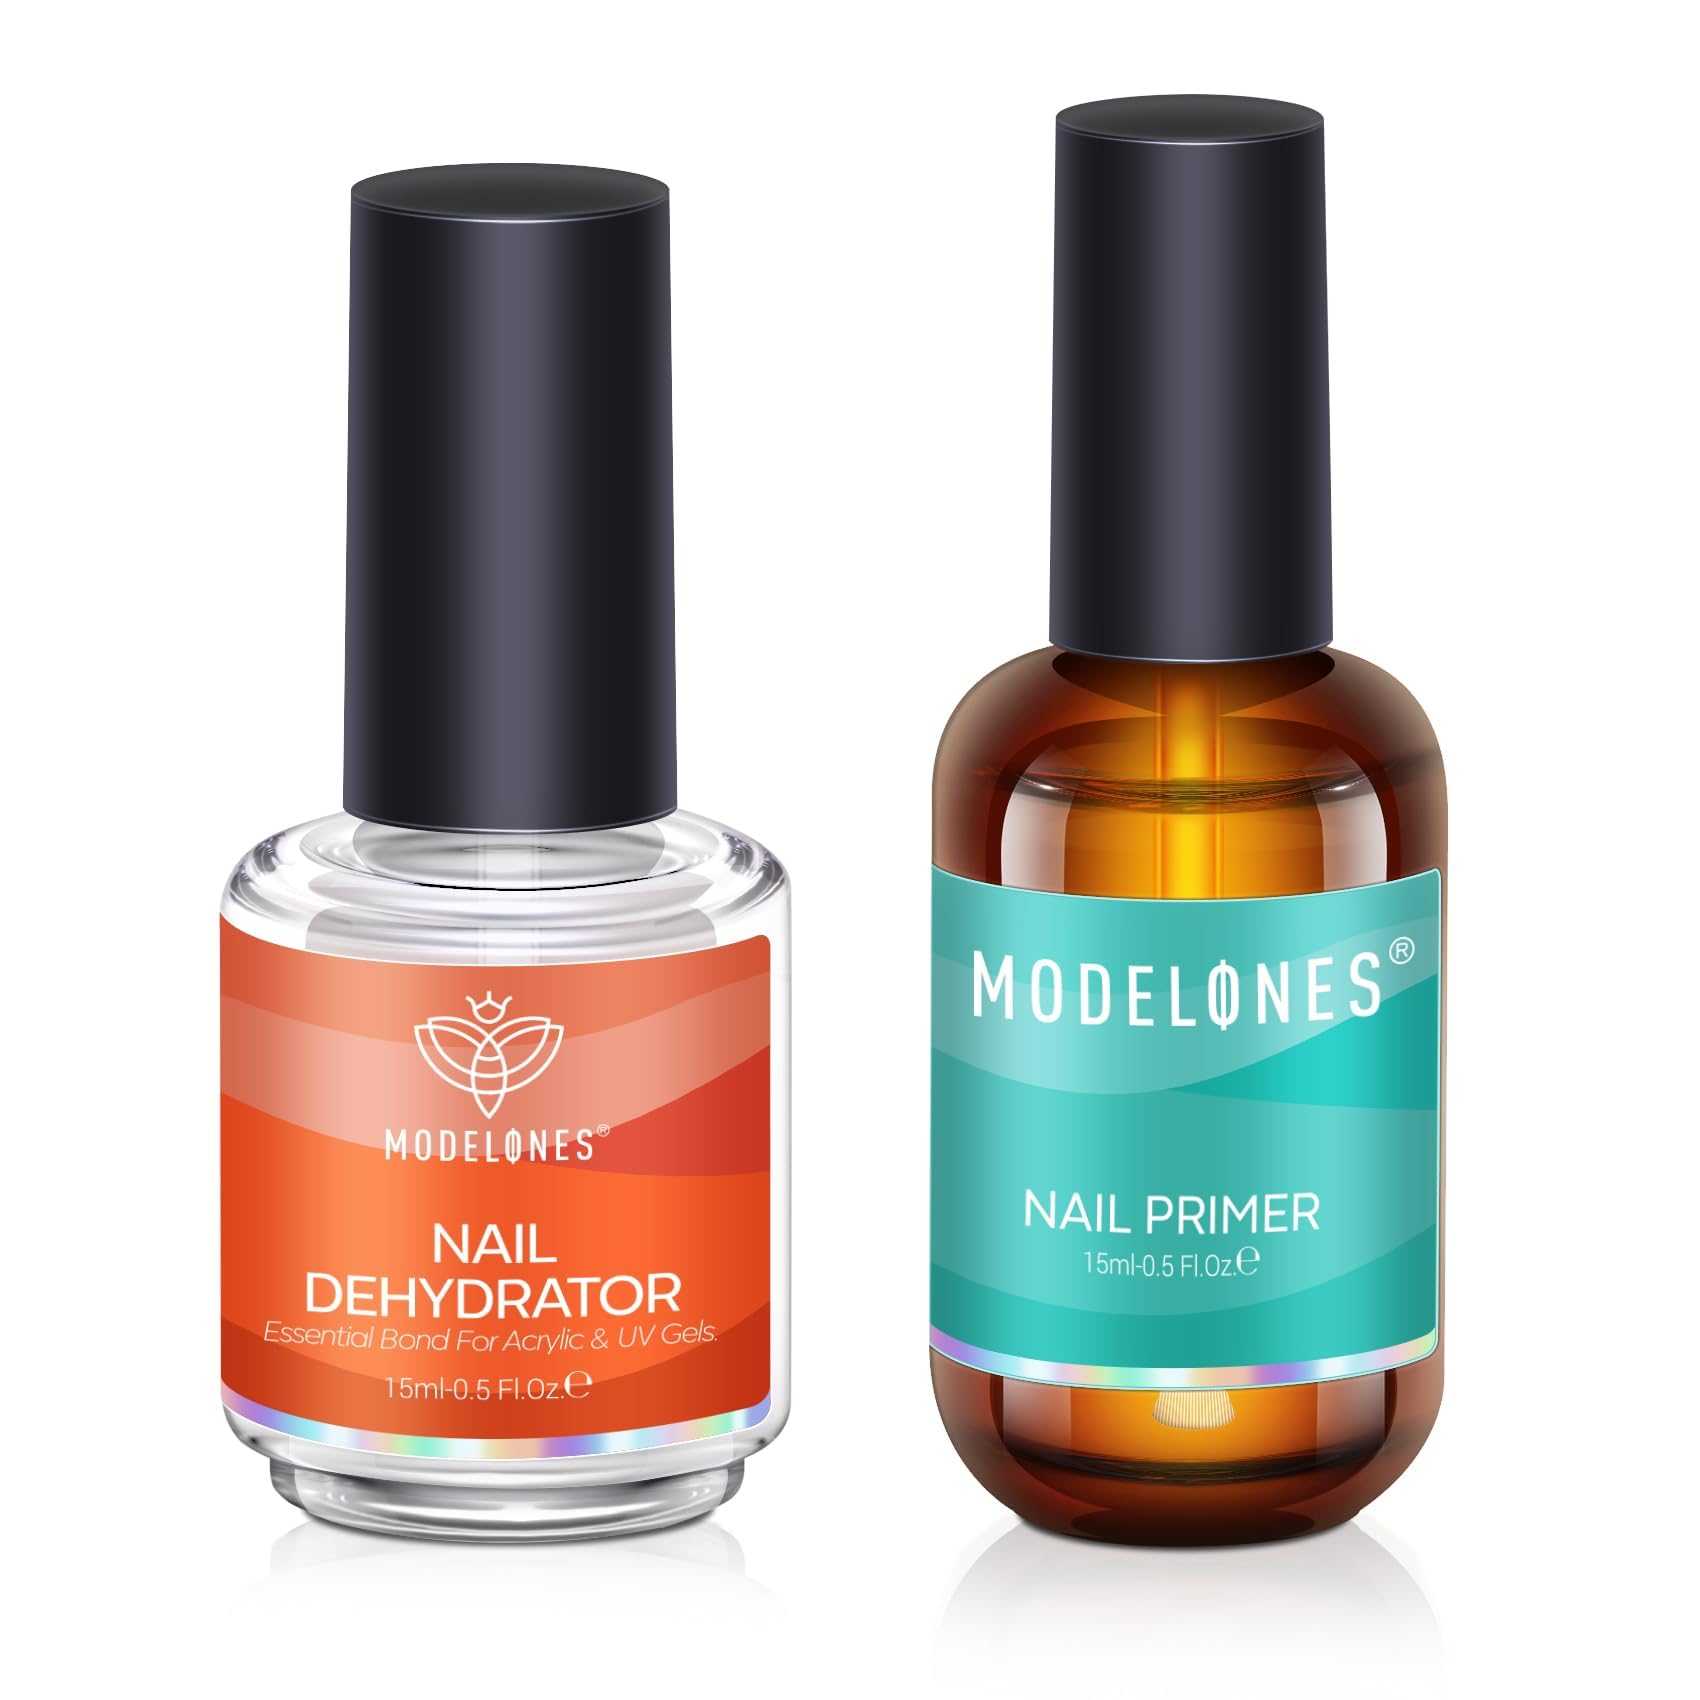
Must-have step before applying acrylic for long wear.
Nail Dehydrator and Primer Set by Modelones Removes oils and promotes adhesion to prevent lifting.
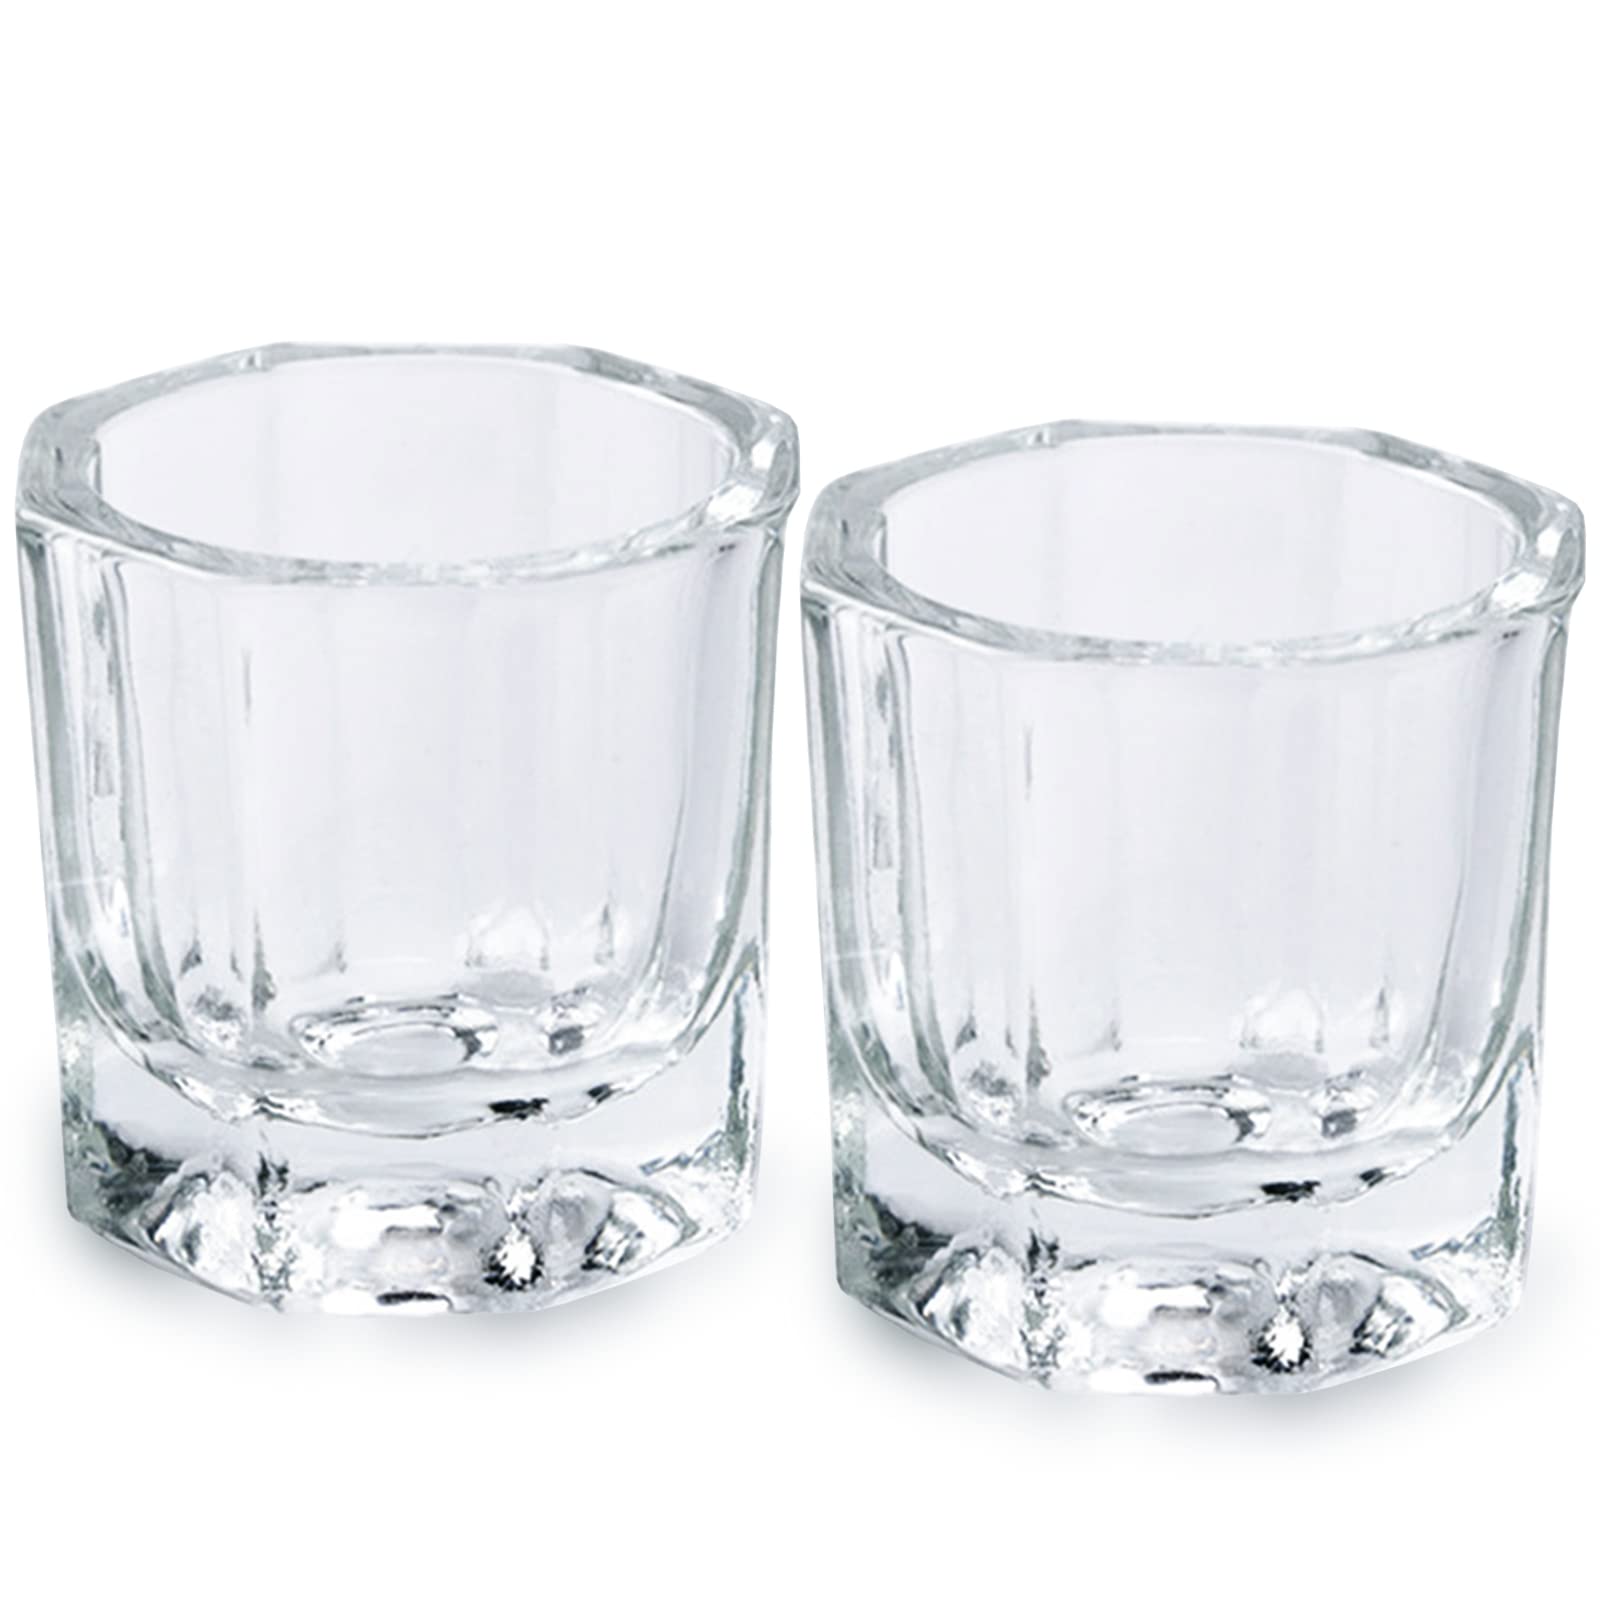
Holding monomer during service; heavy base prevents spills.
Dappen Dishes (Glass, 2-Pack) Glass resists acetone and monomer better than plastic, easy to clean.