Making sourdough bread at home is rewarding, but achieving that perfect crackly crust and open crumb can feel elusive. The Dutch oven is a game-changer because it traps steam from the dough, mimicking the steam-injected ovens used by professional bakeries. This guide walks you through the entire process—from a bubbly starter to a golden, crusty loaf—with clear steps and practical tips.
You'll learn how to mix, fold, shape, proof, and bake a classic sourdough boule. No specialty equipment is required beyond a Dutch oven and a few basic tools. The process takes about 12 to 24 hours from start to finish, but most of that is hands-off fermentation time. Aim for a weekend bake and be prepared to taste the difference home-baked sourdough makes.
▸What You'll Need
- •Active sourdough starter (100 g, bubbly and at peak)
- •Bread flour (400 g), plus more for dusting
- •Whole wheat or rye flour (100 g)
- •Water (350 ml, lukewarm)
- •Salt (10 g)
- •Dutch oven with lid (cast iron or enameled cast iron, 5-7 quart)
- •Banneton proofing basket (or a large bowl with a floured cloth)
- •Parchment paper
- •Bread lame or very sharp knife
- •Kitchen scale (digital preferred)
- •Bench scraper or stiff spatula
- •Large mixing bowl
- •Wire cooling rack
- •Optional: Rice flour for dusting, instant-read thermometer, plastic wrap or a clean shower cap
Estimated Time: 24-48 hours total, including starter feeding, fermentation, and cold proofing; about 1 hour of active hands-on time
Difficulty: intermediate
▸Step-by-Step Instructions
Step 1: Prepare Your Sourdough Starter
To make sourdough, you need an active, bubbly starter. If your starter lives in the refrigerator, take it out and feed it about 12 hours before mixing the dough. Use a 1:1:1 ratio by weight—equal parts starter, flour, and water—and let it sit at room temperature until it doubles in volume. A ripe starter shows lots of small and large bubbles, a slightly domed top, and a clean, fruity-sour aroma.
If you're starting a new starter from scratch, plan ahead: it takes 5 to 7 days of regular feedings to build enough strength. A weak starter will produce a dense, flat loaf, so don't rush this stage. The night before baking, feed your starter generously, and when it reaches its peak (usually 4 to 6 hours later), you're ready to mix the dough.
💡 Tips:
- •Use a clear glass jar with a rubber band to easily see the rise.
- •Place the starter in a warm spot (around 75-80°F / 24-27°C) to speed up activity.
- •Feed the starter twice a day if your kitchen is warm and you're batch-baking.
⚠️ Warnings:
- •Do not use the starter right after feeding; it needs to be at its peak rise for best results.
Step 2: Mix the Dough: Autolyse and Combine
Start by weighing your flours and water in a large mixing bowl. Mix with a spoon until no dry flour remains, then cover the bowl and let the mixture rest for 30 to 60 minutes. This 'autolyse' step hydrates the flour and activates enzymes, which makes the dough easier to stretch and gives you a more open crumb.
After the autolyse, add the ripe starter and salt. Using wet hands, squeeze and press the dough to incorporate the starter fully, then work in the salt. The dough will be shaggy and sticky—that's completely normal at this stage. Cover the bowl and let it rest for 30 minutes before you begin folding.
💡 Tips:
- •Use a kitchen scale for accuracy; sourdough ratios are crucial.
- •Mix with a dough whisk or a sturdy spatula to minimize sticking.
- •Reserve a small sample of dough in a separate jar (aliquot method) to help track fermentation later.
⚠️ Warnings:
- •Don't skip the autolyse—it reduces kneading time and improves dough strength.
Step 3: Bulk Fermentation and Stretch-and-Folds
This is the first rise, where the dough develops flavor and gluten strength. Over 4 to 6 hours at room temperature, perform 4 to 6 sets of stretch-and-folds at 30-minute intervals. To stretch and fold, wet your hand, reach under one side of the dough, stretch it upward, and fold it over the center. Rotate the bowl a quarter turn and repeat until you've gone around the circle.
This gentle folding technique builds a strong gluten network without aggressive kneading. Watch the dough—it should become noticeably smoother and more elastic after each round. At the end of bulk fermentation, the dough will be puffy, slightly jiggly, and have increased in volume by about 50 to 75%. The exact time depends on your room temperature, flour type, and starter strength. For consistently, keep the dough in a warm spot around 78°F (25°C) and track the rise.
💡 Tips:
- •Use the aliquot method: take a small piece of dough and place it in a straight-sided jar to gauge when the dough has risen 50-75%.
- •Perform the folds in a warm, draft-free area to keep the dough at the right temperature.
- •If the dough is very slack, add an extra set of folds.
⚠️ Warnings:
- •Do not over-ferment. If the dough becomes soupy and smells sharply of vinegar, it has gone too far.
Step 4: Shape the Dough
Once bulk fermentation is complete, turn the dough out onto a lightly floured work surface. Use a bench scraper to help release it from the bowl without deflating the bubbles. For a round boule, grab the edges of the dough and pull them toward the center, rotating the dough as you go. This creates surface tension on the outside while keeping the interior airy.
For an oval batard, first shape a loose round, let it rest for 20 minutes (this is the 'bench rest'), then flatten it slightly and fold the left and right sides into the center, followed by rolling it up from the bottom. The final shape should feel taut, but not tight. You want a smooth outer skin that will hold during proofing and scoring.
💡 Tips:
- •Use a light dusting of flour or rice flour to prevent sticking—rice flour doesn't create tough patches.
- •Keep your hands lightly floured or wet while shaping, so the dough doesn't stick.
- •Don't over-handle the dough; you want to preserve the gas bubbles.
⚠️ Warnings:
- •Too much flour can prevent the dough from sealing and create dry, floury layers inside the loaf.
Step 5: Final Proofing in a Banneton
Place your shaped dough into a proofing basket (banneton) that has been generously dusted with rice flour, seam-side up. The basket holds the dough in shape and allows air circulation, which helps form a thin skin that's perfect for scoring. If you don't have a banneton, use a large bowl lined with a floured kitchen towel.
Cover the basket with plastic wrap or a shower cap and let it proof. For a quicker bake, proof at room temperature for 2 to 3 hours, until the dough passes the 'poke test': press your finger gently into the dough; if it springs back slowly and leaves a small indentation, it's ready. For more complex flavor and a deep, caramelized crust, refrigerate the dough overnight (12 to 14 hours). Cold dough is much easier to score and produces a better oven rise. The dough should increase in size by about 1.5 times during proofing.
💡 Tips:
- •Rice flour prevents the dough from sticking to the banneton far better than all-purpose flour.
- •If proofing in the fridge, cover with a plastic bag to keep the dough from drying out.
- •Use the poke test as a reliable indicator rather than timing alone.
⚠️ Warnings:
- •Over-proofing will make the dough flatten out when you tip it out, and the score won't open up properly.
Step 6: Preheat the Dutch Oven and Score the Dough
About 45 to 60 minutes before you plan to bake, place your Dutch oven with its lid on in the cold oven, and preheat to 450°F (230°C). The long preheat ensures the pot is ripping hot and stores a large amount of heat, which is key for a great oven spring and crackly crust.
When the oven reaches temperature, carefully remove the hot Dutch oven and set it on a heat-safe trivet. Take your proofed dough out of the fridge (or leave it at room temperature if that's your method). Place a sheet of parchment paper over the basket, then flip it over so the dough lands on the parchment. Use a bread lame or a razor-sharp knife to score the top. Make one clean slash about ½ inch deep at an angle, or create a pattern like a cross or a leaf. The score is where the dough will expand—a shallow cut can cause the bread to split unevenly.
💡 Tips:
- •Use a very sharp blade for a confident, quick score.
- •Brush the top of the dough with rice flour before scoring to make the cut reveal a beautiful white contrast.
- •If the dough is cold, score more deeply since it's easier to control.
⚠️ Warnings:
- •The Dutch oven is extremely hot—always use oven mitts and be careful not to touch the interior of the lid.
- •Work quickly to minimize heat loss from the pot.
Step 7: Bake Covered, Then Uncovered
Carefully lift the parchment paper with the dough and lower it into the preheated Dutch oven. Put the lid on immediately and return the pot to the oven. Bake for 20 to 25 minutes with the lid on—the trapped steam from the dough will keep the crust soft and allow the bread to spring up. The crust during this phase remains very pale.
After 20 to 25 minutes, remove the lid to let the crust brown and crisp. Continue baking for another 20 to 30 minutes, until the bread is deep amber brown and sounds hollow when you tap it on the bottom. The internal temperature should read 205 to 210°F (96 to 99°C) on an instant-read thermometer. If the bottom is browning too fast, slide a baking sheet onto the rack below the Dutch oven to deflect some heat.
💡 Tips:
- •For extra steam, toss a couple of ice cubes between the parchment and the pot just before adding the lid—this boosts oven spring.
- •Rotate the Dutch oven 180° halfway through the uncovered baking if your oven has hot spots.
- •Let the bread bake without peeking; every time you lift the lid, steam escapes and slows crust development.
⚠️ Warnings:
- •Be careful when removing the lid: the hot steam can burn your hands and face.
- •If the crust is getting too dark before the interior is done, lower the oven temperature by 10-15°F.
Step 8: Cool Completely Before Slicing
Lift the finished loaf out of the Dutch oven using the parchment paper and set it on a wire rack. Let it cool for at least 1 to 2 hours. This step is non-negotiable: slicing into hot bread will produce a gummy, dense crumb because the interior is still setting. The crust will soften slightly as it cools, while the inside finishes cooking.
Once fully cool, you should hear crackling sounds as the crust contracts—that's a sign of a great loaf. Slice with a serrated bread knife and admire the open, airy crumb. Store leftover bread in a paper bag or wrapped in a tea towel at room temperature for up to 3 days. For longer storage, slice and freeze in a resealable bag, then toast straight from the freezer.
💡 Tips:
- •To refresh a stale loaf, sprinkle it lightly with water and heat in a 350°F (175°C) oven for 10 minutes.
- •Wait until the loaf is completely cool to get clean slices without tearing the crumb.
- •Store a cut loaf cut-side down on a cutting board to keep the interior moist.
⚠️ Warnings:
- •Do not wrap warm bread in plastic—it will trap moisture and make the crust rubbery.
▸Pro Tips
- •Use a digital kitchen scale for all ingredients. Sourdough is about ratios, and measuring by weight yields consistent results.
- •Maintain a consistent starter feeding schedule so you always have a predictable, active starter on baking day.
- •Add a few ice cubes to the Dutch oven right before covering to generate extra steam for a shinier, crisper crust.
- •Preheat your Dutch oven for at least 45 minutes. The longer preheat ensures the pot is thoroughly heated, leading to better oven spring.
- •Try a cold, overnight proof in the fridge. It slows fermentation, deepens flavor, and makes the dough much easier to handle and score.
- •Use rice flour to dust the banneton and the top of the dough before scoring—it doesn't get sticky like wheat flour and gives a beautiful rustic look.
- •Score confidently. A clean, ½-inch-deep cut with a sharp lame will allow the loaf to expand volumes better than a shallow scratch.
- •Always let the bread cool completely before slicing. This is one of the most commonly skipped steps, yet it's crucial for a perfect crumb.
▸Common Mistakes to Avoid
- •Using an under-ripe starter. If the starter isn't bubbly and active, the bread won't rise properly. Wait until it doubles on a regular basis.
- •Skipping the autolyse. This rest period hydrates the flour and gives you a more extensible dough that's easier to shape and produces an open crumb.
- •Over-proofing or under-proofing. Both lead to dense, flat bread. Learn to recognize the visual and tactile signs of a properly proofed dough.
- •Not preheating the Dutch oven long enough. A lukewarm pot won't give enough steam or heat to the dough, resulting in poor oven spring.
- •Cutting into the bread too soon. You'll crush the airy crumb and make it gummy. Wait at least 1 to 2 hours after baking.
▸Troubleshooting
Problem: My bread came out flat and didn't rise in the oven.
Solution: This usually means your starter was weak or your dough was over-proofed. Check that your starter passes the float test (a dollop floats in water) and shorten the bulk fermentation time next time.
Problem: The crumb is dense and gummy with few air holes.
Solution: Dense crumb can result from under-proofing, not enough steam, or cutting into the bread too early. Extend the proofing time and use the poke test. Also make sure the Dutch oven is thoroughly preheated.
Problem: The bottom of the bread is burnt or too dark.
Solution: Position a baking sheet on the rack below the Dutch oven to deflect direct heat, or lower the oven temperature by 25°F (14°C) for the uncovered phase. You can also place a thin layer of cornmeal or a silicone baking mat under the parchment in the pot.
Problem: The crust is not crisp enough.
Solution: If the crust is soft, the bread likely didn't get enough steam or wasn't baked long enough with the lid off. Ensure the Dutch oven is sealed tightly, and extend the uncovered baking time until the crust is deep brown.
Problem: The dough sticks to the banneton.
Solution: This usually happens when the basket isn't dusted with enough rice flour. After turning out the dough, gently coax it out with your hand and dust the surface with more rice flour before next time.
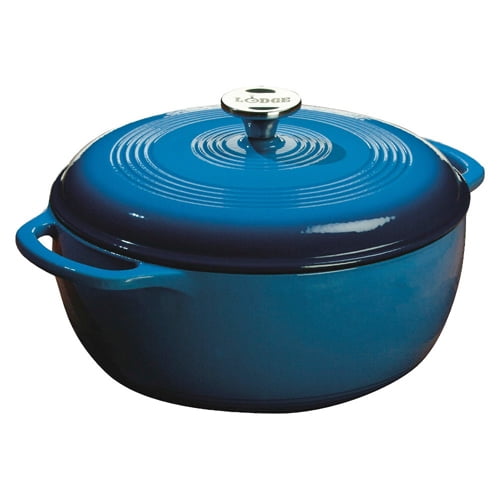
Lodge 6-Quart Cast Iron Dutch Oven
A classic, pre-seasoned cast iron Dutch oven that delivers excellent heat retention and steam trapping. It's the most affordable option that works beautifully for sourdough.
Best for: Ideal for bakers who want a reliable, budget-friendly Dutch oven for weekly bread baking.
Price Range: $40 - $70
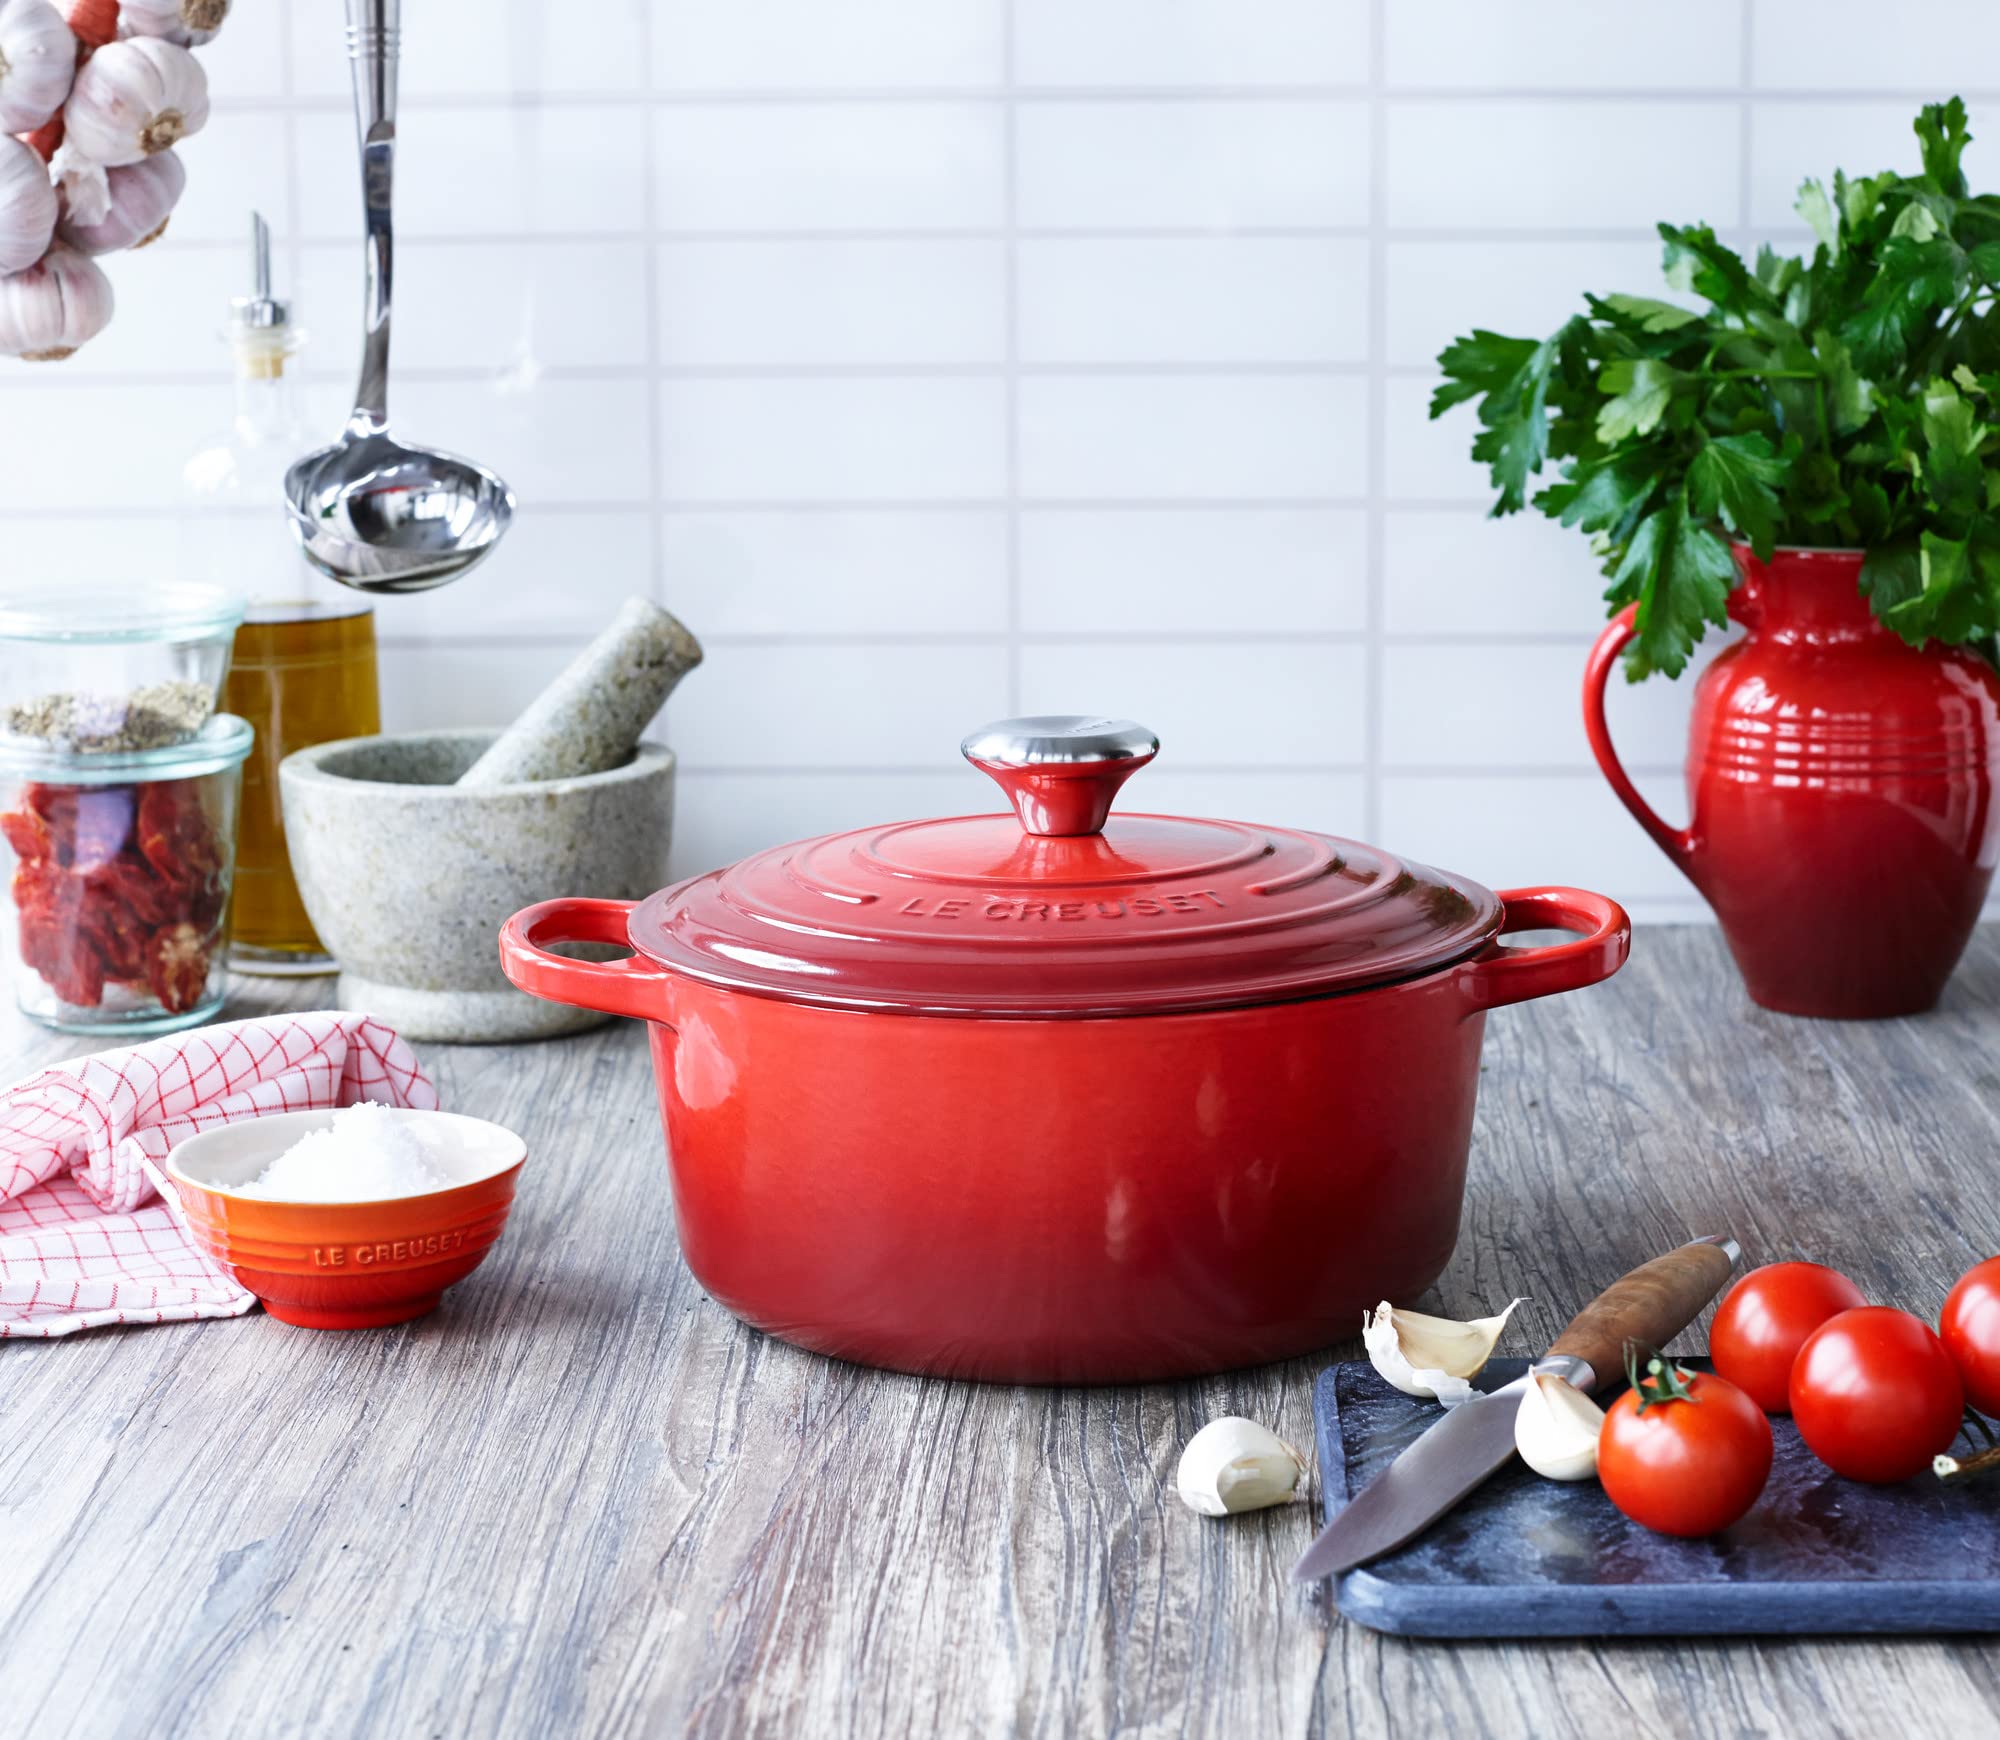
Le Creuset Round Dutch Oven
Enameled cast iron with a smoother interior that's easy to clean and doesn't require seasoning. Its tight-fitting lid locks in steam, producing a beautiful crust.
Best for: Perfect for home bakers who want a versatile, high-quality piece that can double as a stylish casserole dish.
Price Range: $300 - $450
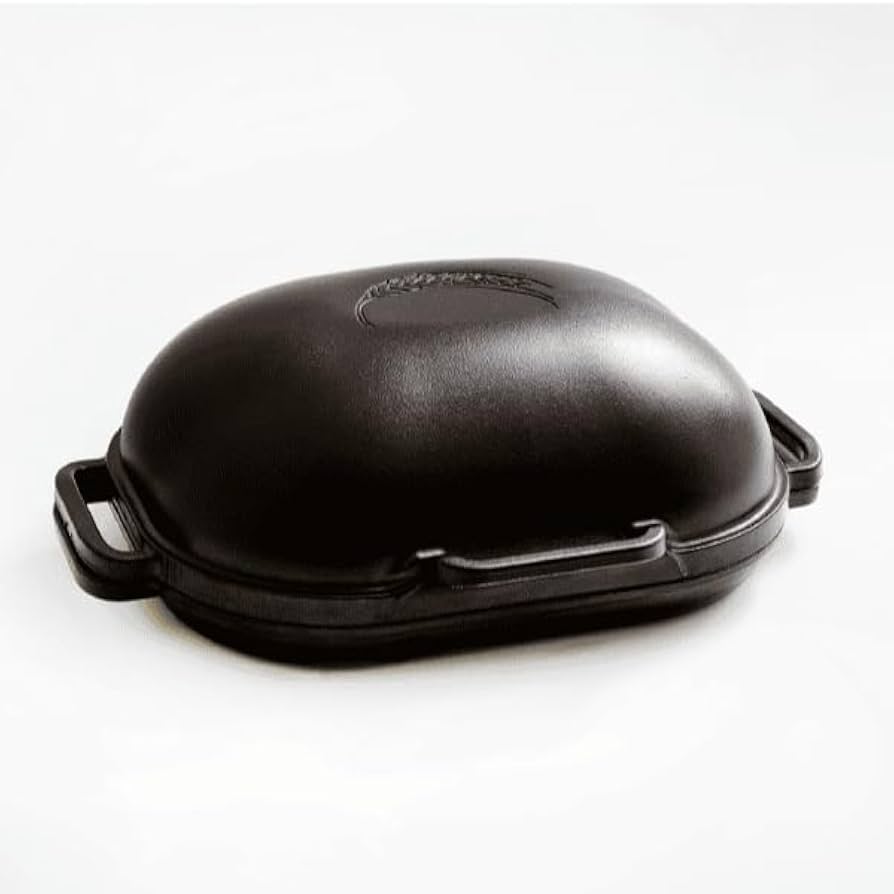
Challenger Bread Pan
Purpose-built for artisan bread, this cast iron pan is shaped to give room for a batard and has a taller dome, helping you get a more professional oven spring and rounded loaf.
Best for: Best for serious sourdough enthusiasts who bake often and want maximum volume and crust color.
Price Range: $200 - $300
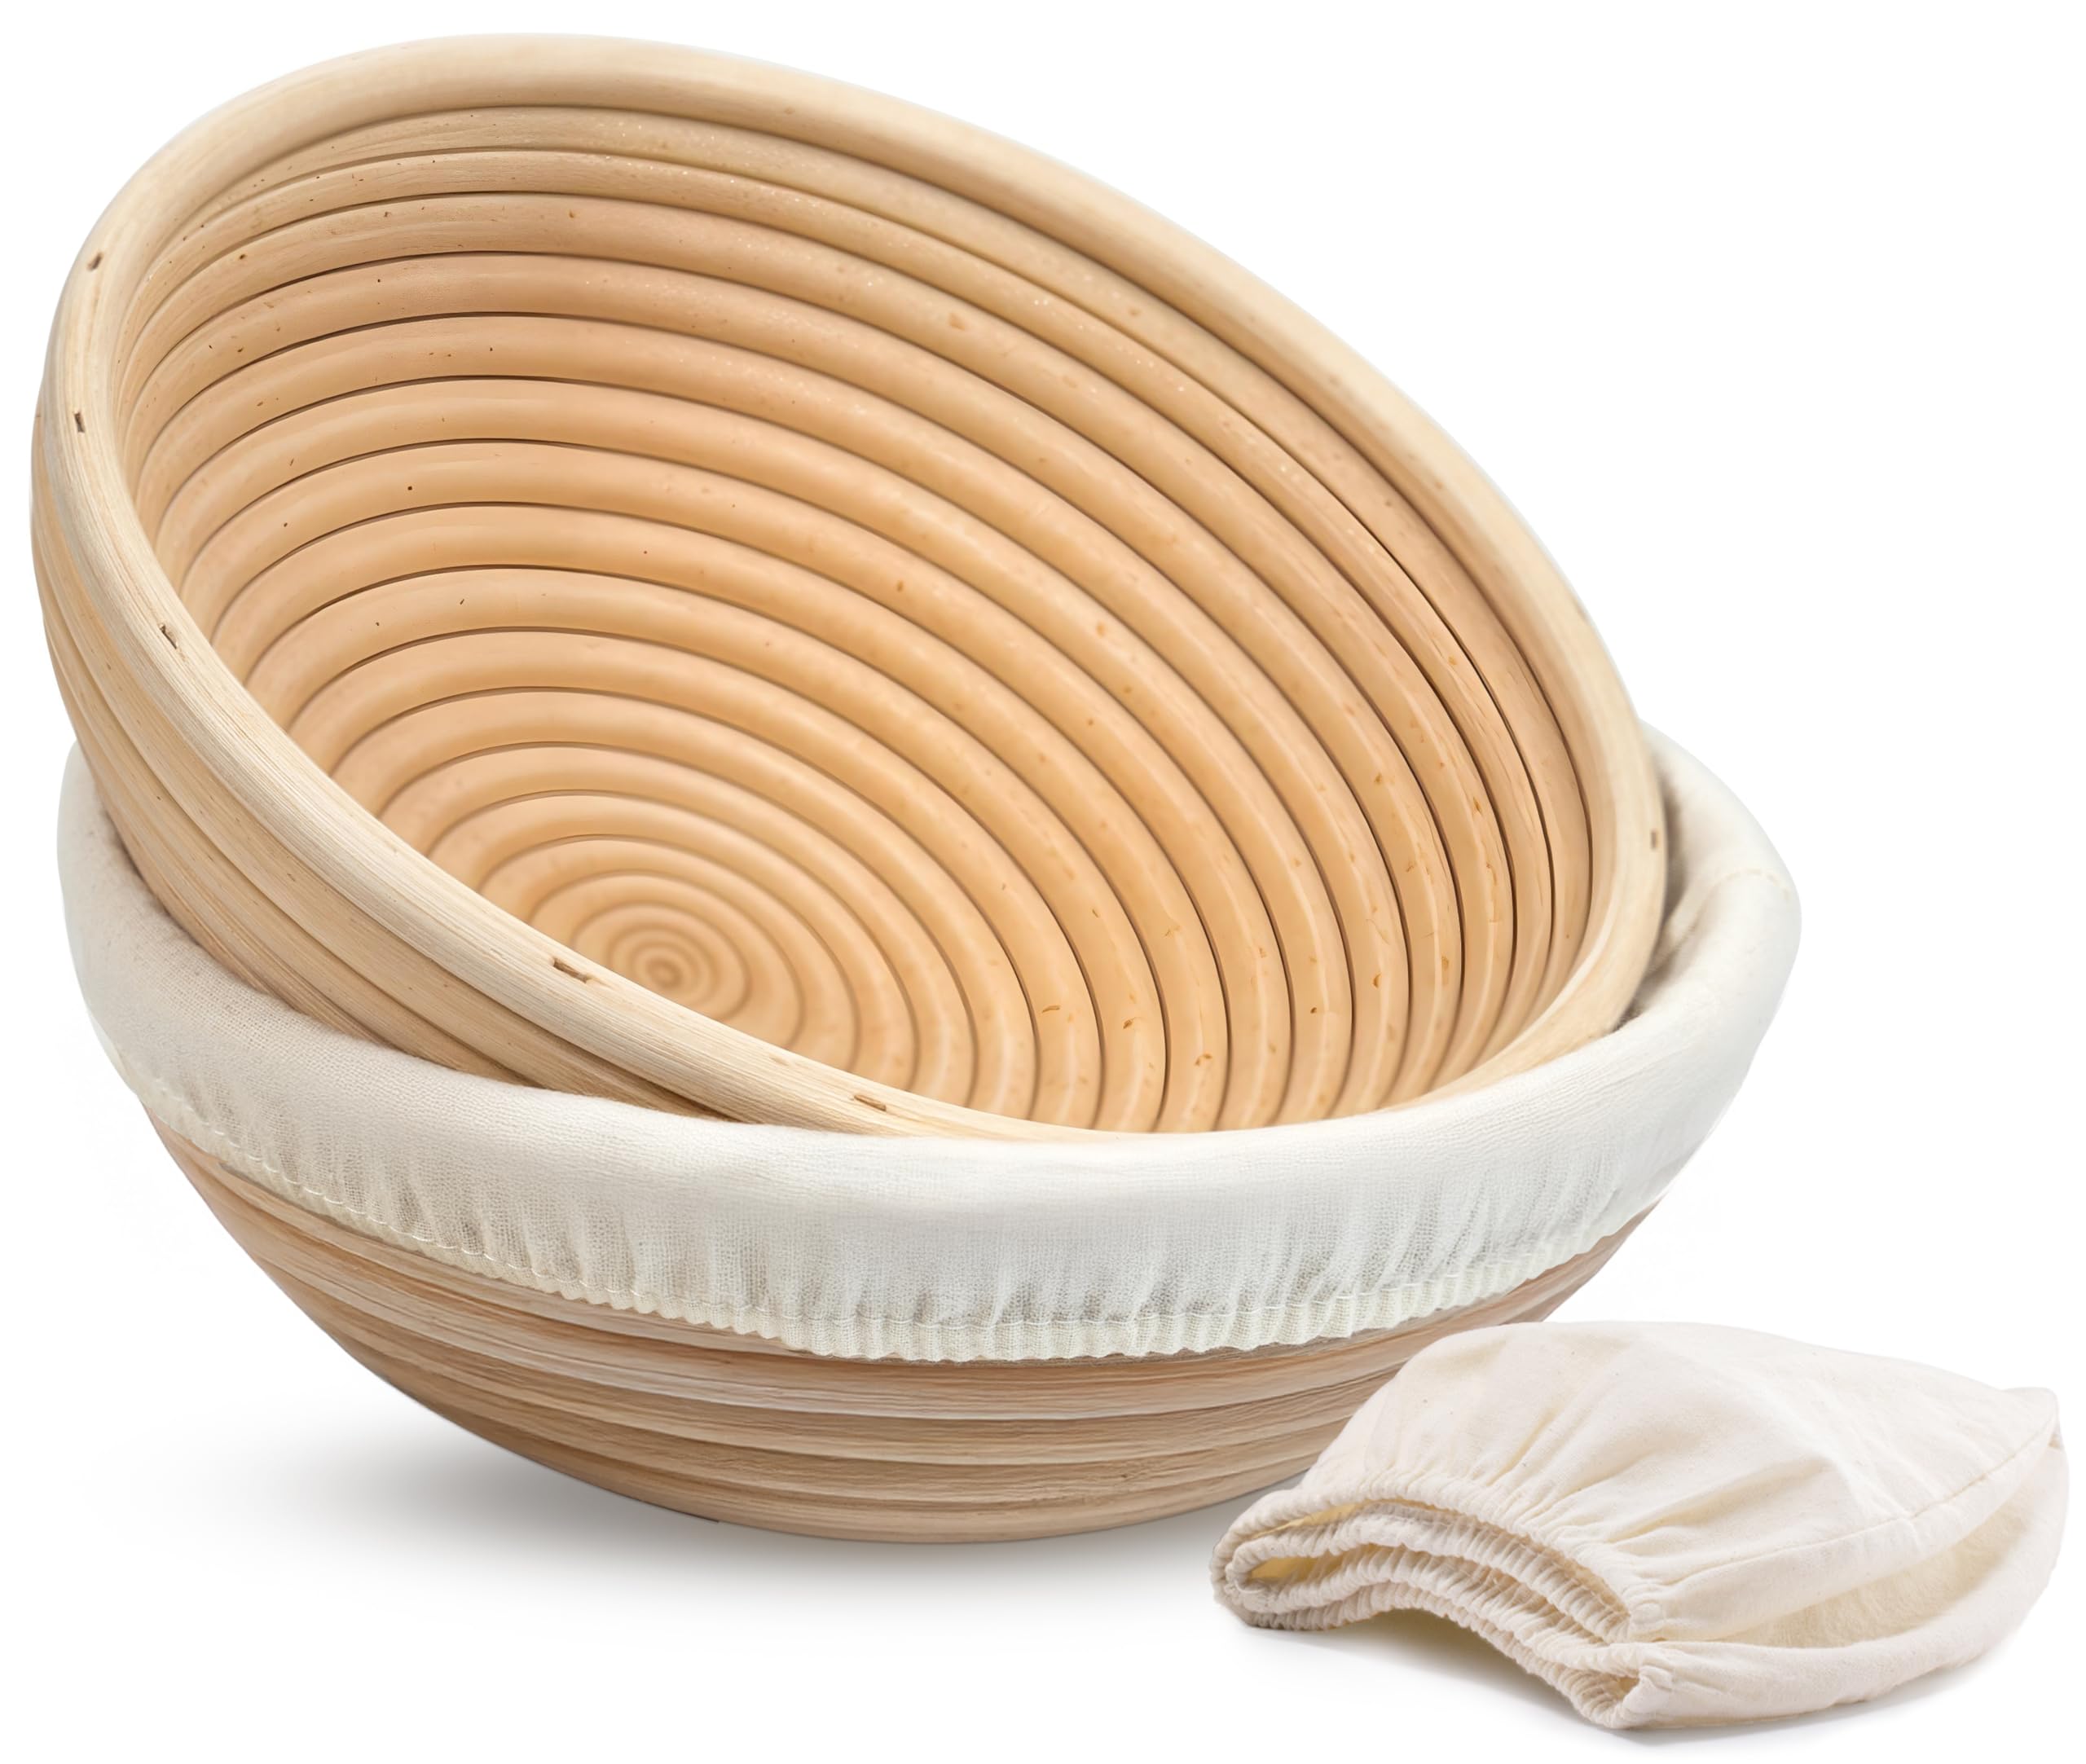
Banneton Proofing Basket
A 9-inch round banneton provides support during proofing and wicks moisture away, giving your dough a dry, non-stick surface that scores beautifully.
Best for: Essential for shaping and holding a round boule or batard during the final rise.
Price Range: $10 - $25
Wire Monkey Bread Lame
A sharp, ergonomic bread lame lets you make quick, controlled scores that release steam and allow the dough to expand evenly. The curved blade makes it easy to achieve ear-forming cuts.
Best for: For bakers who want to improve their scoring technique and create professional-looking patterns on the crust.
Price Range: $10 - $15