In a world filled with store-bought soaps loaded with synthetic fragrances and harsh chemicals, making your own homemade soap offers a refreshing alternative. You'll create personalized bars that nourish your skin with natural ingredients and the therapeutic aromas of essential oils. Whether you're looking to save money, reduce waste, or simply enjoy a rewarding DIY project, this guide empowers you to produce professional-quality soap right in your kitchen.
This tutorial focuses on the cold process method, ideal for intermediate soap makers who have some experience with basic crafting or chemistry. You'll learn the full process from safety prep to final curing, incorporating essential oils for scent and added skincare perks like lavender for relaxation or tea tree for acne-fighting properties. Expect an active time of about 1 hour, but plan for 4-6 weeks of curing to achieve that creamy lather and hardness.
By the end, you'll have 8-10 bars of luxurious soap, ready to gift or use daily. It's a hands-on process that requires precision, but with our step-by-step instructions, you'll avoid common pitfalls and build confidence for future batches.
▸What You'll Need
- •Safety gear: Goggles, gloves, and long sleeves (required for handling lye)
- •Digital scale (accurate to 0.1 oz for precise measurements)
- •Stainless steel pot or heat-safe glass bowl for mixing
- •Immersion blender (stick blender) for emulsifying
- •Silicone or wooden soap molds (holds about 2-3 lbs of soap)
- •Lye (sodium hydroxide, 100% pure, required - handle with care)
- •Oils: 16 oz olive oil, 8 oz coconut oil, 8 oz palm oil, 4 oz shea butter (required base fats)
- •Distilled water (8 oz)
- •Essential oils: 0.5-1 oz total (e.g., lavender or peppermint, optional but recommended)
- •Thermometer (infrared or candy type for temperature checks)
- •Spatula or spoon for stirring
- •Optional: Mica powder or natural colorants for tinting
- •Vinegar for cleanup (neutralizes lye spills)
Estimated Time: 1 hour active time + 4-6 weeks curing
Difficulty: intermediate
▸Step-by-Step Instructions
Step 1: Prepare Your Workspace and Safety Gear
Before starting, set up a well-ventilated area, ideally outdoors or near an open window, as lye fumes can be irritating. Cover surfaces with newspaper or plastic to protect from spills. Don your safety goggles, gloves, and long sleeves—this is crucial because lye is caustic and can cause burns if mishandled.
Why it matters: Safety first prevents accidents, especially with an intermediate process involving chemicals. Expect a clean, organized space that makes the rest of the steps smoother. Double-check that all tools are non-reactive (no aluminum, as it reacts with lye).
This step takes about 10 minutes and ensures you're ready without interruptions.
💡 Tips:
- •Work on a cool day to keep temperatures stable.
- •Have vinegar nearby to neutralize any lye splashes on skin.
⚠️ Warnings:
- •Never use tap water; chlorine can react dangerously with lye.
- •Keep children and pets away during the entire process.
Step 2: Measure and Mix the Lye Solution
Using your digital scale, weigh 3.2 oz of lye into a heat-safe plastic or glass container. Slowly add 8 oz of distilled water to the lye (never the reverse), stirring gently with a stainless steel spoon until dissolved. The mixture will heat up to about 180°F—set it aside to cool to 100-110°F.
This step is key because precise ratios ensure saponification, where lye turns oils into soap without leaving residue. You'll see fumes initially, so ventilate well. Success looks like a clear, yellowish solution cooling down without chunks.
Allow 20-30 minutes for cooling while you prep oils.
💡 Tips:
- •Weigh in grams for extra accuracy if your scale allows.
- •Use an ice bath to speed up cooling if needed.
⚠️ Warnings:
- •Always add lye to water, not water to lye, to avoid violent reactions.
- •Avoid inhaling fumes; step back if it stings your eyes.
Step 3: Weigh and Melt the Oils
In a stainless steel pot, weigh and combine 16 oz olive oil, 8 oz coconut oil, 8 oz palm oil, and 4 oz shea butter. Heat gently over low heat or in a double boiler until fully melted (around 120°F), stirring occasionally. Remove from heat and let cool to 100-110°F, matching the lye solution temperature.
The oil blend provides structure (coconut for lather, olive for moisture), and temperature control prevents separation. Expect a fragrant, liquid mix that's uniform—no solids remaining. This takes 10-15 minutes.
💡 Tips:
- •Use a thermometer to monitor closely; slight variations are okay but aim for sync.
- •If shea butter clumps, stir more vigorously.
⚠️ Warnings:
- •Don't overheat oils above 140°F, as it can degrade nutrients.
- •Ensure palm oil is sustainable-sourced to avoid ethical issues.
Step 4: Blend Lye Solution with Oils
Once both are at 100-110°F, slowly pour the lye solution into the oils while blending with an immersion blender in short bursts. Continue blending until the mixture reaches 'trace'—a pudding-like consistency where a drizzle leaves a faint trail on the surface (about 5-10 minutes).
Trace indicates emulsification starting; it's vital for even soap formation. You'll notice the mix thickening and possibly lightening in color. This is the most hands-on step—patience here yields smooth soap.
💡 Tips:
- •Pulse the blender to avoid splashing.
- •Add a bit of warm water if it traces too quickly.
⚠️ Warnings:
- •If temperatures differ by more than 10°F, wait to prevent seizing.
- •Wear gear; the blend can splatter.
Step 5: Add Essential Oils and Pour into Molds
At light trace, stir in 0.5-1 oz of essential oils (e.g., 0.5 oz lavender for a calming scent). Mix thoroughly for 1-2 minutes to distribute evenly. Quickly pour the batter into your prepared molds, tapping to release air bubbles.
Essential oils add scent and benefits but use sparingly (2-3% of total weight) to avoid skin irritation. Success: A smooth pour with a pleasant aroma filling the air. Cover molds with plastic wrap and insulate with towels for 24 hours to promote gel phase for better color and trace.
💡 Tips:
- •Test scents by sniffing; combine oils like lavender and peppermint for complexity.
- •Spray with 99% isopropyl alcohol to pop bubbles.
⚠️ Warnings:
- •Don't exceed 3% essential oils, as they can accelerate trace or sensitize skin.
- •Some oils (e.g., citrus) may fade; use fragrance oils if needed.
Step 6: Unmold and Cut the Soap
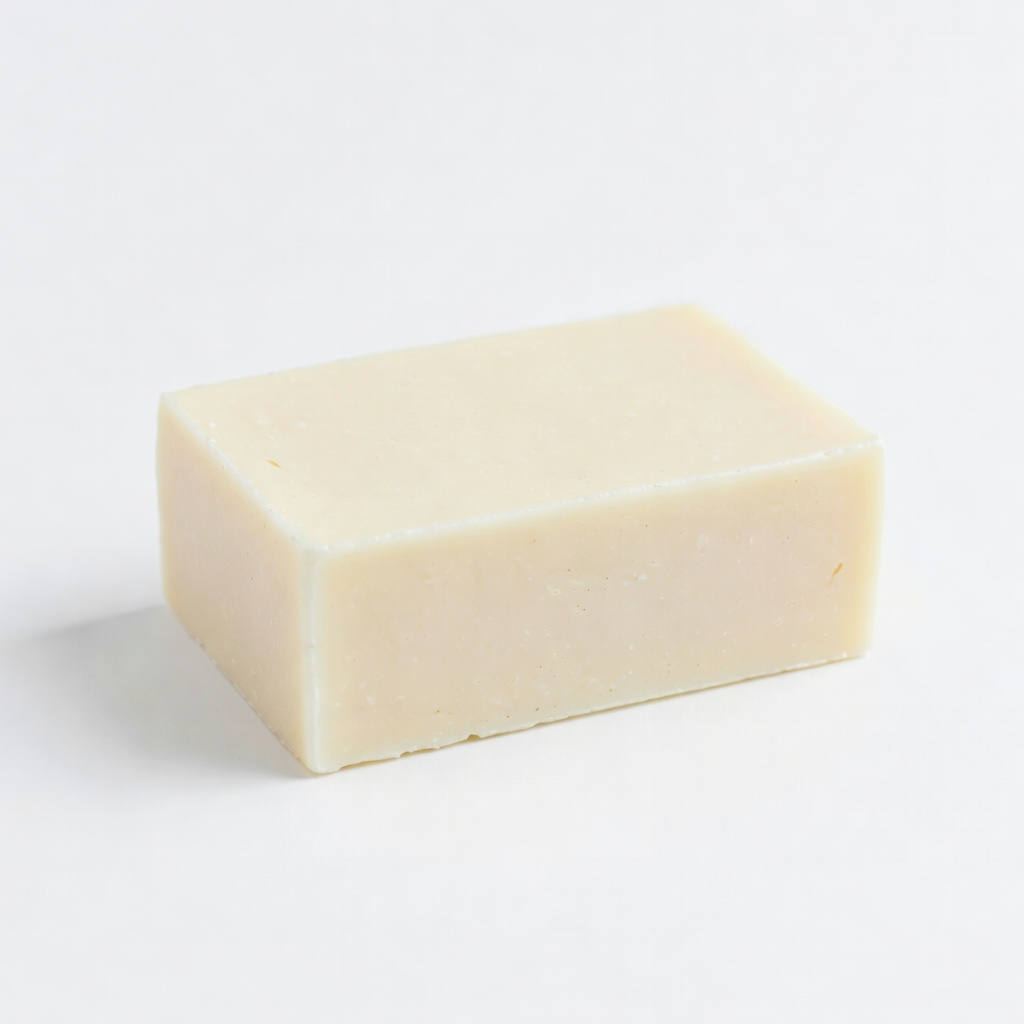
After 24-48 hours, when firm and cool, unmold the soap. If it sticks, pop in the freezer for 30 minutes. Cut into bars using a sharp knife or soap cutter, aiming for 1-inch thick pieces.
This reveals your soap's texture—expect a rustic, creamy look. Cutting now allows even curing. Handle gently to avoid dents.
💡 Tips:
- •Use a loaf mold for easy slicing.
- •Wear gloves; fresh soap can still be slightly caustic.
⚠️ Warnings:
- •Don't unmold too early; soft soap crumbles.
- •pH test a bar (should be 8-10); discard if over 10.
Step 7: Cure the Soap Bars
Place bars on a drying rack in a cool, dry, well-ventilated area away from direct sun. Let cure for 4-6 weeks, turning occasionally for even drying. The soap will harden, lose its raw scent, and develop a mild pH.
Curing completes saponification, making soap gentle and long-lasting. Success: Bars that lather well and don't feel slimy. Test by washing hands—mild and moisturizing.
💡 Tips:
- •Use silica gel packs nearby to absorb humidity.
- •Label with date and recipe for tracking.
⚠️ Warnings:
- •Impatient cutting shortens shelf life; full cure prevents mushiness.
- •Store away from strong odors to preserve essential oil scents.
▸Pro Tips
- •Superfat your recipe by 5% (extra oils) for moisturizing soap—calculate using an online lye calculator.
- •Experiment with additives like oats or herbs at trace for exfoliation, but grind finely to avoid scratches.
- •Keep a soapmaking journal to note temperatures and outcomes for refining future batches.
- •Use sustainable oils and organic essential oils for eco-friendly soap that appeals to green audiences.
- •Batch small first to test scents; scale up once confident.
- •Clean tools immediately with vinegar and hot water to prevent lye residue buildup.
- •For faster unmolding, line molds with parchment paper.
▸Common Mistakes to Avoid
- •Incorrect measurements: Leads to unbalanced soap (too soft or brittle). Avoid by using a digital scale every time.
- •Wrong temperatures: Causes separation or false trace. Always sync lye and oils within 10°F.
- •Overusing essential oils: Can irritate skin or cause acceleration. Stick to 2-3% max and patch-test.
- •Skipping curing: Results in harsh, short-lived soap. Patience is key—wait the full 4-6 weeks.
- •Poor ventilation: Exposes you to fumes. Work in open air and use a fan.
▸Troubleshooting
Problem: Soap seizes (thickens too fast) during blending
Solution: Work quickly and at cooler temps next time; add oils in smaller batches or use a wider container for easier stirring.
Problem: White film (soda ash) on cured bars
Solution: Cover molds tightly during gel phase; it's cosmetic—wipe with a damp cloth or spray with alcohol before curing.
Problem: Soap feels oily or doesn't lather
Solution: Check superfat ratio; cure longer if under 4 weeks. Remake with adjusted oils if pH is off.
Problem: Scent fades after curing
Solution: Use higher flash-point essential oils or add at light trace. Insulate less to prevent overheating scents.
Stephenson Organic Shea Butter Melt and Pour Soap Base (Alternative for Simpler Batches)
High-quality, pre-made base simplifies for intermediates testing scents without lye handling.
Best for: Use for quick prototypes before full cold process; melt and add oils directly.
Price Range: $15-20 for 2 lbs
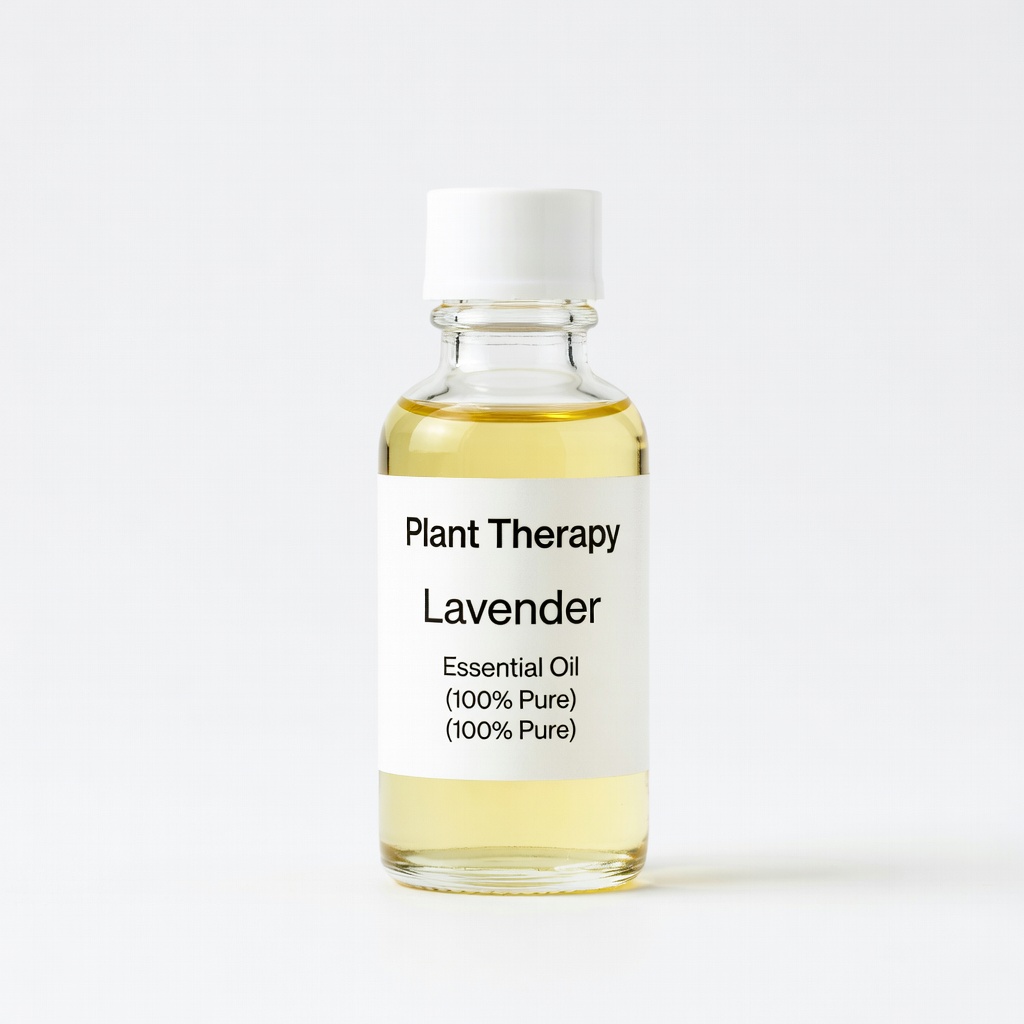
Plant Therapy Lavender Essential Oil (100% Pure)
Therapeutic-grade oil with strong, natural scent that holds up in soap; skin-safe and versatile.
Best for: Add 0.5 oz per lb of oils for calming, antibacterial bars ideal for bath or face.
Price Range: $10-15 for 10ml
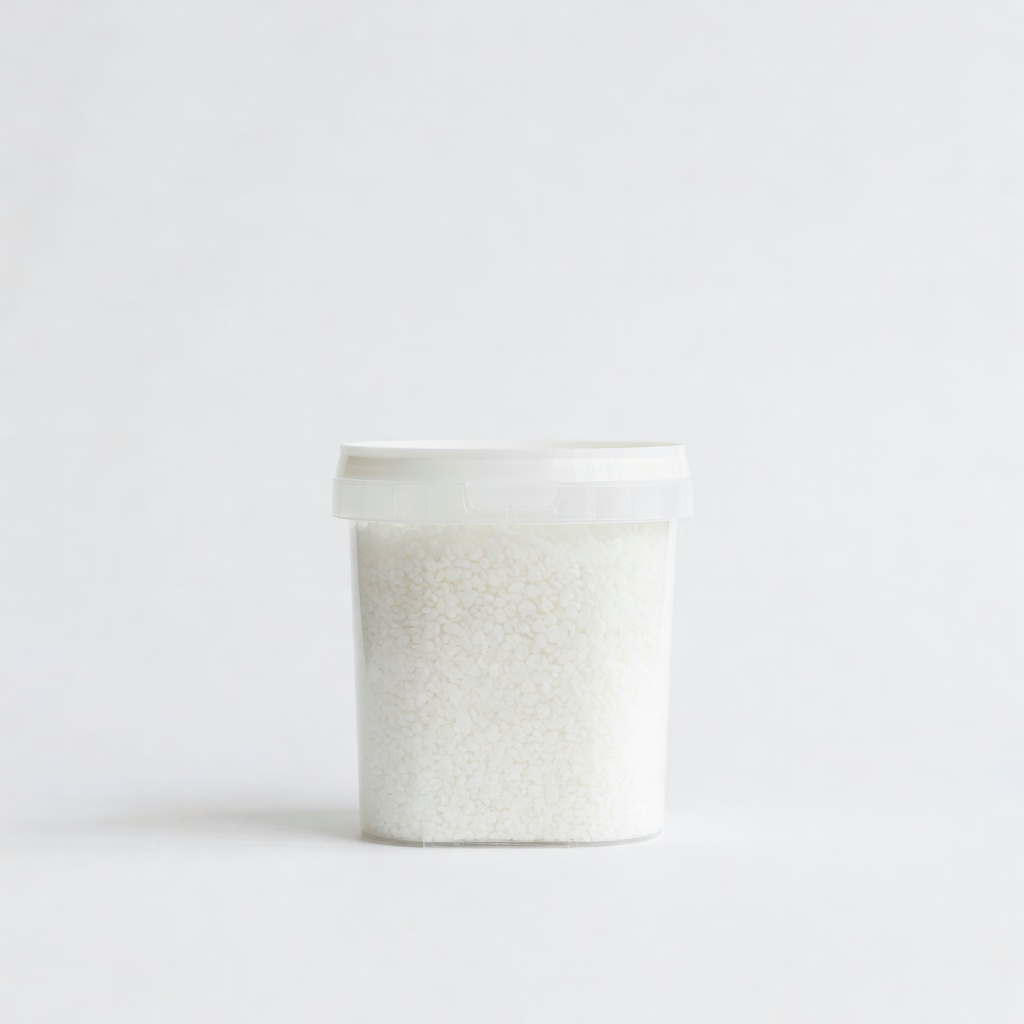
New Directions Aromatics Sodium Hydroxide (Lye)
Pure, food-grade lye essential for cold process; comes in safe packaging with handling tips.
Best for: Measure 3.2 oz for a 2-lb batch; store in airtight container away from moisture.
Price Range: $8-12 for 2 lbs
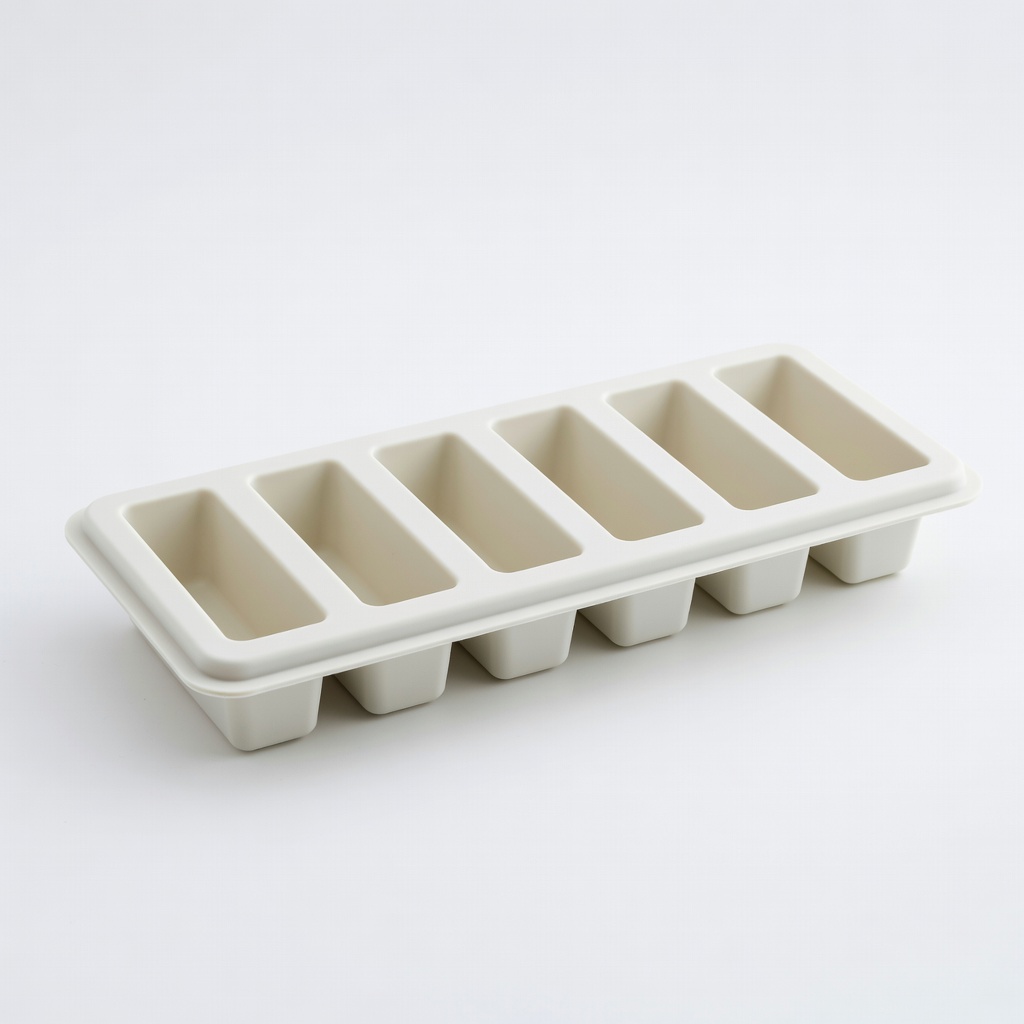
Silicone Soap Molds - 6 Cavity Loaf Mold
Flexible, non-stick design makes unmolding easy; heat-resistant for gel phase.
Best for: Pour batter directly; yields uniform bars for gifting or personal use.
Price Range: $12-18
Cuisinart Smart Stick Immersion Blender
Powerful yet compact for quick emulsifying; durable for repeated soap batches.
Best for: Blend for 5-10 minutes to trace; clean immediately to avoid residue.
Price Range: $35-50