Is there anything more satisfying than a plate of pasta you made from scratch? Fresh pasta has a silky, tender texture and rich flavor that dried pasta simply can't match. But many home cooks hesitate—they think it's time-consuming or too technical. The truth is that with a few basic ingredients, the right technique, and a little patience, you can make beautiful pasta in your own kitchen.
In this guide, we'll walk you through the process from start to finish: mixing and kneading the dough, letting it rest, rolling it into thin sheets, and cutting it into noodles you'll be proud to serve. You'll also discover the tools that make the job easier (and which ones are worth the splurge) and learn how to troubleshoot common issues. By the end, you'll be ready to make fresh tagliatelle, fettuccine, or lasagna sheets for a weeknight dinner or a special occasion.
▸What You'll Need
- •Italian '00' flour or all-purpose flour (about 250g for 3 eggs)
- •3 large eggs
- •Fine sea salt
- •Olive oil (optional)
- •Water (for adjusting dough)
- •Digital kitchen scale
- •Pasta machine or rolling pin
- •Bench scraper
- •Semolina flour (for dusting)
- •Clean kitchen towels
- •Pasta drying rack (optional)
Estimated Time: 1.5 to 2 hours (including 30 minutes resting)
Difficulty: intermediate
▸Step-by-Step Instructions
Step 1: Gather Your Ingredients and Tools
Before you start, set up your workstation. You'll need a clean countertop, a mixing bowl, a fork, a bench scraper, and a pasta machine or rolling pin. Measure out the flour and salt. Weigh the flour on a digital scale—100 grams per large egg is a reliable ratio. For a batch of 3 eggs, you'll want 300 grams or about 2.5 cups of '00' flour, though the exact volume can vary. If you're using a stand mixer, attach the flat beater or dough hook. Having everything ready prevents a rushed, messy dough.
Tip: Keep your ingredients at room temperature; cold eggs blend into the dough less smoothly. Also, clear a generous surface—you'll need at least a three-foot area for rolling later.
💡 Tips:
- •Line up your pasta machine and dry rack if using.
- •Use a digital scale for accuracy.
⚠️ Warnings:
- •Don't use a too-small work surface—you'll need room to roll and cut.
Step 2: Form a Well and Add the Eggs
On a clean work surface, mound the flour into a volcano shape with a wide crater in the center. Whisk the salt into the flour. Crack the eggs directly into the crater, adding the olive oil if using. With a fork or your fingertips, gently beat the eggs, gradually pulling flour from the inner walls. Continue until the eggs are incorporated and a shaggy mass forms. Don't worry if bits of flour remain; the next step will bring everything together. If the dough appears very dry, add a teaspoon of water at a time. If it's sticky, add a little more flour.
Tip: Use the fork to break up the egg yolks completely so the flour colors evenly. You can also use a stand mixer with a paddle attachment to do this step, which reduces mess.
💡 Tips:
- •Gently whisk the eggs before mixing in flour to avoid a lumpy batter.
- •If using a stand mixer, use paddle on low until just combined.
⚠️ Warnings:
- •Break the well wall carefully—a broken wall means an egg volcano.
Step 3: Knead the Dough Until Smooth and Elastic
Once the dough forms a rough ball, start kneading. Using the heel of your hand, press the dough away from you, fold it over, rotate it, and repeat. The dough will be slightly sticky at first, but don't add flour unless it's truly impossible to work; too much flour makes pasta tough. Knead for 8 to 10 minutes, until the surface is smooth and uniform, and the dough springs back when poked. This step develops the gluten network that gives pasta its chew. If using a stand mixer, run the dough hook on medium speed for 5 to 6 minutes.
Tip: Time yourself—8 minutes is longer than you think, but it's worth the effort.
💡 Tips:
- •Set a timer: 8-10 minutes is longer than you think.
- •Use the palm of your hand and push with the weight of your upper body for efficient kneading.
⚠️ Warnings:
- •If the dough is sticking heavily, resist adding flour; instead, let it rest 10 minutes.
Step 4: Let the Dough Rest
Once kneaded, flatten the dough into a disc, wrap it tightly in plastic wrap, and let it rest at room temperature for 30 to 60 minutes. Resting allows the gluten to relax, which makes the dough much more pliable and prevents it from shrinking when you roll it. You can also prepare the dough a day ahead and refrigerate it. If you've refrigerated, let it sit at room temperature for 20 minutes before rolling.
Tip: This is a good time to set up your pasta machine or make your sauce. Don't skip the rest—it's essential.
💡 Tips:
- •Wrap in plastic wrap to prevent a crust from forming.
- •You can rest the dough up to 24 hours in the fridge.
⚠️ Warnings:
- •Don't leave it at room temperature for more than 2 hours.
Step 5: Roll the Dough Through the Widest Setting
Cut the dough into quarters; work with one piece at a time and keep the others covered. Flatten the piece with your hand into an oval about 1/2 inch thick. Set your pasta machine to the widest setting (usually 0 or 1). Run the dough through the rollers once. It will seem rough—fold it into thirds (like a letter), turn it 90 degrees, and put it through the rollers again. Repeat the fold-and-turn motion three to four times. This 'laminating' step gives the dough a consistent, silky texture. After the last pass, run it through once without folding.
Tip: Dust the dough lightly with flour if it feels sticky. Keep the rest of the dough covered to prevent a dry skin from forming.
💡 Tips:
- •Use a gentle, steady pressure to feed the dough.
- •Fold and turn each time to build gluten structure.
⚠️ Warnings:
- •Don't use flour if the dough is too sticky; it will create hard spots.
Step 6: Thin the Dough Through Successive Settings
Now the fun begins. With each pass, go one notch thinner. Run the dough through once, without folding, at each setting. If the dough gets too long to handle, cut it in half crosswise. As you get to thinner settings, the dough will stretch out long—lightly flour it so it doesn't stick to itself. For tagliatelle or fettuccine, stop at setting 6 or 7 on a Marcato-style machine (about 1/16 inch thick). For lasagna, stop a little thicker at setting 5. Keep the rolled sheets on a lightly floured tray.
Tip: If the dough tears, roll it back up and go through a wider setting to smooth it, or simply dust it with flour and try again.
💡 Tips:
- •Dust the dough lightly before each pass.
- •If the sheet gets too long, cut it in half.
⚠️ Warnings:
- •Skipping settings can tear dough—go one notch at a time.
Step 7: Cut the Pasta into Noodles
Once you have sheets you're happy with, switch to the cutting roller (if your machine has one) or cut by hand. For cutters, choose a ⅛-inch cutter for capellini or a ¼-inch for fettuccine/tagliatelle. Run the sheet through the cutter at moderate speed, catching the noodles with your hand. If cutting by hand, lightly roll the sheet into a loose cylinder, then slice it with a sharp chef's knife into strips. Unroll them immediately so they don't fuse. Lightly toss the noodles with semolina flour to coat them and prevent sticking.
Tip: For shorter pasta, cut the sheets into 10- to 12-inch lengths before running through the cutter.
💡 Tips:
- •Run the cutter slowly for clean, even edges.
- •Catch the noodles with your palm as they emerge to avoid clumps.
⚠️ Warnings:
- •Don't cut too many strands for a single dish; they can dry out while waiting to cook.
Step 8: Cook or Dry the Pasta
If you're cooking today, bring a large pot of generously salted water to a rolling boil. Drop in the noodles, stir, and cook for 1 to 3 minutes depending on thickness. Fresh pasta floats to the surface when it's close to done—always taste to check. Reserve some cooking water to adjust your sauce. If you'd rather store the pasta, let it dry for about 20 to 30 minutes on a drying rack or a floured baking sheet. Then you can refrigerate it for up to 2 days or freeze it in portions. Freeze it first on a tray, then transfer to zip-top bags to keep it from clumping.
Tip: A little semolina dusting helps keep the strands separate. When cooking from frozen, add an extra minute to the cooking time.
💡 Tips:
- •Use a large pot—pasta needs room to move.
- •Reserve pasta water for saucing.
⚠️ Warnings:
- •Don't overcook; fresh pasta has a short window between al dente and mushy.
Step 9: Serve with Your Favorite Sauce
Toss the cooked pasta immediately with your sauce. To help the sauce coat, add a ladleful or two of the reserved pasta water—the starches bind the sauce to the noodles. For a traditional tossed pasta, combine everything in a warm bowl or skillet. Top with cheese, fresh herbs, or whatever you like. Homemade pasta is delicious with simple sauces like tomato butter or a quick sage-brown butter.
💡 Tips:
- •Toss with sauce immediately to prevent sticking.
- •Finish in a skillet with a little extra sauce for a glossy result.
⚠️ Warnings:
- •Never rinse pasta in cold water unless making a cold salad.
▸Pro Tips
- •Weigh your ingredients: pasta dough is a ratio of flour to egg, and volume measures can be inconsistent. A scale is your best friend.
- •Rest the dough: 30 minutes is the minimum; an hour is even better for a dough that rolls out without fighting back.
- •Keep unused dough covered: a tall, dry dough won't cooperate. Wrap in plastic or cover with a bowl.
- •Use semolina for dusting: coarse semolina doesn't absorb into the dough and rolls off when cooking, leaving a clean noodle.
- •Test a noodle first: cook one strand to check seasoning and texture; this is a great trick to avoid ruining a whole batch if something is off.
- •Roll in batches: expose only the portion you're rolling to keep the rest flat and soft.
- •Don't over-flour: too much flour makes the pasta dry and tough. Add flour only if necessary.
- •Use olive oil moderately: a small amount enriches the dough, but too much can make it slippery and hard to roll.
▸Common Mistakes to Avoid
- •Adding too much flour: If the dough seems sticky, it's tempting to add flour, but over-flouring produces a dry dough. Instead, add a little at a time and wait a minute to see if it's absorbed before adding more.
- •Not resting the dough enough: Freshly kneaded dough is like a rubber band. If you skip rest, it won't roll thin without springing back. Set a timer to prevent impatience.
- •Rolling too quickly through settings: When you skip multiple settings, the dough will develop thin spots and tear. Take the time to roll through each setting.
- •Not enough dusting between passes: Even slight moisture can cause dough to stick. Dust the counter, rollers, and sheets lightly as needed.
- •Cutting too long before cooking: Fresh pasta should be cooked soon after cutting, or lightly dried. If left to sit, the noodles can oxidize and turn gray or become stale.
▸Troubleshooting
Problem: The dough is dry and crumbly and won't come together.
Solution: Add a small amount of water (1 teaspoon at a time) or an extra egg yolk. Knead until the dough is smooth. It should feel firm but pliable, like play-dough.
Problem: The dough is sticky and impossible to handle.
Solution: Dust the dough lightly with flour and continue kneading. If it's still sticky, cover and refrigerate it for 15 to 20 minutes before continuing.
Problem: The pasta sheets tear in the machine.
Solution: The dough may be too dry or the sheets may be too wide. Re-run through a wider setting to repair tears. Dust with flour and avoid jumping more than one setting at once.
Problem: The pasta sticks together after cutting.
Solution: Immediately toss the cut noodles with semolina or all-purpose flour, spreading them out on a floured surface or drying rack. Don't pile them before they've dried.
Problem: The pasta has no flavor.
Solution: Make sure to use enough salt—about 0.5% of flour weight, which is around 1.25 teaspoons for 2 cups. Taste the dough; it should taste lightly salty.
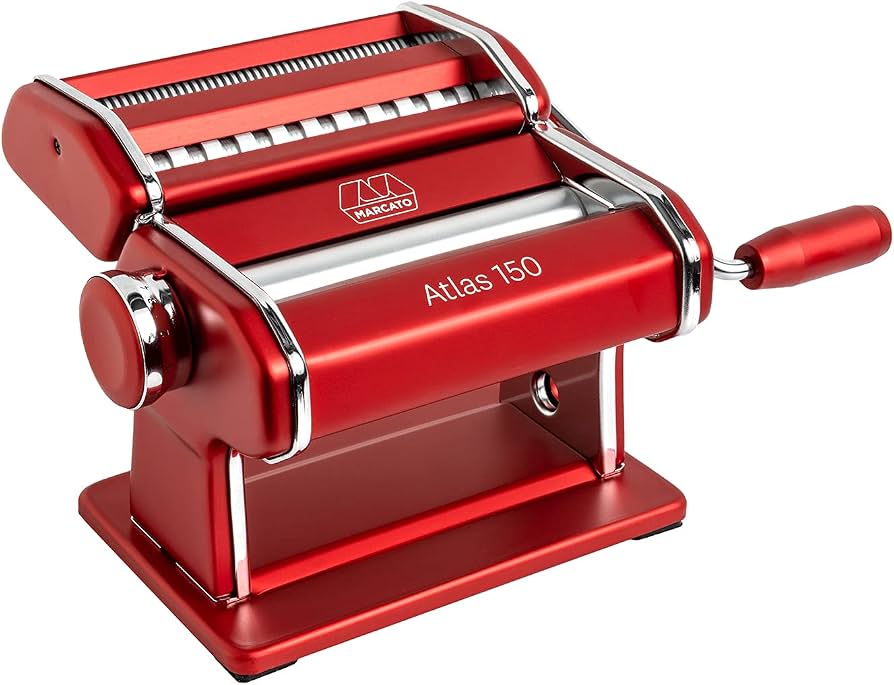
Marcato Atlas 150 Manual Pasta Machine
This iconic Italian pasta machine is sturdy, reliable, and features adjustable rollers for consistent thickness. It's the go-to for home cooks and professionals alike.
Best for: Roll thin sheets and cut fettuccine/tagliatelle.
Price Range: $80 – $100
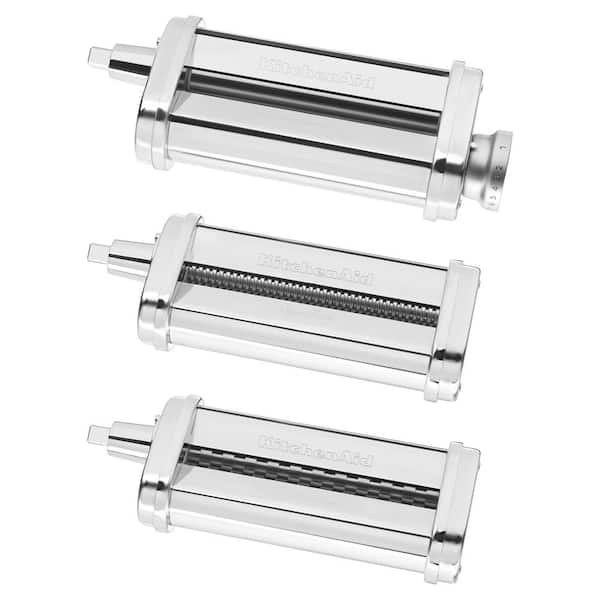
KitchenAid Pasta Roller and Cutter Attachment
If you already own a KitchenAid stand mixer, this attachment makes pasta rolling hands-free and quick, letting you focus on feeding the dough.
Best for: For those who want a hands-free option with multiple cutting widths.
Price Range: $150 – $180
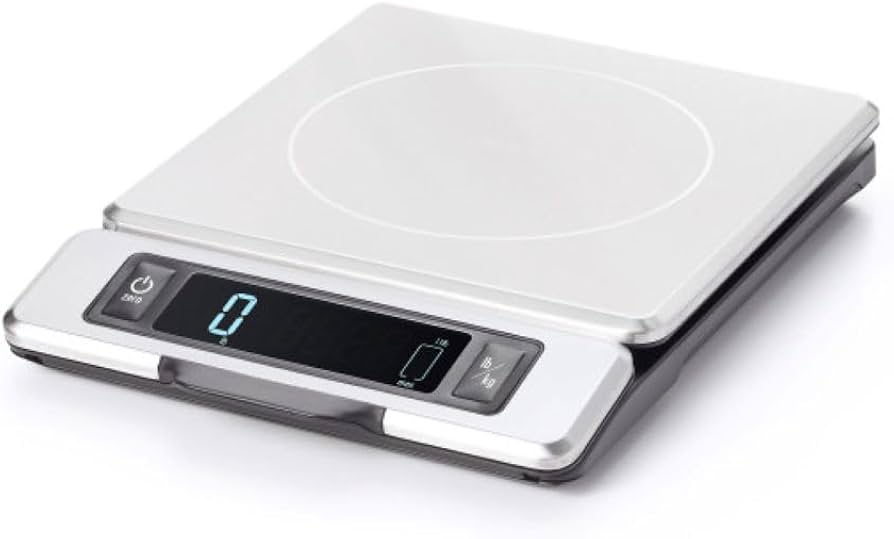
OXO Good Grips Digital Kitchen Scale
Weighing your flour and eggs guarantees the ideal pasta dough every time. This scale is accurate, has a pull-out display, and can weigh up to 11 pounds.
Best for: Measure the dough ingredients precisely.
Price Range: $30 – $50
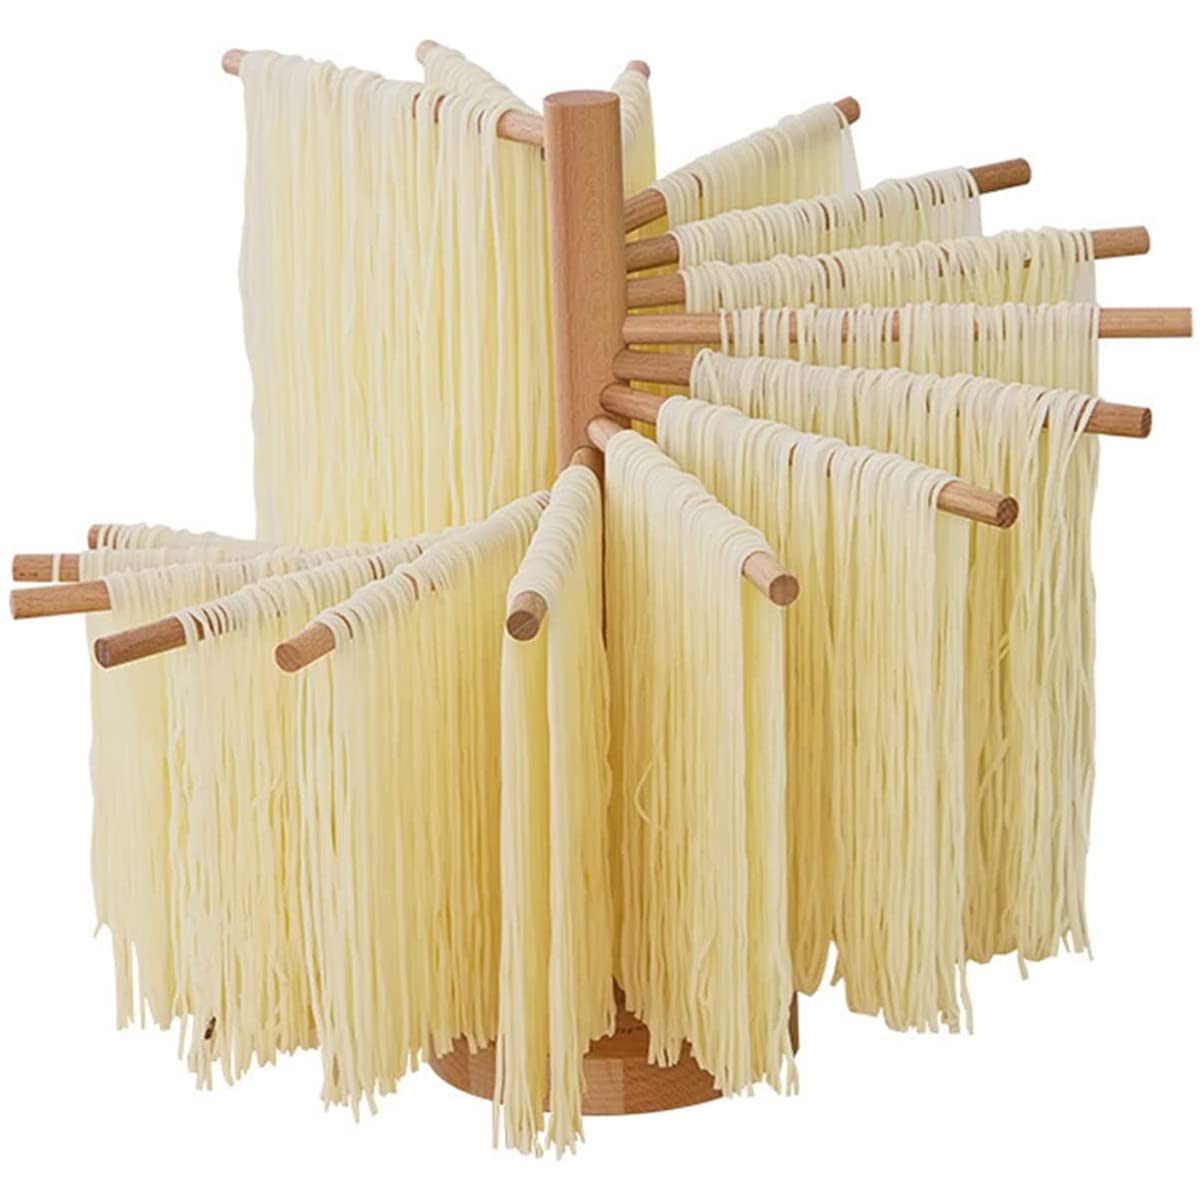
Rösle Pasta Drying Rack
A compact, upright rack lets you hang fresh pasta to dry or store without sticking—essential for making a larger batch.
Best for: Drying long noodles like tagliatelle.
Price Range: $20 – $25