We all crave that satisfying crunch of perfectly fried chicken wings, but deep frying is messy, unhealthy, and frankly, a lot of work. The air fryer changes the game: it delivers golden, crispy wings with a fraction of the oil and none of the grease splatter. In this guide, you'll learn a foolproof method for making air fryer chicken wings that are juicy on the inside and gorgeously crispy on the outside. We'll walk you through everything from prepping the wings to the ideal cooking times and temperatures, and we'll share our favorite tips for using baking powder to get that paper-thin crunch. Whether you're a beginner or just want to perfect your technique, by the end you'll have wings that rival your favorite restaurant's—all from your countertop.
▸What You'll Need
- •Air fryer (any basket-style model works)
- •Chicken wings (drumettes and flats, 1–2 lbs)
- •Paper towels
- •Olive oil or avocado oil spray
- •Baking powder (aluminum-free, optional but recommended)
- •Salt, pepper, garlic powder (or your favorite seasoning blend)
- •Instant-read meat thermometer (optional but recommended)
- •Large mixing bowl
- •Tongs
- •Your favorite wing sauce (optional)
Estimated Time: 30 minutes total (10 minutes prep, 20-25 minutes cooking)
Difficulty: beginner
▸Step-by-Step Instructions
Step 1: Pat the Wings Completely Dry
The #1 mistake when making chicken wings in an air fryer is skipping this step. Moisture on the skin steams long before it crisps, leaving you with rubbery, flabby skin. Remove the wings from their packaging and pat them thoroughly with paper towels. Get into all the nooks and crannies—this is the simplest way to guarantee crunch.
What success looks like: The wings should appear dry to the touch, with no visible moisture beads. If you're starting with frozen wings, thaw them completely in the refrigerator overnight, then dry as usual.
💡 Tips:
- •Use a clean kitchen towel instead of paper towels if you want to be more eco-friendly.
- •For extra dryness, let the wings sit uncovered in the fridge for an hour before cooking.
⚠️ Warnings:
- •Do not rinse the wings in water before drying—this spreads bacteria and adds extra moisture.
Step 2: Toss Wings with Baking Powder and Salt (Secret to Crispiness)
This is the game-changing step that most people don't know about. Baking powder raises the pH of the skin, which helps proteins break down and produces a crisper, more evenly browned result—almost like deep frying. You only need a small amount per pound of wings: use about 1 teaspoon of baking powder and 1/2 teaspoon of salt per pound of wings. Place the dry wings in a large bowl, sprinkle the mixture over them, and toss until every wing is evenly coated.
Why it works: The baking powder reacts with the natural juices and fat on the skin, creating tiny air pockets that become crispy when heated. Make sure to use aluminum-free baking powder, as regular baking powder can leave a metallic aftertaste.
💡 Tips:
- •If you prefer simple classic wings, you can skip the baking powder and just use salt and pepper—they'll still taste great.
- •Add other spices like garlic powder, paprika, or cayenne at this stage for a dry rub flavor.
⚠️ Warnings:
- •Do not use baking soda—it has a completely different effect and will ruin the taste.
Step 3: Season the Wings to Your Liking
Now is the time to build flavor. You can go simple with just salt and pepper, but wings love bold seasoning. Consider a blend of garlic powder, onion powder, paprika, and a pinch of cayenne for heat. If you're planning to toss your wings in sauce later (like buffalo or barbecue), don't over-season—let the sauce be the star. For dry-rub wings, be generous with your spice blend.
What to expect: The seasoning will stick to the oiled skin and create a flavorful crust as the wings cook.
💡 Tips:
- •Mix your seasonings in a separate bowl first so you get an even distribution.
- •For a low-carb or keto-friendly option, just use salt and a few spices without any sugary dry rub.
⚠️ Warnings:
- •Avoid using seasoning mixes that contain sugar if you're cooking at high heat—sugar will burn and make the wings bitter.
Step 4: Preheat Your Air Fryer to 400°F (200°C)
Preheating is crucial for getting perfectly crispy wings. If you place wings into a cold air fryer, they'll absorb more oil and take longer to cook, resulting in a less crispy finish. Turn your air fryer to 400°F (200°C) and let it run empty for 5 minutes. Most air fryers have a built-in preheat function; if yours doesn't, just set it to the desired temperature and let it run for 3–5 minutes before adding food.
💡 Tips:
- •While the air fryer preheats, you can lay wings out on a plate so they're at room temperature—this helps with even cooking.
⚠️ Warnings:
- •Be careful not to over-preheat—some air fryers with a small interior may overheat and cause smoke. If you see heavy smoke, turn it down to 380°F.
Step 5: Arrange Wings in a Single Layer in the Basket
Place the seasoned wings into the air fryer basket in a single layer. It's important not to overcrowd the basket—if wings overlap, they'll steam instead of crisp. Depending on the size of your air fryer, you'll likely need to cook in batches. For a 5-quart air fryer, about 1 pound of wings fits comfortably. Use tongs to arrange them so they're not touching as much as possible.
What success looks like: The wings should have a little space around them so air can circulate freely. Overlapping is fine if it's just a few spots, but avoid piling them high.
💡 Tips:
- •If you have a larger air fryer, you can cook more wings at once—just keep them in a single layer.
- •Lightly spray the basket with cooking oil before adding wings to prevent sticking.
⚠️ Warnings:
- •Do not oil the wings directly if you've already coated them with baking powder—too much oil can make them greasy.
Step 6: Cook at 400°F for 20–25 Minutes, Flipping Halfway
Set the timer for 10–12 minutes. After that initial burst, open the air fryer and use tongs to flip each wing over. This ensures even cooking and crispiness on both sides. Then continue cooking for another 10–12 minutes. The total cooking time varies depending on the size of the wings and the power of your air fryer. At the 20-minute mark, check the internal temperature—the wings should reach 165°F (74°C) for safe consumption, but for tender fall-off-the-bone meat, aim for 180°F–190°F.
What success looks like: The skin will be golden brown and visibly crispy. The meat should be juicy and pull away from the bone easily.
💡 Tips:
- •Use an instant-read thermometer to check the thickest part of the wing without touching bone.
- •If the wings aren't as crispy as you like after cooking, continue cooking in 2-minute increments until they reach your desired level.
⚠️ Warnings:
- •Avoid opening the air fryer too often during the first 10 minutes—it lets heat escape and slows down the crisping process.
Step 7: Optional: Crank Up the Heat for Extra Crunch
If you like your wings extra crispy (who doesn't?), bump the temperature to 425°F for the final 2–3 minutes of cooking. This quickly renders the fat and crisps the skin to a crackly finish. Keep a close eye on them—because of the high heat and natural fats, they can go from perfectly crispy to burnt very quickly.
What to expect: The skin will turn deep golden brown and sound crackly when touched. You may see a little smoke coming from the air fryer, which means the fat is rendering perfectly.
💡 Tips:
- •If your air fryer has a max temperature of 400°F, don't worry—just extend the cooking time by 3–5 minutes at 400°F.
- •Try adding a light spray of oil before this final crisping phase to boost browning.
⚠️ Warnings:
- •Never leave the air fryer unattended during this high-heat stage.
Step 8: Toss in Sauce (Optional) and Serve Immediately
If you're a fan of saucy wings, remove the cooked wings from the air fryer and place them in a large bowl. Pour your favorite sauce—classic buffalo, honey barbecue, garlic parmesan, or teriyaki—over the wings and toss until every wing is evenly coated. If you prefer dry wings, skip the sauce and serve them as-is with dips on the side.
The key secret: The longer saucy wings sit, the less crispy they become. So toss and eat ASAP. If you're serving a crowd, keep the sauce on the side and let each person coat their own wings right before eating.
💡 Tips:
- •To revive leftover wings, reheat them in the air fryer at 375°F for 3-5 minutes until warmed through and crispy again.
- •Use a silicone brush to apply thick sauces for better control.
⚠️ Warnings:
- •Don't add the sauce before cooking—sauces with sugar can burn and become bitter in the air fryer.
▸Pro Tips
- •Dry the wings thoroughly and even let them sit uncovered in the fridge for up to 24 hours before cooking—this dramatically improves crispiness.
- •Always preheat your air fryer. A hot air fryer from the start gives you a better sear and crunch.
- •Don't overcrowd. Cook wings in batches to ensure maximum air circulation and even crisping.
- •Use an instant-read thermometer to avoid undercooking. The FDA says 165°F is safe, but pulling at 175°F–180°F makes them more tender.
- •For extra flavor without extra calories, use a dry rub with smoked paprika, garlic powder, and a pinch of brown sugar.
- •If you're using baking powder, make sure it's aluminum-free to avoid a metallic aftertaste.
- •Line the bottom of the air fryer with a small piece of parchment paper (never touching the heating element) to catch dripping juices and simplify cleanup.
- •Let cooked wings rest for 3 minutes before saucing; this allows the juices to redistribute and keeps the skin crisp longer.
▸Common Mistakes to Avoid
- •Skipping the drying step: Wet wings steam in the air fryer, leading to rubbery skin. Always pat them dry.
- •Overcrowding the basket: When wings are piled on top of each other, they cook unevenly and don't crisp. Use a single layer and cook in batches.
- •Using too much oil: Coating wings in oil can make them greasy and prevent crispiness. A light spray or a dry rub is enough.
- •Not preheating the air fryer: Cold starts extend cooking time and reduce browning. Give your air fryer 3-5 minutes to heat up.
- •Flipping too early or too often: Let the wings develop a crust before turning them. Wait at least 10 minutes after you start cooking.
▸Troubleshooting
Problem: Wings are not crispy.
Solution: Dry them more thoroughly before cooking, increase the temperature to 400°F–425°F, and extend cooking time by a few minutes. Ensure wings are in a single layer and not overcrowded.
Problem: Wings are burnt on the outside but undercooked inside.
Solution: Your air fryer may run hot. Reduce the temperature to 375°F–390°F and cook longer. Also, flip wings halfway through and consider using larger wings.
Problem: Smoke is coming from the air fryer.
Solution: This is usually caused by excess fat or marinade dripping to the bottom and hitting the heating element. Pause the cooking, carefully remove the basket, and wipe out excess fat. You can also add a splash of water to the drip tray to reduce smoke.
Problem: The wings are sticking to the basket.
Solution: Ensure the basket is clean and lightly greased with oil spray before adding wings. Cook at high heat for a few minutes before flipping to naturally release them.
Problem: The wings are done but the skin looks pale.
Solution: Pale skin usually means not enough heat. Finish them at a higher temperature (425°F) for the last 2-3 minutes. Also, check that you're using a fresh batch of baking powder (if adding). Choose baking powder over baking soda for better browning.
Problem: I only have frozen wings—what should I do?
Solution: No problem! Cook frozen wings at 380°F for 12-15 minutes, then flip and cook for another 10-12 minutes until internal temperature reaches 165°F. You may need to add a few extra minutes compared to fresh wings.
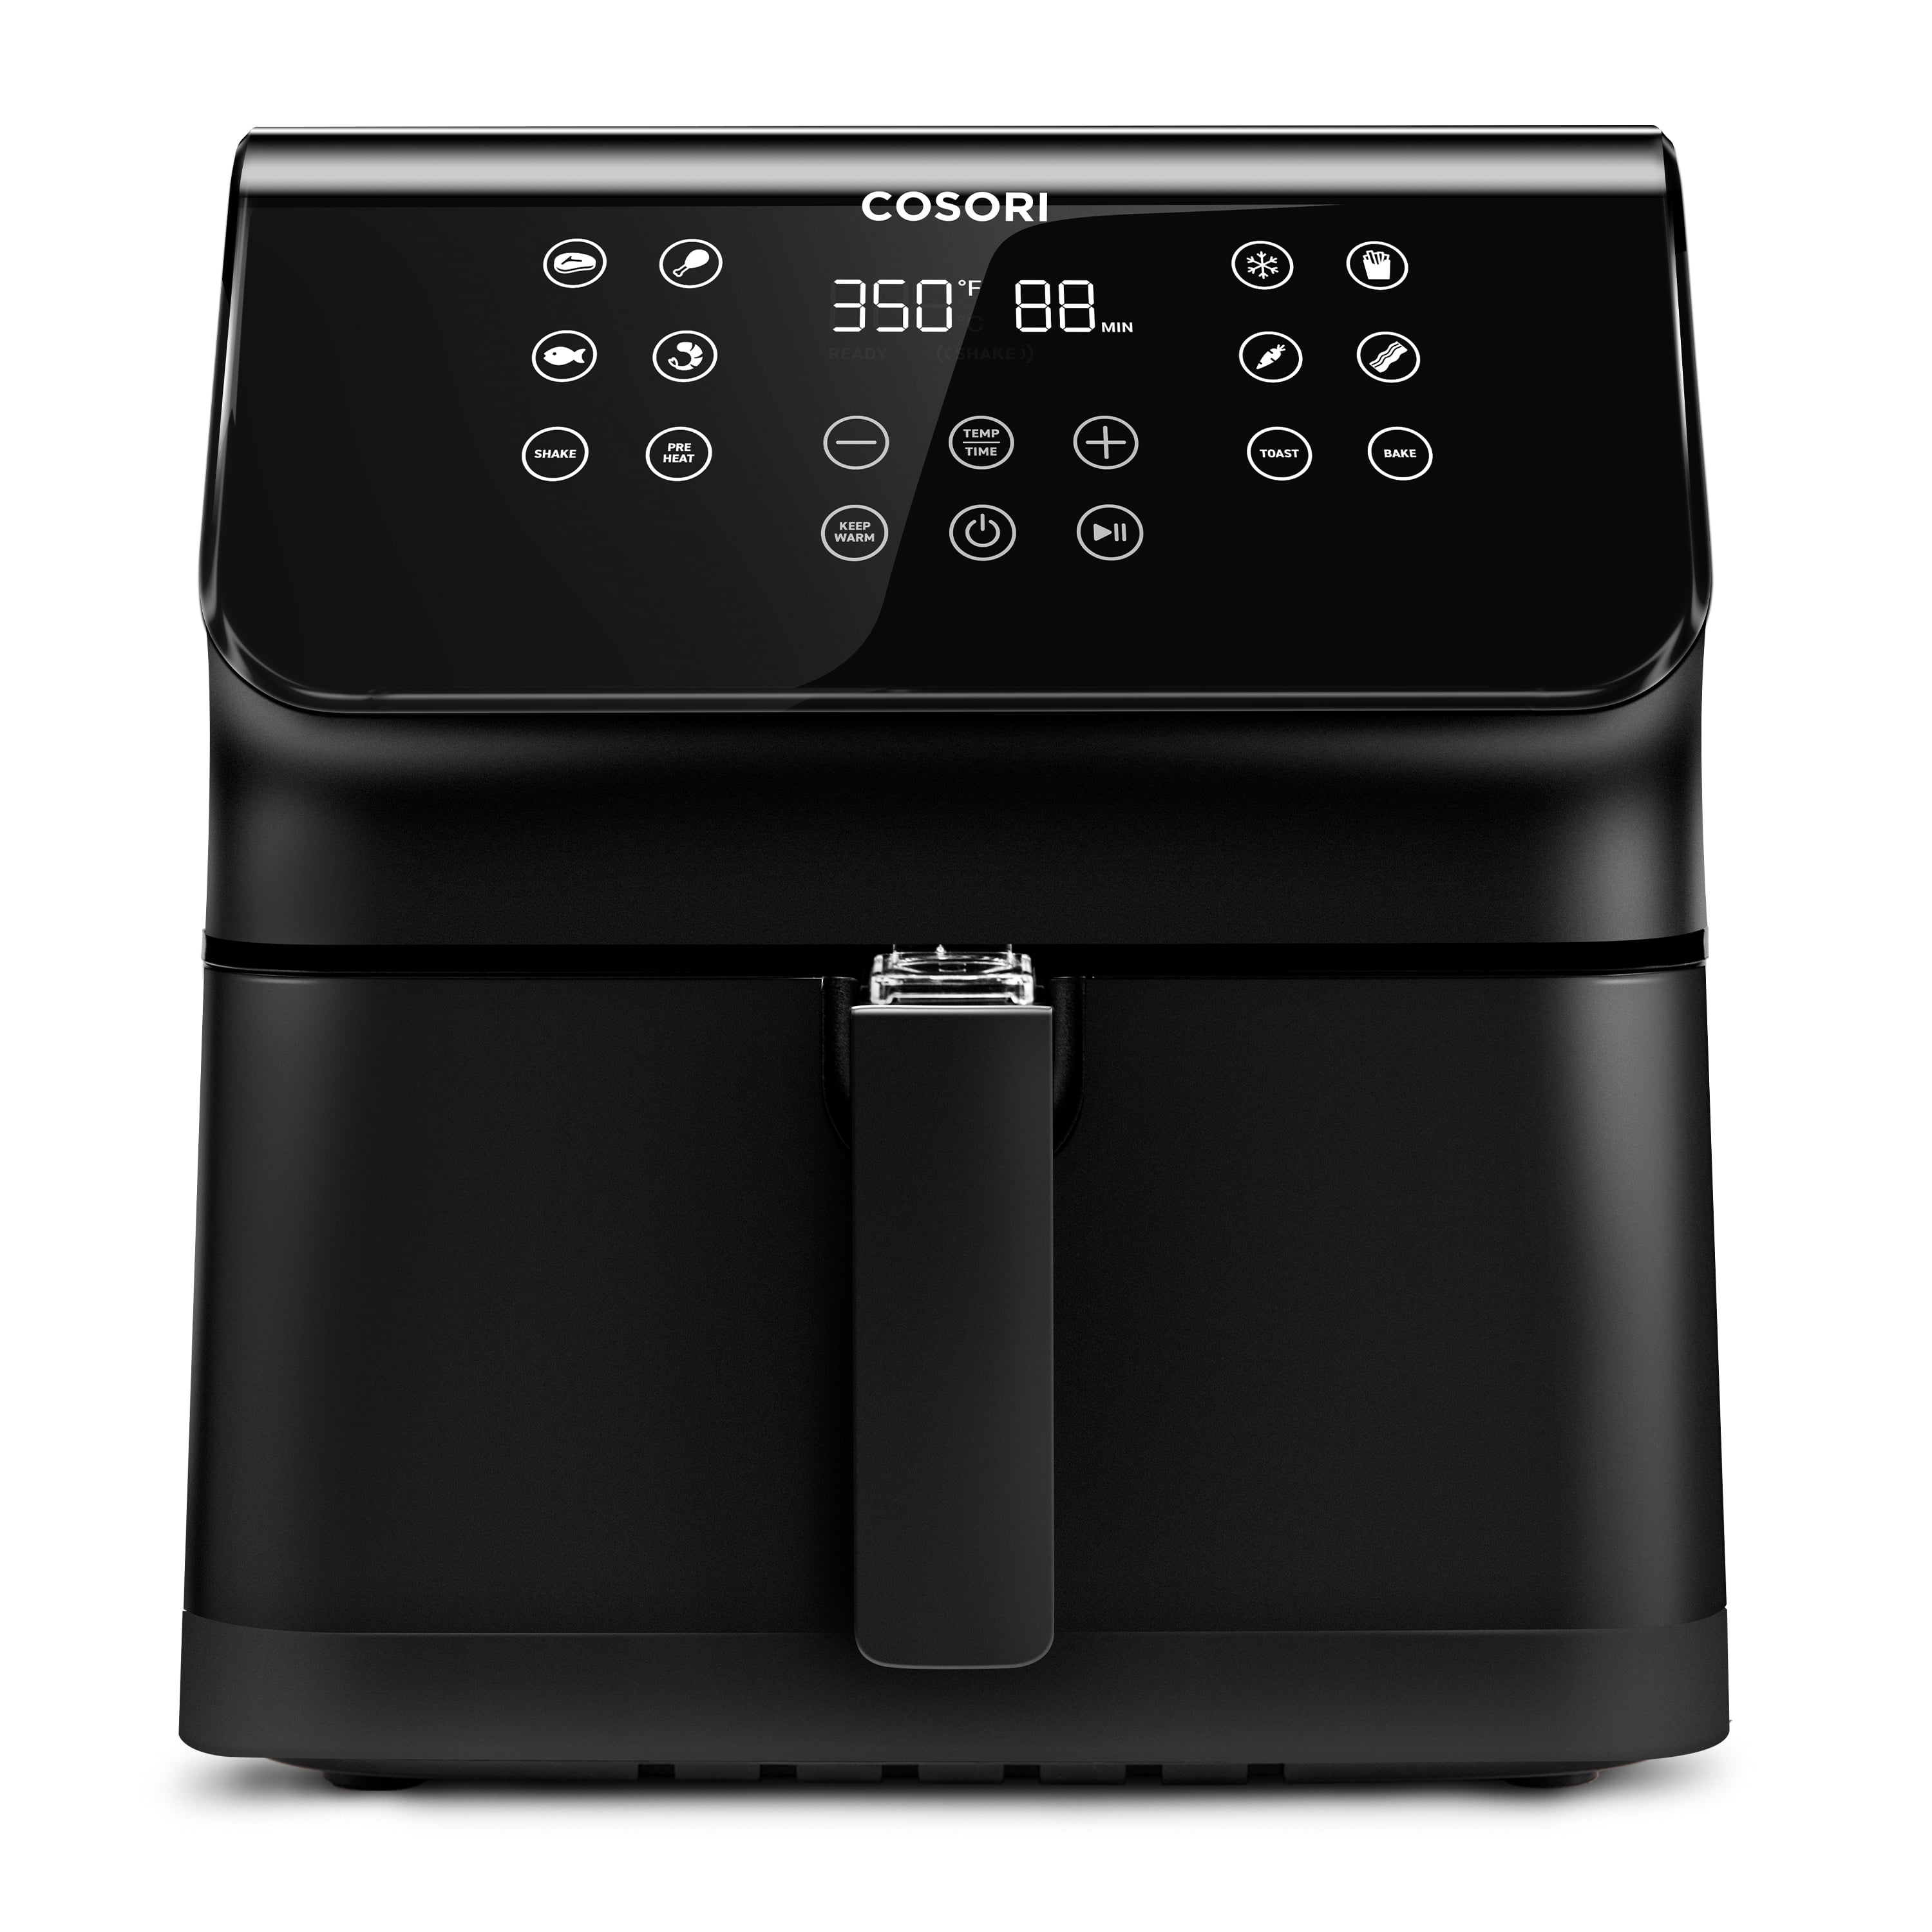
Superior Air Fryer (e.g., Cosori Air Fryer Max XL, 5.8 Qt)
A reliable, roomy air fryer is the backbone of this recipe. Cosori is one of the most reviewed and highly rated models, with an even heat distribution and easy-to-clean basket. It's big enough to cook a full batch of wings in one go.
Best for: Ideal for beginners and families looking to make crispy wings, fries, and more without oil.
Price Range: $100-$150
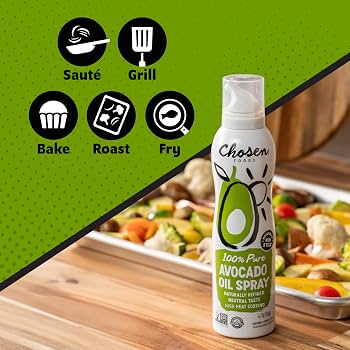
Avocado Oil Spray (or extra virgin olive oil spray)
A light spray of oil is essential to help the seasoning stick and to promote browning. Avocado oil has a high smoke point, so it won't burn at high temperatures.
Best for: Spray directly onto wings before cooking or for coating the basket to prevent sticking.
Price Range: $5-$10
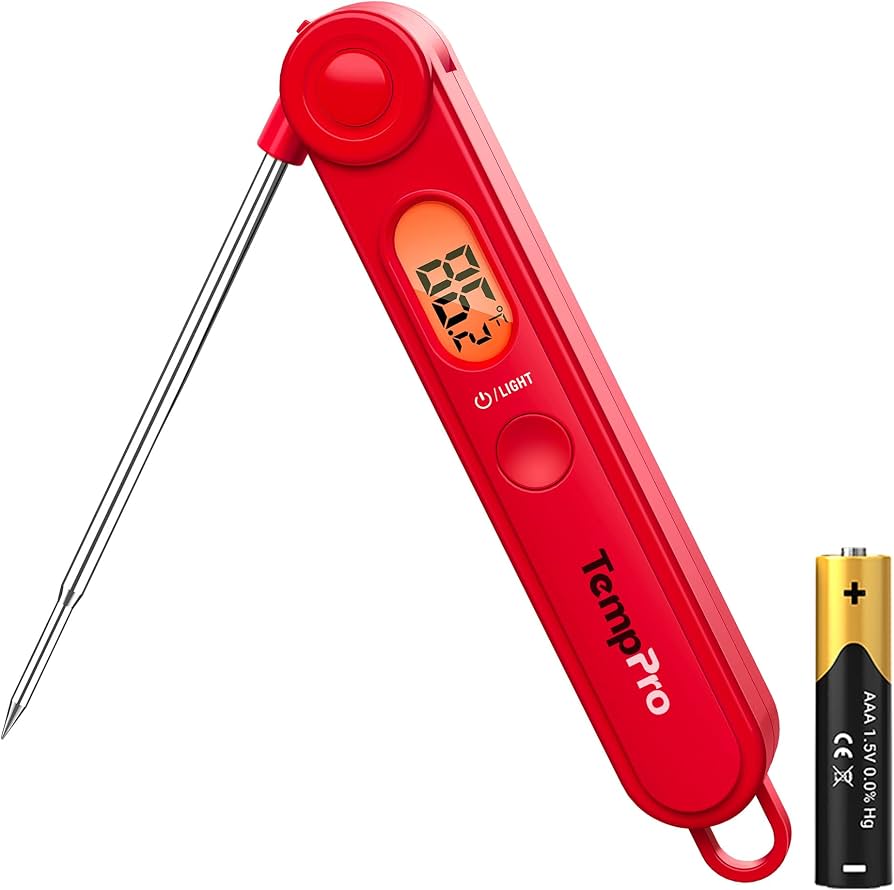
Instant Read Meat Thermometer
To guarantee perfectly cooked wings, you need to know the internal temperature. A digital instant-read thermometer gives you accurate readings in seconds, allowing you to pull the wings at the ideal crispness and doneness.
Best for: Check the thickest part of a wing after cooking; also useful for many other air fryer recipes.
Price Range: $10-$20
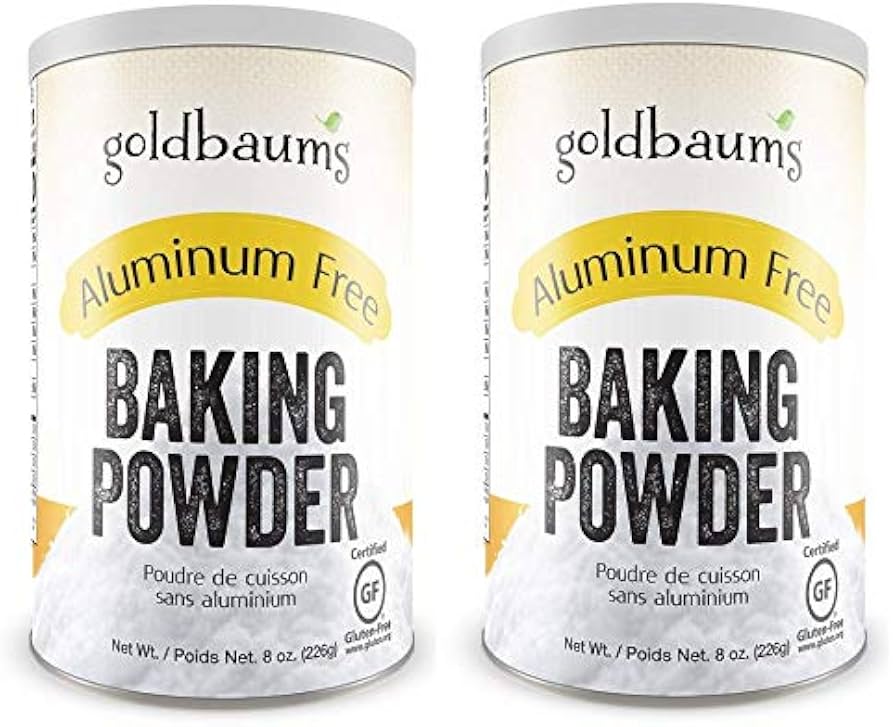
Aluminum-Free Baking Powder
This is the secret to extra-crispy wings. Aluminum-free baking powder helps dry out the skin and create an airy crust without any metallic aftertaste.
Best for: Toss a teaspoon per pound of wings along with salt before air frying.
Price Range: $4-$8
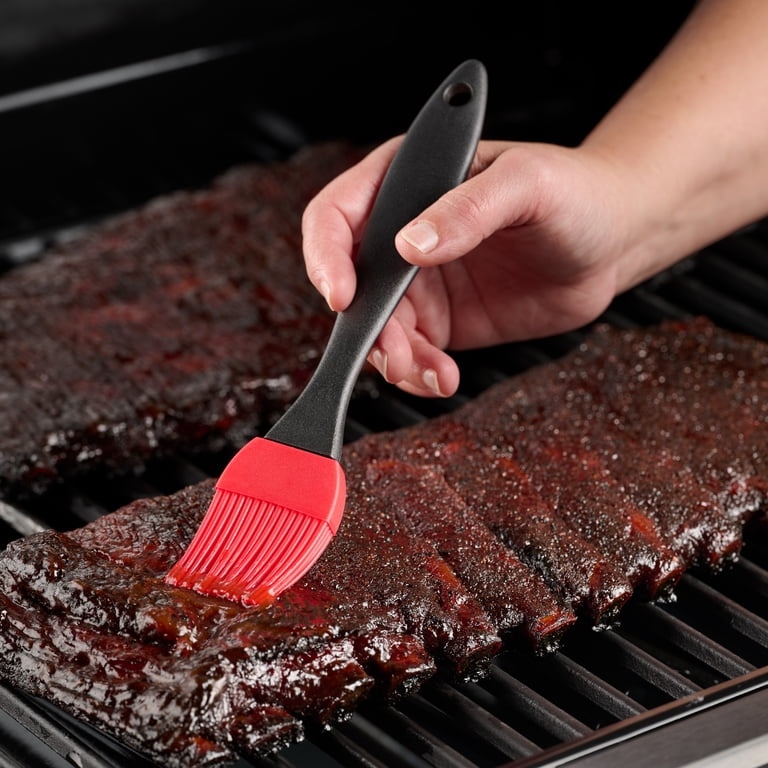
Silicone Basting & Grill Brush
A silicone brush lets you coat wings with thick wing sauce evenly and mess-free. It's heat-resistant and easy to clean, making it perfect for saucy wings.
Best for: Use after cooking to brush wings with buffalo sauce, BBQ sauce, or other glazes.
Price Range: $6-$10