In a world filled with synthetic scents and short-burning paraffin candles, beeswax offers a natural alternative that burns cleaner, longer, and with a subtle honey aroma. If you're tired of store-bought options that don't align with your eco-conscious lifestyle, making beeswax candles at home is a rewarding DIY project that saves money and reduces waste.
This guide will teach you everything from melting the wax to finishing your custom candles, tailored for intermediate crafters who have some experience with basic melting and pouring techniques. You'll end up with professional-looking pillar or container candles that you can gift or enjoy yourself.
The process involves preparing materials, safely melting beeswax, and carefully pouring into molds—expect about 1-2 hours total, including cooling time. No advanced equipment needed, but attention to temperature control is key for success.
▸What You'll Need
- •Beeswax pellets or blocks (1 lb for 2-3 candles; required)
- •Cotton or wood wicks with metal tabs (pre-waxed preferred; required)
- •Candle molds or heat-safe containers (silicone or glass; required)
- •Double boiler or a heat-safe melting pot (required for safe melting)
- •Thermometer (candy or digital; required for precise temperature control)
- •Essential oils (optional, for scenting)
- •Wick centering tool or chopsticks (optional, to hold wick in place)
- •Popsicle sticks or stir sticks (for stirring)
- •Protective gloves and newspaper (for safety and cleanup)
Estimated Time: 1-2 hours (including cooling time)
Difficulty: intermediate
▸Step-by-Step Instructions
Step 1: Prepare Your Workspace
Start by covering your work surface with newspaper to catch any spills and protect against the sticky residue of beeswax. Gather all materials within arm's reach to avoid interruptions during the melting process. Beeswax has a higher melting point than paraffin (around 145-150°F), so organization helps maintain a smooth workflow.
Why it matters: A clean, prepared space prevents accidents and makes cleanup easier, especially since beeswax is harder to remove once cooled. Expect a tidy setup that allows you to focus on the creative aspects.
This step sets the foundation for safety and efficiency in your intermediate-level project.
💡 Tips:
- •Work in a well-ventilated area to avoid inhaling fumes, even though beeswax is natural.
⚠️ Warnings:
- •Avoid direct heat sources like open flames near your workspace to prevent fires.
Step 2: Measure and Prepare the Beeswax
Measure out your beeswax—use about 1 lb for small pillar candles or to fill 2-3 containers. Break blocks into smaller pieces if needed, or use pellets for easier melting. This ensures even heating without overheating parts of the wax.
Preparation is crucial because beeswax expands slightly when melted, so accurate measurement prevents overflow or underfilled molds. At this stage, you'll see the raw wax ready for transformation, building anticipation for the golden melt.
For scented candles, plan to add oils later, but have them measured now.
💡 Tips:
- •Opt for filtered beeswax if you're sensitive to impurities for a cleaner burn.
⚠️ Warnings:
- •Don't use beeswax past its expiration; old wax can affect burn quality.
Step 3: Set Up and Melt the Beeswax
Fill the bottom of your double boiler with water and place it on medium heat. Add the beeswax to the top pot or melting container and insert the thermometer. Heat slowly until it reaches 145-150°F, stirring occasionally with a popsicle stick to ensure even melting.
Melting properly matters because overheating (above 160°F) can cause discoloration or loss of natural fragrance. You'll observe the wax transitioning from solid chunks to a clear, viscous liquid—success looks like a smooth, golden pool without bubbles.
This step requires patience; rushing leads to uneven results typical in intermediate crafting.
💡 Tips:
- •Use a dedicated candle-making pot to avoid contaminating kitchenware.
⚠️ Warnings:
- •Never melt beeswax directly over a flame; always use a water bath to prevent combustion.
Step 4: Prepare the Wicks
While the wax melts, cut your wicks to the appropriate length (2 inches taller than your mold). Thread each wick through the metal tab if not pre-attached, then secure one end to the bottom of the mold using a dot of hot glue or wick sticker. Center the top with a wick holder or by balancing chopsticks across the mold.
Proper wick preparation ensures a steady flame and even burn, preventing tunneling. Expect the wick to stand straight and taut—test by gently tugging.
This intermediate technique avoids common wick-drifting issues in homemade candles.
💡 Tips:
- •Choose wick size based on candle diameter: #2 for 2-inch molds.
⚠️ Warnings:
- •Avoid metal-core wicks with beeswax; they can cause sooting.
Step 5: Add Optional Scents and Pour the Wax
Once melted, remove from heat and stir in 1-2 oz of essential oils per pound of wax if desired (e.g., lavender for relaxation). Let cool slightly to 135-140°F, then slowly pour into the prepared molds, leaving 1/4 inch at the top.
Adding scents enhances the natural honey aroma without overpowering it. Pouring at the right temperature prevents sinkholes; success is a smooth, bubble-free fill that sets evenly.
Pour steadily to minimize air pockets, a key skill for intermediate makers.
💡 Tips:
- •Stir oils thoroughly for even distribution and stronger scent throw.
⚠️ Warnings:
- •Don't add too much oil (over 10%); it can affect burn safety.
Step 6: Cool and Cure the Candles
Place molds in a draft-free area at room temperature (around 70°F) for 4-6 hours or until fully hardened. For faster setting, use the fridge for the last hour, but avoid sudden temperature shocks.
Cooling allows the wax to contract naturally, forming a solid structure. Expect the surface to harden first, with full curing taking up to 24 hours for optimal burn.
This passive step is where the magic happens—your candles take shape without further intervention.
💡 Tips:
- •Cover loosely with foil to prevent dust but allow air circulation.
⚠️ Warnings:
- •Drafts can cause cracking; keep away from fans or windows.
Step 7: Finish and Trim the Candles
Once fully cooled, gently remove candles from molds (flex silicone for easy release). Trim the wick to 1/4 inch and buff the surface with a soft cloth if needed for shine.
Finishing ensures a professional look and safe first burn. Success: Smooth, unblemished candles ready to light, with no rough edges.
Test burn a small one to verify even flame—adjust wick if necessary.
💡 Tips:
- •Store in a cool, dry place; beeswax lasts 1-2 years.
⚠️ Warnings:
- •Don't force removal; warm mold slightly in hot water if stuck.
▸Pro Tips
- •Use a digital thermometer for precision—beeswax is forgiving but temperature accuracy yields pro results.
- •Filter melted wax through cheesecloth if using blocks to remove debris for clearer candles.
- •Experiment with embeds like dried flowers during pouring for decorative flair.
- •Batch melt larger quantities to save time on multiple projects.
- •Clean tools immediately with hot soapy water before wax hardens.
- •Source local beeswax for fresher scent and support beekeepers.
- •For pillar candles, add 5-10% coconut oil to the mix for better release from molds.
▸Common Mistakes to Avoid
- •Overheating the wax, leading to dark spots or lost fragrance—avoid by monitoring temperature closely.
- •Poor wick centering, causing uneven burning—use tools to secure it properly from the start.
- •Pouring too hot, resulting in sinkholes—cool to 135°F for smooth tops.
- •Ignoring curing time, making candles brittle—allow full 24-hour set before use.
- •Using non-cotton wicks, which smoke—stick to natural materials for clean beeswax burns.
▸Troubleshooting
Problem: Cracks or sinkholes in the candle
Solution: This happens from rapid cooling; next time, cool slowly and top off with reserved wax if needed. For existing cracks, fill with melted wax and re-cure.
Problem: Wick won't stay lit or tunnels
Solution: Wick too small—use a larger size for your candle diameter. Trim to 1/4 inch and burn in a draft-free room for 2-3 hours first time.
Problem: Wax won't release from mold
Solution: Chill mold in freezer for 10 minutes or dip in hot water briefly. Use mold release spray next time for silicone molds.
Problem: Sooty burn or flickering
Solution: Check for drafts or dirty wick—trim and burn in still air. Ensure pure beeswax without additives.
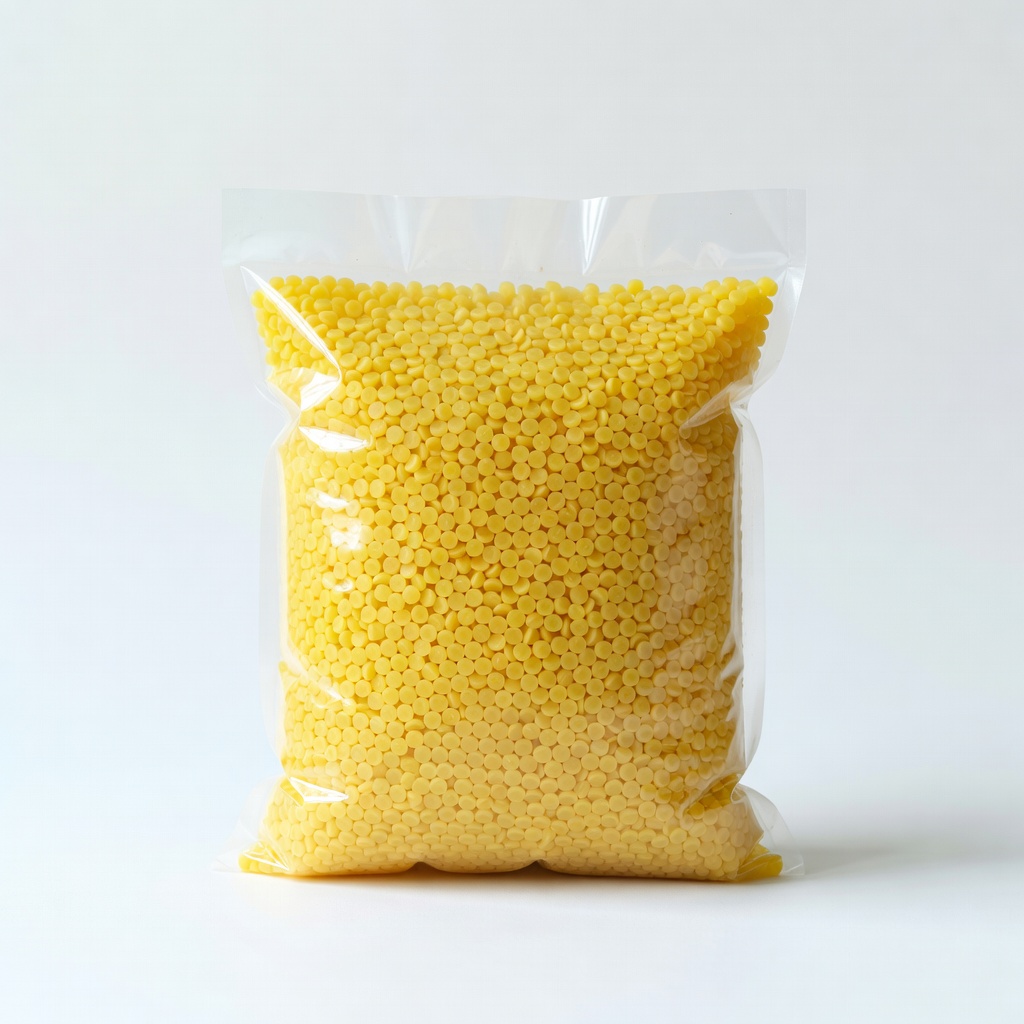
Beesworks Yellow Beeswax Pellets (1 lb)
Pure, filtered pellets melt evenly and are easy for beginners to intermediates, ensuring consistent results without impurities.
Best for: Ideal for melting into pillar or container candles; perfect for first-time beeswax projects.
Price Range: $12.99
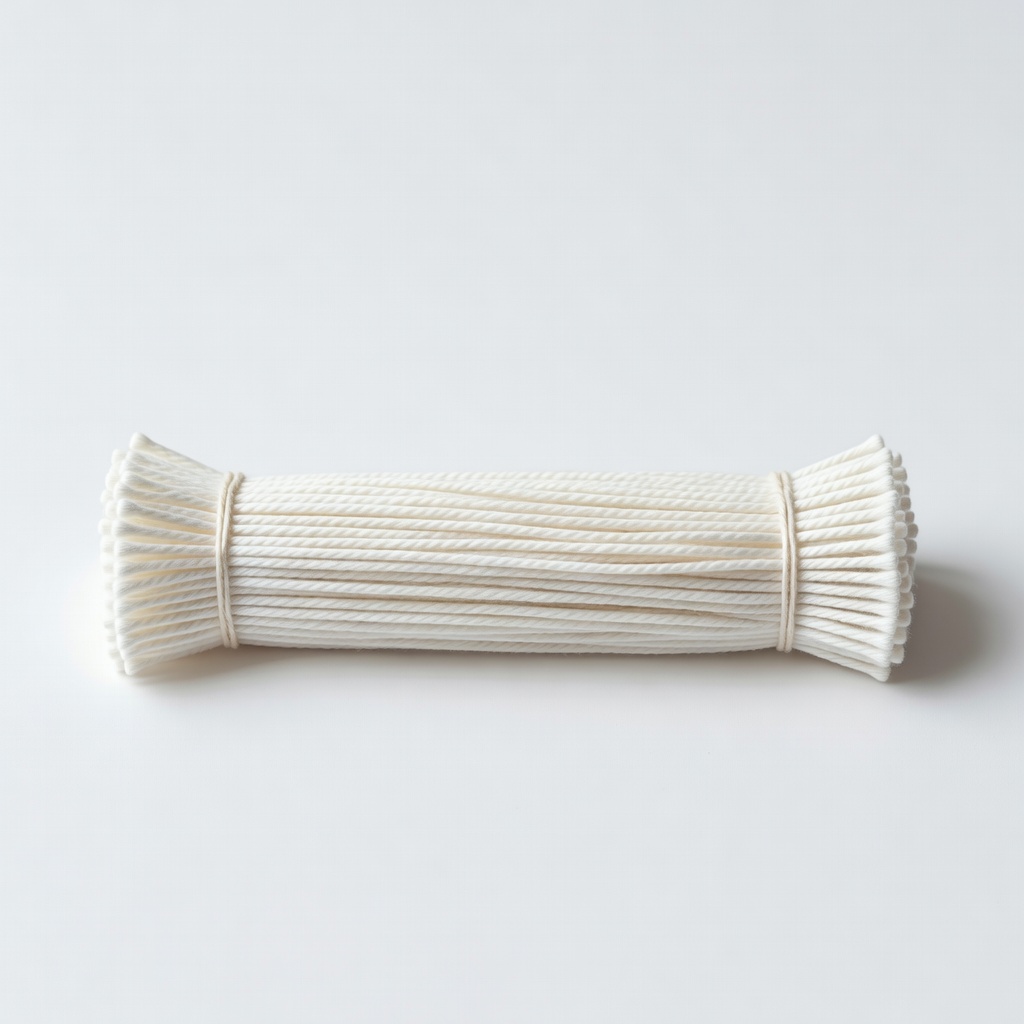
Pre-Waxed Cotton Candle Wicks (100 pack)
These natural cotton wicks are sized for various molds and burn cleanly with beeswax, reducing sooting issues.
Best for: Use for centering in molds during pouring; great for multiple candle batches.
Price Range: $6.99
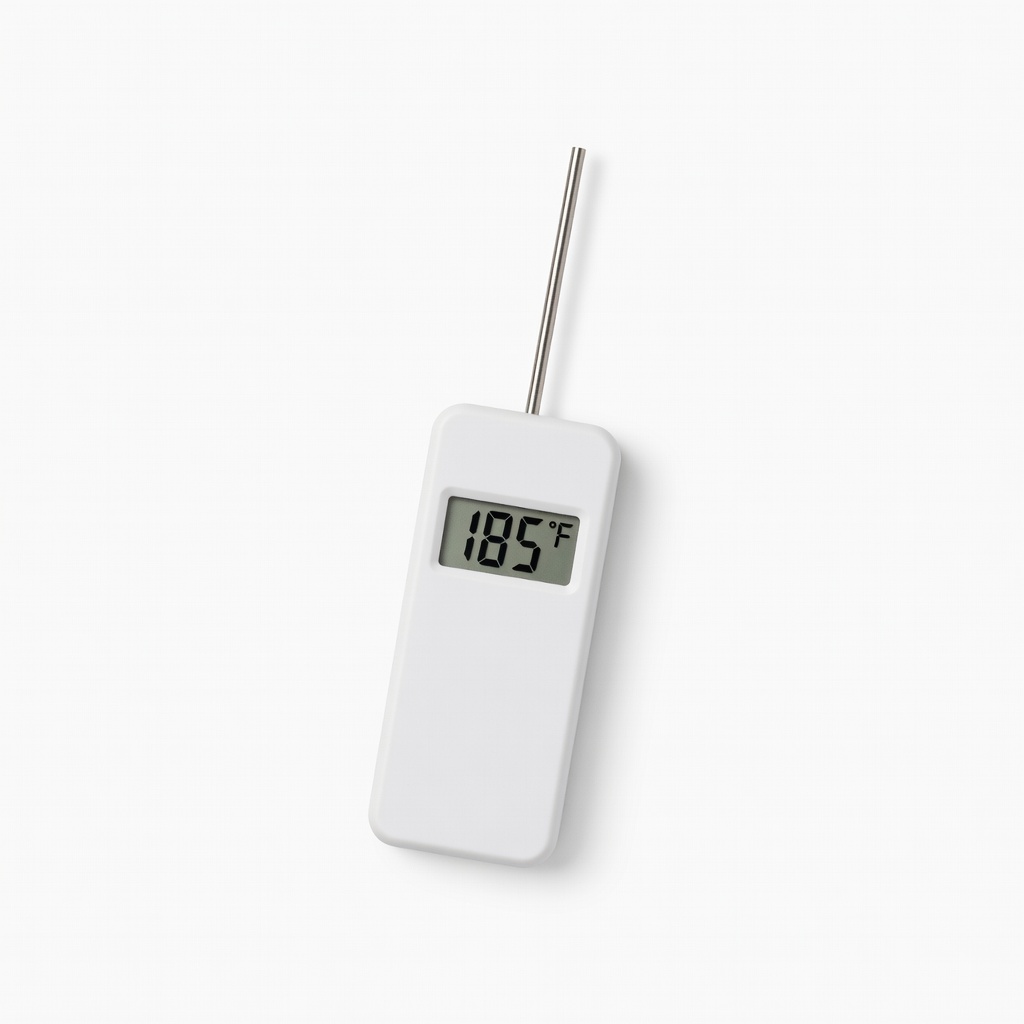
Candle Making Thermometer (Digital)
Accurate temperature reading prevents overheating, crucial for beeswax's specific melt point.
Best for: Monitor wax during melting to achieve perfect pour consistency.
Price Range: $9.99
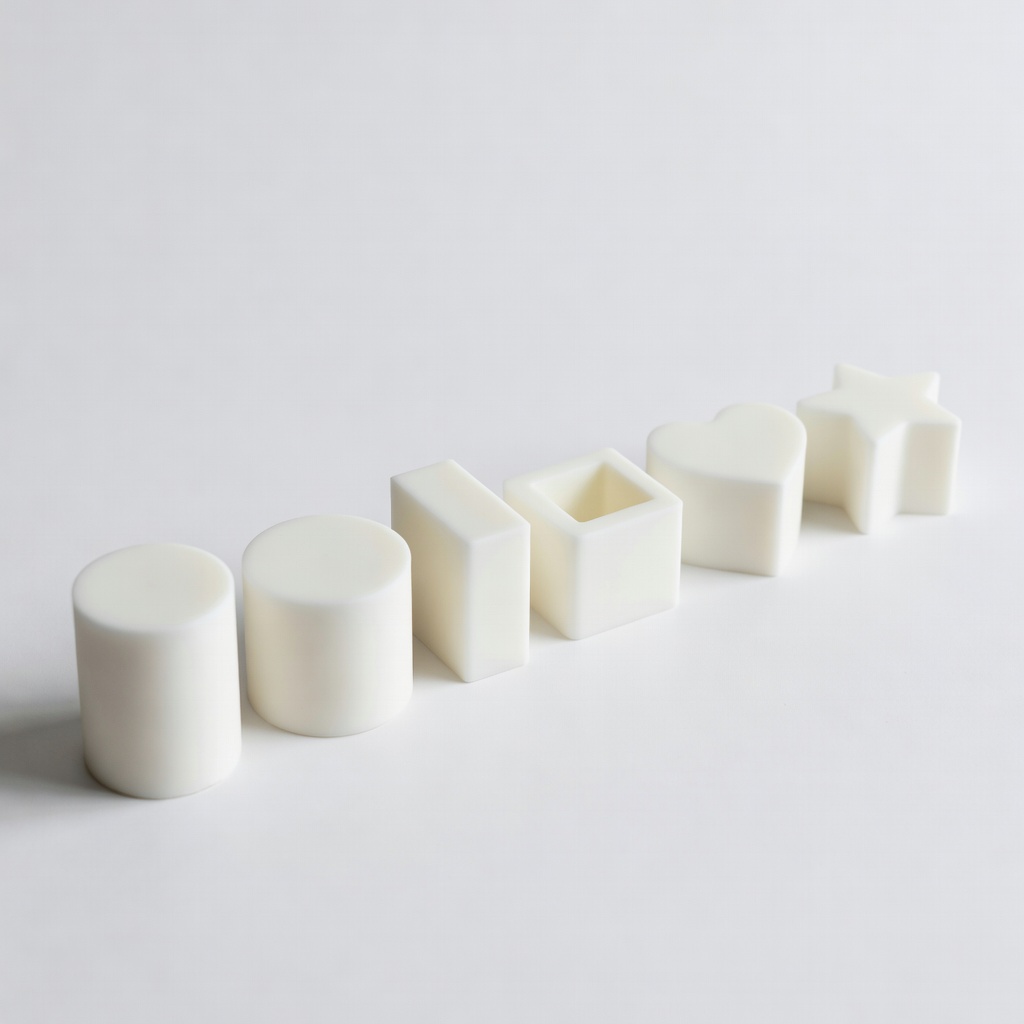
Silicone Candle Molds (Set of 6)
Flexible and reusable, these molds release candles easily without sticking, ideal for custom shapes.
Best for: Pour wax into various sizes for pillar or tealight candles.
Price Range: $14.99
Stainless Steel Double Boiler Pot
Safe, even heating via water bath prevents scorching beeswax, essential for controlled melting.
Best for: Melt wax on stovetop for small to medium batches.
Price Range: $19.99