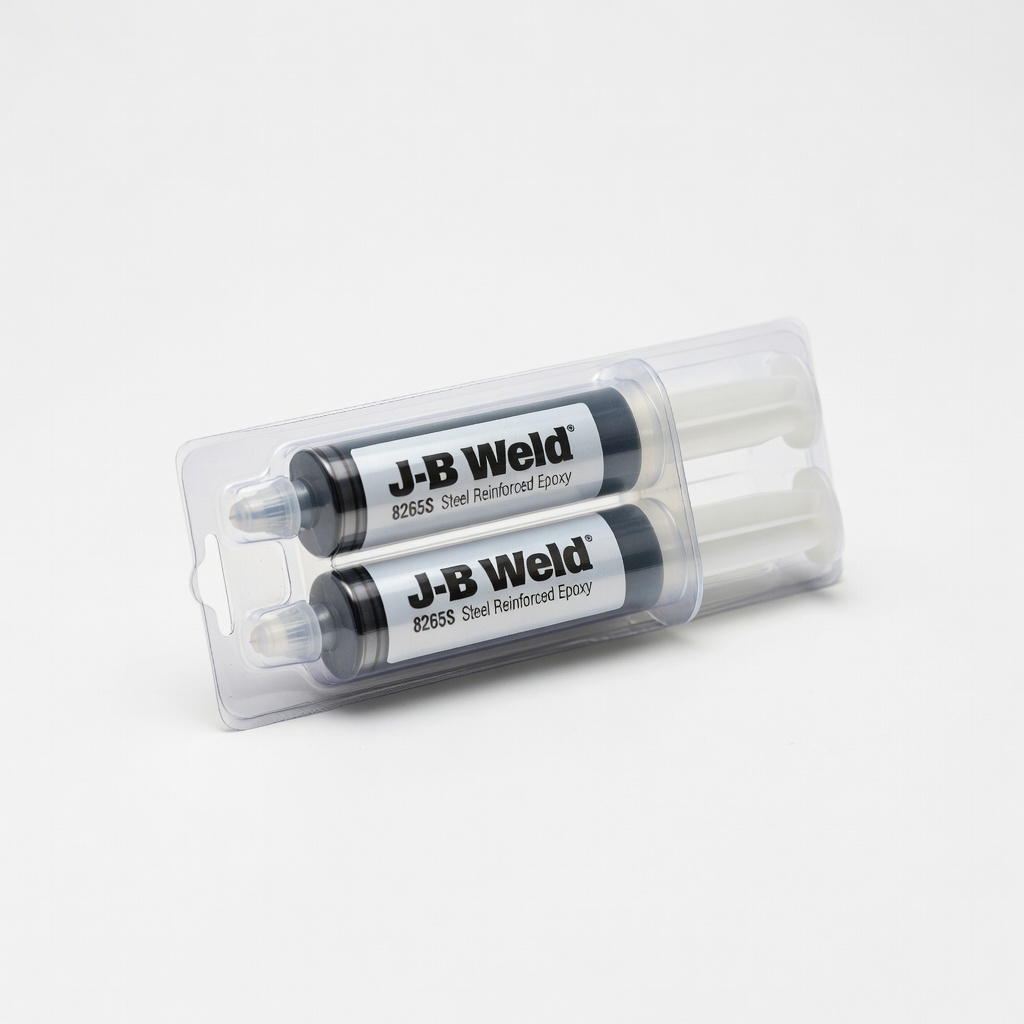
J-B Weld 8265S Steel Reinforced Epoxy
Ideal for DIY blanks needing secure stud insertion.
$6.99
J-B Weld 8265S Steel Reinforced Epoxy Provides ultra-strong, vibration-proof bond for permanent topper attachment.
Get the App
Better experience on mobile
DIY custom antenna toppers that won't fly off your car using epoxy and threadlocker—perfect for beginners in 30 minutes.
Nothing ruins a road trip like watching your favorite antenna topper sail off into the distance at 70 mph. Vibration, wind, and poor threading cause most toppers to loosen and detach, leaving you with a bare antenna and lost flair. This guide solves that with a simple DIY method to make secure antenna toppers from basic materials.
You'll learn to craft durable, custom toppers using a blank ball or figurine bonded with industrial-strength epoxy or threadlocker. No advanced skills needed—just follow the steps for toppers that stay put. Expect 30-45 minutes of active time plus 24-hour curing, rated beginner-friendly for anyone handy with basic tools.
By the end, you'll have personalized car antenna toppers ready to customize with paint or decals, turning heads without the worry of them vanishing.
Estimated Time: 30-45 minutes active + 24 hours curing Difficulty: beginner
Choose a lightweight, durable blank topper like a clear acrylic ball or plastic ornament (2-3 inches). Ensure it has a flat bottom or can be drilled. Pick a 3/8"-24 threaded stud matching standard car antennas—measure your antenna tip to confirm.
Why it matters: Proper sizing prevents wobbling. Success looks like clean, undamaged parts ready for assembly. Test-fit the stud loosely into the topper's base.
💡 Tips:
⚠️ Warnings:
Wipe the topper's interior/base and stud with rubbing alcohol-soaked rag. Let dry. Sand the stud threads and topper contact areas lightly with 220-grit sandpaper for better adhesion.
This removes oils and creates 'tooth' for epoxy/threadlocker grip. Expect a matte, slightly rough finish—what success feels like is no shine or residue.
💡 Tips:
If your blank lacks a hole, mark the center of the base. Drill slowly with a 1/4-5/16" bit to match stud diameter—stop 3/4 through to avoid piercing the top.
Why: Precise hole ensures flush fit. Success: Clean hole where stud inserts 1/2-3/4 inch deep without cracking.
⚠️ Warnings:
Mix epoxy per instructions (equal parts). Coat stud base generously and insert into topper hole, twisting to spread. Use pliers to position stud perpendicular.
Epoxy creates permanent bond against vibration. Wipe excess immediately. Success: Stud protrudes 1/4 inch straight, no visible gaps.
💡 Tips:
For added screw-on security (or if epoxy-only), apply 1-2 drops blue threadlocker to threads after epoxy sets partially.
Why: Prevents unscrewing from wind. Let cure 24 hours upright on rag. Expect firm, non-moving assembly.
⚠️ Warnings:
Prop topper upright for 24 hours. Gently hand-tighten onto car antenna.
Full cure ensures strength. Success: Tight fit with no wobble at hand-turn.
💡 Tips:
Once cured and installed, paint, add glitter, or stickers. Use acrylic sealers for weatherproofing.
Personalize for fun. Expect vibrant, lasting design.
Problem: Topper loosens after install
Solution: Reapply threadlocker; check antenna rust—clean or replace tip.
Problem: Epoxy won't set
Solution: Ensure equal mix ratio; temps above 50°F. Use fresh epoxy.
Problem: Cracked plastic during drill
Solution: Use sharp bit, low speed; switch to softer foam ball.
Problem: Won't unscrew later
Solution: Apply heat (hairdryer 2 min) + vice grips; blue formula releases.
Provides ultra-strong, vibration-proof bond for permanent topper attachment.
Best for: Ideal for DIY blanks needing secure stud insertion.
Price Range: $6.99
Prevents loosening from wind/vibration without permanent lock.
Best for: Apply to threads for easy removal if needed.
Price Range: $8.49
Perfect fit for standard car antennas, durable brass resists corrosion.
Best for: Core component for screwing into any blank topper.
Price Range: $9.99
Ready-to-customize spheres with prepped bases for easy DIY.
Best for: Bulk for multiple toppers; great starter blanks.
Price Range: $19.99
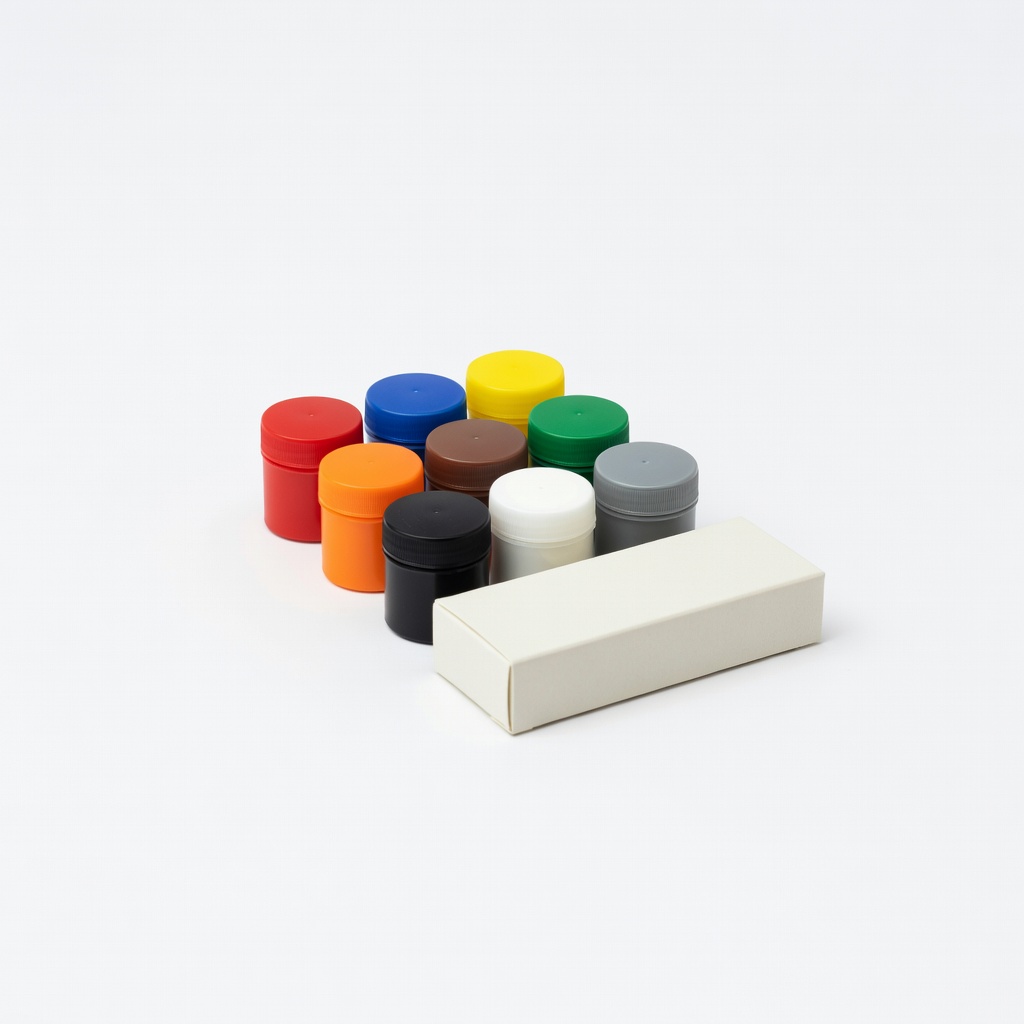
Weather-resistant paints for vibrant, long-lasting customization.
Best for: Decorate after assembly for personalized designs.
Price Range: $12.99
Ideal for DIY blanks needing secure stud insertion.
J-B Weld 8265S Steel Reinforced Epoxy Provides ultra-strong, vibration-proof bond for permanent topper attachment.
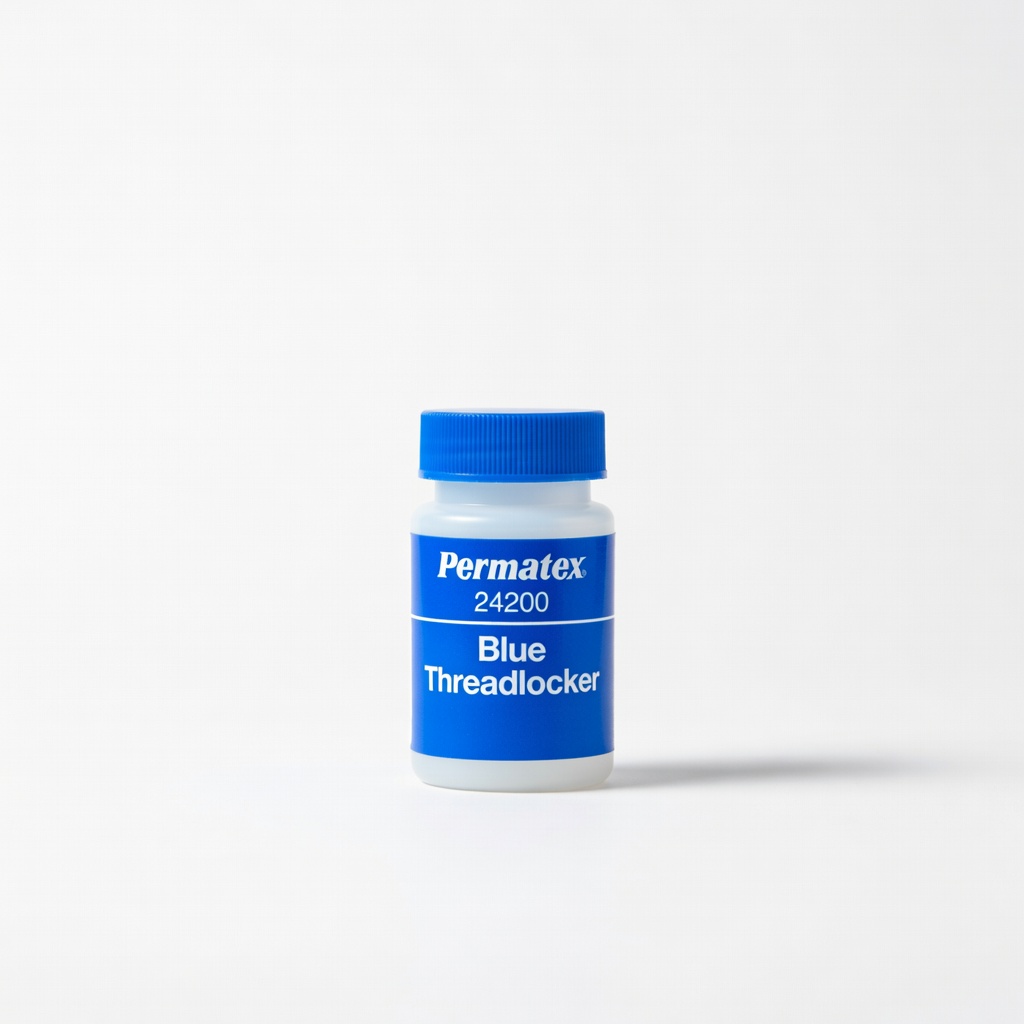
Apply to threads for easy removal if needed.
Permatex 24200 Blue Threadlocker Prevents loosening from wind/vibration without permanent lock.
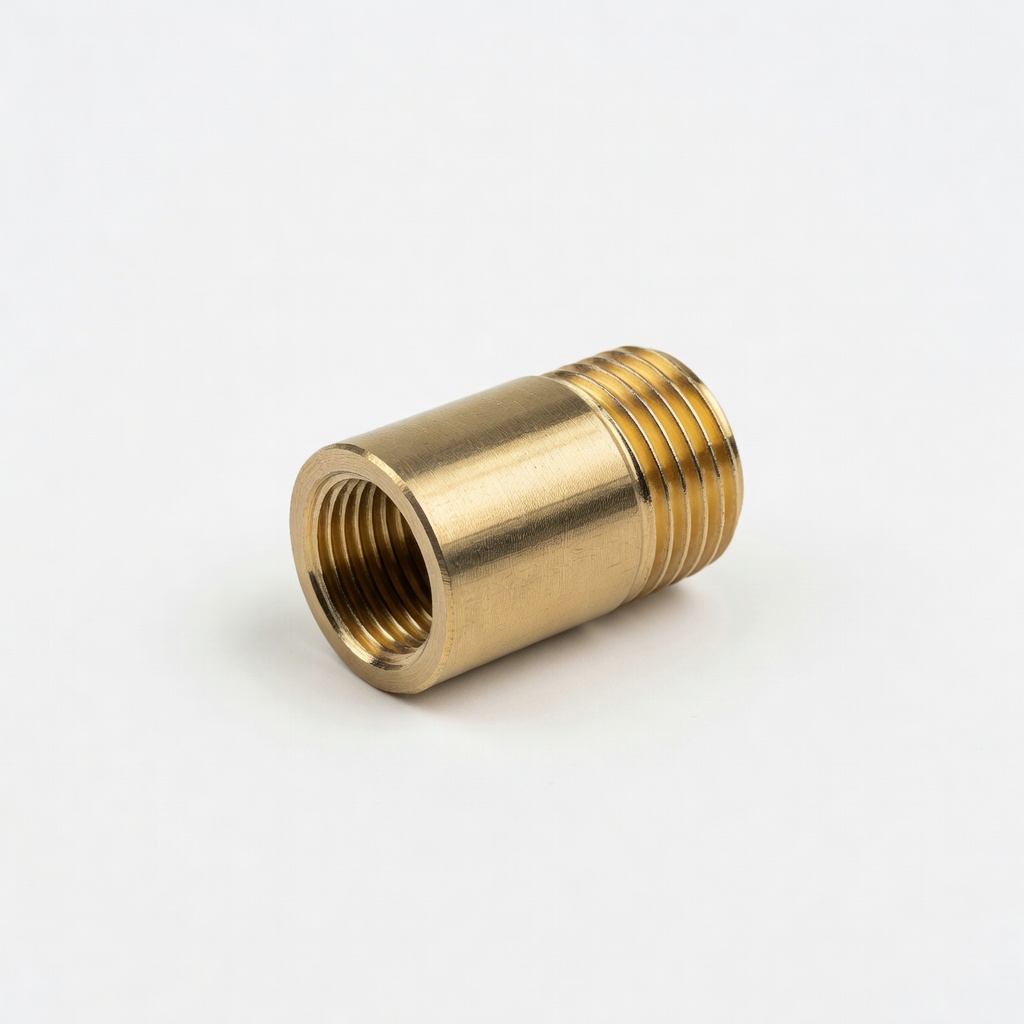
Core component for screwing into any blank topper.
uxcell 3/8-24 Brass Antenna Threaded Stud Adapter Perfect fit for standard car antennas, durable brass resists corrosion.
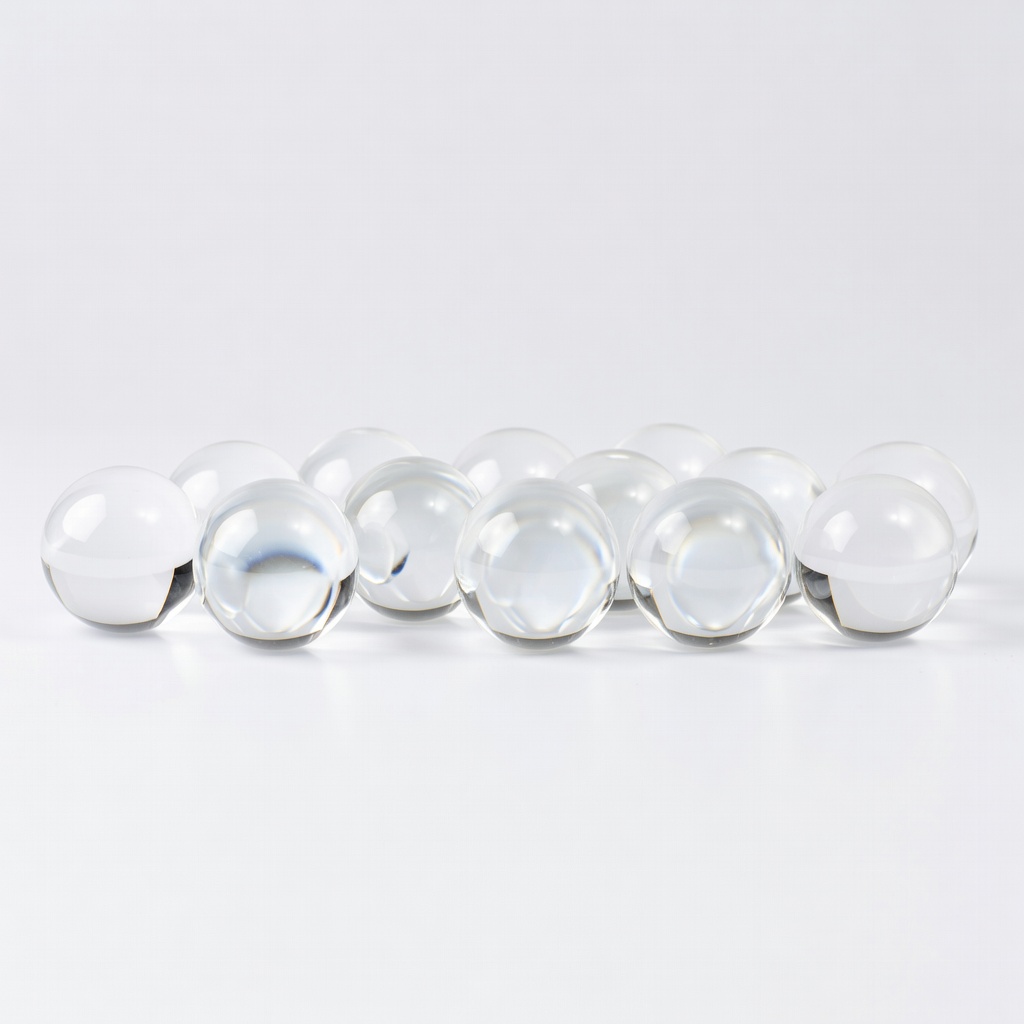
Bulk for multiple toppers; great starter blanks.
WGI 3-Inch Clear Acrylic Blank Antenna Balls (Pack of 12) Ready-to-customize spheres with prepped bases for easy DIY.
Decorate after assembly for personalized designs.
Testors Acrylic Paint Set (9 Colors) Weather-resistant paints for vibrant, long-lasting customization.